

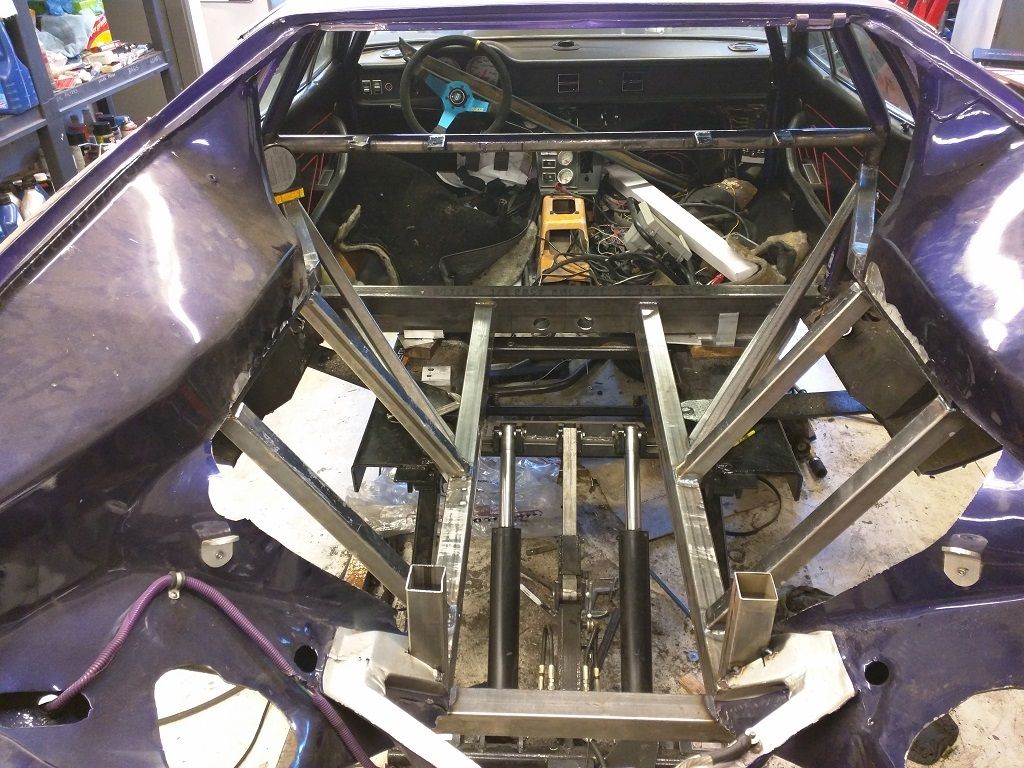
As some of you may know I started the process of fitting a Coyote into my Pantera several months ago. As these projects typically go the project has snowballed into something a bit more extensive. Peter Havlik lives close by and visits on occasion and reccommended that I start a post detailing what I have begun so here goes. For those who are wondering why Coyote swap posts are in the chassis systems section that will soon become clear. In the process of fitting the motor in the position and configurationI wanted I came across many roadblocks. The first of these was the width of the frame rails. As with my last motor I will be running a dry sump system on the Coyote. The width of the oil pan filled the frame rails and left insufficient room for fittings. The next roadblock was also due to frame rail width. I could not lower the motor enough as the bellhousing even when heavily trimmed woud not allow the engine to sit any lower in the car. The third roadblock was insufficient space between the balancer and the lower firewall for a dry sump mandrel. I had already cut out the upper firewall for clearance. While slowly tackling each of these issues I noticed that the passenger frame rail was bent. At this point I made a decision. I was going to widen the frame rails. This would give me more space for the motor. I then decided that I was going to also move the lower firewall crossmember forward several inches and rebuild the firewall incorporating my roll cage as the new firewall. The project had begun and out came the sawzall. Might want to sit down for this one.
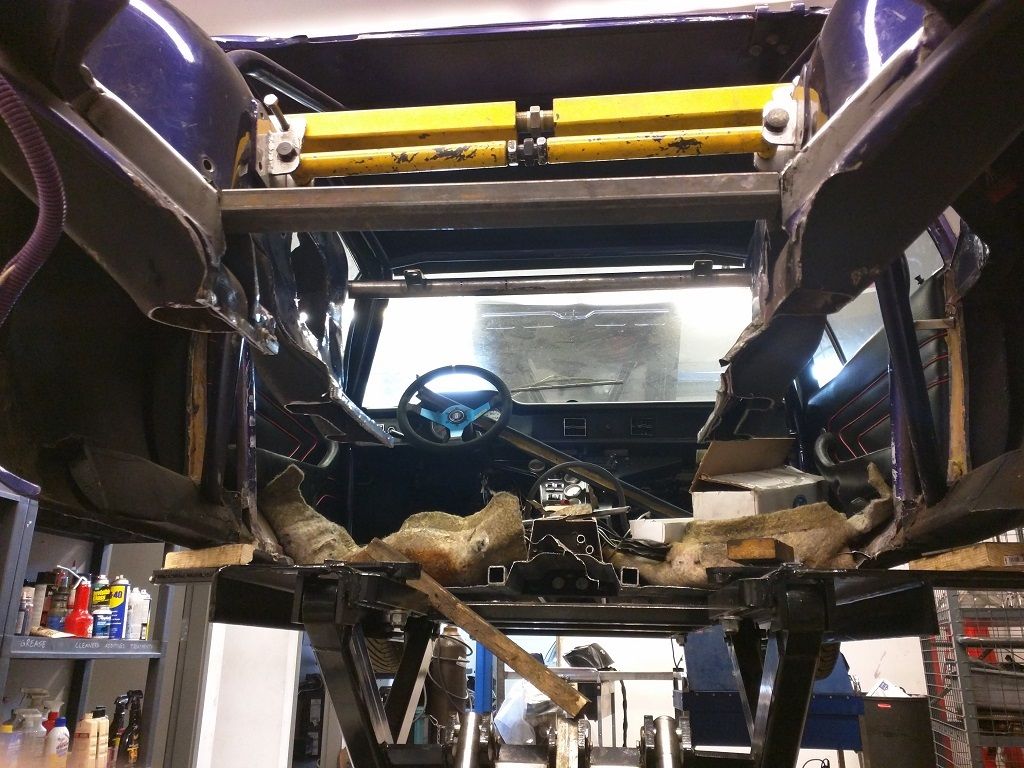
Keep in mind that I did brace and support all rear metal to prevent flex and bend while cutting. Really spacious in there now. Years ago I had installed the Hall Pantera chassis stiffening kit part of which involves installing 2x4 box steel tubing inside the rocker panels. The roll cage main hoop is welded to this. It makes for the beginnings of a very stiff chassis. The main firewall crossmember is made from 2x6 box tubing with an 1/8" wall thickness. It is a bit more weight than I was hoping for but it was also all I could get in any sort of a decent time frame. I can always add some lightening holes later if I feel the need. It has a 6' height so I can Pick up the full height of the rear frame rails, have it low enough to have the option of flat bottoming the car, and still have enough meat left to engage the 2x4 tubes in the rocker panels. The frame rails are made from a combination of 2x2 and 2x3 box tubing in a .093 wall thickness. The 2x3 tube has been cut lengthwise at an angle and welded to the 2x2 tube to mimic the angle of the stock rails. This has the added benefit of an extra stiffening rail within the tube. The frame rails have also been tabbed through the firewall crossmember on the vertical sides to add rigidity to the crossmsmber.
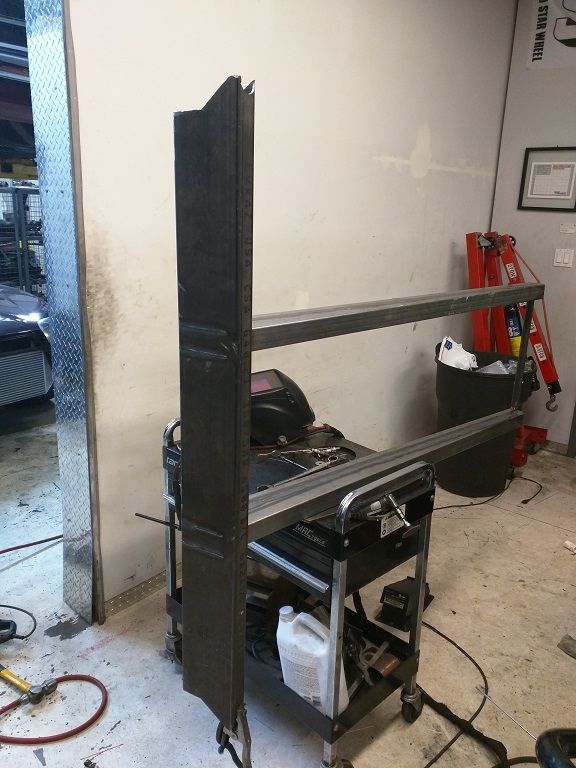
The same treatment was applied to the frame rail diagonals and I was able to use the off cuts from the main rails repurposed for this.
The frame rail layout is very similar to the stock setup and is very stiff once welded together.
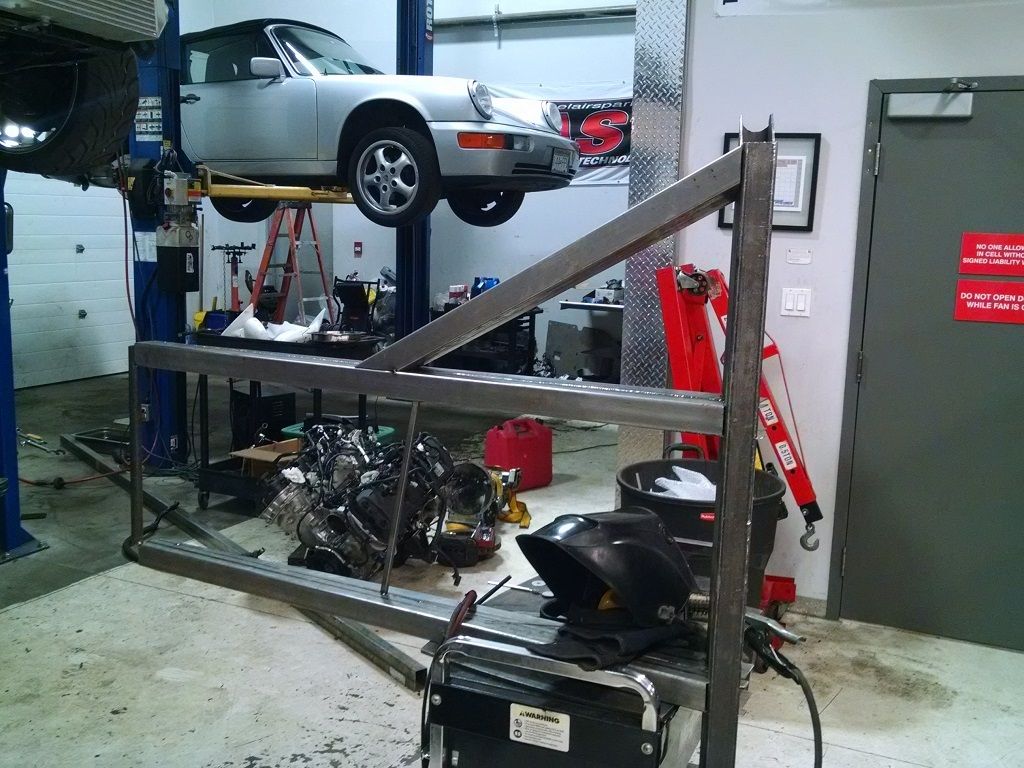
Once the main frame rail assembly was welded together (tig everything as I dont have a mig) I fit it into the car. This was the most critical step. This would ulimately determine how straight the car was. As we all know these cars are not exactly perfect dimensionally in the sheet metal department. I wanted at the very least for the frame to be spot on. I borrowed a laser level from a friend for this purpose. everything was aligned on level to within 1/8 of an inch from the front frame to the center to the rear and tacked into place. At this point I tacked some temporary bracing in place to hold the frame in position while I completed the rest of the work.
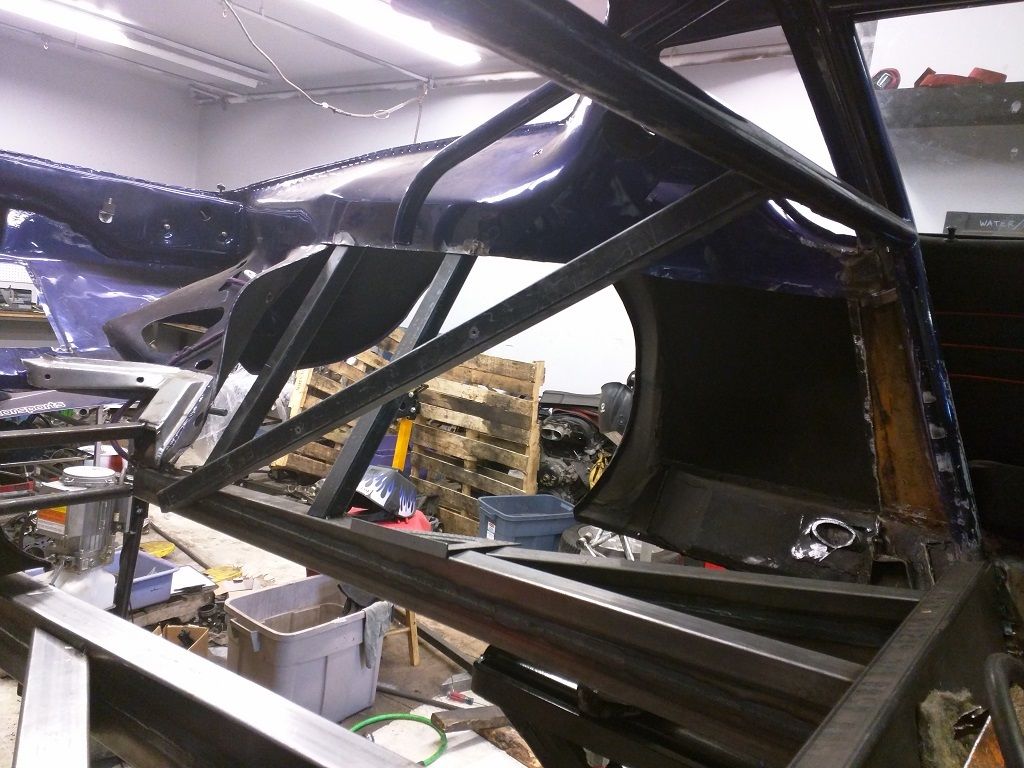
With the transaxle further forward the next clearance issue was the axle passthrough in the stock inner fenders. Might as well chop all that out too. At this point it was clear that I would be building a hybrid space frame/unibody car. I continued to add frame bracing for suspension pickups and triangulation.
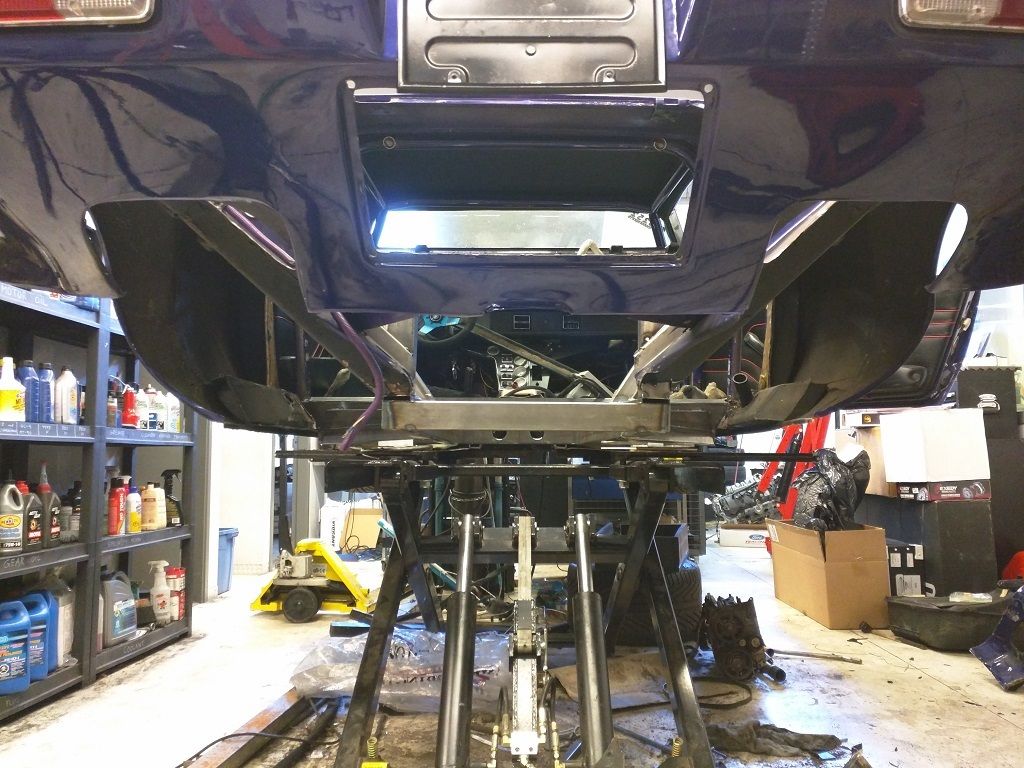
There will be much more going on as I continue but this is where I am at the moment. I am still hoping to have the car back on the road by the middle to end of summer but I have a ways to go.
Original Post