
Yep...same minion UFO. She's become quite a useful shop helper. I'm a lucky guy..! Big Grin

OK, so the whole house came down with some kinda of wicked funk and we've been out of commission for the past two weekends. Finally feeling healthy enough to get back out in the shop. Decided to put her up on floor jacks on the dollies so she would be up higher and still be a little mobile. Cut some boards to lock into the dollies, then secured the stands to the wood. Seems to work OK, let's see how it goes. I will also appreciate painting it up in the air.


Spent the day under the nose stripping paint. Not much to share...a lot more of the same. Grinding...sanding...blah..blah.... Was nasty work, covered in dust..but got her done! Good news remains...more dents, very limited rust. No complaints!!


It's coming along nicely Rob. Good news on low rust! The more I'm digging into mine the less I'm finding compared to what I was expecting.

You have to love having good minions. I do fire effects for a living and my 3 daughters LOVE getting amongst the flamey stuff when we get into testing mode. I think it's a good thing to have our kids getting hands on (boys or girls) experience - there's too much virtual / disposable world out there keeping them squeaky clean and quiet these days.

And, I think I have some serious garage space envy as well. I simply don't have the space at my place so 1424 is down at my (very awesome) mechanic's place getting things done. I'm in the process of acquiring space where I can build some serious garaging.
The rollie jack stands worked out great today. Was able to move her around as needed to get access and lighting to the lower & rocker panels. Got them all stripped and cleaned up today. I really have to say how lucky I feel...the rockers are spotless clean. The drip holes look great. The car gods are treating my kindly.. Big Grin And to think...I almost sold this car last year. Eeker


Whomever did the bumper elimination, did a decent job. Too bad his hammer and dolly skills didn't match his welding skills. There was 1/4" thick body filler on the rear panels. Holy cow batman... I had to put on a fresh grinder disk to dig though it.... Sweet


This dent was filled in. Crazy...there is full access behind it...why..why..?
Hopefully I can get it hammered respectability straight before it's all said and done.


All in all..between the layers of paint and gallons of body filler...she's probably 20lbs lighter now. No joke!

Next step will be starting to straighten panels.....
So...started the hammer work on the RF corner today. Got the corner to be pretty close. Had to reshape the wheel opening a bit also. However, forgot to take pics at that....will catch up on that next weekend. Once I got the corner a bit closer, I welded up all the holes from the accident repair I found under all the body filler. Then...spent a bit more time hammering. She's about 90% or so to where I want to get her. The area between the sharpie marks is about 1/16" low still. Next weekend.....


Hi Michael,
I won't profess to be great at it! I'm just stubborn ...and don't like to accept my shortcomings Big Grin . So, I power through and keep at it until I'm happy with it. The Pantera body is thin metal, which sometimes makes it easier to work, however can create its own challenges too (stretching, welding). Patience is the key/and challenge for me.
quote:
Originally posted by Rocky:
As a buddy of mine (MkIV/4280) once said....


"The slide hammer... The bane of all of us artists in sheet metal...."

(Of which I certainly am not one).

Very nice work. I am hoping those holes were from the PO, so you don't get mad at me for my comment....

Rocky
I was thinking the same thing Rocky in regards to the "sliding hammer" & posted suggesting this method/tool...

http://www.autobodytoolmart.co...us-4550-p-16146.aspx
Thanks Rapid. Here are some more for ya... :-)

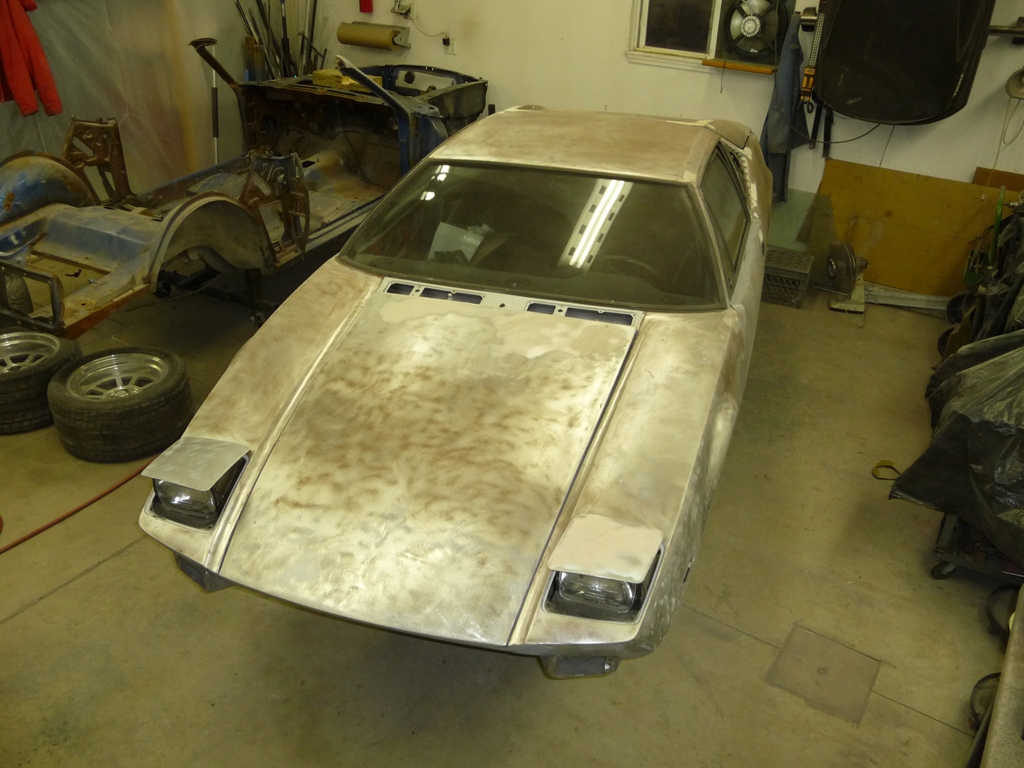
Ok, so took some vacation from work... So, got a bit hammered out today...

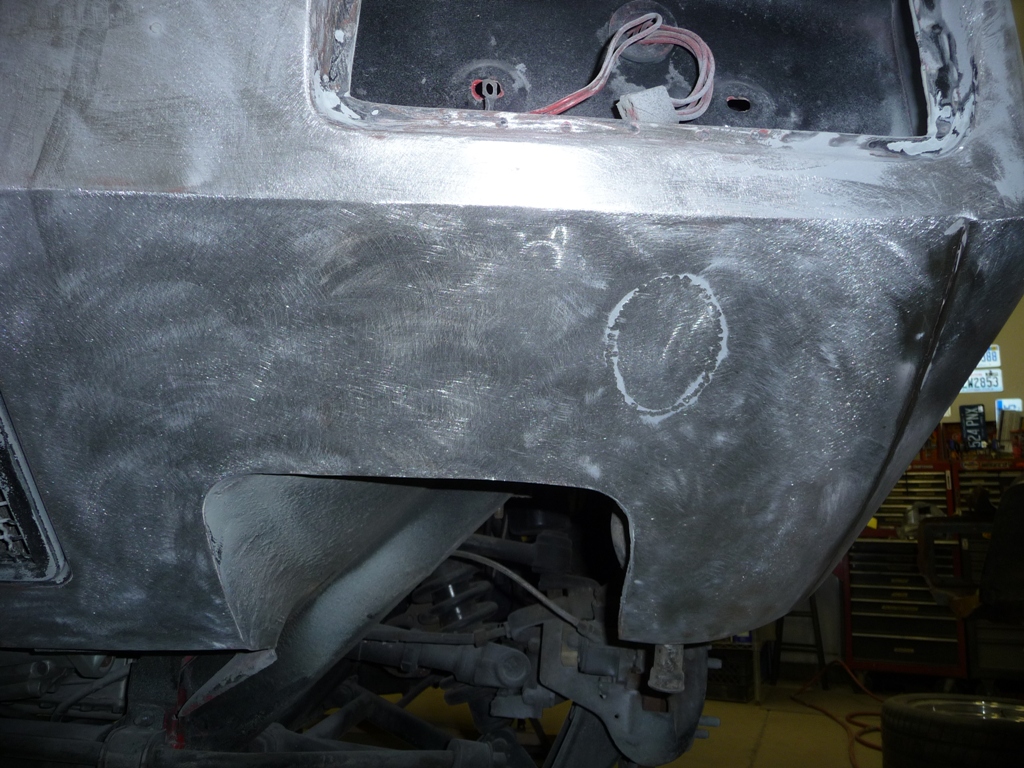
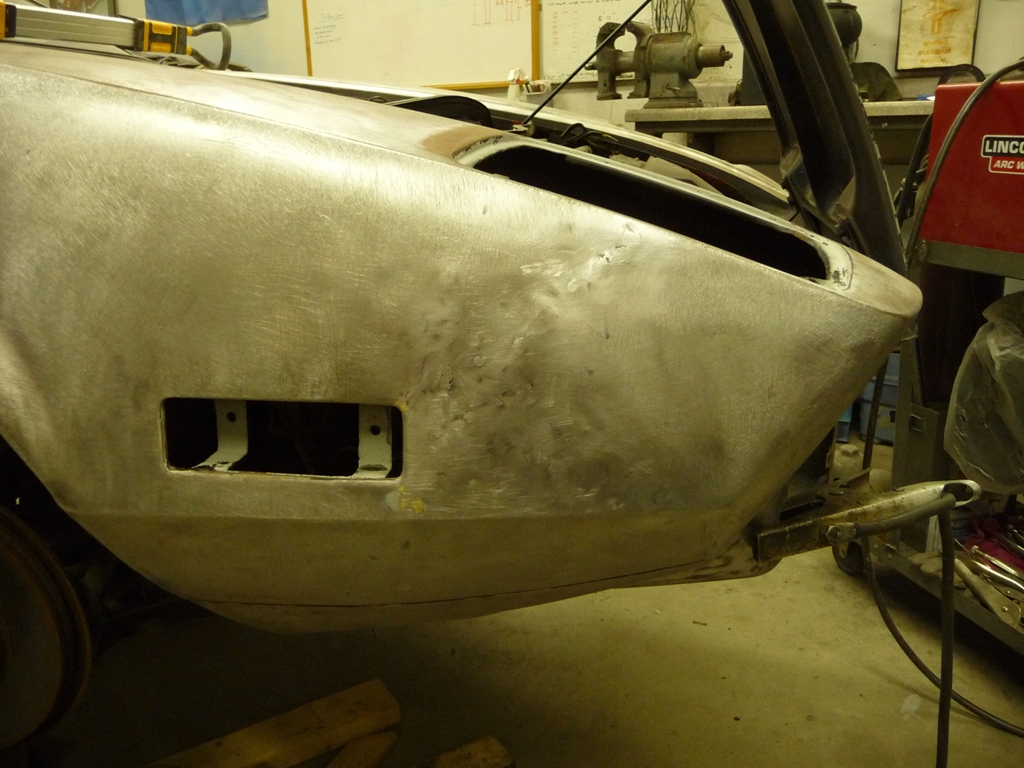
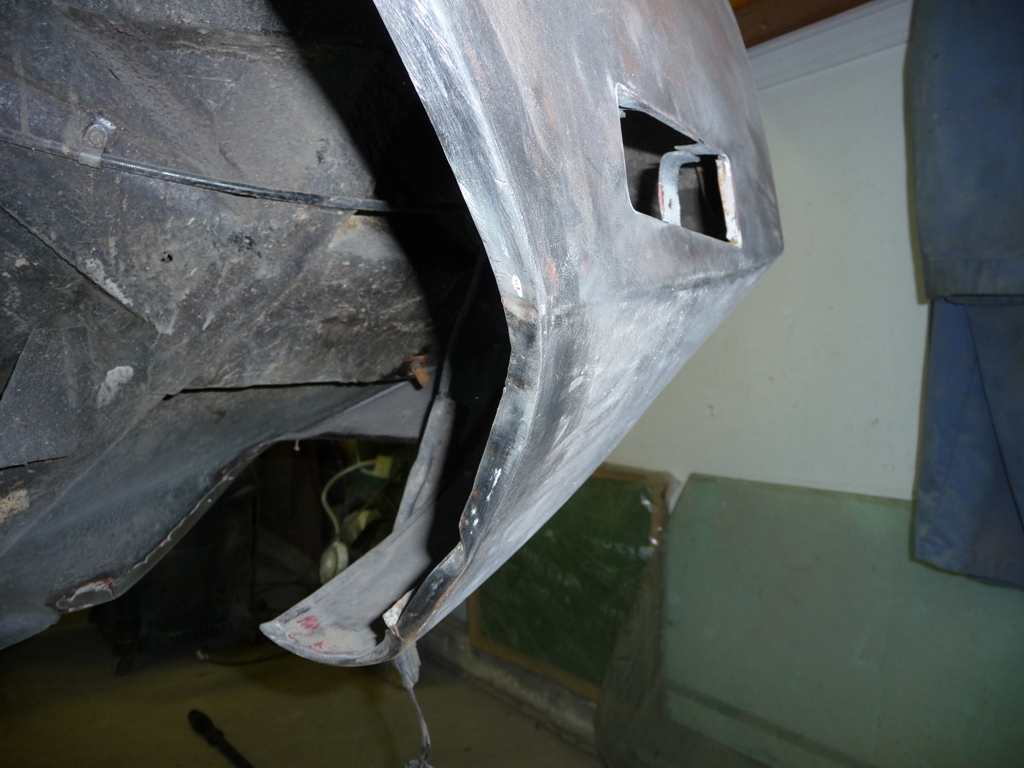
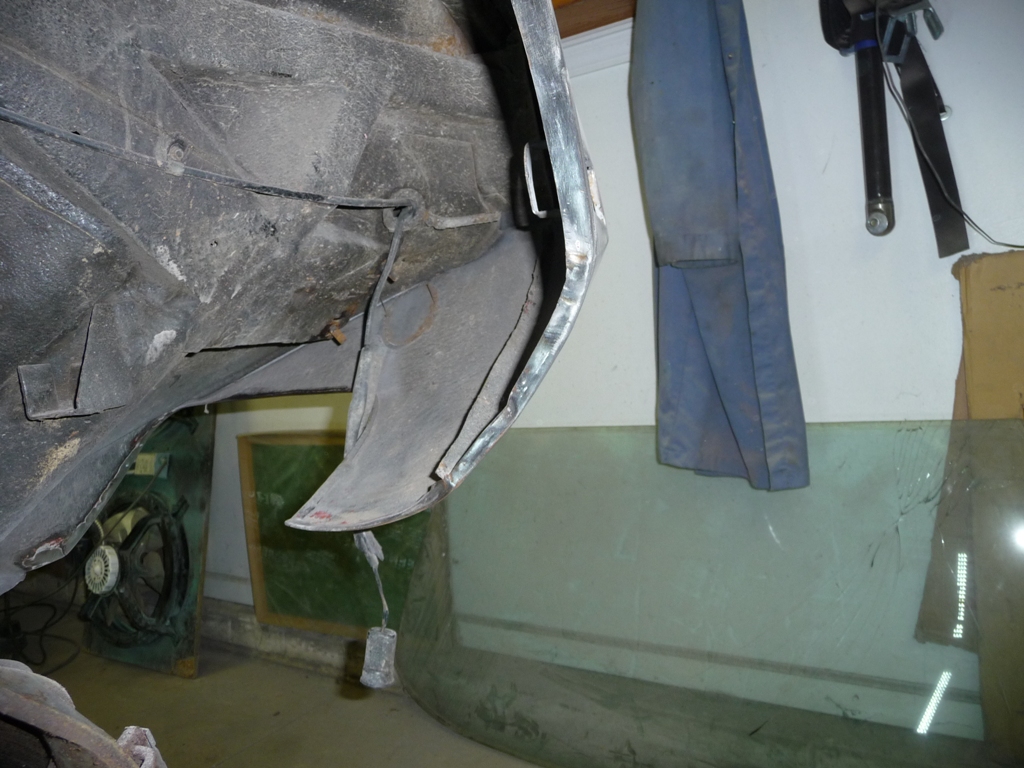
Started the day with the finish shaping of the RF wheel opening which I had done a lot of work to a couple weeks ago. I had the big dent out, but the outer profile of the curve is still quite flat.


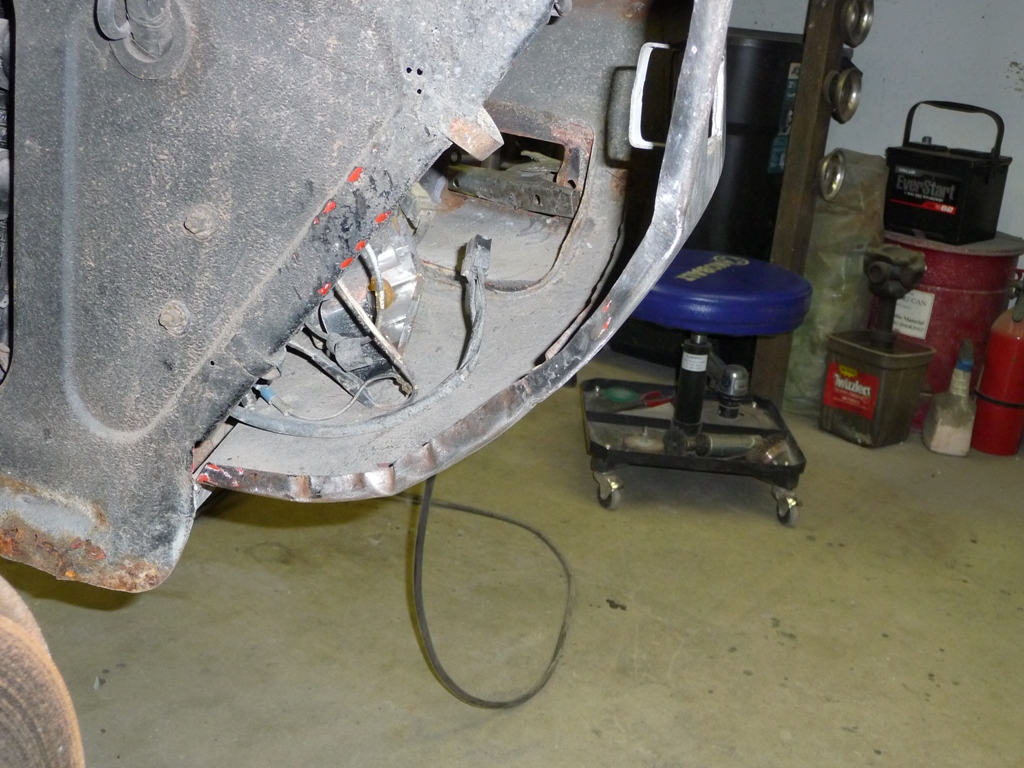
I may revisit it later to try and get the ripple in the lip fully out, but I'm happy withe the contour now. The curved profile is now uniform. Getting the metal of the lip to shrink enough to get them out is kinda difficult. Got most out..but the really big ones are "smaller"...but not gone "yet" :-)


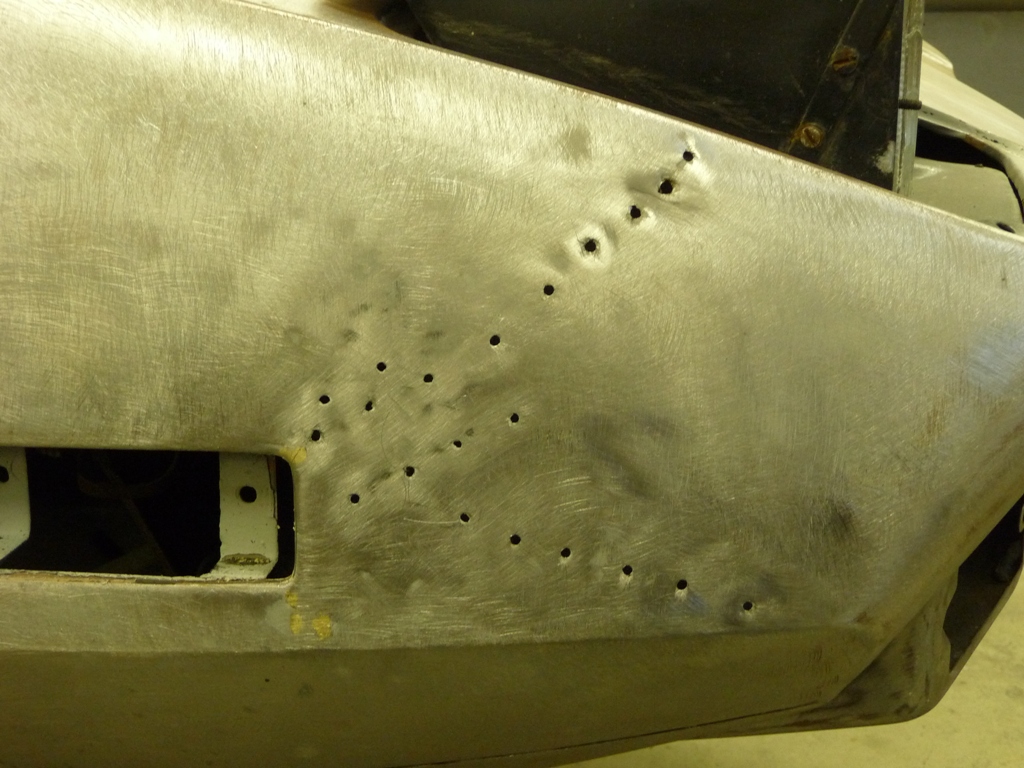
Then I moved to the passenger door. When I started there was about a 5mm deep dent. I tried to show it as best I could....a bit difficult... :-(


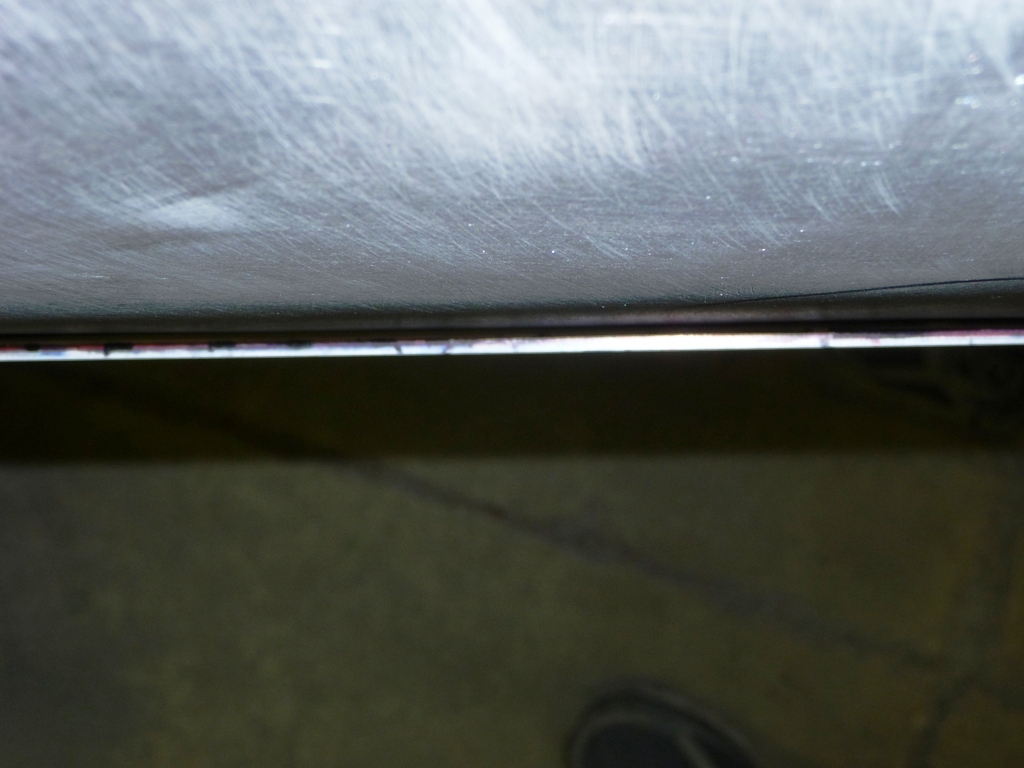
Spent a few hours banging a prying... getting close....


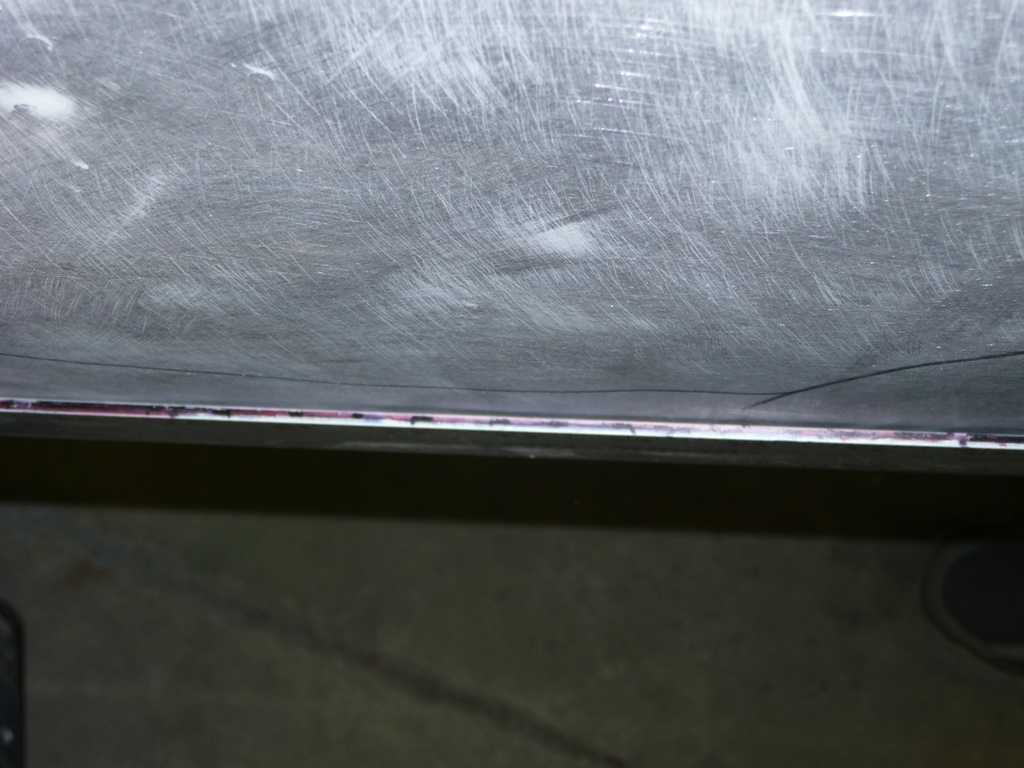
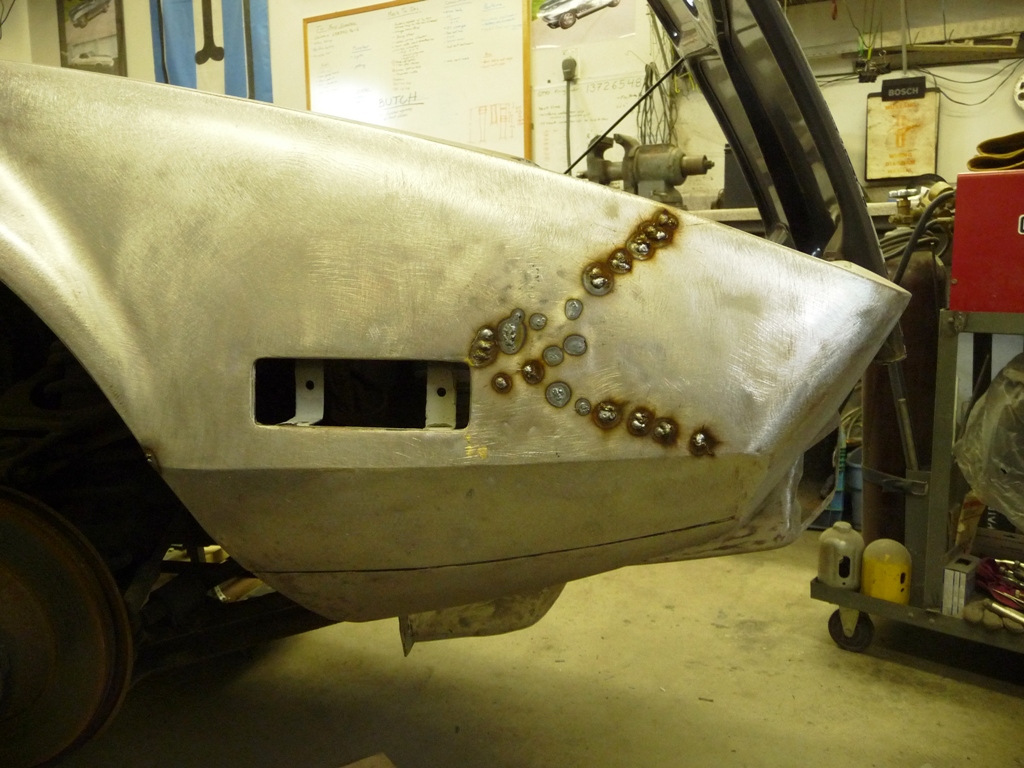
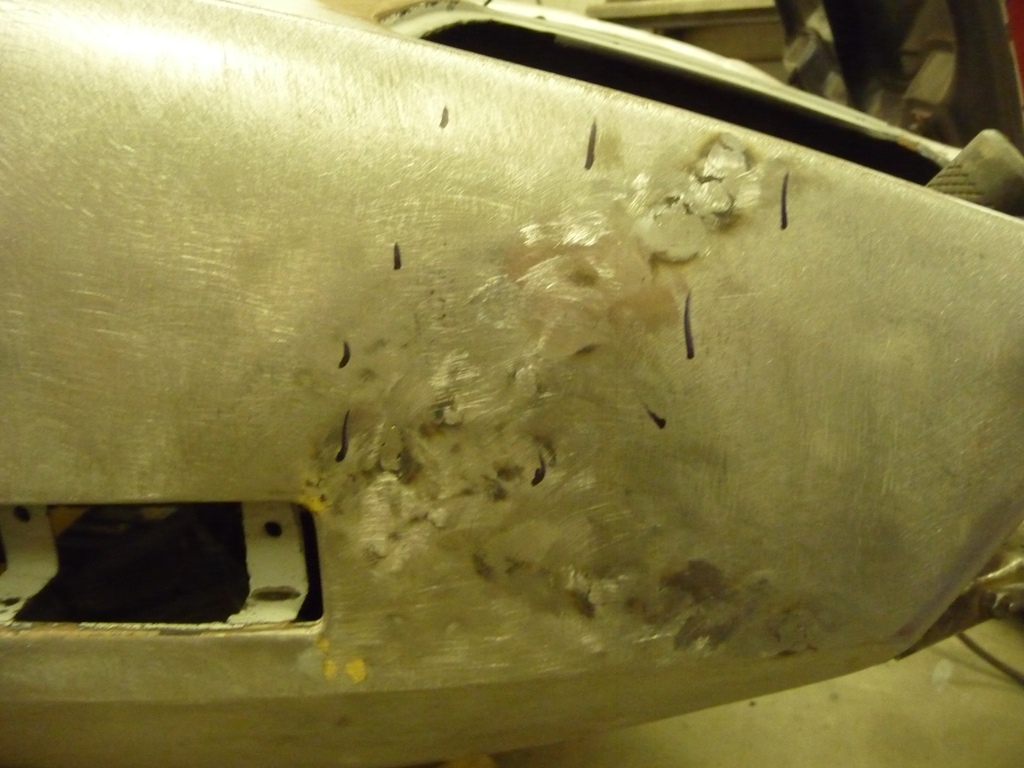
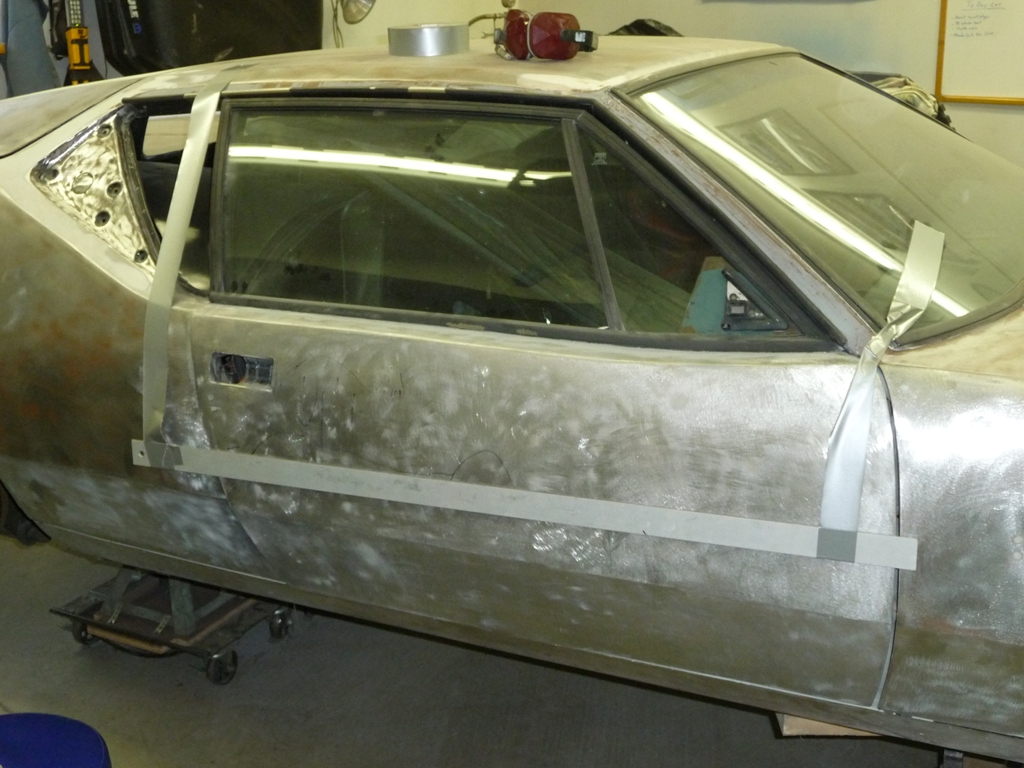
I hung a straight edge with tape and kept it on the roof, so I could quickly drop it down for status checks. The door got nailed pretty good. The skin was bent profiling the side intrusion bar inside the door. This created a horizontal line on the skin, which I found it quite a challenge to get out, as access behind the intrusion (crash) bar was a bit difficult.


All finished. It will only need a skim coat of filler now.


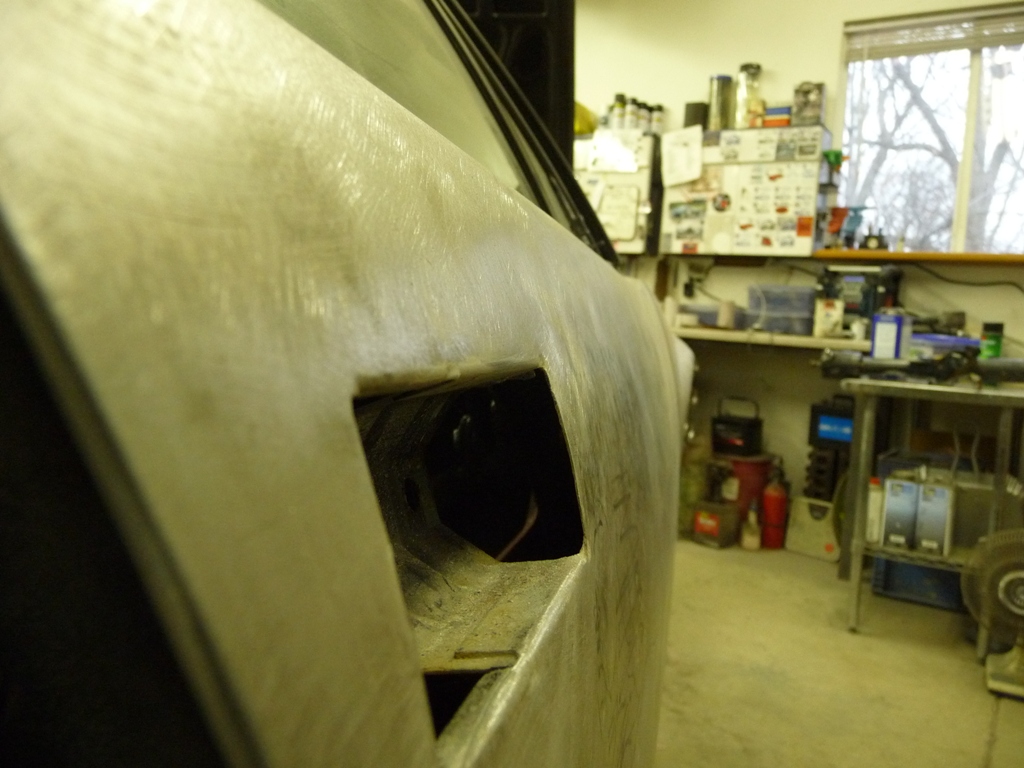
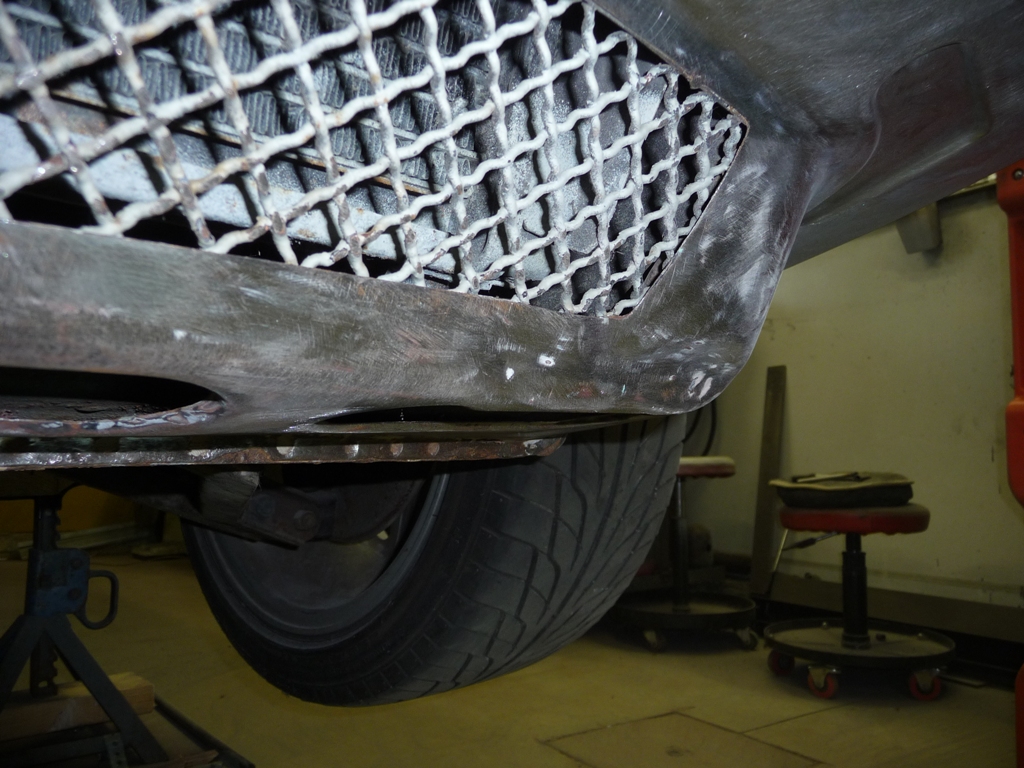
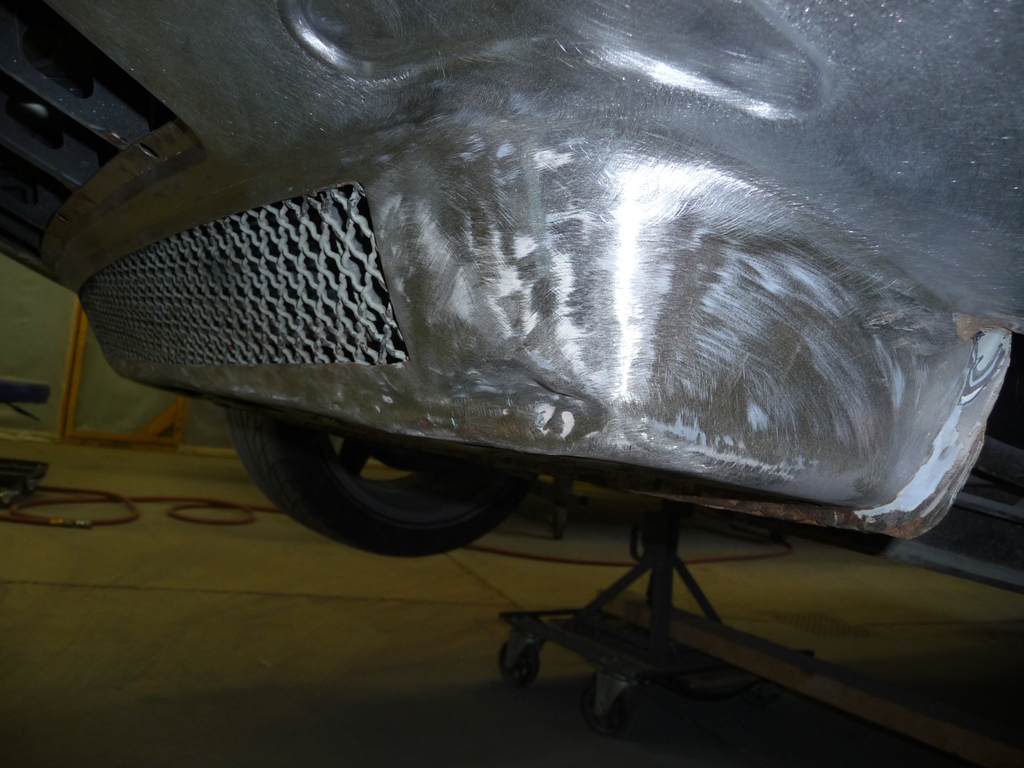
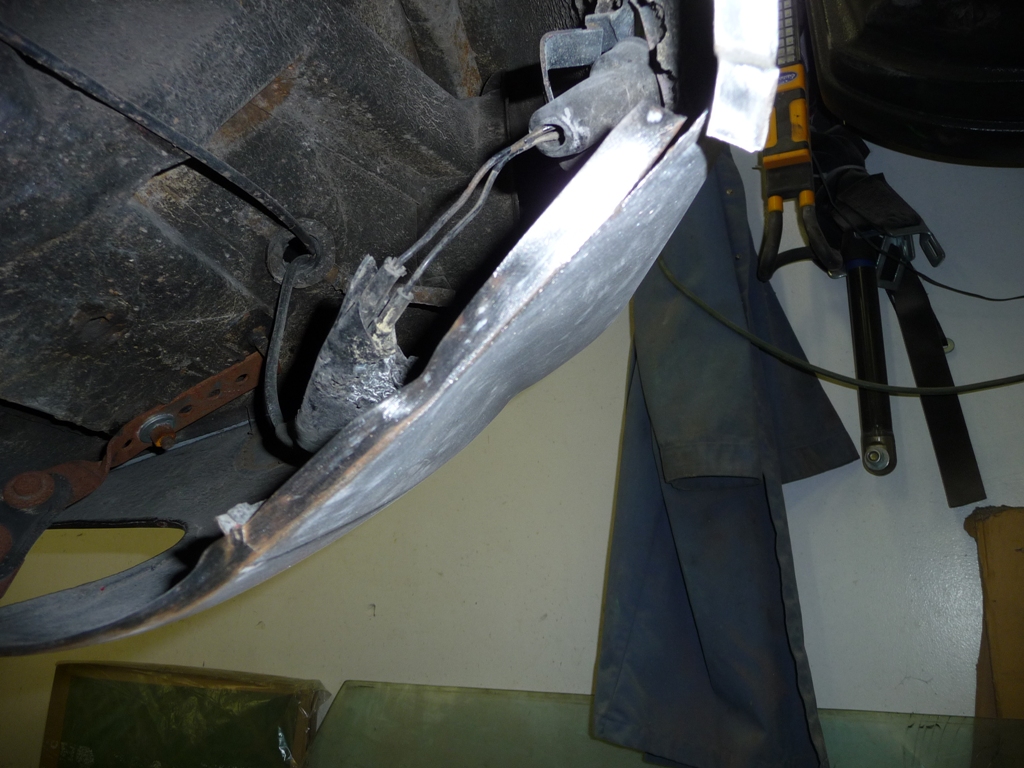
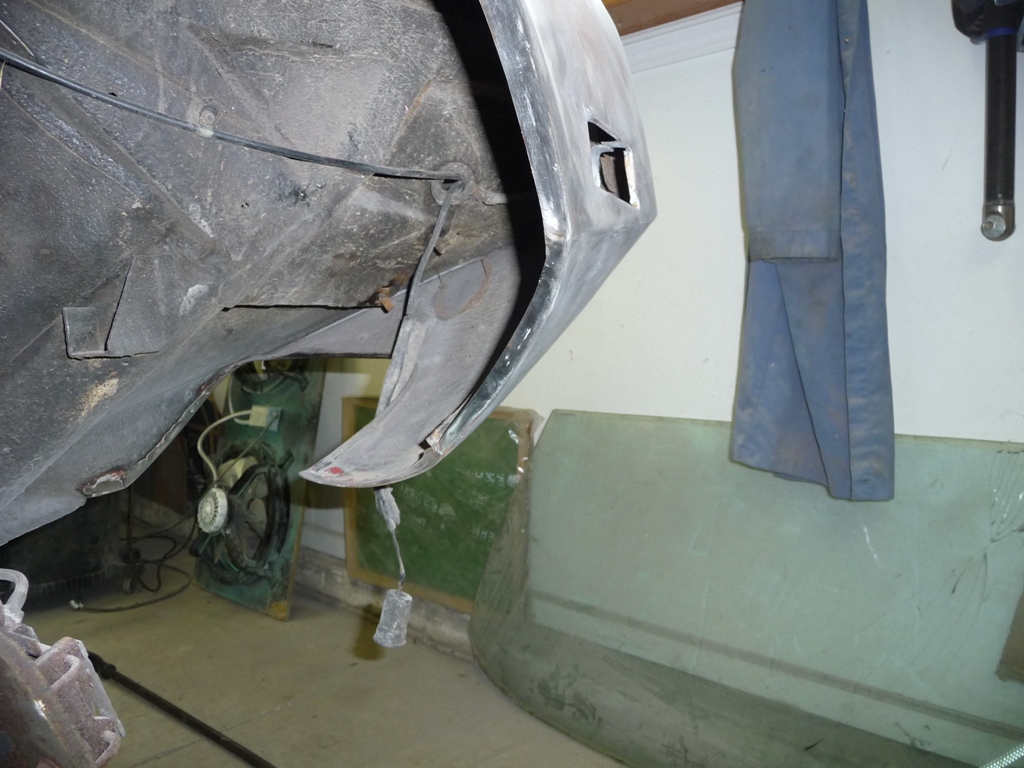
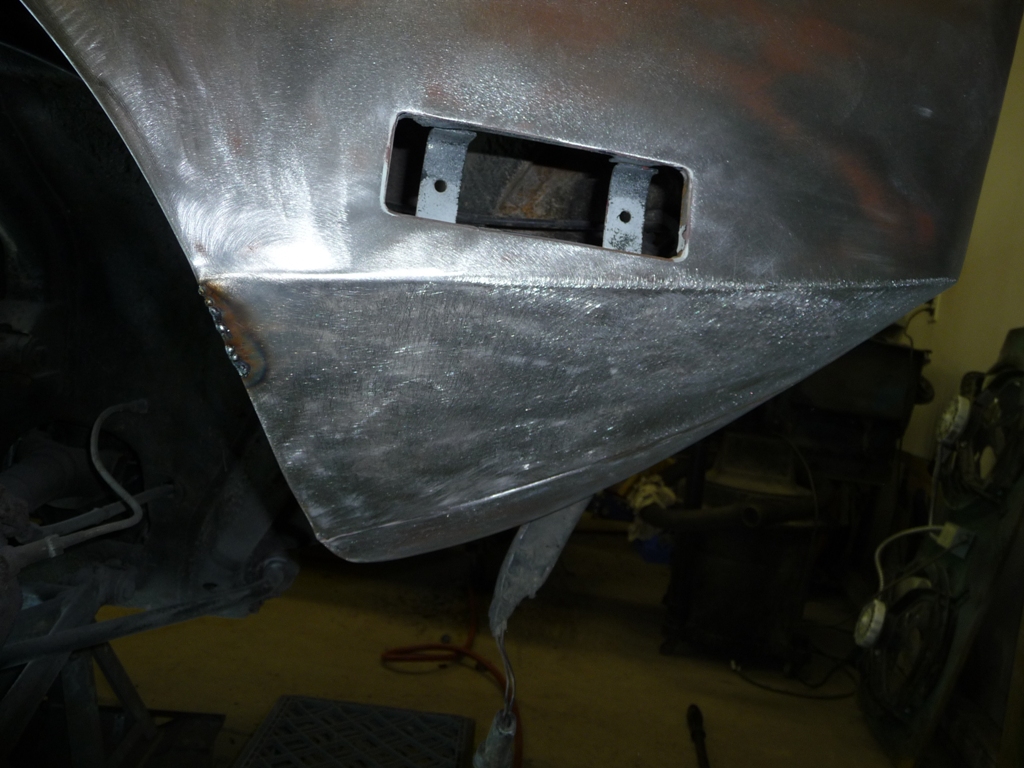
Then moved to the rear and straightened out the rear valence.

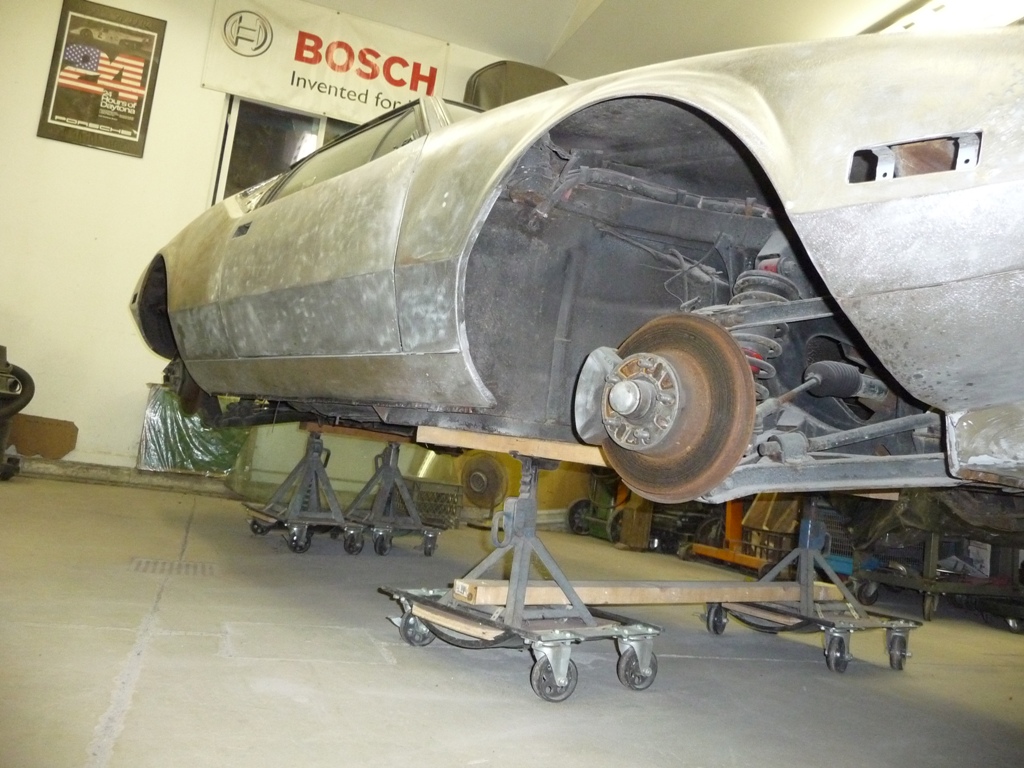
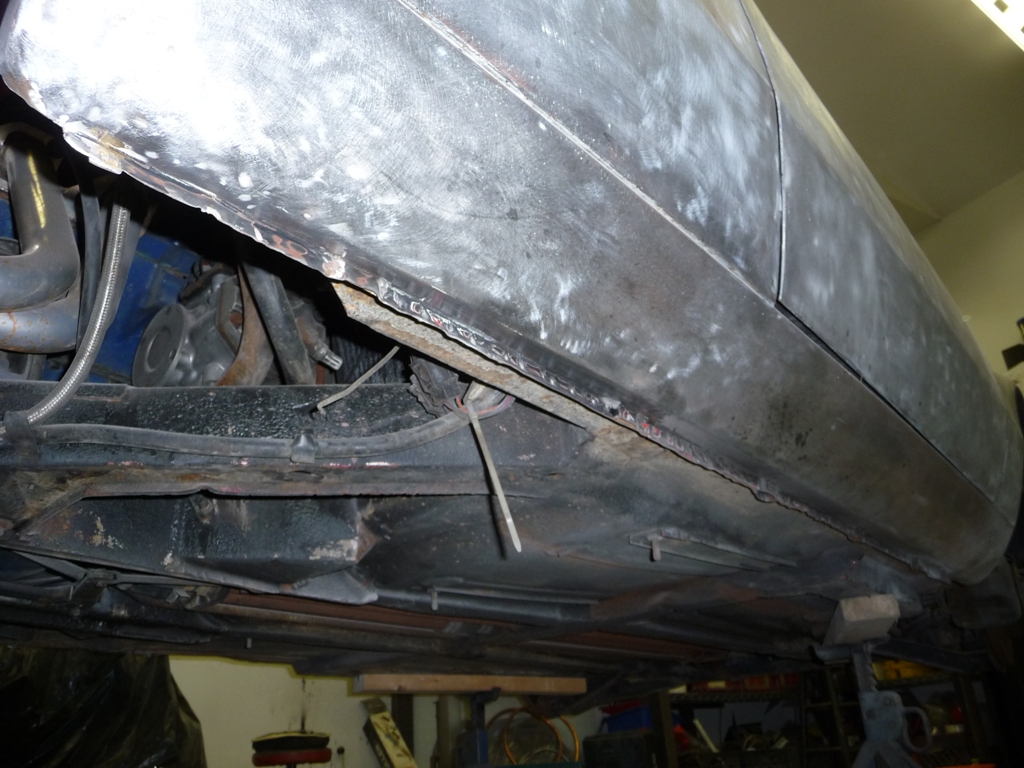
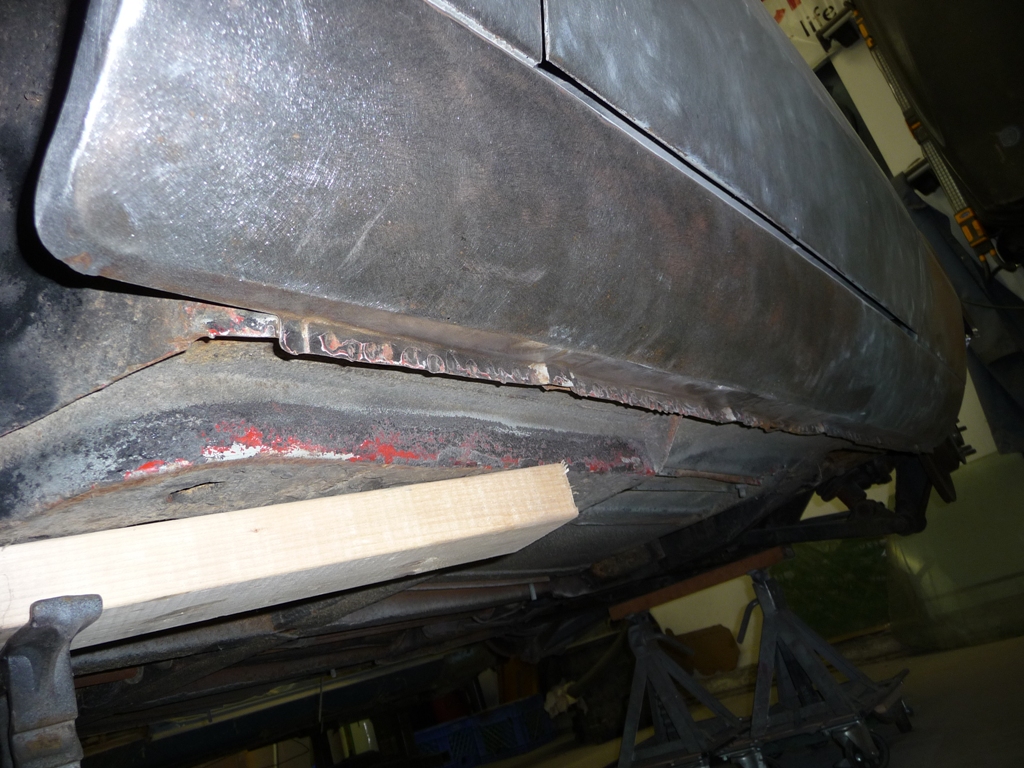
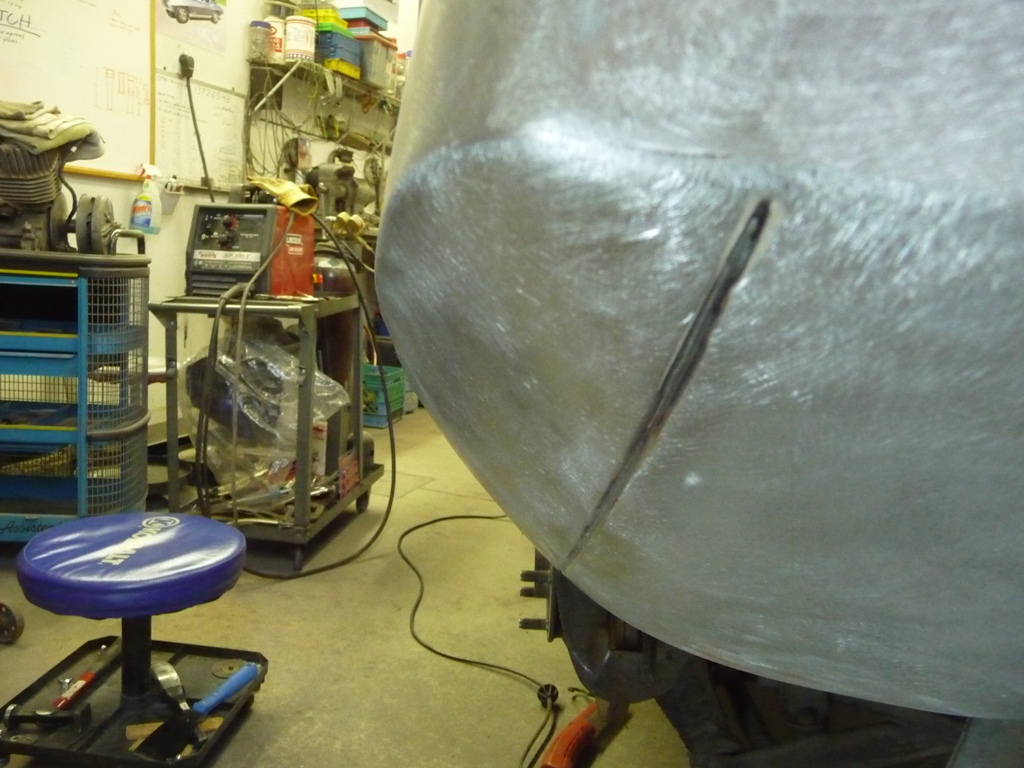
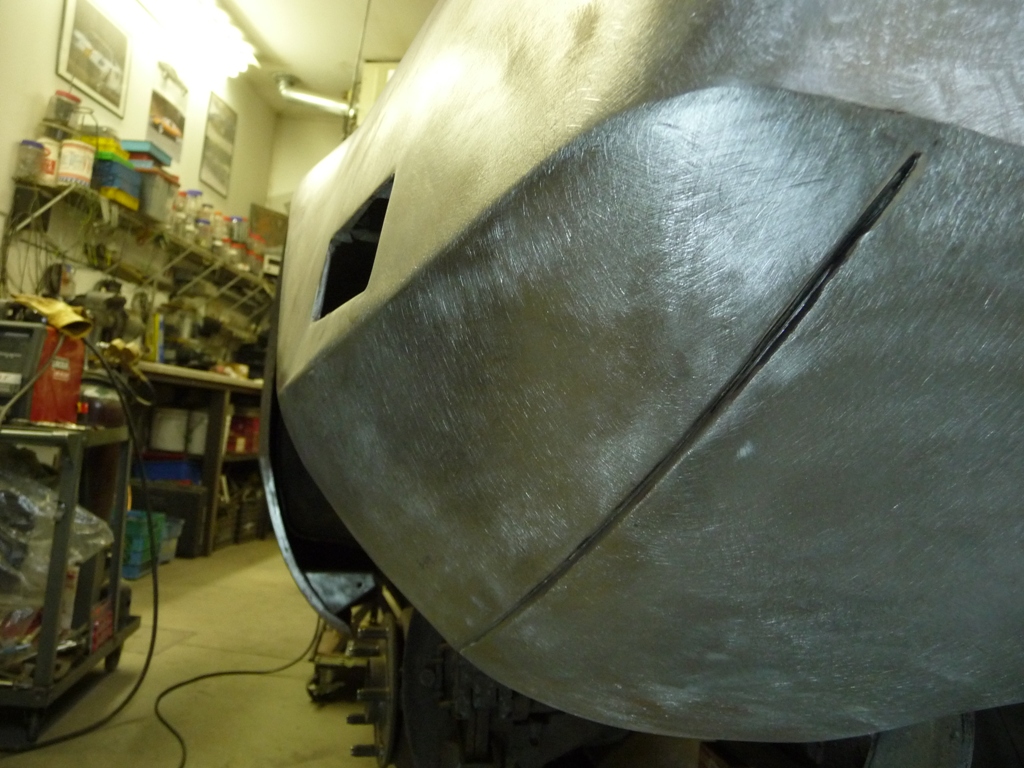
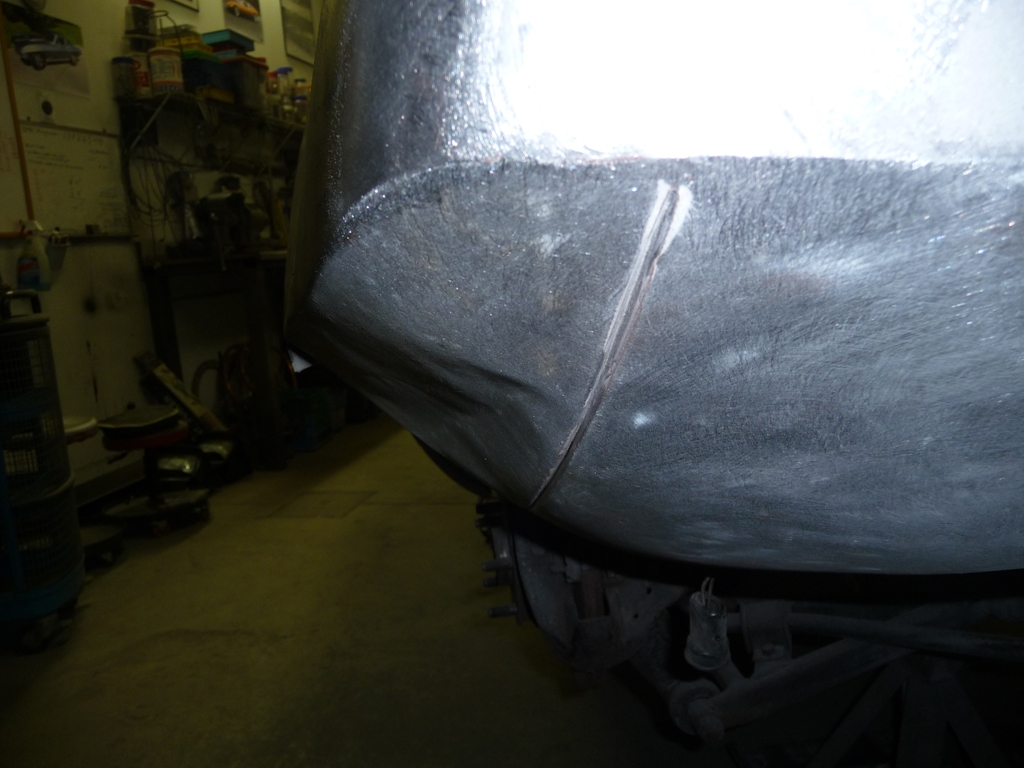
Then to the LR to address the caved in rear quarter.


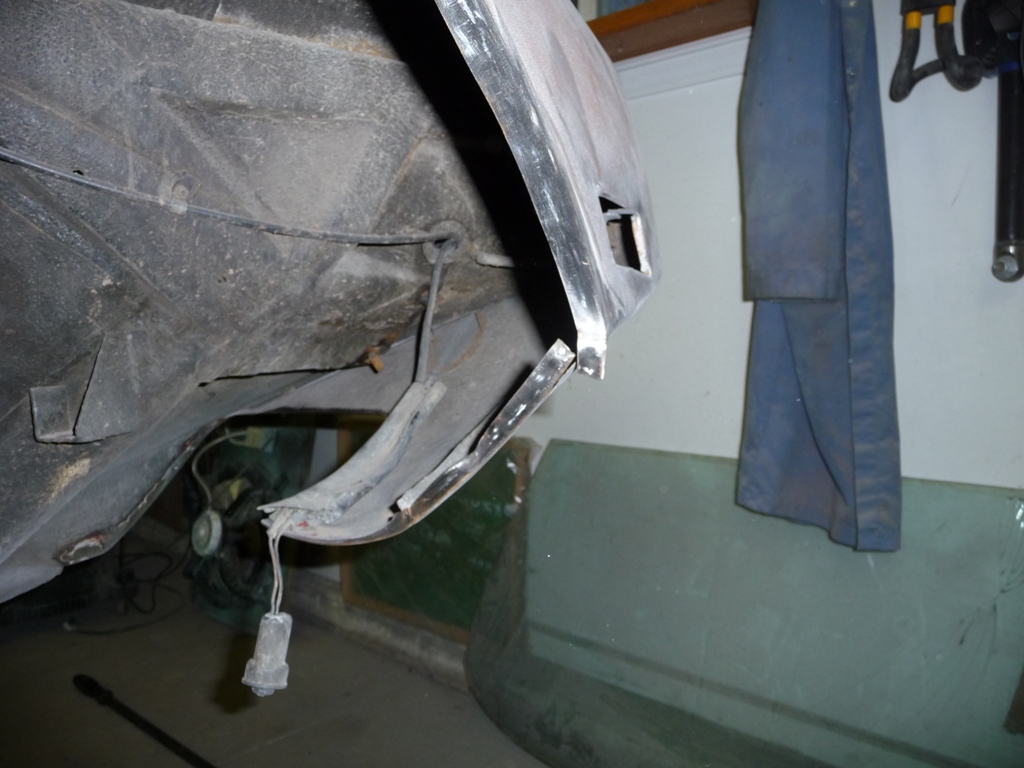
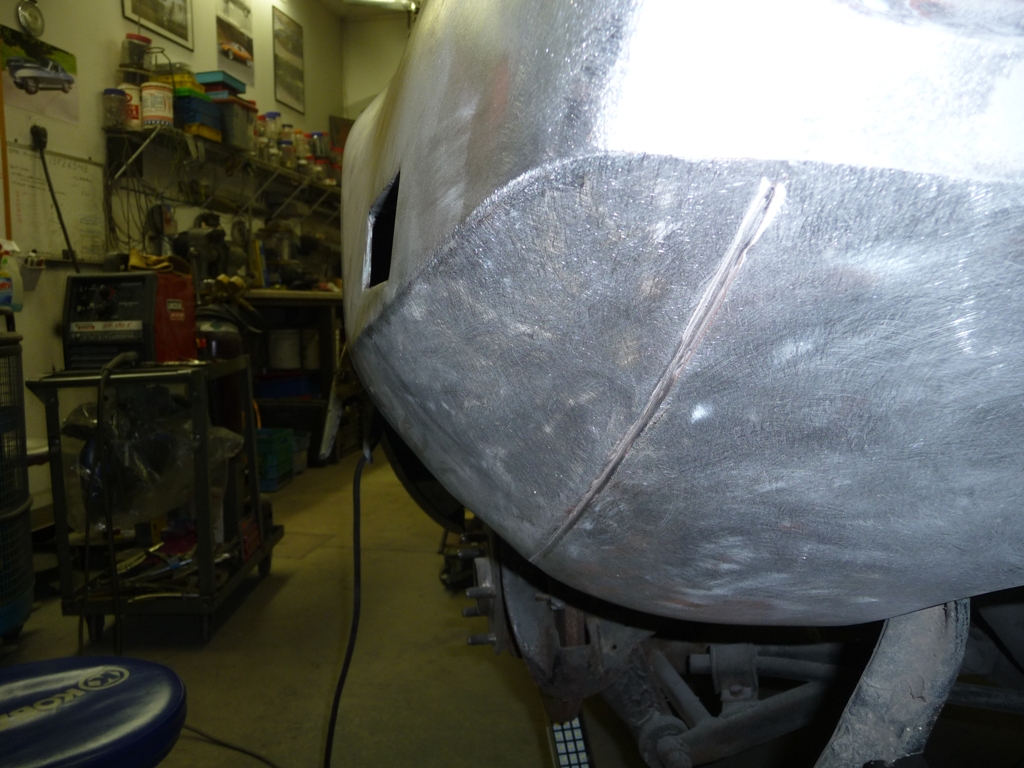
Another hour or so and I should have the LR buttoned up. I'll get on it again in the morning.
Last edited by robborruso

Add Reply

Post
×
×
×
×
Link copied to your clipboard.
×