Hey Larry. Long story, so jump to the end if you want to see what I did...
I had a new replacement master cylinder sitting in the garage for a couple years and finally had to install it in 2016 when I could no longer shift. The easy way I'm told is to remove the master without touching anything under the dash, leaving the factory master pushrod connected to the clutch pedal. Unsnap the snap ring at the master, then install the new master with the old pushrod, so no tedious adjustments to make. That was the hope!!!
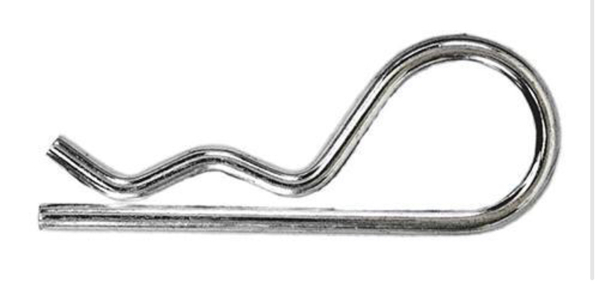
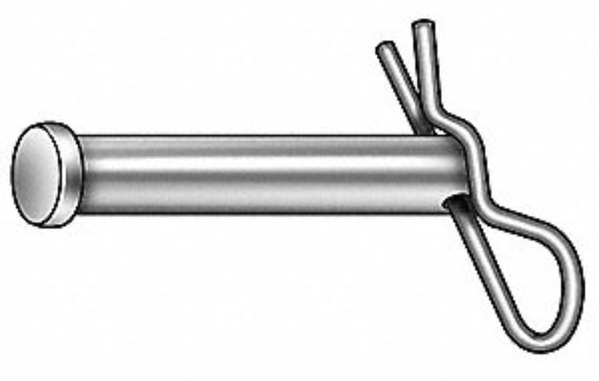
BUT... it turned out that the new master had a much smaller diameter ball at the end of it's pushrod, and consequently the receiving cup in the back of the piston was much smaller. Therefore, the original master pushrod would not seat in the replacement master cylinder's piston. This meant I had to spend HOURS on my back, wedged between the seat and the steering wheel, with no elbow room to work at all, trying to remove an impossible to access micro snap ring from the original master pushrod clevis pin, way up under the dash... After several days of attempts and lots of swearing, I was facing the possibility of removing the entire pedal assembly in order to access the damn snap ring.
But then, by some MIRACLE, I managed to remove the darned snap ring. Upon removal I found that the clevis pin was seized to the clutch arm, so I could not free the clevis to remove the master cylinder pushrod. Did I mention there is NO ROOM up there to swing a hammer or screwdriver or anything to pound that darn thing out?! Many more attempts to pry it with all manner of screwdrivers, pry bars and whatever else I could concoct, as well as more stiff back and neck, and more swearing.
I finally went to Home Depot and bought a pair of needle nose vice grips... After many attempts I finally managed to get them clamped onto the sliver of the clevis pin that protruded past the clutch pedal arm, and began to wiggle it. Wiggle, wiggle, wiggle, all the day long... MOVEMENT!!! Hallelujah!!! Ever so slight, but movement! Wiggle, wiggle, wiggle (did I mention there is NO ROOM up under the dash in this area?!), wiggle, wiggle, wiggle... Wiggle, wiggle, wiggle... This goes on for a L O O O O N G T I M E . . . . . . . . . . .
I FINALLY got the darn clevis pin out! Hooray! Victory! But wait!!! The original clutch master pushrod was an inch longer than the new clutch master cylinder's push rod. WHAT?! Then I made a trip to Orchard Supply Hardware and bought all manner of metric thread couplers, studs, bolts, and nuts... $30 of hardware in all to come up with a solution! And I did! I un-threaded the clevis from the pushrod, threaded a coupler nut onto the rod, then threaded on a metric stud of the appropriate length secured with some locknuts, then threaded on the clevis and adjusted it so the centerline of the hole was the exact same distance from the mounting flange of the master cylinder as the original master cylinder. Looking good! All that remained was to reinstall it!
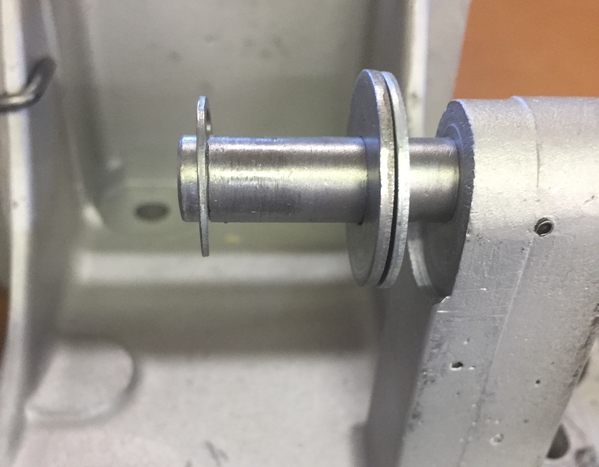
Did I mention the bolts that secure the master cylinder to the trunk wall are inserted from the interior and stick through the wall like studs, but they're not anchored or secured to anything and like to fall out into impossible to access places? Well, they do when you try to reinstall the master cylinder by yourself.
Ok, so I got the master cylinder in, but THIS TIME I did NOT install the stupid clevis pin with the impossible to access micro snap ring. Instead, I bought a hardened metric bolt and Nylock nut to put through the clevis pin. NOW it's serviceable!!! And hopefully up to the task! It's been 3 years so far with no problems!