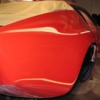
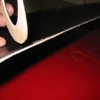
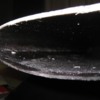
A close-up of the new quarter panel sanded and buffed---no glazing at this point so there are still swirls in the finish.
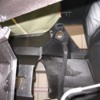
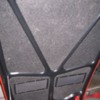
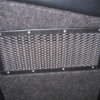
Next step was to re-finish the undercarriage with paintable undercoat and black semi black epoxy. This view show a bit of the passenger rebuild and the inside of the repaired left quarter panel in the gas-tank area. I was a chore to blend the textures that remained on the car into the smother new fabricated wheel well materials in an effort to make them match and not appear to have been re-done. I often had to make the undercoat rougher than the equipment would spray the material by using a dabber brush for applying wall paper glue---what a mess but it worked quite well. Kida like antiquing the underside---happens naturally with age but that's another issue.
Attachments
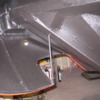
Here is a detail we do on all of the Pantera's quarter panels. The rod in the picture stabilizes the lower panel at the exhaust opening and helps protect the taillight panel corners from cracking do to vibration---a simple but effective fix.
Attachments
Fantastic work and dedication to quality Kirk.
As the southern evangelist might say, "brothers and sisters I feel your pain".
I had quite a misplaced youth myself. I worked hard on as much stuff as I could missing virtually ALL of the sex, drugs and rock & roll of the times. Now I know too much and no one will give me work because they think I deserve to work only for top dollar! That makes me unimployable now.
Maybe the Devil is right? Anyone know a hot looking drunken rock n'roll slut? This is too much work for me for bottom dollar?
I sure appreciate your work and sharing the pictures.
Now I know I can send the car to you when they bring it to me and want it fixed and it looks impossible to do at any price.
Posted my thank you to Wayne on the wrong header---sorry for pulling his old thread up. I am showing my lack of computer suaveness along side the obvious poor typing and proof reading skills after reading some of my own posting. I'll try proofing a bit closer.
The wing project was interesting. The original wing was so poorly constructed and already had multiple repairs that were poorly done, I decided to build him a new one.
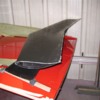
This is an exact replica of the original shape including the trailing edge which is always much thicker on every alternative wing available. The AmeriSport replica is much lighter than the original unit, uses composite end caps that are the correct shape and thickness, and is manufactured in one piece rather than bonded dry which add weight and make the wing much weaker. The picture shows the freshly mounted center section less end caps.
Attachments
Here's a shot of the un-finished trailing edge with 1/8 tape on it and in the hand. The edge was actually thinner that the tape and matched the folded aluminum original exact. It was difficult to find a way to produce an edge this thin with the necessary strength needed to hold up but we found a solution.
Attachments
Quit showing off, would you?

Just kidding - keep the pictures coming.. This is very amazing stuff, and an encouragement to everyone.
Rocky
Just kidding - keep the pictures coming.. This is very amazing stuff, and an encouragement to everyone.
Rocky
How do you rust proof inside of the channels that you had to make and weld into place? Shouldn't those have been pre-coated with something? Maybe galvanized?
Bloody hell! Amazing work Kirk. I Love the fixture too. Thanks for sharing, I know it takes ages sorting through all the pictures and adding words but it's always worth it.
Johnny
Johnny
quote:Originally posted by PanteraDoug:
How do you rust proof inside of the channels that you had to make and weld into place? Shouldn't those have been pre-coated with something? Maybe galvanized?
Most of the pre-made fitted parts that were plug welded were first internally coated. When we do a full body reconstruction car, I have them E-coated when possible. Besides these option, I've made several different internal spray tips on flex hoses that spray 360 degrees. Also all of the seams are sealed from the outside before undercoating, painting, or texturing. If you looked at the wheel-well leg rebuild shots, you can see the pre-coated internal areas and box sections are removed, the car is positioned up-side-down to spray inside the opened cavities if the access is large enough. I have used galvanized in the past but the zinc make the welds difficult unless your running very precise spot-welding equipment. Hope this helps enplane the protection questions. I do not have pictures of the process but next time we internally seal, I'll get some shots to show everyone. Thanks for the questions---they help with getting better info for all to utilize if a similar situation come up on other cars under restoration.
quote:Originally posted by Johnny Woods:
Bloody hell! Amazing work Kirk. I Love the fixture too. Thanks for sharing, I know it takes ages sorting through all the pictures and adding words but it's always worth it.
Johnny
Thanks Johnny---miss you my friend---we need to get together. What are you working on now? To dam bad we are not closer---I would dearly love to build something with you. Please
stay in touch---let's talk this Spring.
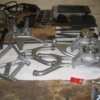
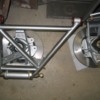
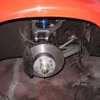
Moving on the customer decided to have the suspension freshened up so we did the gray Imron finish and replaced or re-plated all of the hardware. Here's a shot of some finished suspension parts before assembly.
Attachments
Add Reply
Sign In To Reply


