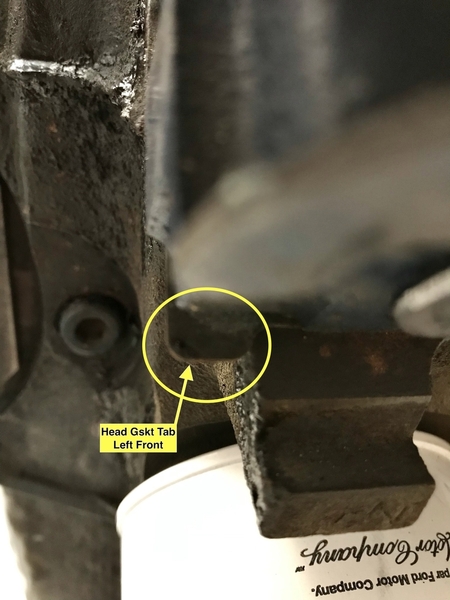
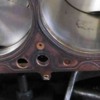
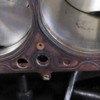
10 days into ownership and trying to track down constant radiator cap leaking. Two new caps and still leaking. After shutting the car down I get gurgling noises and the upper heater hose moves around on its own.
Doing research it sounds like the head gasket might be in backwards. Assuming it is, can you pull the heads with the engine in the car? That doesn't sound like fun but neither does pulling the engine.

The engine was built 900 miles ago by a local old timer engine builder who has had experience with Clevelands.

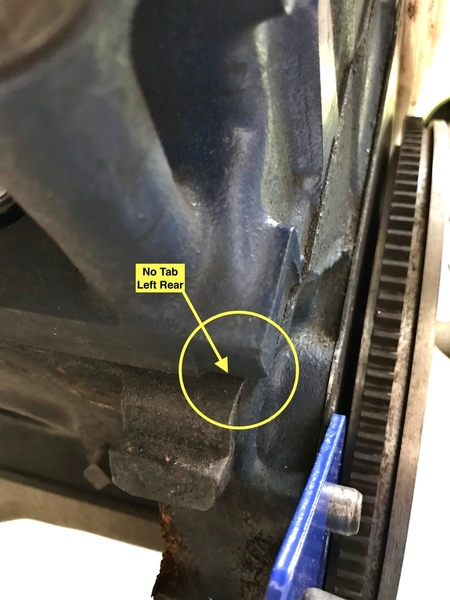
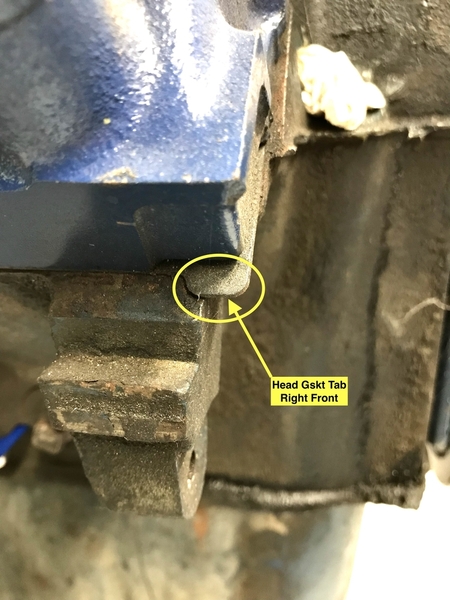
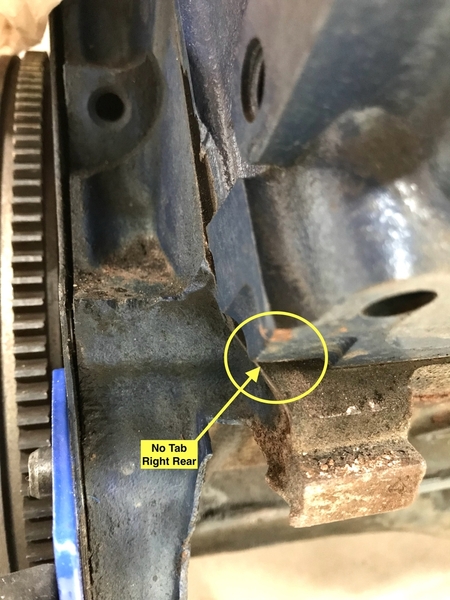
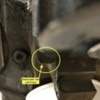
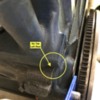
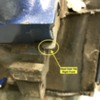
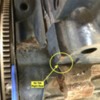
I can't see a sharp corner on the right side lower but I do on the left side. Back of the engine both gaskets look identical.

Any other troubleshooting steps to confirm?

Thanks.

-John

Original Post

Replies sorted oldest to newest

Incorrectly installed Cleveland gaskets, or even worse, Windsor gaskets on a Cleveland, are a real issue and could likely be the cause of your boiling and gurgling

yes, you can remove the iron heads with the engine  still in the car. I have done it alone when I was younger. Much easier if you have a helping hand. Lay out a lot of towels and blankets for positioning and moving until you can lift it out of the engine bay. I understand if the heads are mounted on studs rather than with bolts it is more difficult but I still believe it can be done.

an infrared temperature gun from Harbor freight or similar might help with your diagnosis

good luck

Larry

If you check head temperatures in multiple locations you might find one head is vastly different than the other. That might be a clue to remove that head first to check for a gasket issue.

and yes, you can tell yourself that it is the restrictor plate and the thermostat. It may well be the thermostat, but as I mentioned earlier, it is rare for the restrictor plate to have been removed.

answer your thermostat questions before you consider actually removing either head

Larry

I wouldn’t go for any 300 mile weekend trips but the engine isn’t going to self destruct from what you are describing.

be sure to check your oil levels and your coolant levels. The smaller tank with the pressure cap should always be filled and the longer tank, the overflow tank, should not have a pressure cap and generally finds its equilibrium somewhere around 1/3 to 1/2 full.

in the past when I have removed the thermostat I will refill coolant at that point before reinstalling the thermostat. there might be some advantage to raising the front end of the car, to keep air from getting trapped in the back of the Heads, if you try that approach

make sure the bleeder at the top of your radiator is open

Larry

Last edited by lf-tp2511

First off, you need to verify that the pressure cap is sealing. 1) pressure test the cap itself 2) verify that it is the correct cap for your pressure tank 3) pressure test the system


This is a great opportunity to get a Stant pressure test kit. It's a little over $100 but is really essential to a car like a Pantera.

IT IS common for issues with a mismatched pressure cap and the pressure cap. The tank itself is a European design on the neck and does not use a US style cap.

Also, when you use the pressure kit, you will HEAR the air pockets being pumped out of the system. Sounds of gurgling are sure signs of air pockets.

Without pressurizing the system manually, you virtually need to stand the car on it's nose to get the air out.


The head gaskets are marked "front" on them. Since they are both the same, that means one needs to be turned upside down with the marking towards the block.

Yes you can pull the heads with the engine in the car but to work on the engine you will need to remove the decklid and climb into the engine compartment.

If you use head studs on the engine, that's another issue all together and likely not be able to get the heads off with them in place.

You do not want head studs on an Pantera engine.

Here is a pic of a different brand of head gasket.  Note that the head gasket has a square corner (turquoise arrow) rather than a tab as is shown in my post above.

Also note the water passages (red arrows).  The large water passage installs to the rear of the block.  While it is not obvious in the pic, this gasket was installed incorrectly.  

John

Sq Corner

Attachments

Images (1)
  • Sq Corner

I'm not sure that you can tell much from the tabs showing on the head gaskets assembled?

There are variations from manufacturer to manufacturer and it could be that you have two different brands of gaskets from left to right.


An interesting side story about head gaskets: I sold an engine to someone that drove cross country from NY to LA.

I had freshened the heads so it had new Felpro head gaskets on it.


Typical story of the "car running hot" syndrom, the guy calls me from LA and says "the car was running hot so I had a mechanic tell me the head gaskets were blown".

"I took it to a mechanic and he said one of the head gaskets were installed backwards". I said "but the things are marked front". He says, "I know, but the mechanic says one is upside down".

It kind of leaves you speechless doesn't it?


Apparently the guy didn't get it about the 230° Veglia temp gauges looking like they are pegged either?

YOU do know about the gauges....RIGHT?

Here's a pic of a Cometic Cleveland head gasket.  Note the angled corner marked with the yellow circle and arrow.  That should be at the rear of the engine.  In your pic of your engine's right front corner, it appears that the angled corner of the head gasket is to the front of the engine.  Just my observation.

John

Angled Corner

Attachments

Images (1)
  • Angled Corner

A little update. RPM went through the head and found no issues. They gave it a very light surfacing and I was ready to install it.
The builder used a rocker arm conversion kit:
https://www.summitracing.com/parts/crn-52655-16

which adapts the stock 5/16 stud to 7/16 for the new roller rockers. The consensus is that this is kind of the wrong way to do it. They also use nylon push rod guide plates. Because of the excessive heat, a couple of them had started to crack and the others were brown (left side they were still white). No problem, I'll just order some. NOPE! Not available anywhere. I even called Crane/Comp Cams and talked to a guy who said, sorry man, discontinued and NLA.
So I weighed my options. Make some out of delrin/PTFE etc on my mill. OR, do what RPM suggested and convert the heads to a proper 7/16 stud. So that's what I'm going to do. I pulled the left head today. Will take them up on Monday and update y'all with the progress.

There are more then a few people running that kit but the key is that you run it on completely stock configuration heads.

That was the point of the kit.


Engineering wise it makes absolutely no sense to add an assembly requiring a 7/16" stud and reducing that to 5/16" for convenience sake.

Many people will eventually replace the stock camshaft with a "performance aftermarket one". They generally will require more spring pressure.

Using a 5/16", even super alloy stud, will be a complete disaster.

You won't be able to pick the time or place of the failures but they will eventually begin to snap like tall trees in a tornado.

Add Reply

Post
×
×
×
×
Link copied to your clipboard.
×