
Well thanks Mikael. I've been called many things, but never inspirational.. roll on floor
Believe me... when it's taking 4 hours to bend up a single piece, I'm questioning it.... But if I do anything less, then I wouldn't feel proud of it. For me, that seems to be the main motivator. Just how my head works...no sense getting into an argument with myself about it... hell I always get confused about which side wins anyway...

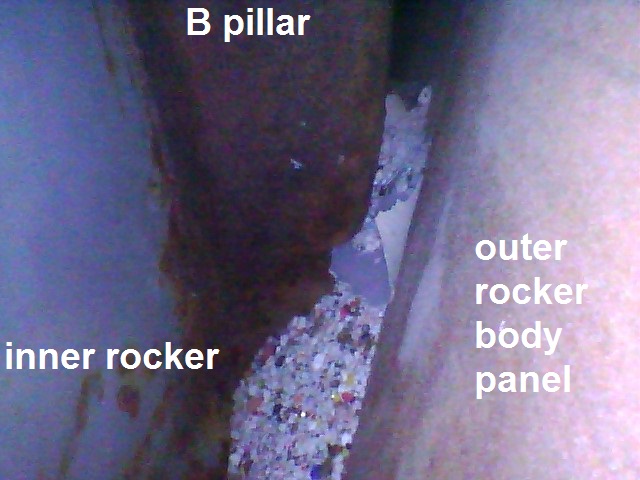
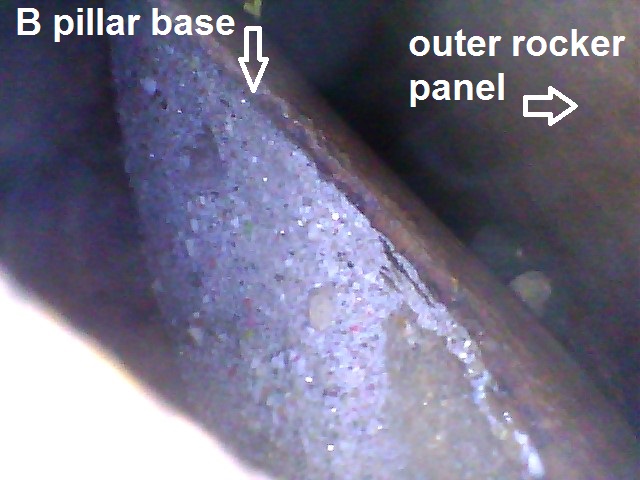
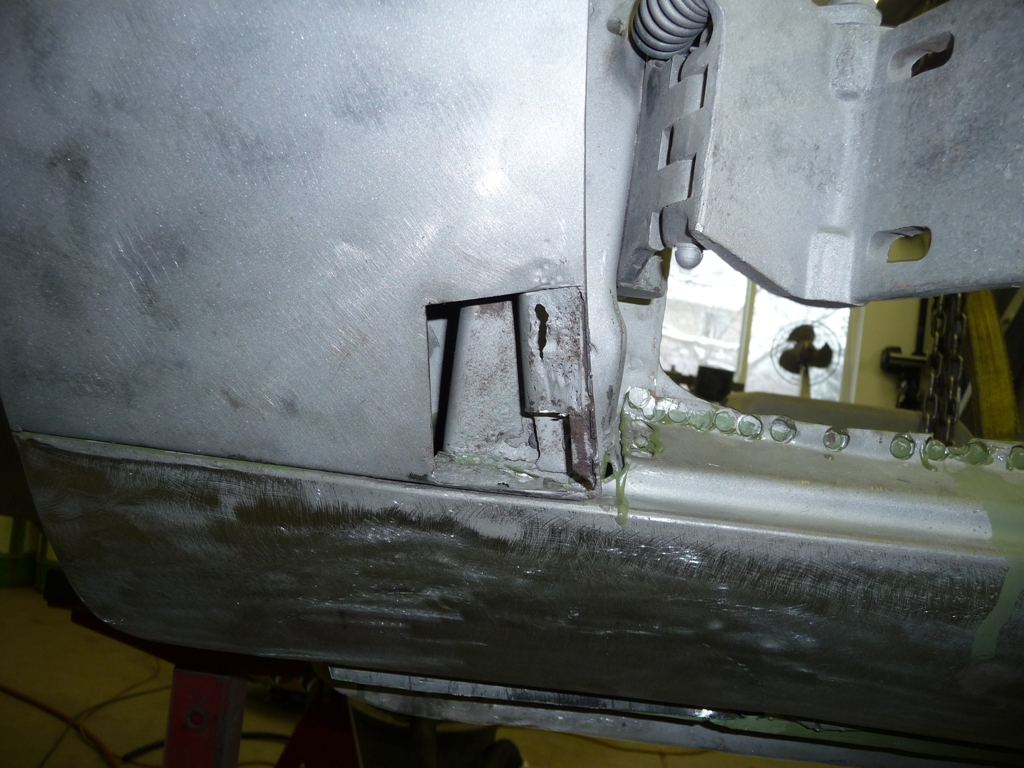
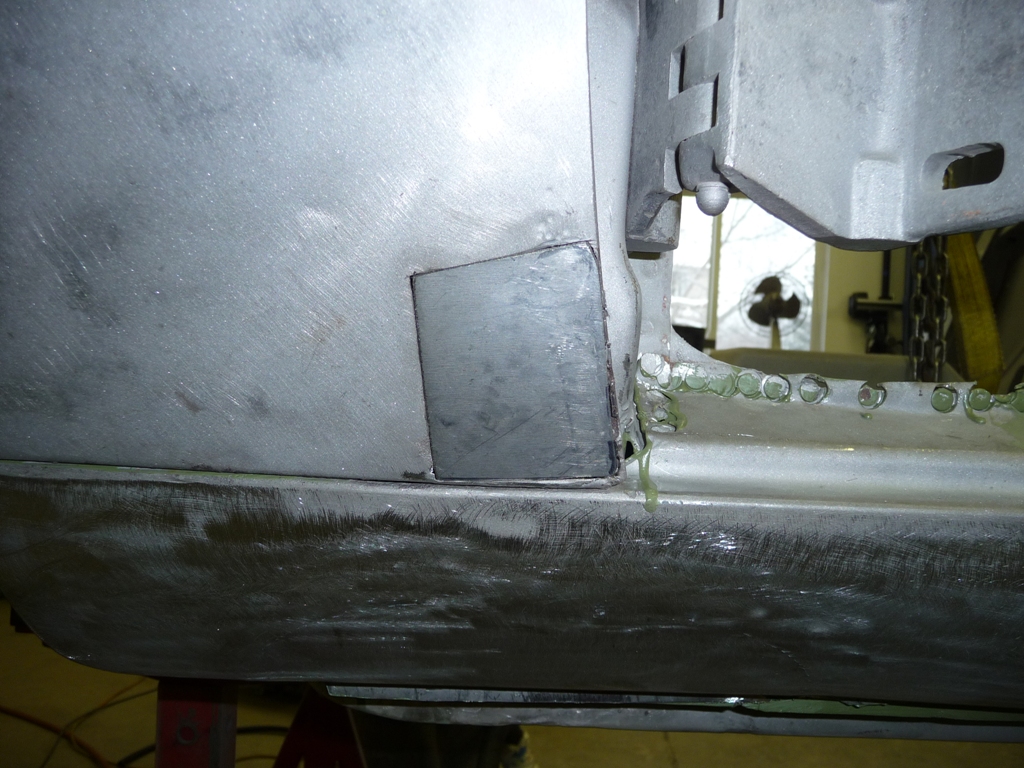
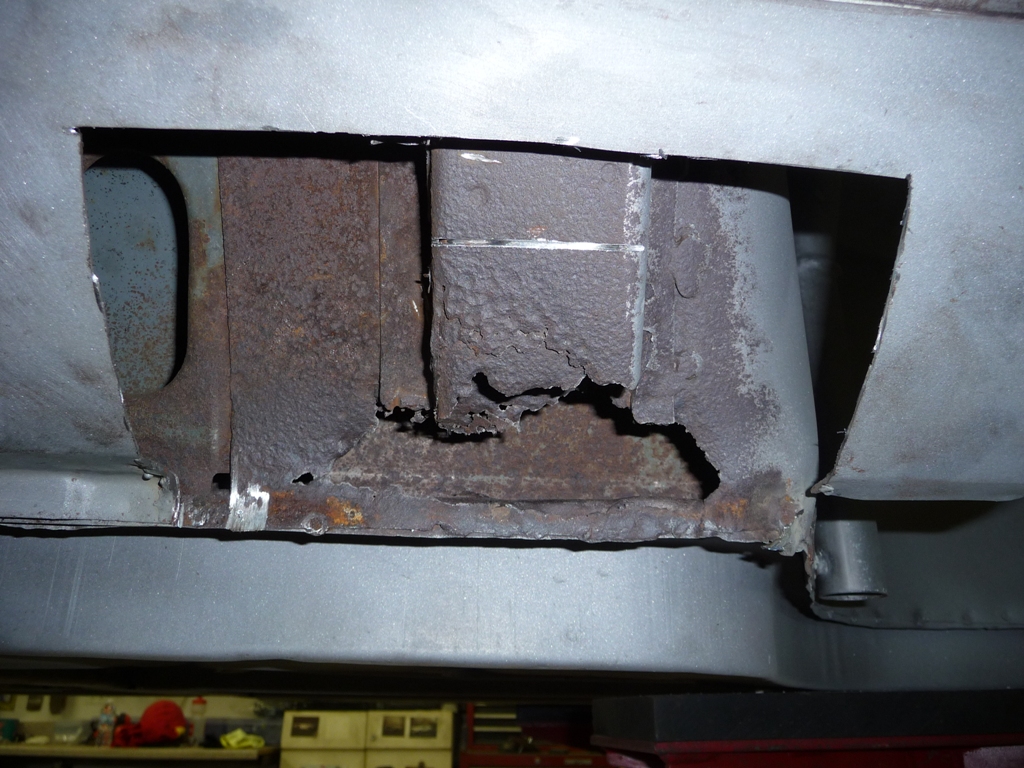
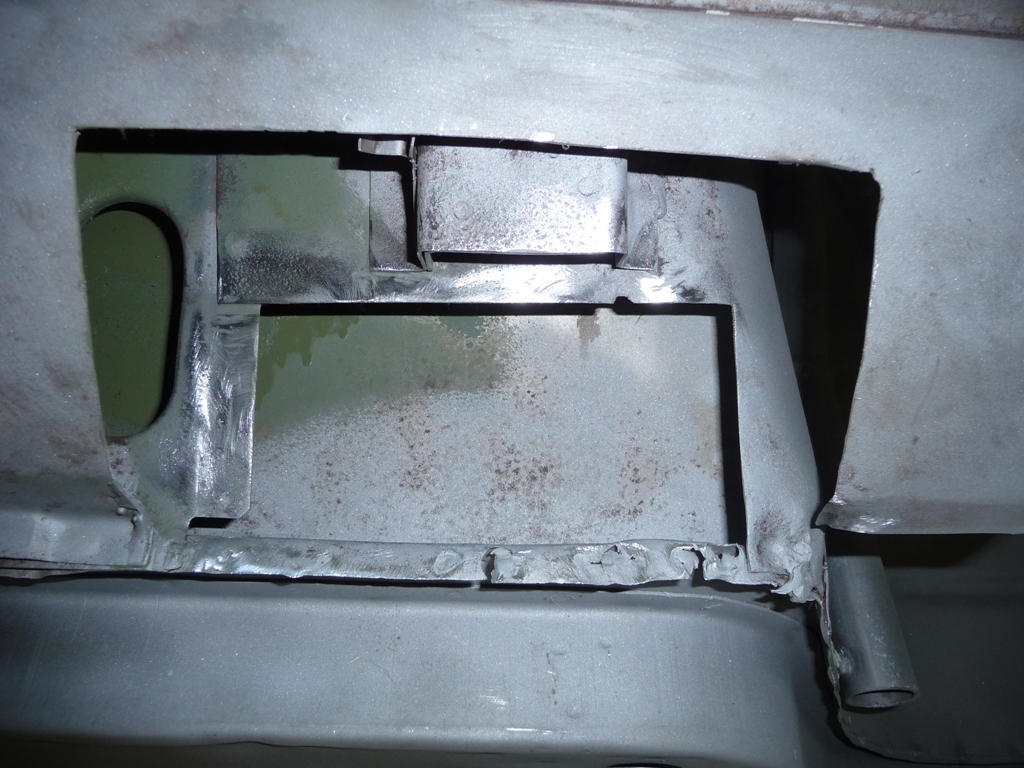
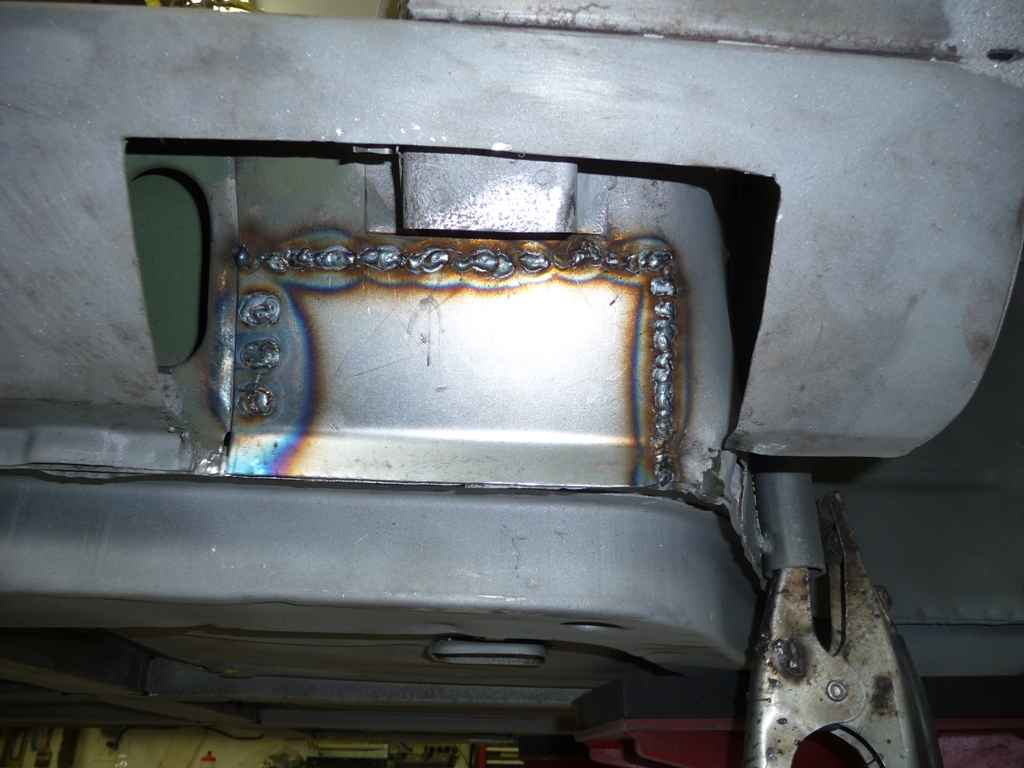
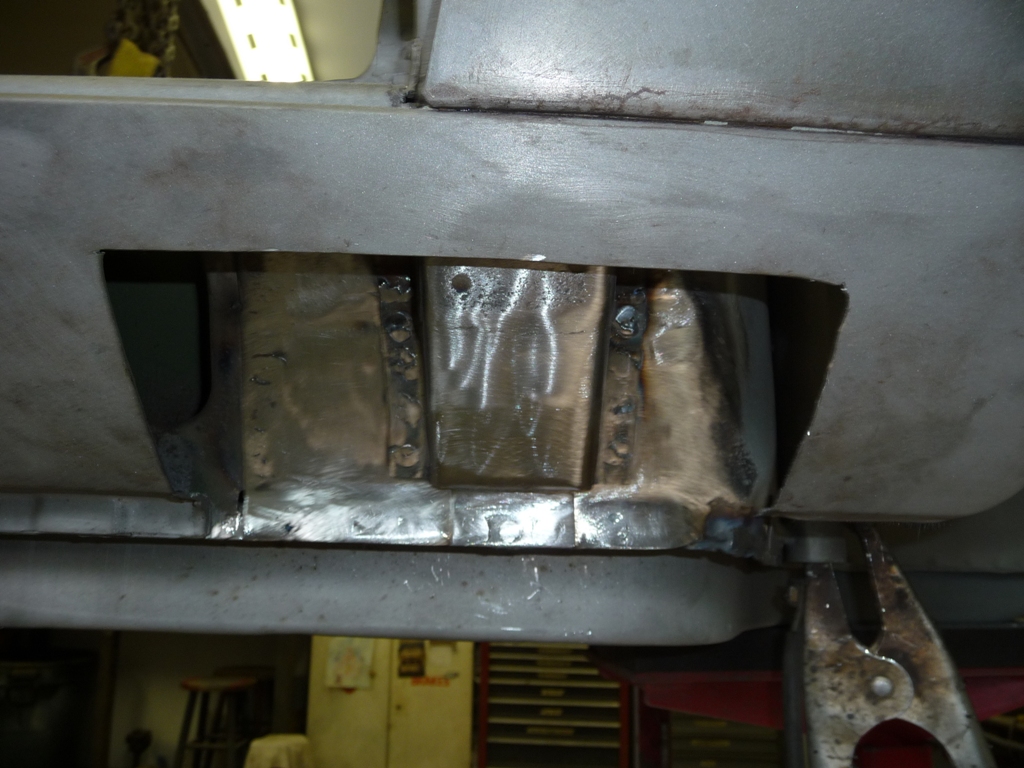
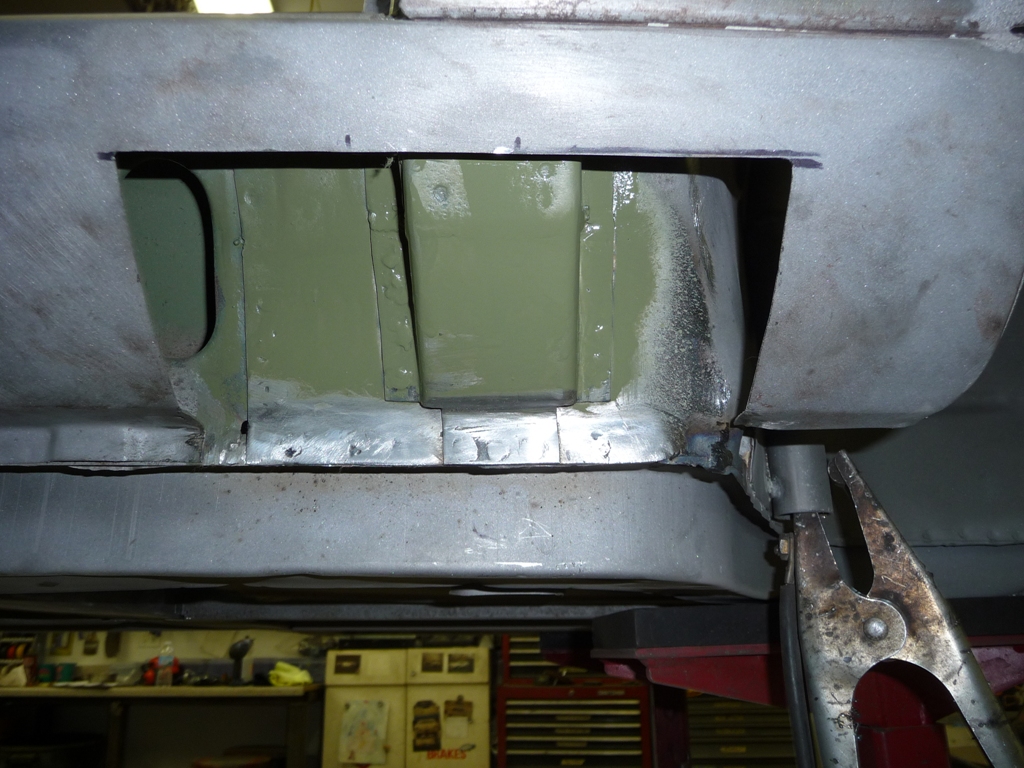
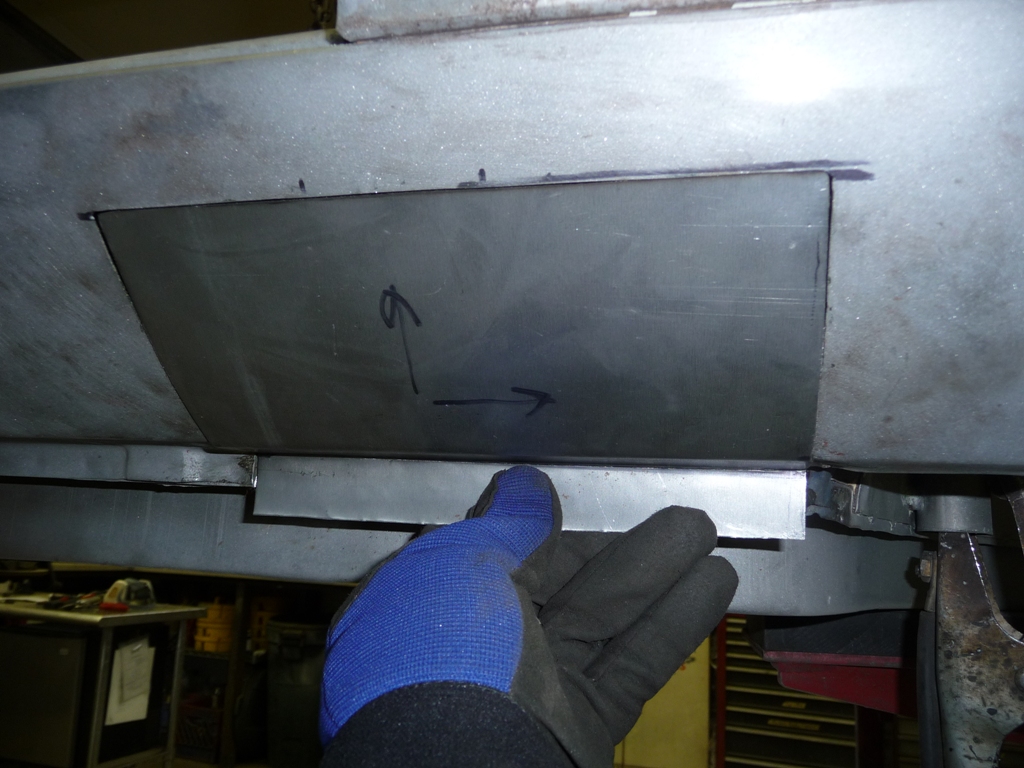
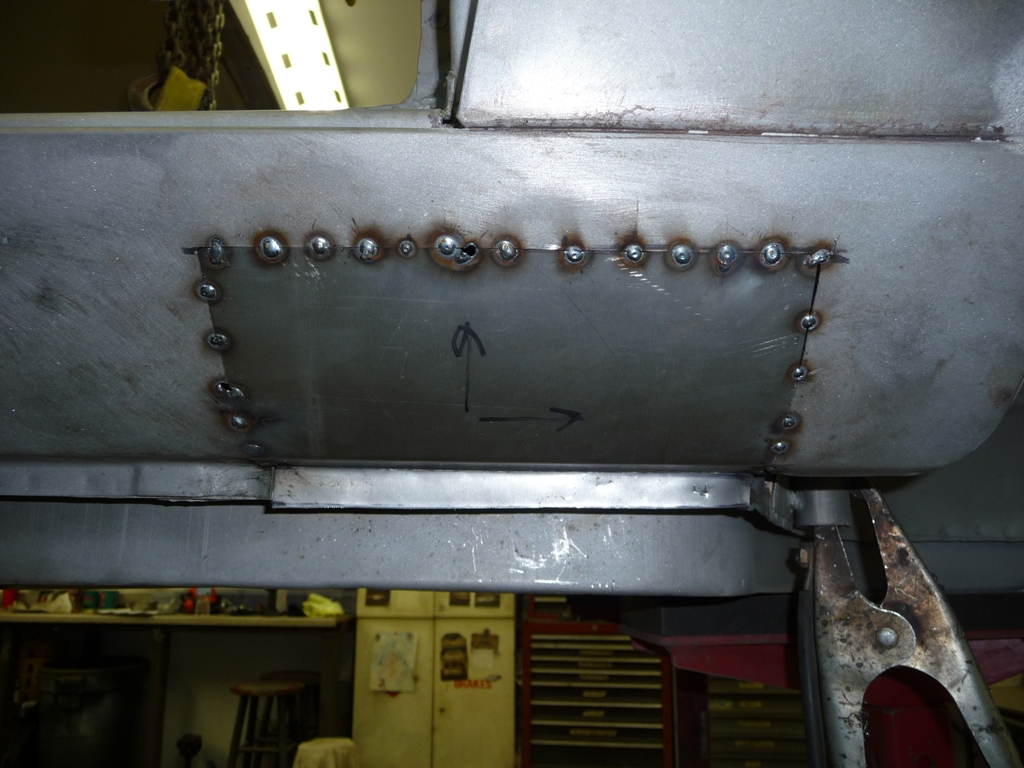
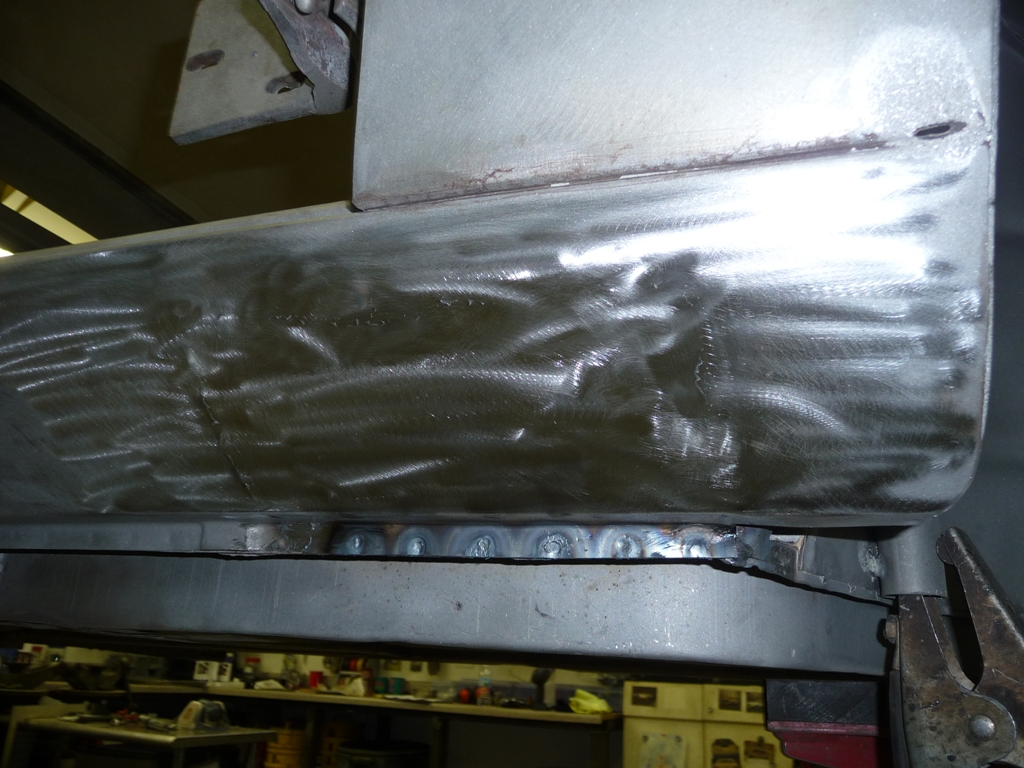
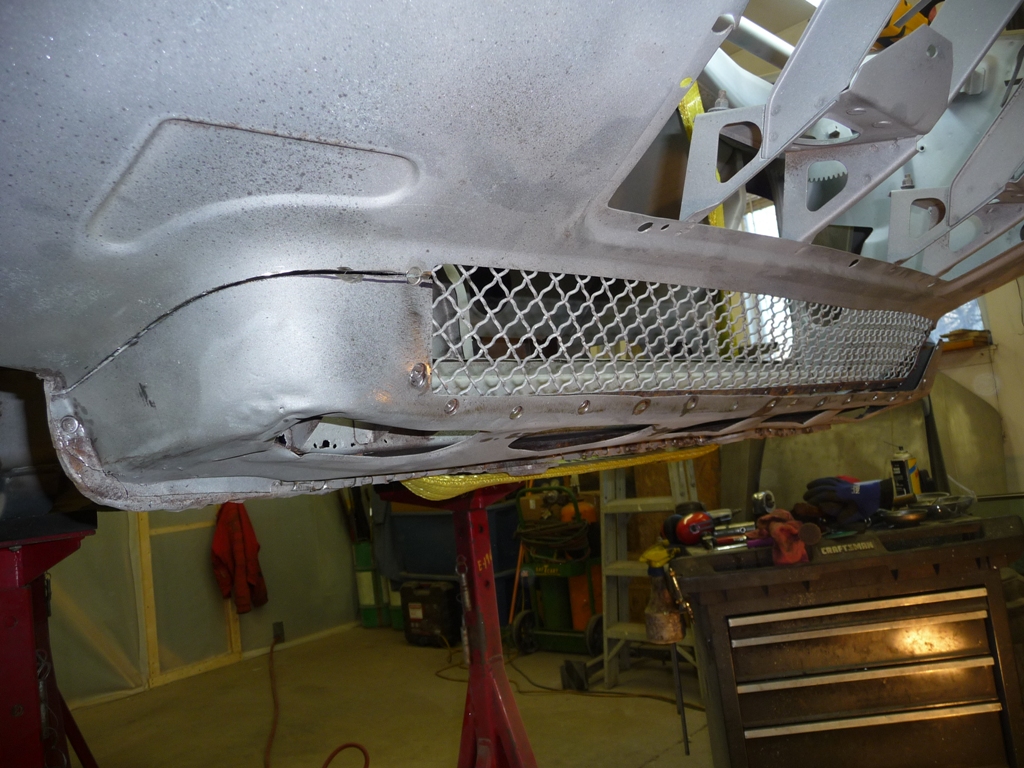
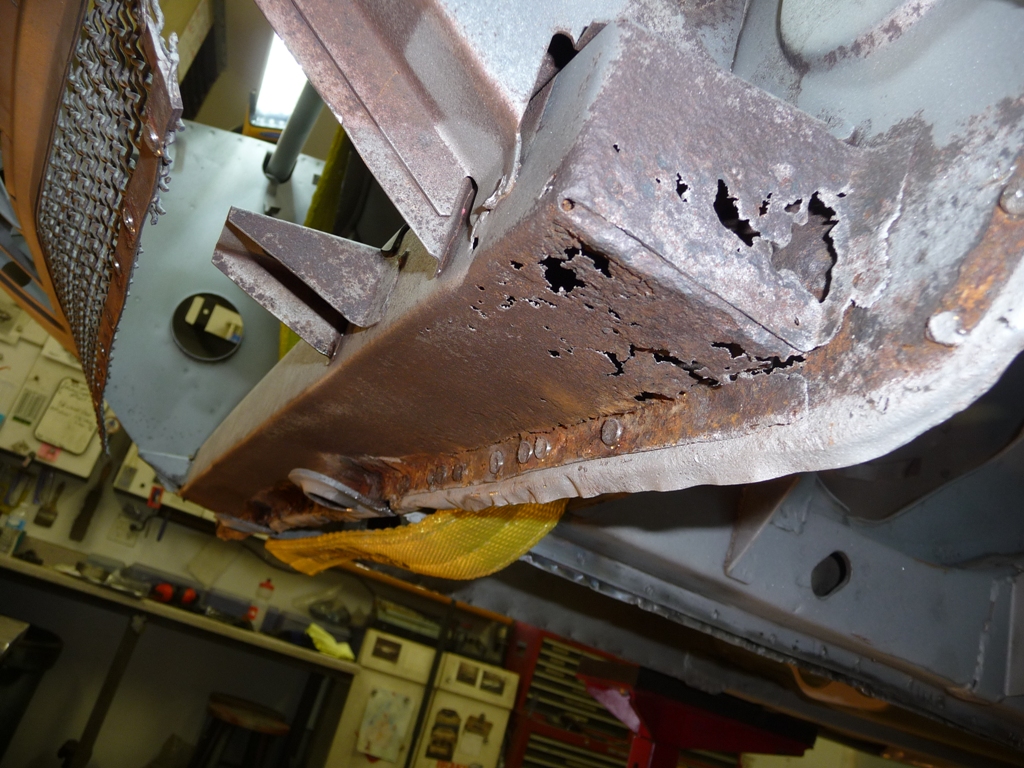
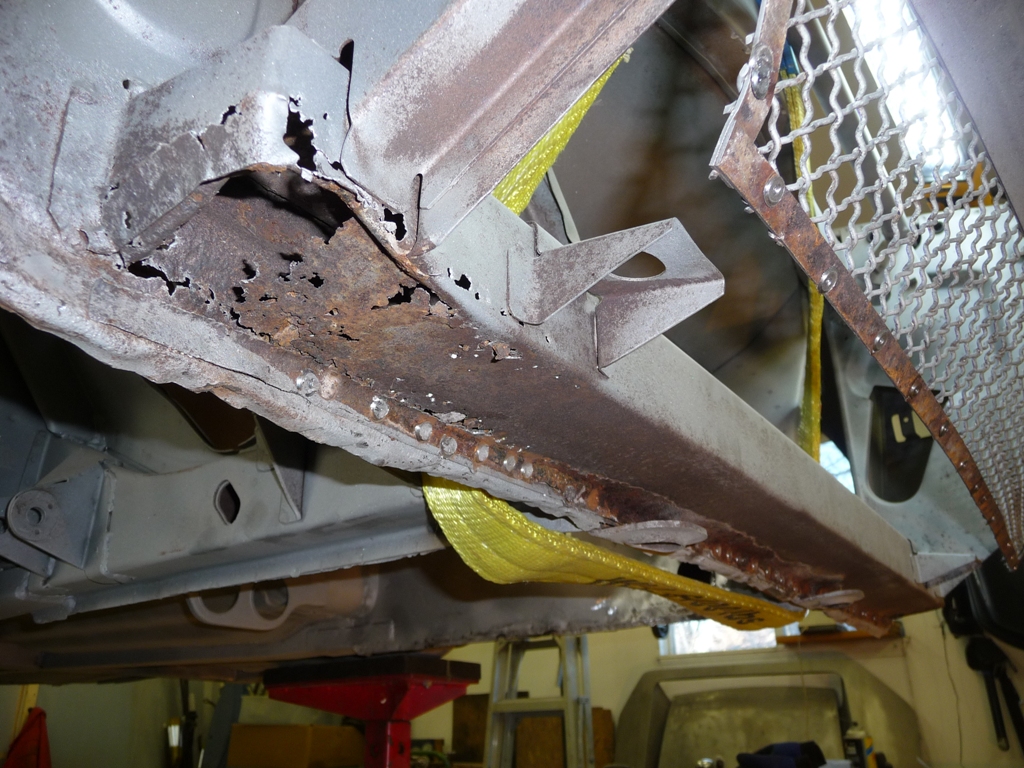
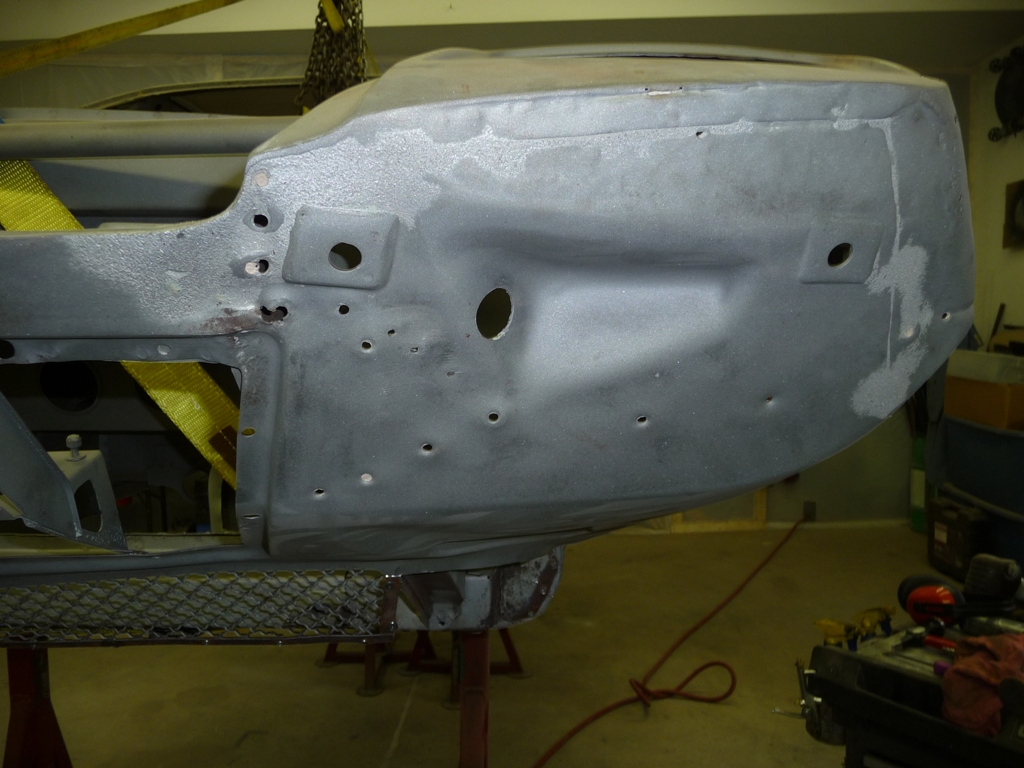
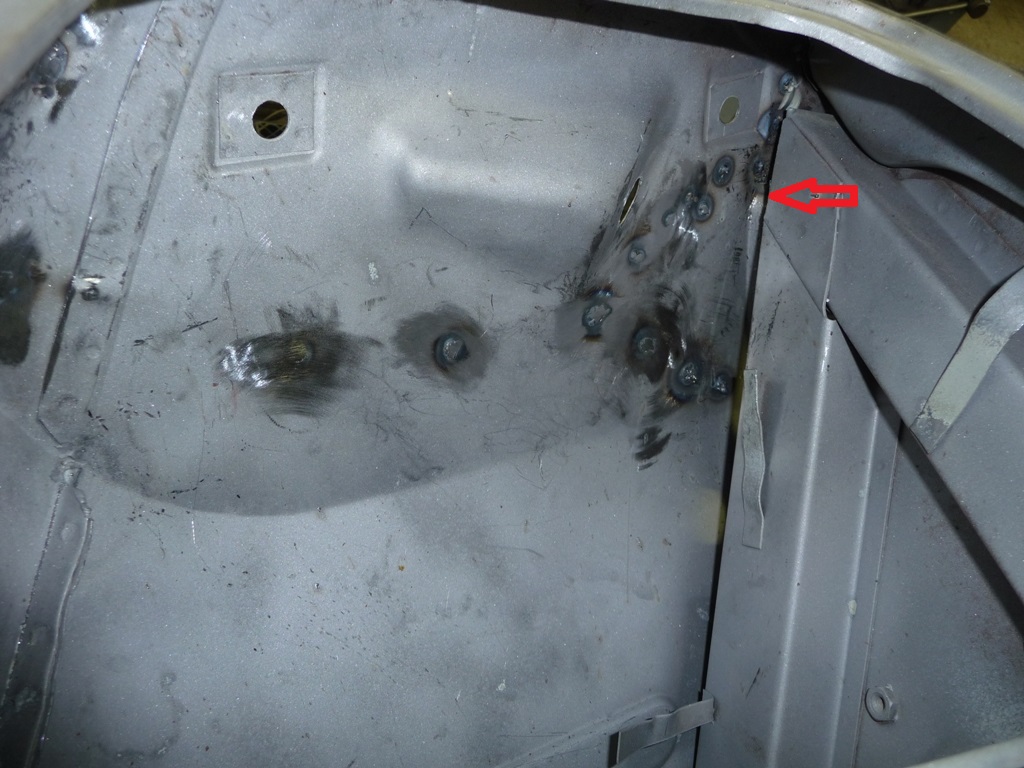
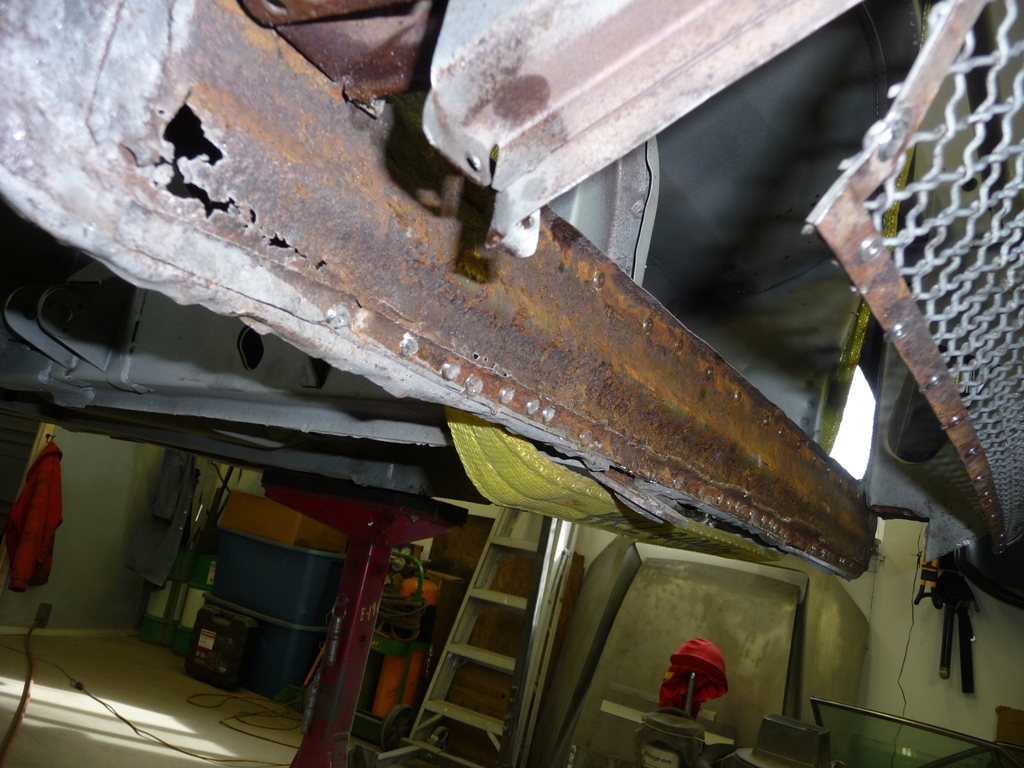
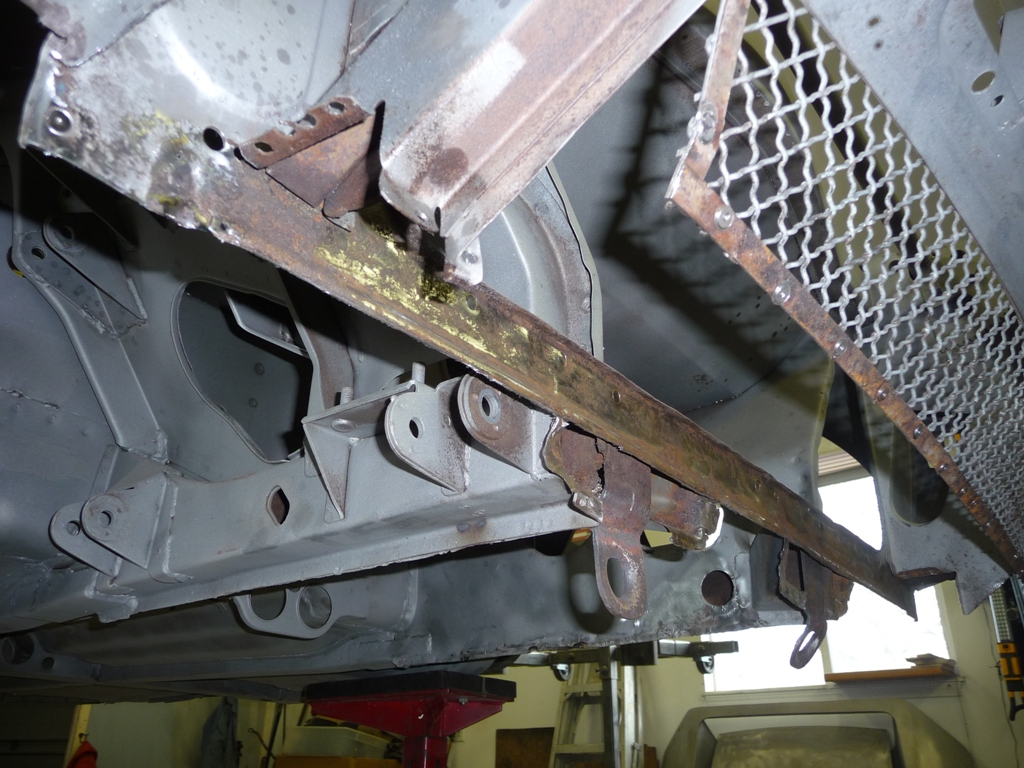
No, I have not fully welded the sections I have worked on. In fact, I am trying to replicate the approximate spot weld count from original assembly also, as I don't know what I'm gonna have to do on the other side. This leads into a theory of mine that I'll share...My theory is that the chassis is a system, like many others in the complete vehicle. The chassis components/pieces as they are assembled must work in a balanced way (symmetrically). So, if I ever make a modification to one side, I make the same modification to the other side. In this case, I have no idea what's on the other side yet. I believe this philosophy ensures the foundation of a well balanced car. That blah blah blah said, I am restoring this car to be original (expect for some bolt on goodies of course...), so have no intention of doing any seem welding. My 69 mustang on the other hand, did receive a fairly comprehensive seem welding treatment. So I'm with you regarding the performance advantages.

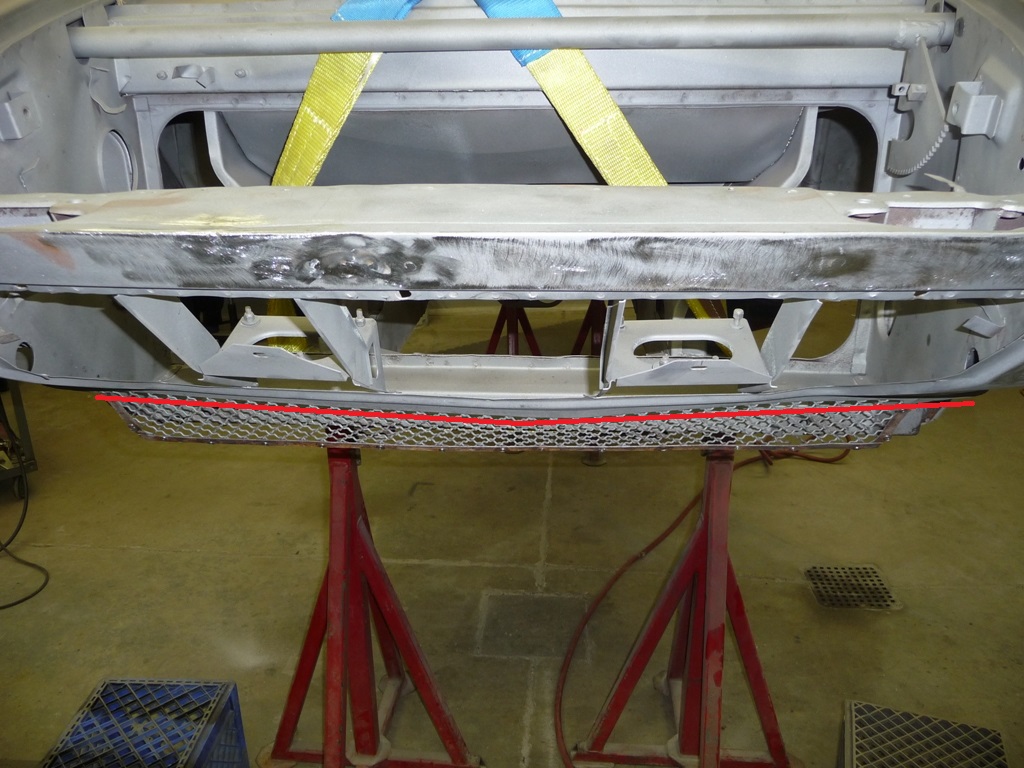
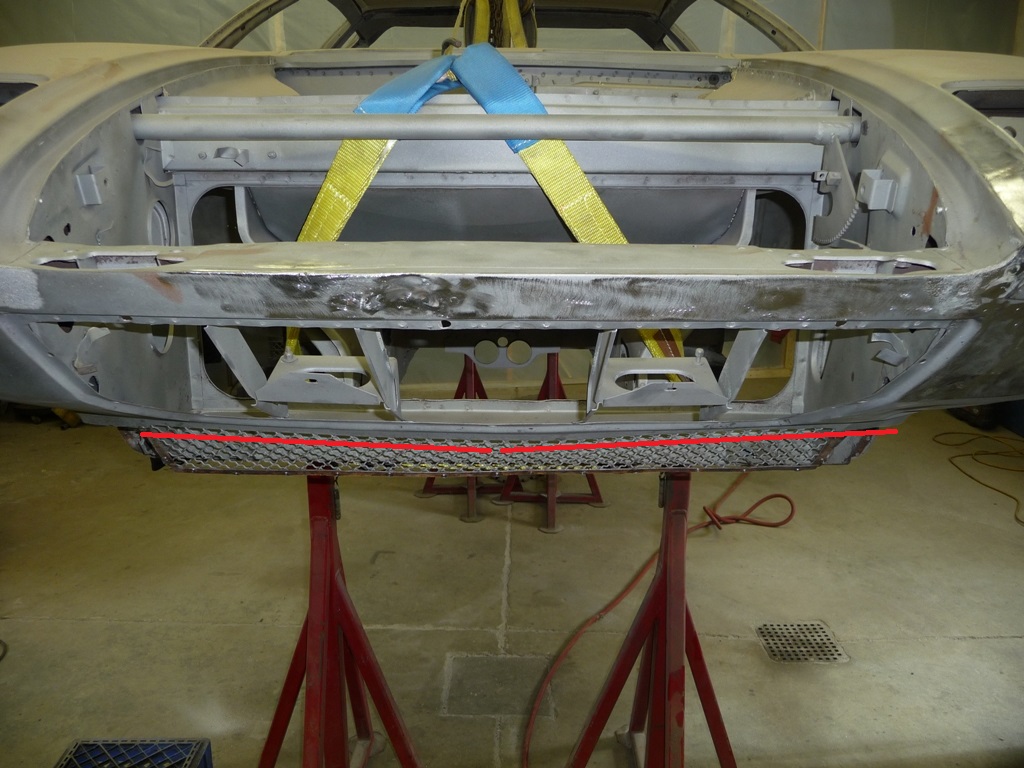
Comp2...not a bad idea..! Especially when it comes to filling the quarter panel piece I cut out. That could save some heartache later.
Those door hangers look slick. They look like real back savers. I may just have to fab some of those up. You're not gonna ask for any royalties now....are you...?
Excellent comp..I'm gonna have to fab some of those babies up.

Thanks Tom. I'm just north of Pontiac.

Thanks Rapid. Heck.....I'm faking my way through it.. Wink

OK, so didn't manage to get too much done this weekend, my back was acting up...so had to take it a little easy...

Decided to use a flexible shaft bore scope and inspect the passenger side rocker to see if dis-assembly to work on the bottom of the B pillar would be necessary. Upon inspection, I found a whole lot more left over sand blast media than I had anticipated. So, used some different sizes of rubber tubing on the vacuum and cleaned it out. Then used an old antenna shaft to slide down in the rocker with the scope to "flick" out any left over rocks that were jammed in. It was a cool task. It was like doing arthroscopic surgery on my car. The good news...the B pillar looks fine. It will survive. It has surface rust, but I'll coat it with the frame coating and it will pull through w/o surgery being needed.


inside of B pillar...before..


inside of B pillar...after.


After all cleaning, scraping..vacuuming... The upper piece is the B pillar, the lower is the out rocker skin (the camera rotated)


Then tackled the hole in the drivers front fender.


Then got started on the tedious task of welding the rocker back on. Got started...but long way from finished.
Thanks Steve.
Regarding your request.....here's how I do it. Of course this is just one guys approach /opinion....

I use this guy to cut my holes. This way I get nice clean edges. Symmetrical /squared off shapes are always easiest.


Then, as shown in many pics, I "ONLY" do tack/spot welds. This is so that you don't burn through (as much...;-) and so you don't get the panel too hot, as it can distort if it does. Then I go around filling in gaps..around and around, one spot with each pass until all gaps are filled and it's fully welded. If I see some spots that need a little extra I go back and hit them again. It's always easier to grind once, rather than grind a small area a second time.

Then, to grind, I use this guy. I only use 3M grinding discs (as shown). They are bloody expensive, but I think worth it. For each fresh repair I use a new disc. This sucks because of the cost, but it is necessary. This is because it is nice and stiff when new. With it being stiff, I can grind the high points with reducing how much the grinder runs on the body panels. I try my absolute best to only have the grinder running on the welds, as any running on the body panel thins it. This is also why I don't like going back and adding more weld later. It's really tough to grind a little spot w/o touching the surroundings.


Then I do a quick run across with this guy to give the surface a uniform texture. Really no "need" to do this, it just blends the appearance. Which is totally irrelevant since they will get a skim coat of body filler...but I just like how it looks more in the mean time... Big Grin


And that's that...not rocket science...just patience and care/attention. Hope this helped and answered your questions adequately. Rob
Rob, thanks for posting all the great info....all of a sudden after seeing the pictures of your work and reading the tutorials it's not that daunting of a task to tackle some of the common problems we all seem to have. Do you buy any special metals when replacing rocker panels or doing body repair? Just curious if any special metal works better?
quote:
Then, to grind, I use this guy. I only use 3M grinding discs (as shown). They are bloody expensive, but I think worth it.

Rob, if I may make a suggestion, just like the 3M grinding discs work great, so do the 3M green cutoff wheels. I use nothing else but those. More expensive, but worth it. Please give them a try and tell me how they compare to the Chicago ones. Thanks.
Rob, thanks for the very detailed description of the restoration process. I am about to start restoring my # 1685 and see what you find under the paint, gave me panic. (considering my Pantera is older and the base looks worse than what you had from the start) My idea is to make a sandblasting and correct whatever is necessary. I have some doubts: some of the blogs recommend do not remove the windshield. As I see in your photos, you don't remove the side windows, why? What do you recommend?
Please follow posting, for me will be an insuperable guide. thanks

Attachments

Images (1)
  • 1685
Hi guys,
My pleasure...

Tom, no special metals. I match the gauge of the metal, but that's it. Only plain untreated steel though.

Firstpantera, yes..I can't disagree. Didn't mean to imply I had a preference with the wheels. I should probably have flipped it over so no brand showed. I find the 3M last longer, however Harbor Freight carries these Chicago ones in a really thin width, so the cut line is narrow and clean. I do like that aspect. Haven't found the 3M in such a narrow thickness. But again...I'm a big 3M fan when it comes to abrasives.

Banzai, One word of caution with sand blasting, it can warp your panels. I had my body panels chemically stripped first, then lightly blasted with plastic media. The rest of it was only media blasted. I would remove the windshield and the side glass. I only left mine in because I ran out of time to get them out before my scheduled date/time at the media blaster.

Ciao, Rob
When I stripped our '72L to bare metal, I used Aircraft Stripper (sold in a gallon can). And I only chemically stripped to within 1" of all edges. Reason was, the chemical stripper can creep around corners and under panel overlaps. Then weeks or months later, after a repaint it bleeds back out.... I used a sanding disc much like was shown to remove the unstripped edges of old paint. There were three different colors in there.

Also found what looked like 'factory-bondo'; a light blue blob covered a huge oil-can dent on the front fender tops near the windshield. By legend, Panteras were shipped in the holds of freighters and stevedores routinely WALKED on the cars to get to the other side of the hold. The distributors in CA fixed things as fast & cheaply as possible so the brand new cars could be sold. Aircraft Stripper slowly removed the filler-blob, and a really hard punch with my fist popped the dent up into its original position with no filler at all needed. My knuckles healed up in a few days.

I was told by a pro that much the same thing happens with wholesale sandblasting of cars. If you escape panel-warping, the residual dust from blasting NEVER completely comes out of the nooks and crannies during cleaning. But some will come out during subsequent spray-painting and screw things up.
All good points Bosswrench!
I'm currently trying to figure out a way to vibrate the chassis to shake out the sand. I need a paint shaker or something to mount to it....

Here's this weekend's progress...

Tackled the passenger side "A" pillar and rocker repair.


Designed in drainage...I like this one better than the others from the driver's side...


Gave a squirt of the frame coating before closing it up.


Disassembled the front valence...found some more ugliness to take care of... Frowner


Time to call Johnny... Big Grin
Hi guys,
OK, so here's what I got done this past weekend.
Started with straightening the left front corner, which had a mild cave in at some point in it's life. It was surprisingly difficult to take pics that showed the benefit of 4 hours of hammering Big Grin


Then, I straightened the grill section. Added red lines for reference.


Then I tackled the front cross member...man that was ugliness.


To address the rust in the radiator support behind the cross member, I decided to cut the bottom half off and rebuild it.


Now I just need to get my parts from Johnny at Woods Automotive, so I can start gluing it all back together again.
Last edited by robborruso
Hi K, Thanks.
Honestly, I don't want to do any modifications from OE config other than bolt-ons. So, I don't want to cut them off. The down side...they will be visible through the grill. The car did have electric fans when I got it which I will reuse (or replace if deemed necessary after closer inspection). What do you mean by air plenum though? Is there some sort of plenum that it is suggested that I fabricate?

Thanks, Rob
quote:
Originally posted by Rob Borruso: What do you mean by air plenum though? Is there some sort of plenum that it is suggested that I fabricate? Thanks, Rob


It's just a shroud (plenum) mounted on the backside of the radiator core that the two sucker fans are mounted on so air is drawn more evenly through the core. Like below.

K

Attachments

Images (1)
  • newrad2

Add Reply

Post
×
×
×
×
Link copied to your clipboard.
×