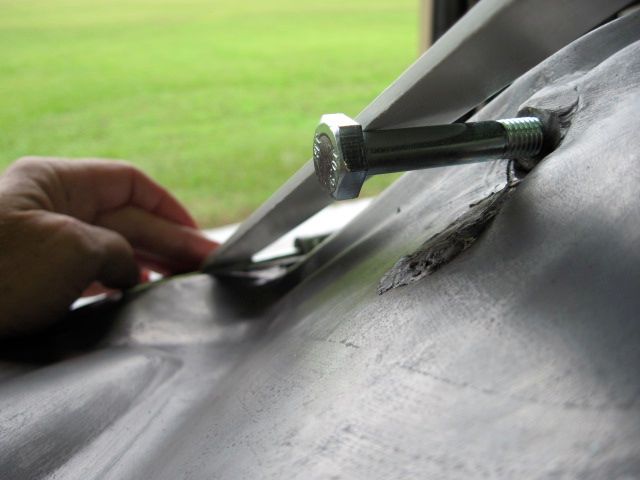
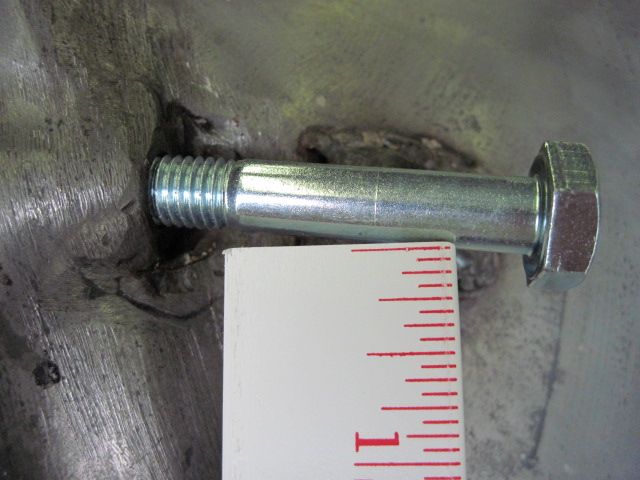
Compared to the other side:
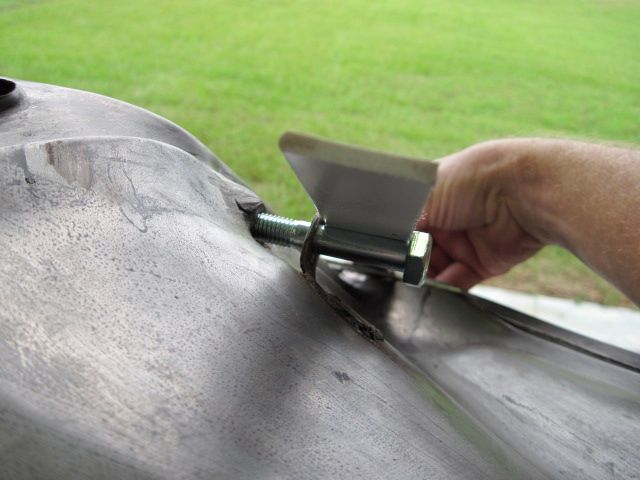
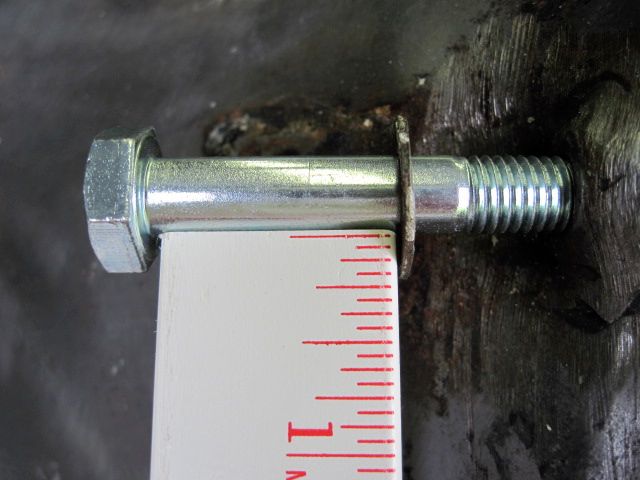
First to cut off the remains of the bracket:
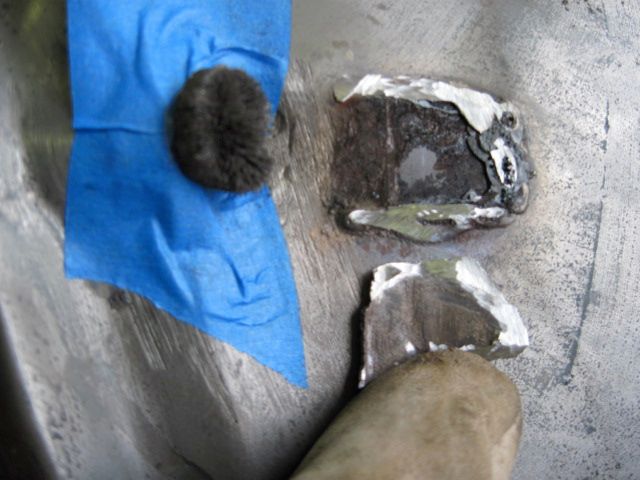
And clean up the area:
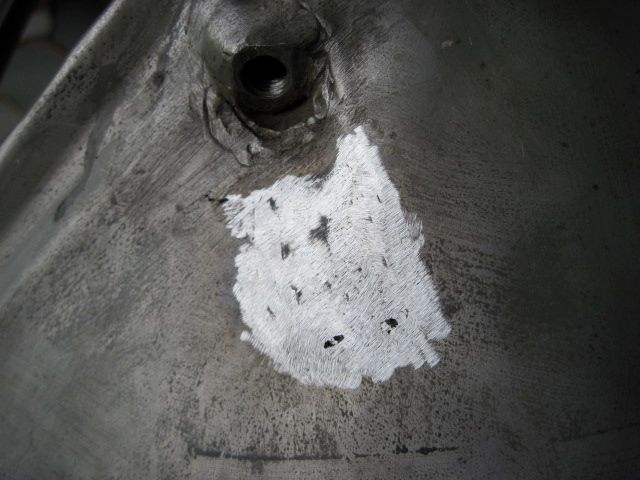
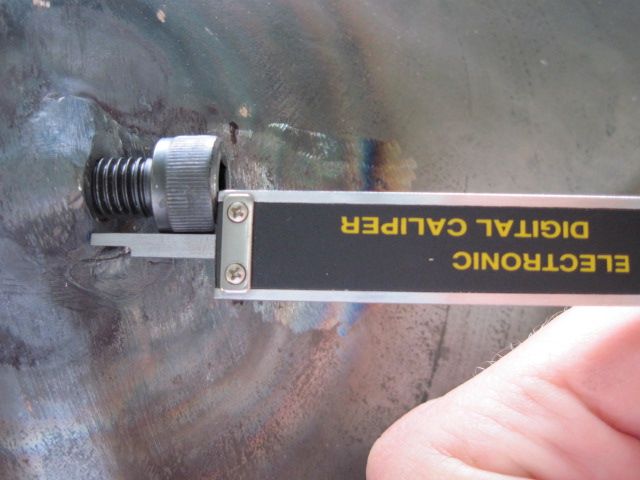
Next I put an allen head cap screw in the mount nut, and found a jack handle that fit snugly over the head. Applying some O-A torch heat to a dull red, I carefully straightened the mount nut:
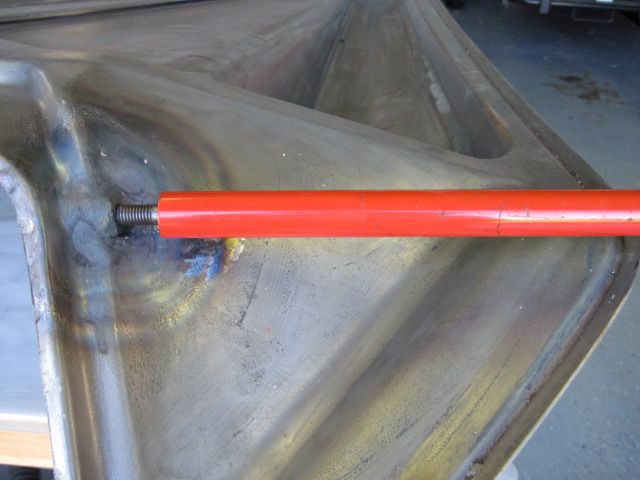
See - good as new:
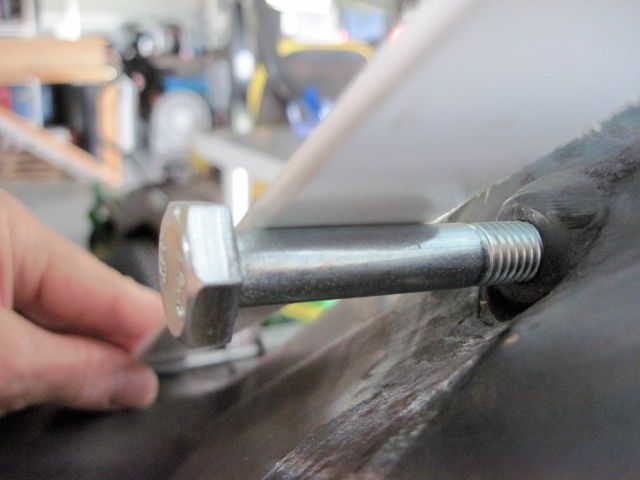
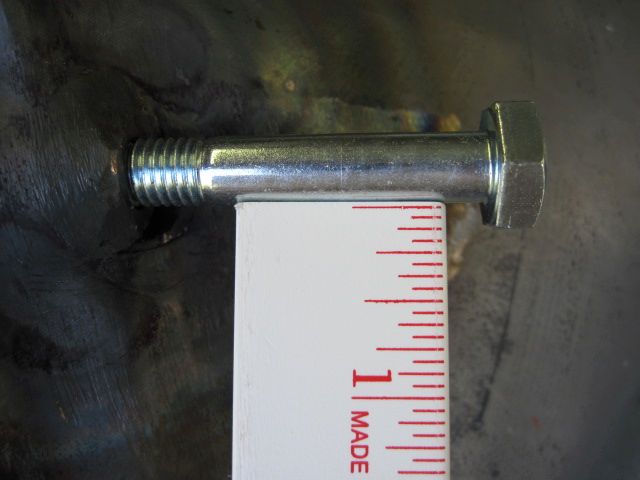
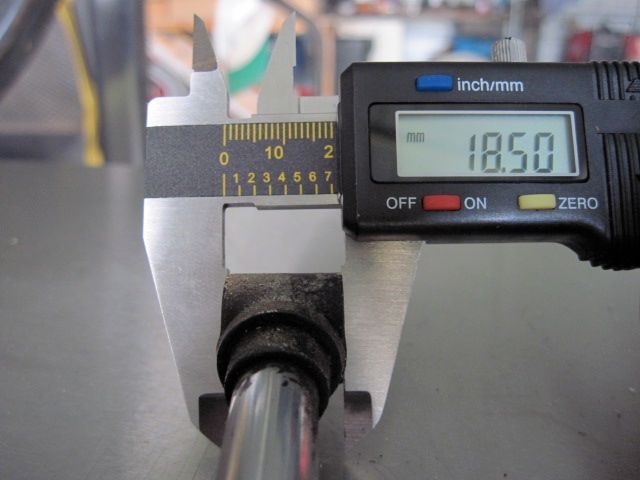
Next I'll measure the strut eyelet, and set the position of the new bracket:
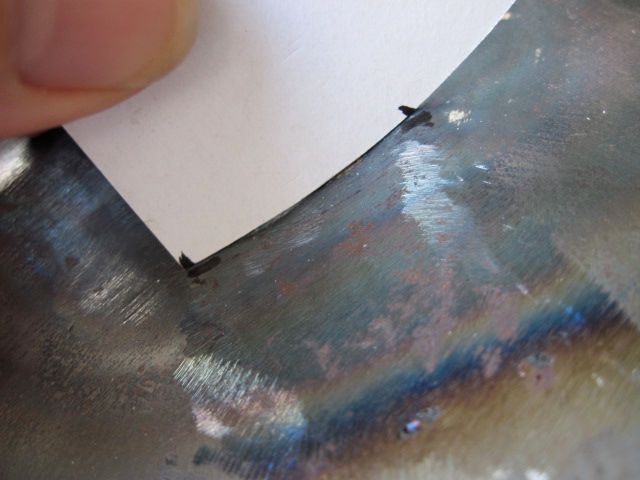
Now to make a paper template. The metal is curved, so I had to find a way to match it. A large plastic can lid did the trick:
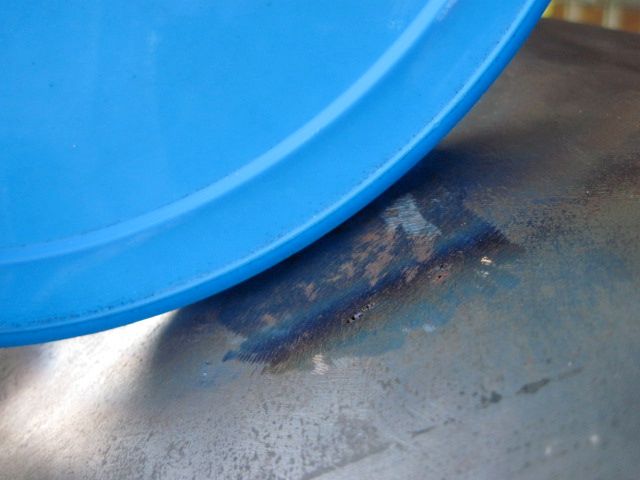
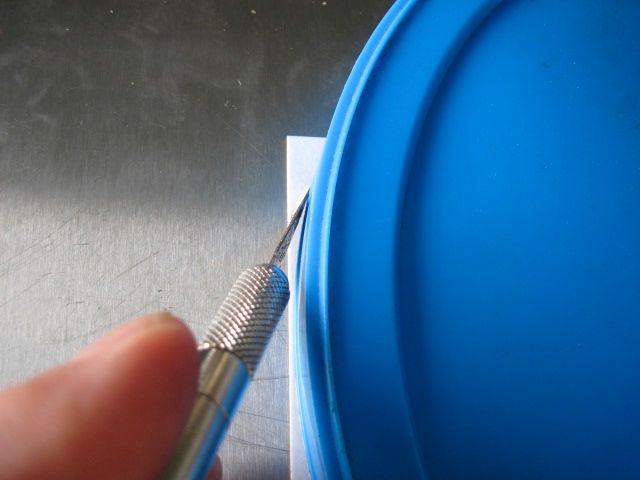
Here I mark the size of the bracket and the location of the bolt hole:
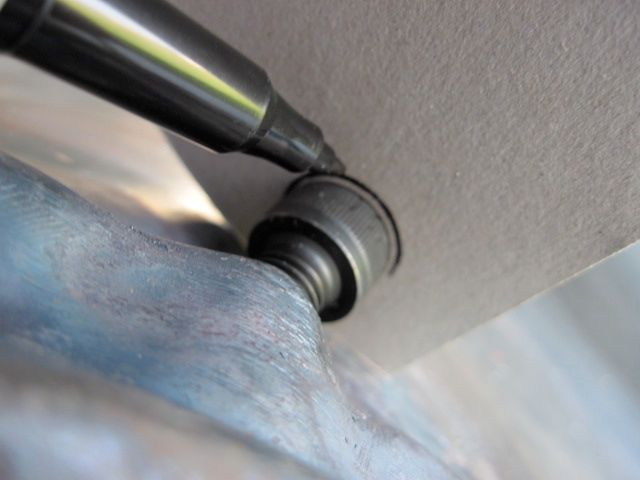
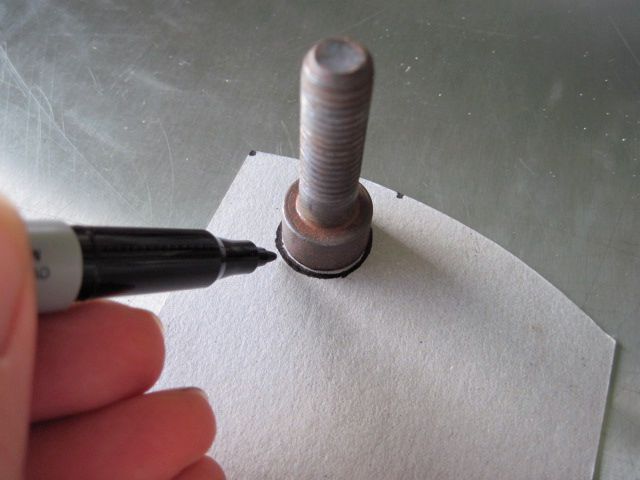
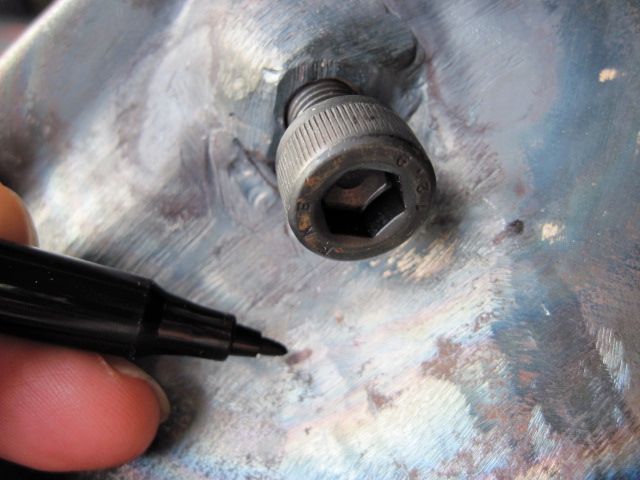
Now the screw head is bigger than the hole I need for the shank, so I need to find the center:
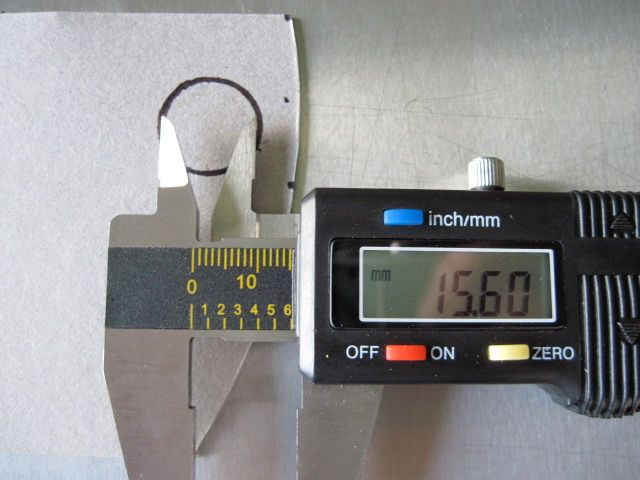
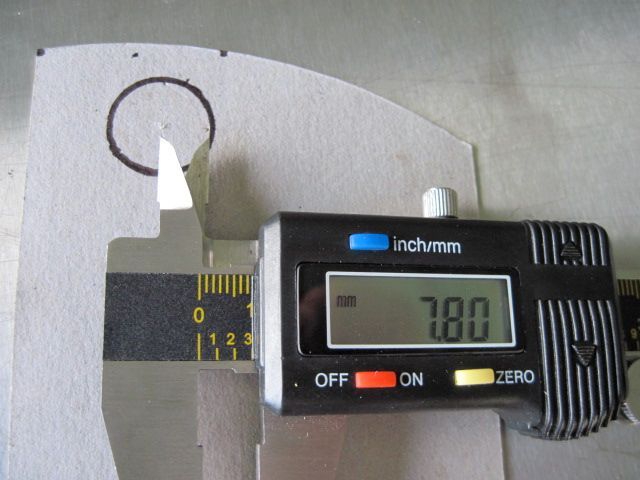
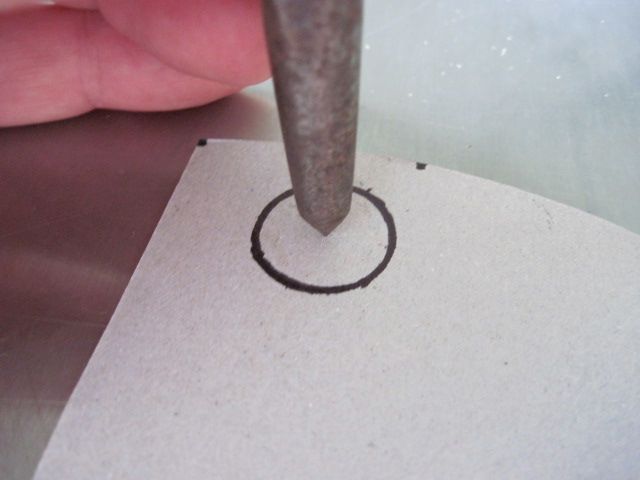
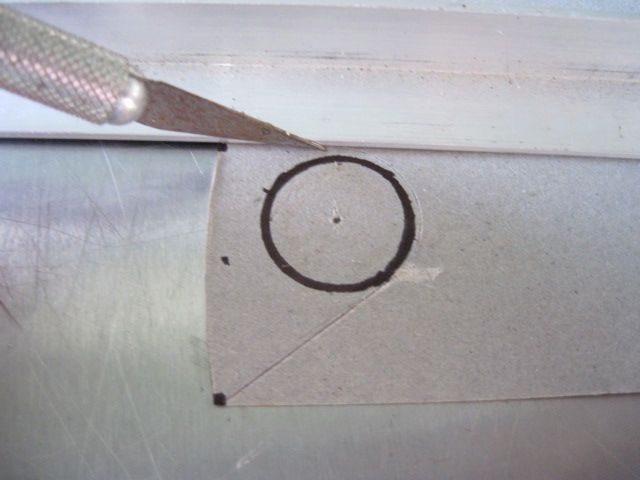
Also I want the bracket just a bit bigger than the eyelet, so I mark the radius and finish the template:
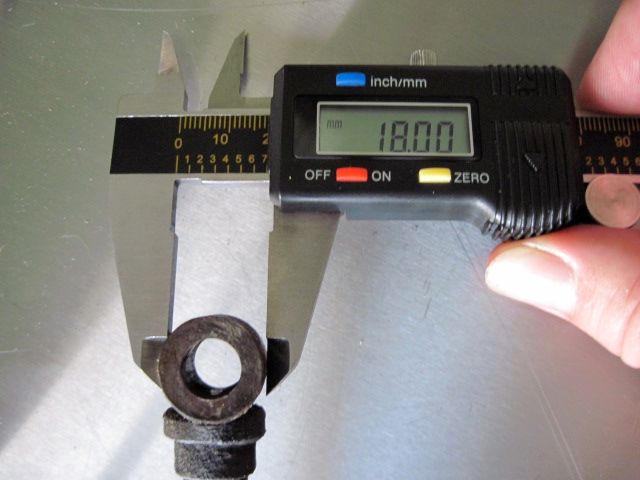
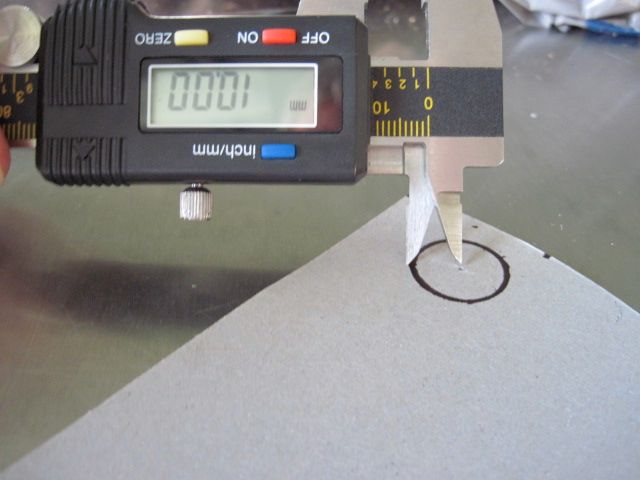
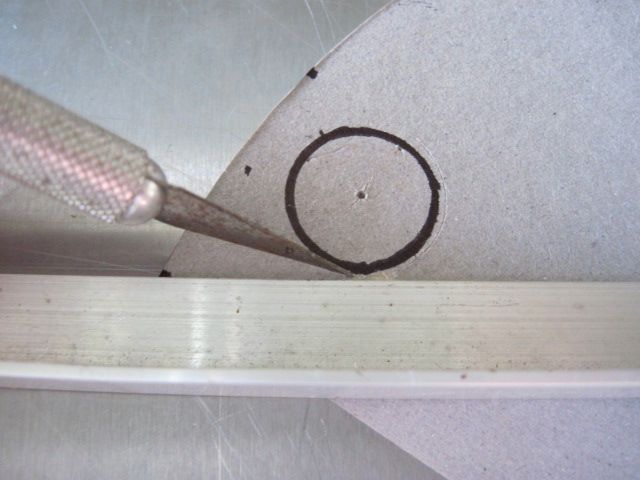
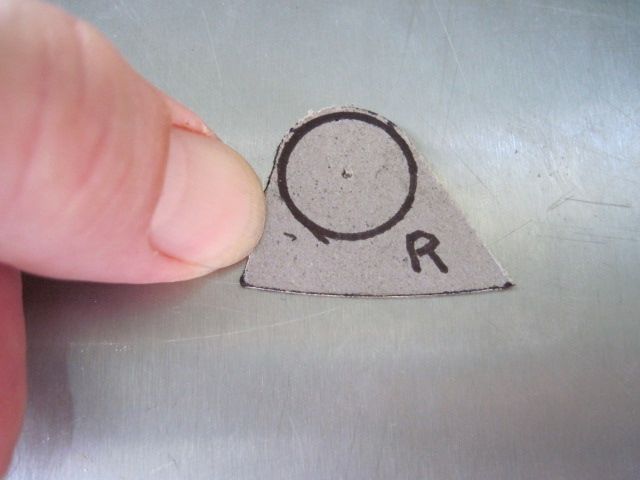
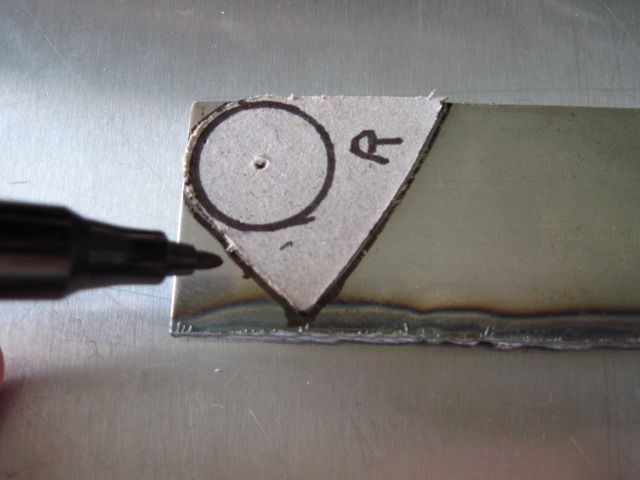
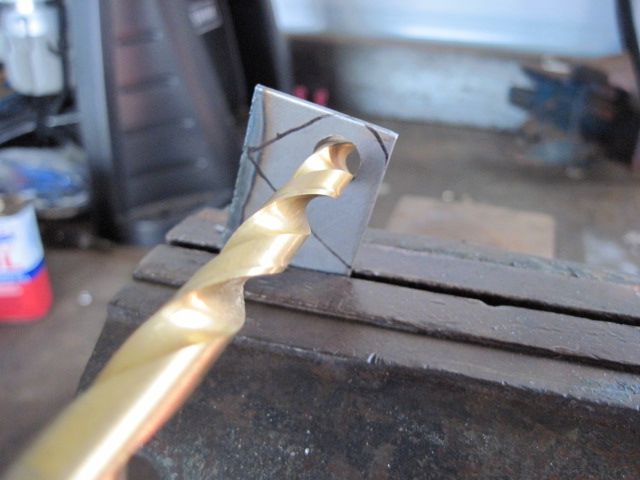
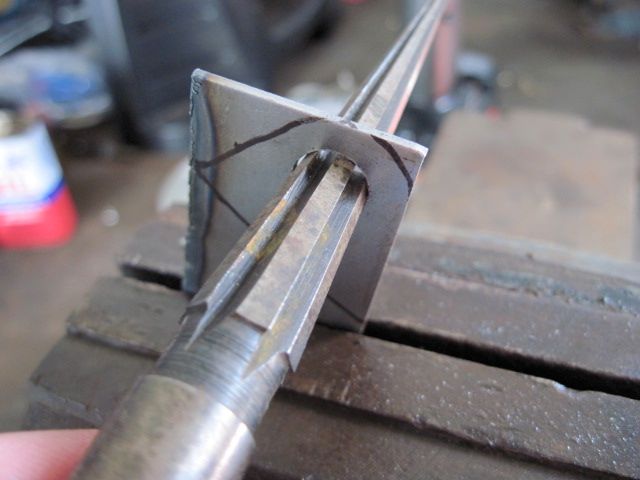
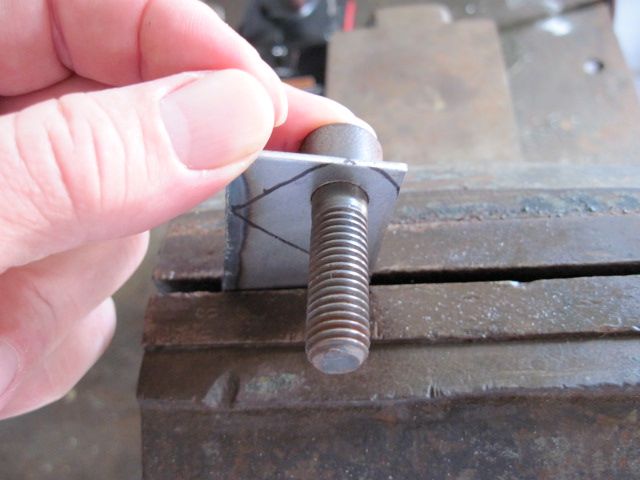
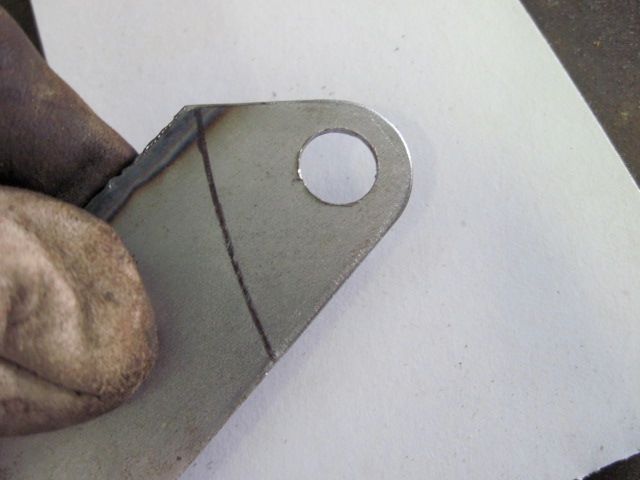
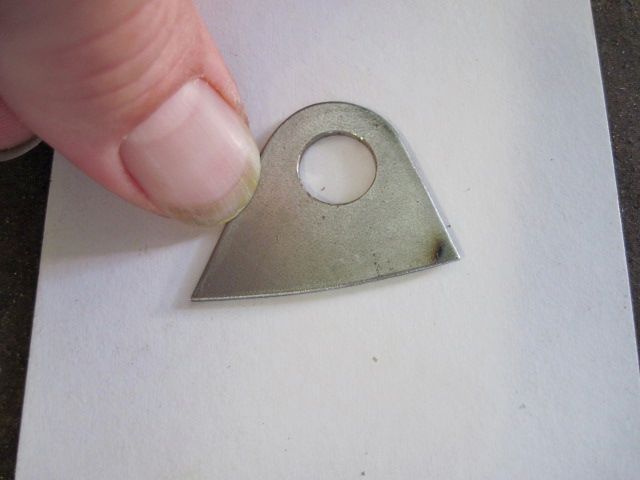
Transferring the template to 16 gauge steel, drilling and reaming the hole for a nice snug fit, and finishing the bracket:
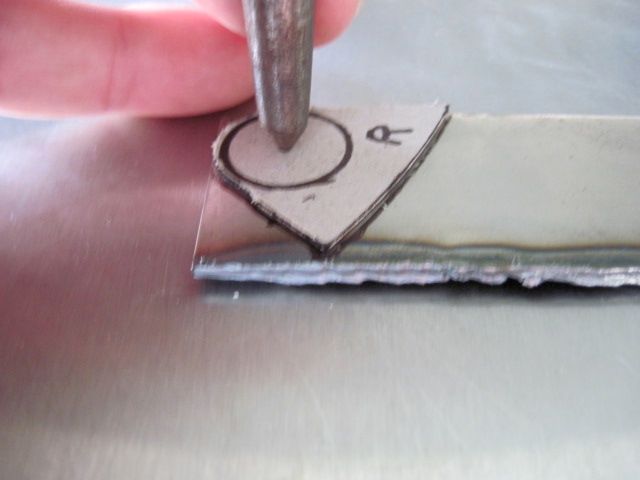
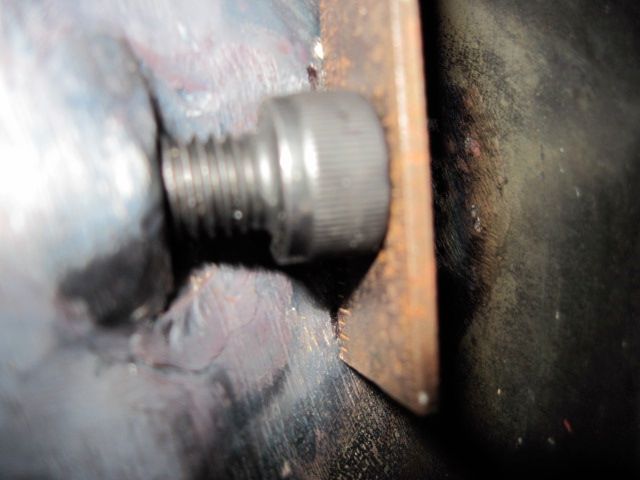
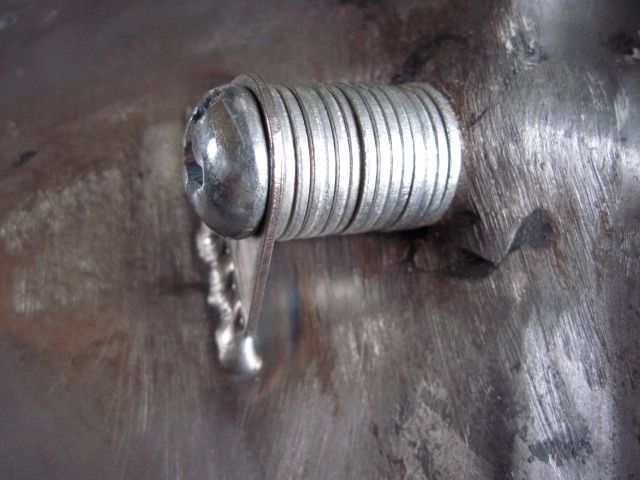
Finally, to weld the bracket in place, I used washers to space it out, and had to use a different screw because the allen head was in the way of my welder:
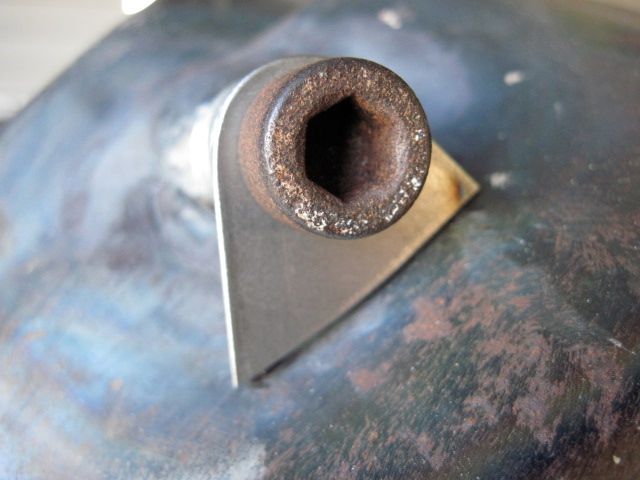
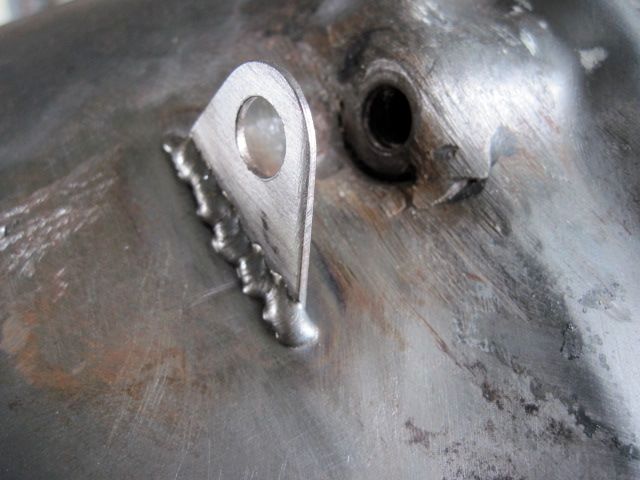
Same for the other side, and done.

