Anyway, on to the next task, fixing the rust and damage at the front. This required some more measuring; to calculate the radius of curve. I measured the piece before taking it apart so I could make the repair pieces to fit.
This is just a stiff, straight piece of aluminum channel, held with some screws in the outer most hinge bolt holes. The only purpose is for a reference to measure from:
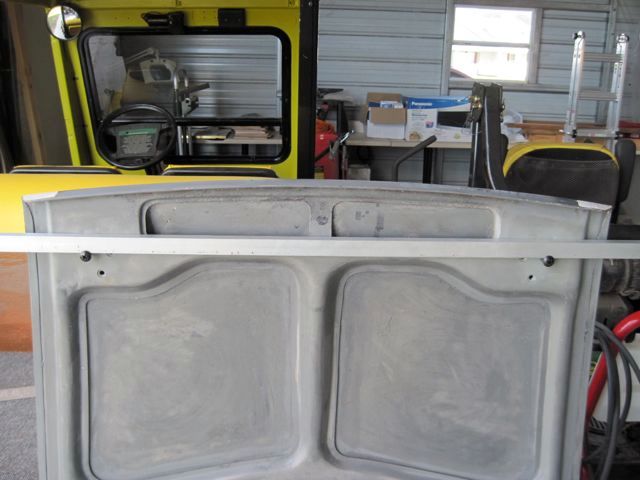
Now to take a measurement at the outer edge:
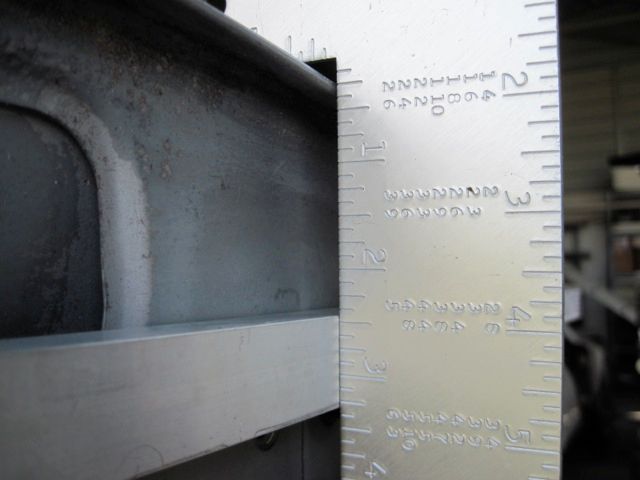
and one in the middle:
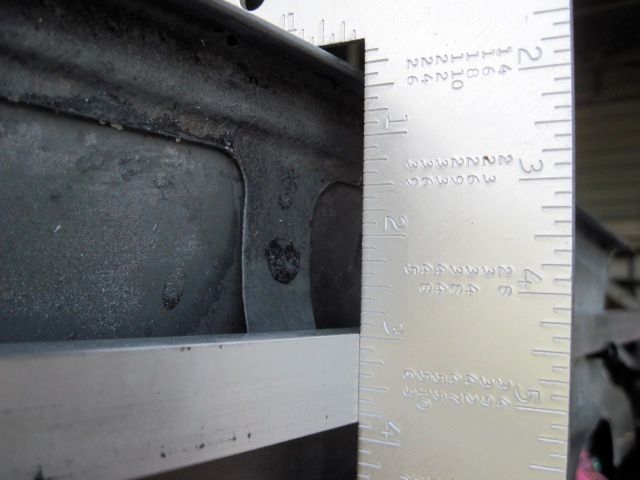
Now I won't bore you with the math, but if anyone is interested I can give you a link to find the formula on the 'net. Mine worked out to be 123.5 inches of radius (just over 10 feet).
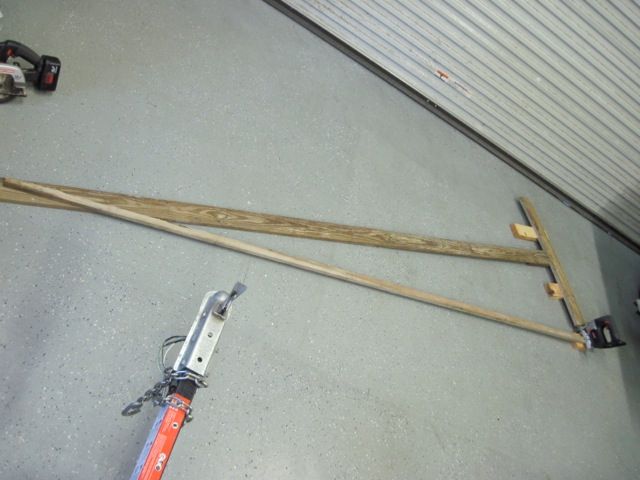
This is a pic of how I improvised cutting such a radius with my saber saw. I am cutting wood here, not metal. Two pieces were cut to use as a guide for cutting the metal, and as a buck for bending it.
As I am looking at this, I see I can use the frame to hide the repair from the inside, so I don't have to do any cosmetic work there. Not having X-ray vision, however, I have to locate it on the outside. Here some masking tape is laid in and marked:
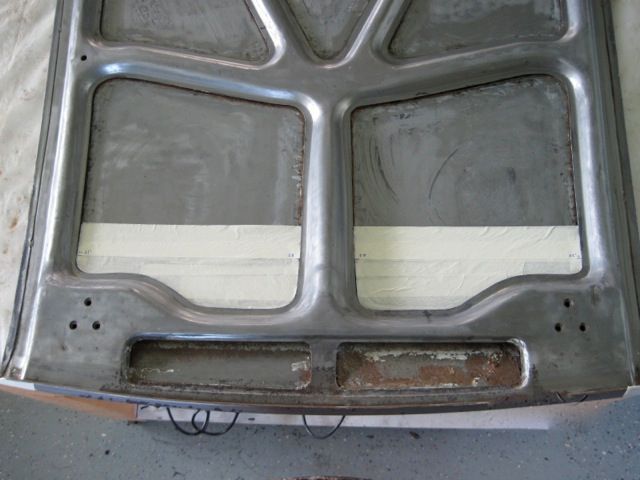
With help of the reference marks I made earlier, I marked the frame on the outside.
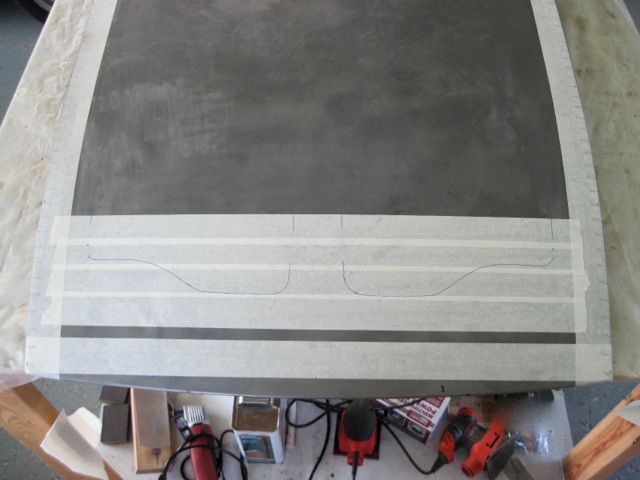
I moved the cut line about 1 1/2 inches forward of this, to be sure it would be hidden by the frame, and cut the metal with the die grinder:
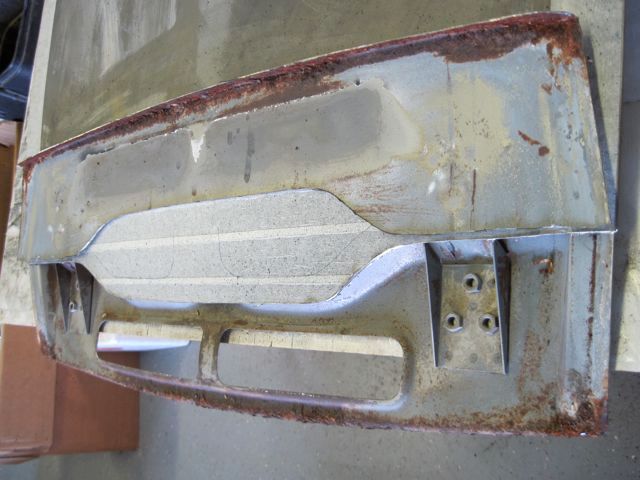
Having never seen inside, I had no idea what was just behind the skin, so that is why I did not use the plasma cutter for this.
I can see now that the leading edge of the frame will need to be replaced too. This is a complex piece, more so than the outer skin. I did not think I could create the stamped contours, so I decided to leave as much of it as possible intact.
Here I've cut off the rusty lip, leaving about 2 inches at each end (just out of view in this pic):
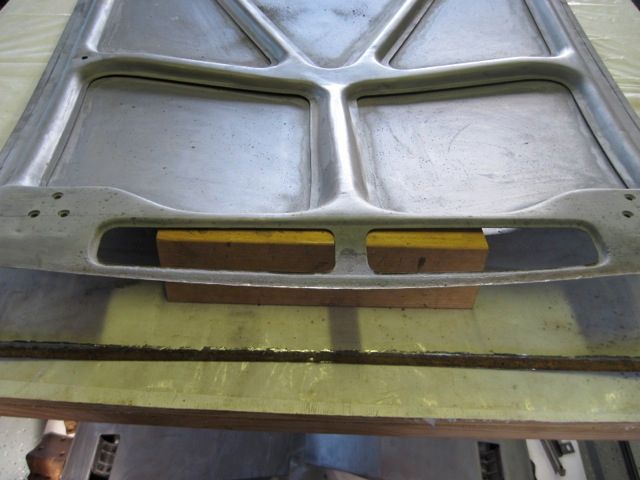
The remaining metal is cleaned up and treated with ospho, but it is still rust pitted, so I do not think I can weld to it. I decide to put on the repair piece with panel bond epoxy and a few pop rivets.
Now to start on the repair pieces. I've learned to use a wood guide with the plasma cutter; it holds the tip just the right distance off the metal, and gives a smooth fast cut.
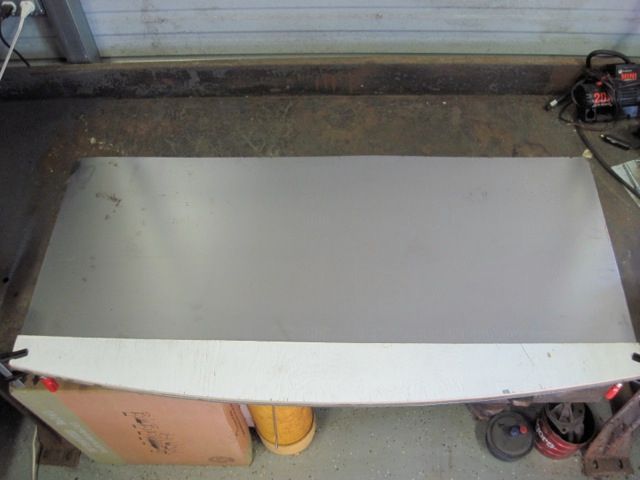
Here is the soot from annealing the metal before shaping it:
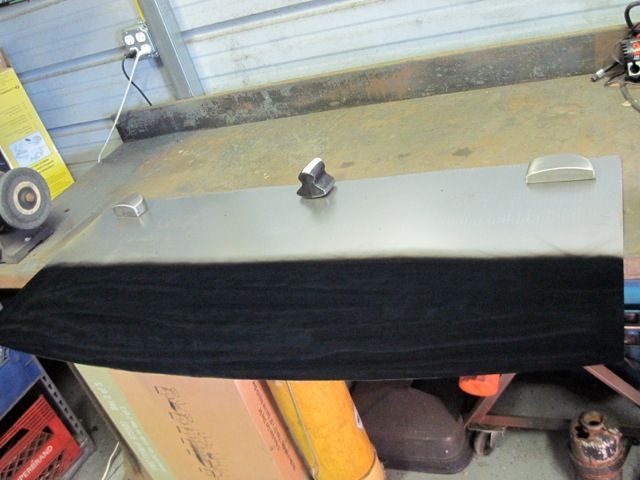
Clamping the new metal between the wooden bucks I made earlier, I bend the lip on the frame repair piece:
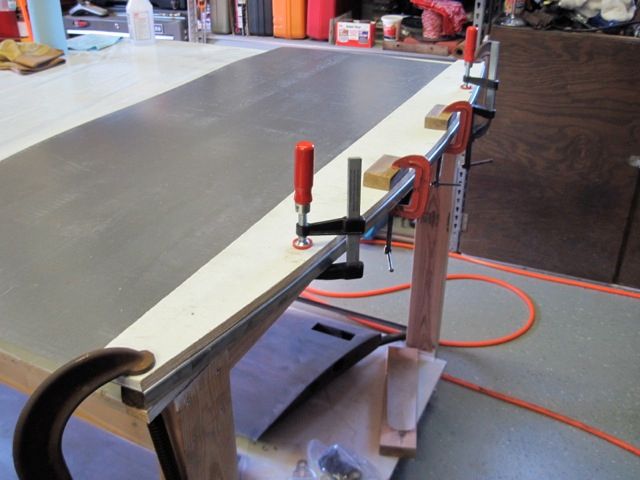
One more pass with the plasma cutter, and I have the frame lip repair piece in rough form:
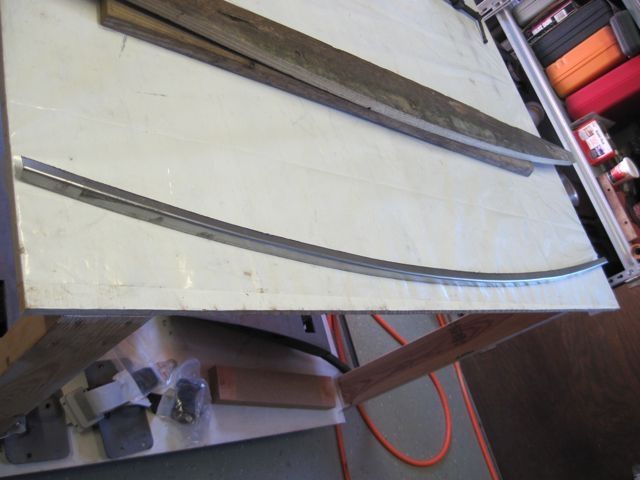
I have to shorten it, and use the shrinker to form the compound curve to match the remaining frame material. Here it is being bonded in place:
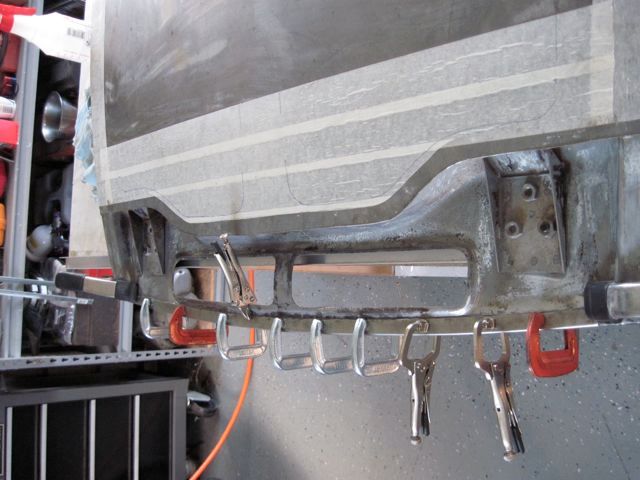
I also added some pop rivets, and hammered the leading edge lip over some more, as it has more than a 90 degree bend, but I could not have got it into the shrinker jaws had I done that first; so I had to do it after installation.
Here I use the same wooden bucks to bend the lip of the skin repair piece:
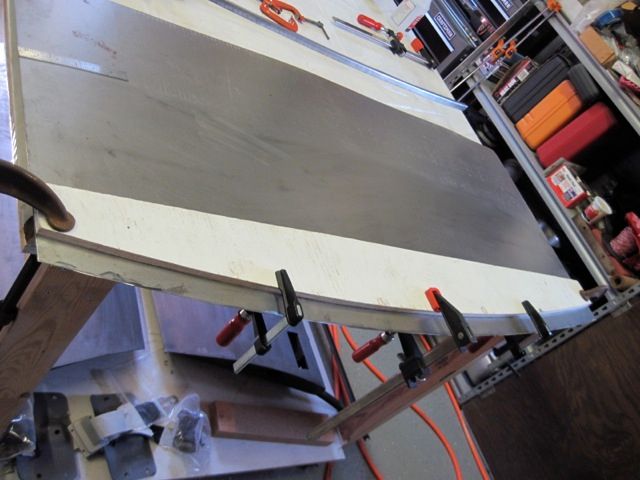
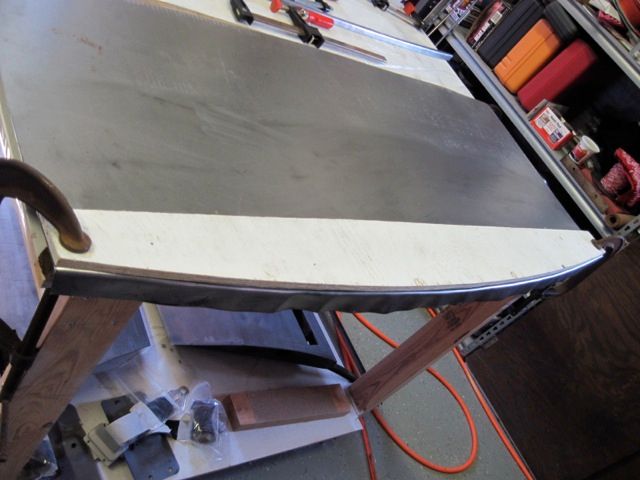
Notice I left more material, as this has to crimp over the lip of the frame I just installed. Also notice how the metal buckles some when bent over. No problem; the shrinker will fix this when I put the proper crown on the piece.
I made a wooden fence to match the cut on the skin, and used it to guide the plasma cutter:
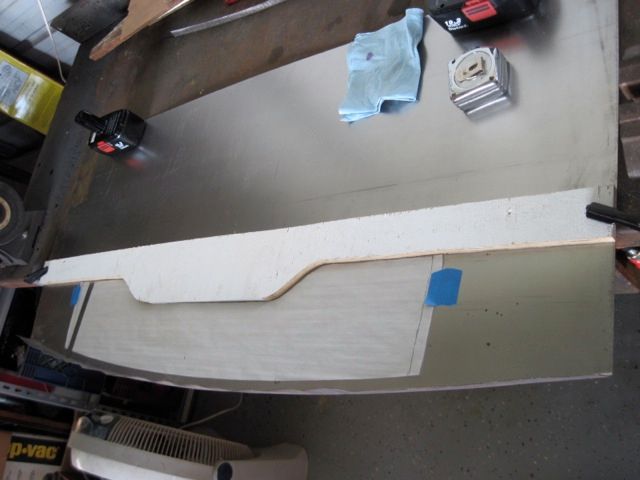
I cut off some of the excess width, and shrank the lip to put in the necessary crown curve. Now it is starting to take shape:
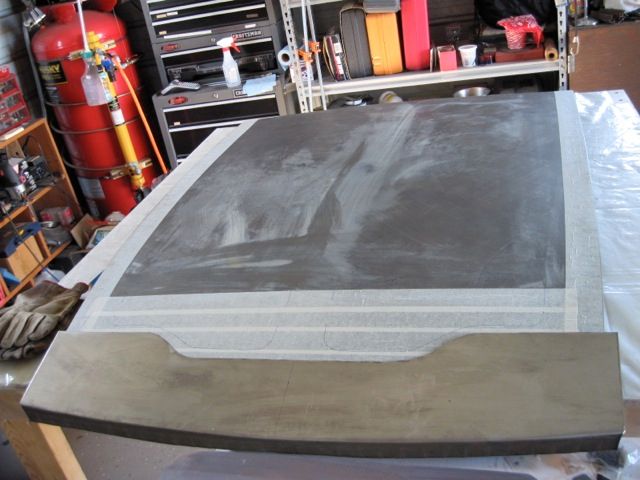
Here I'm just about ready to put the patch on. You can see how the frame repair came out, and I put in a couple of small drain holes. It is all cleaned up and epoxy primed on the inside. The overlap is flanged and drilled for sheet metal screws that will hold it together for welding:
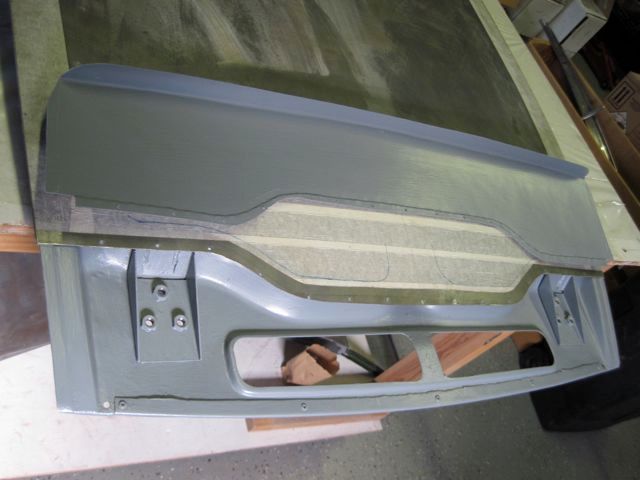
Here it is screwed in place, and I am starting to bend the edge flanges over:
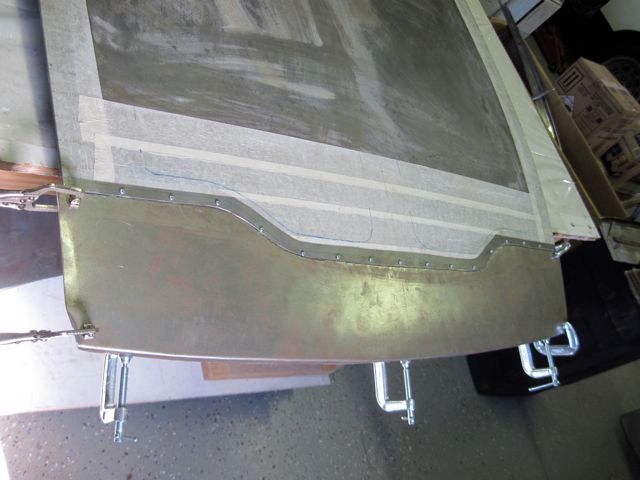
Here is a series of details of bending and crimping the edge flanges:
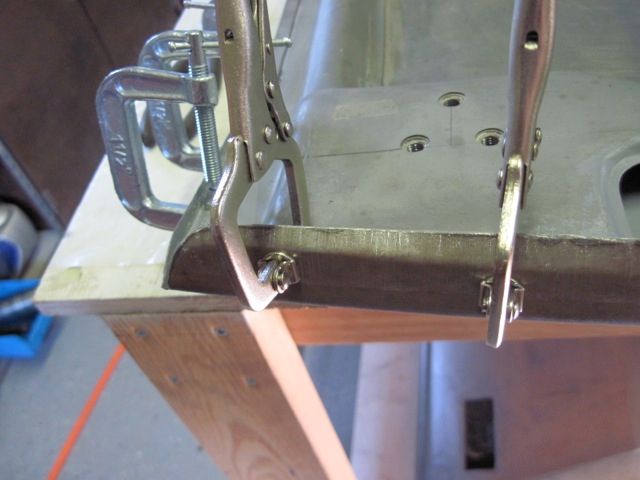
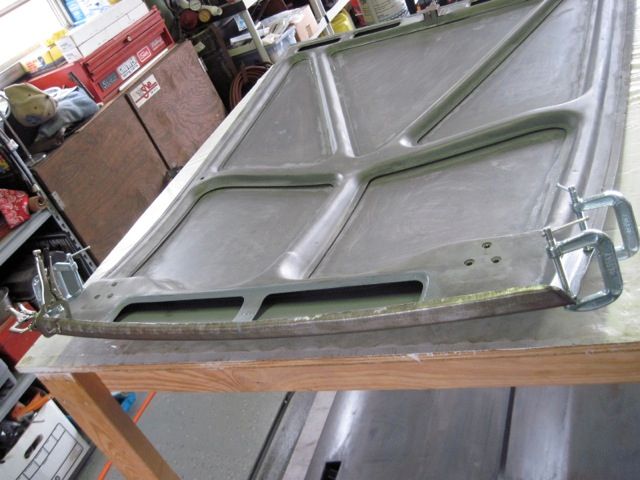
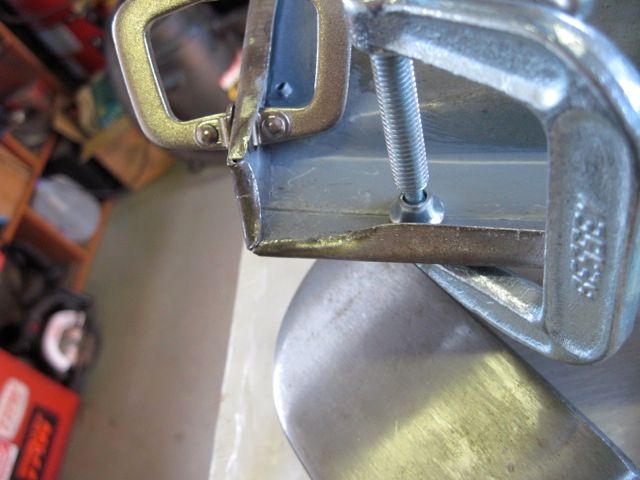
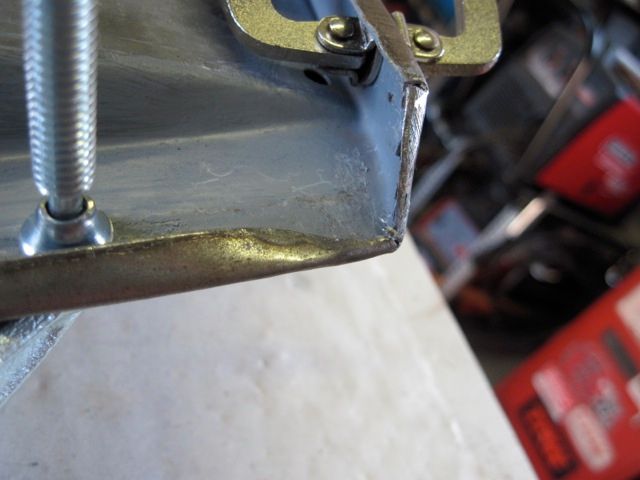
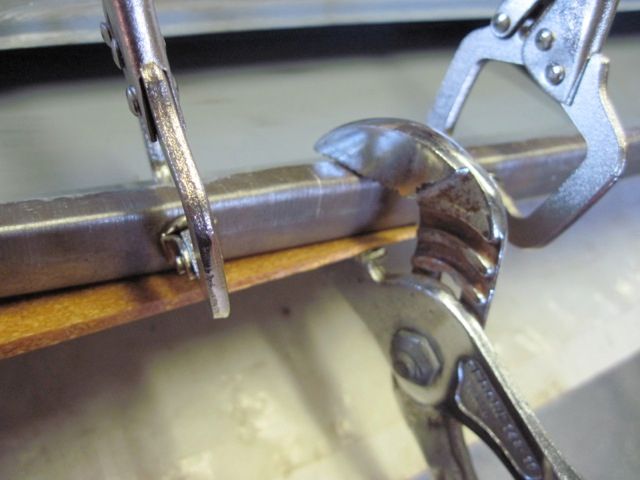
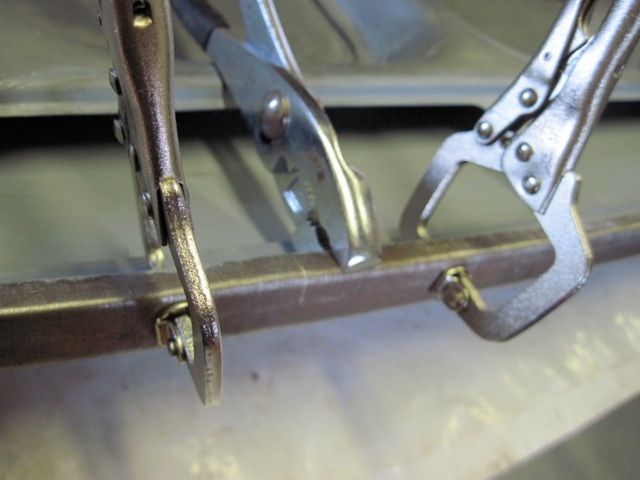
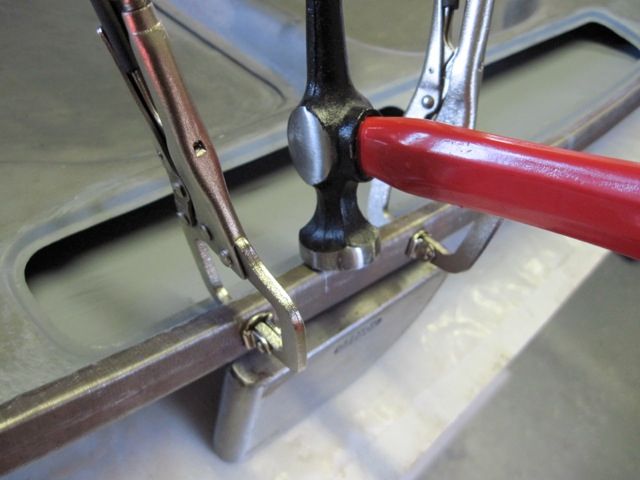
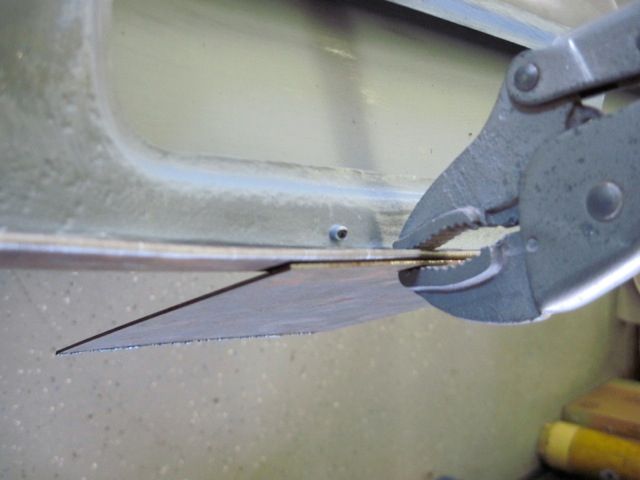
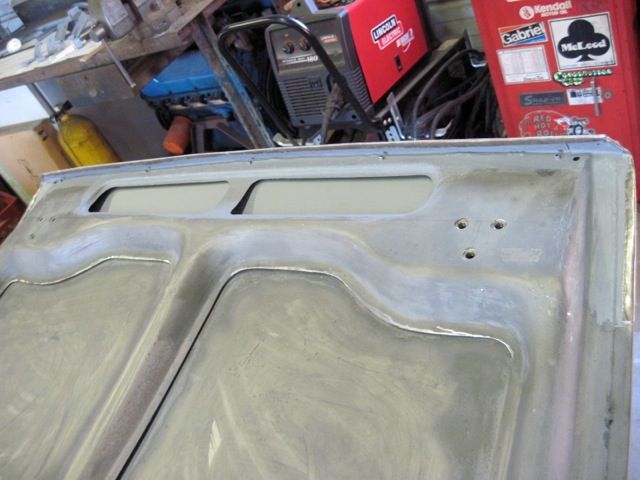
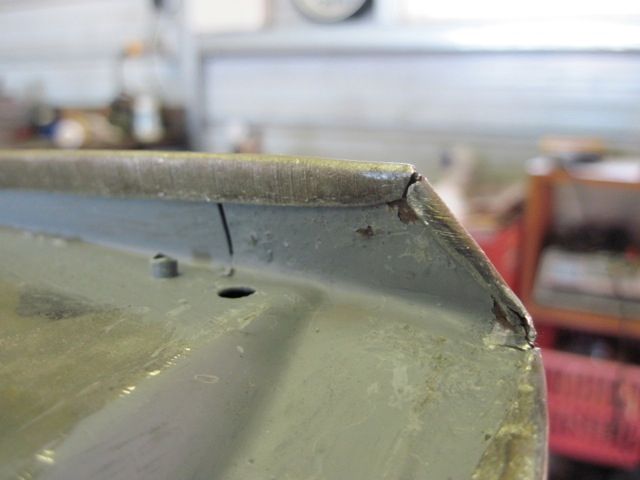
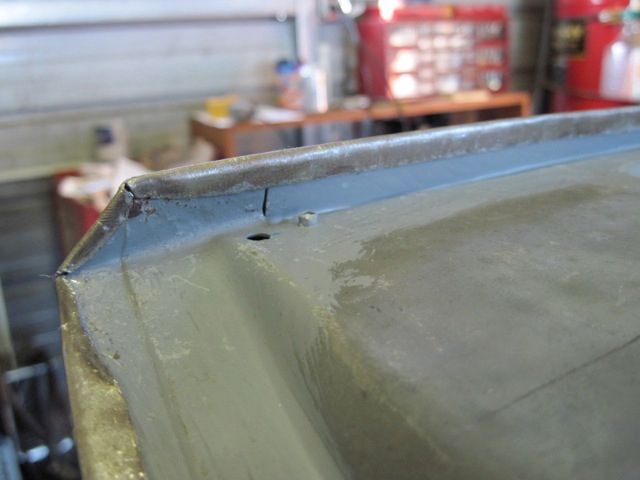
After finishing the edges, I spot welded along the joining line, removed the screws, and welded the holes shut:
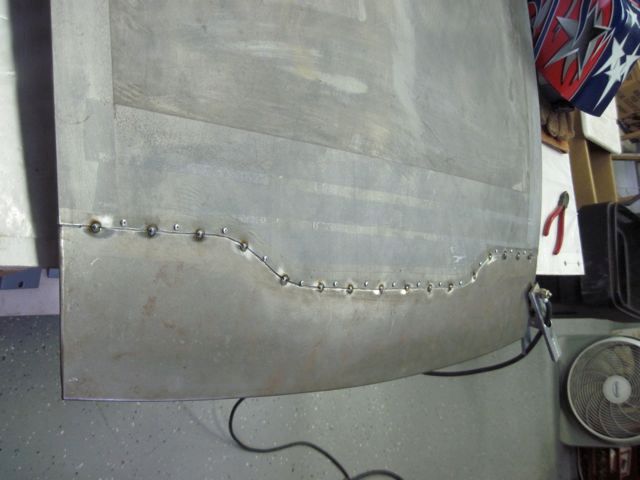
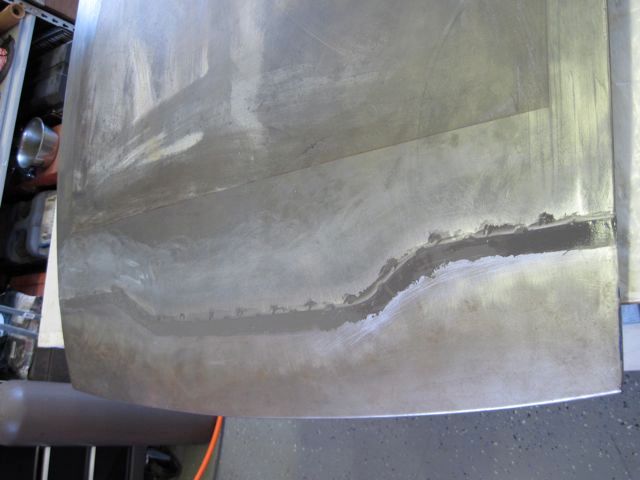
The depth of the flange crimp my tool makes is not exactly the same as the metal thickness, so there is a very small step. I filled this and some of the weld divots with epoxy:
WHEW!

