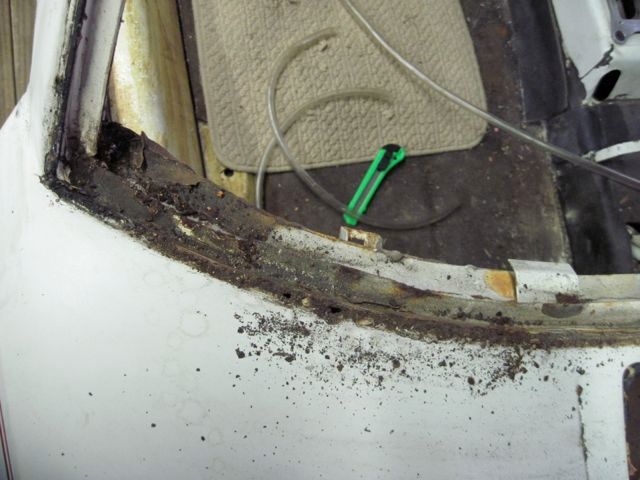
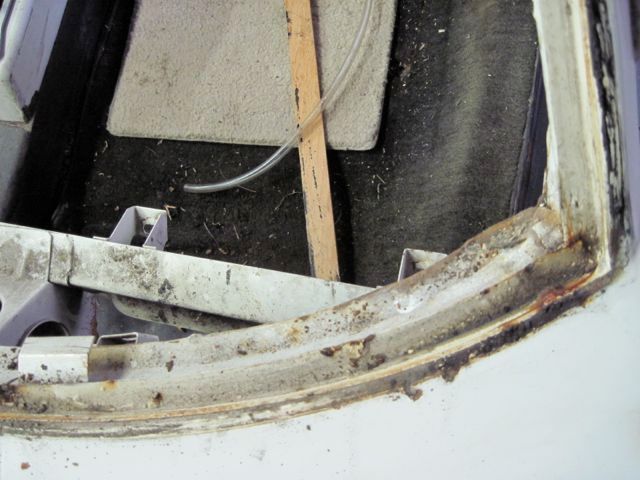
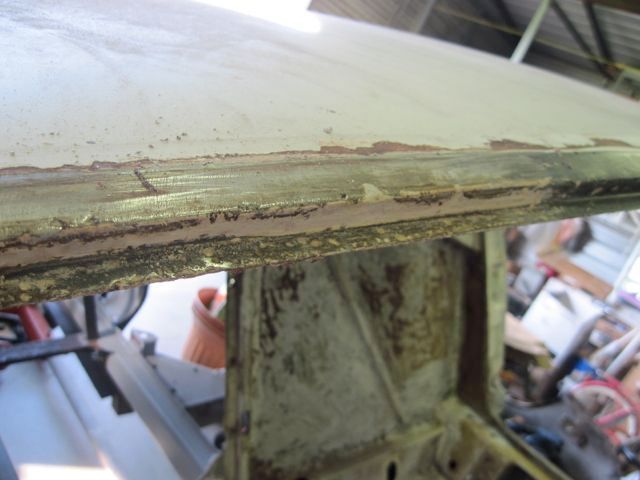
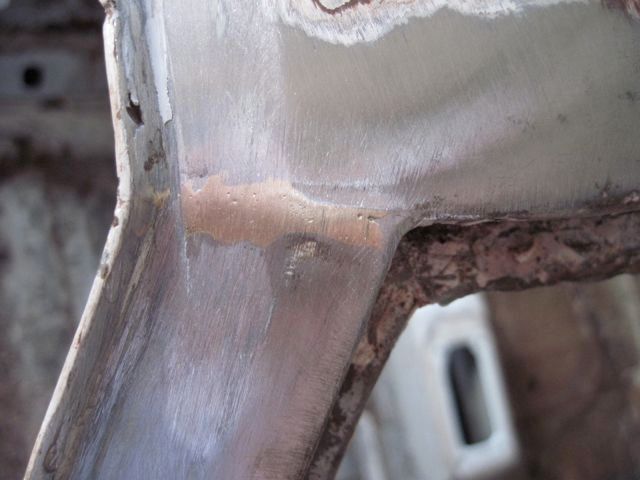
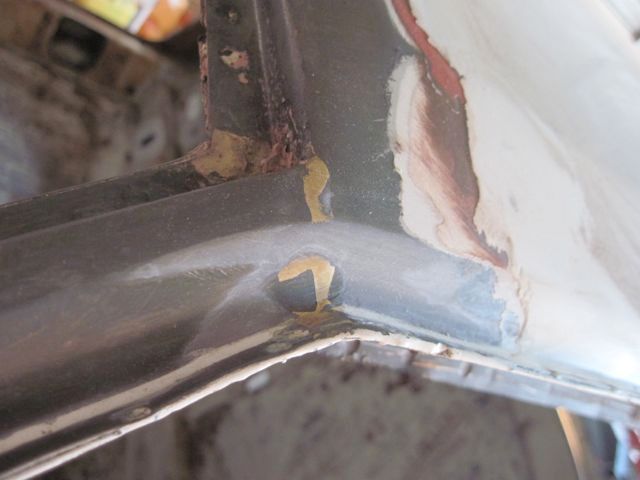
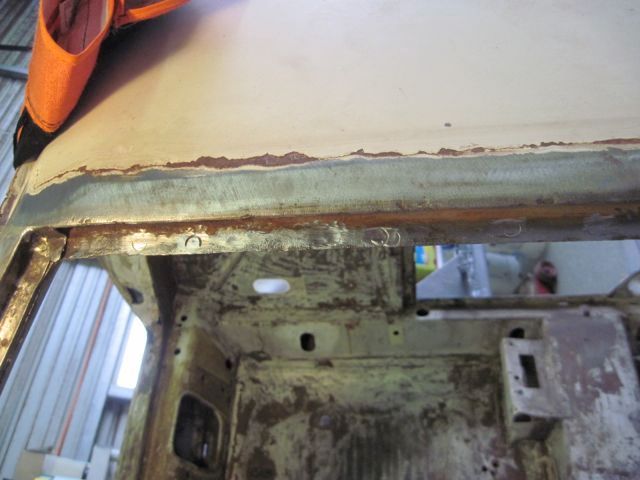
This brazing and lead work appears to be original, where the very tops of the A pillars meet the roof; I’ll leave it alone if I can:
These rust holes are along the roof line, and I have put marker dots on each spot weld I have to drill out:
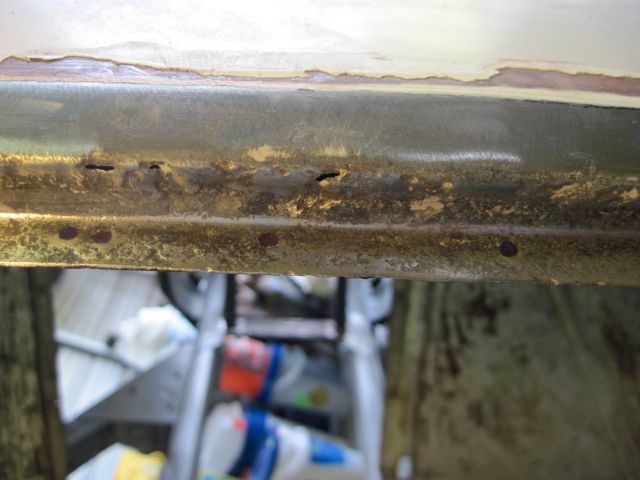
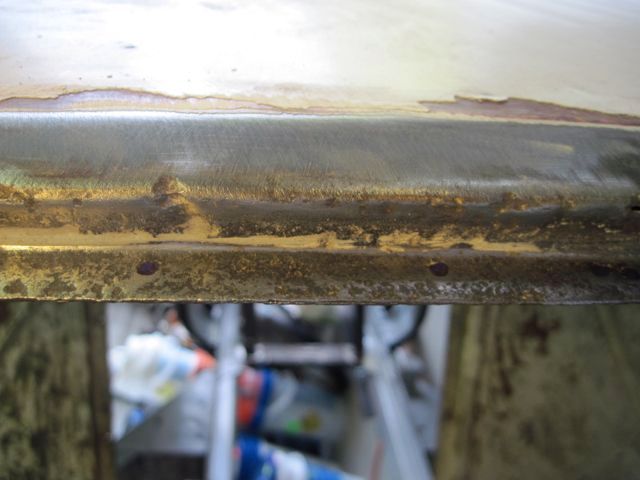
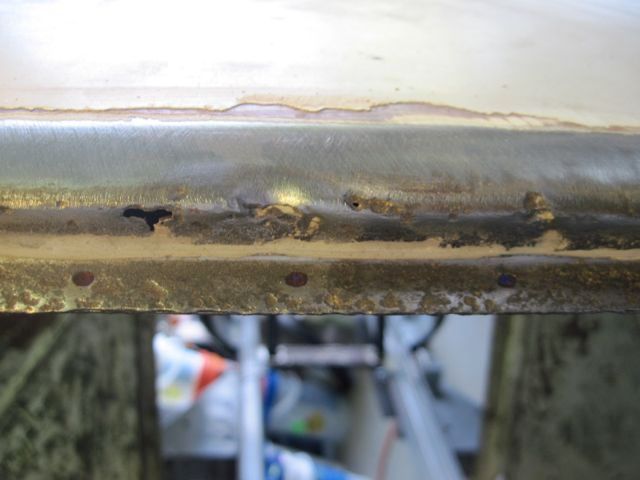
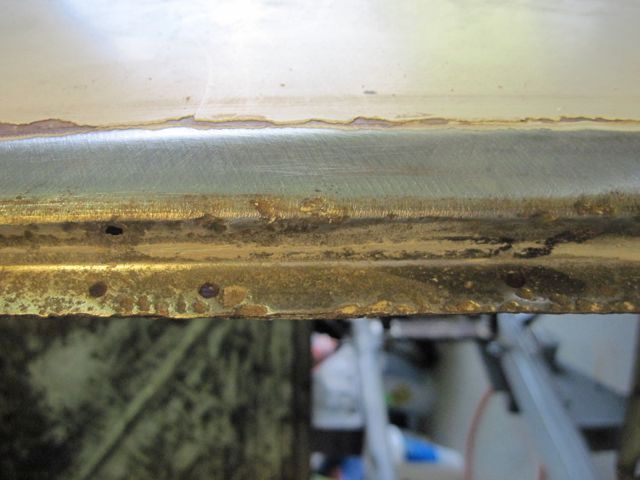
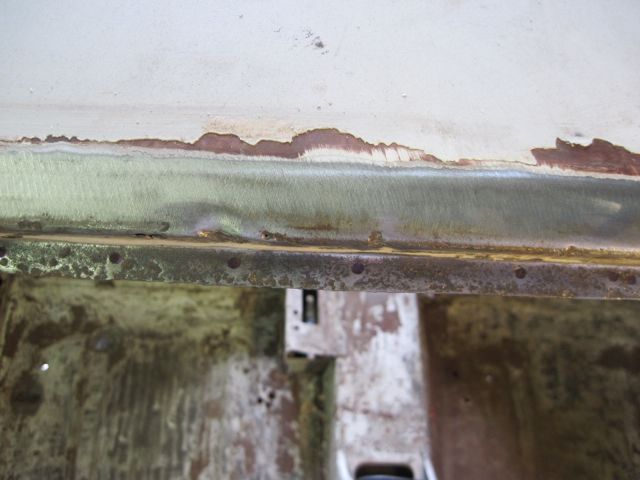
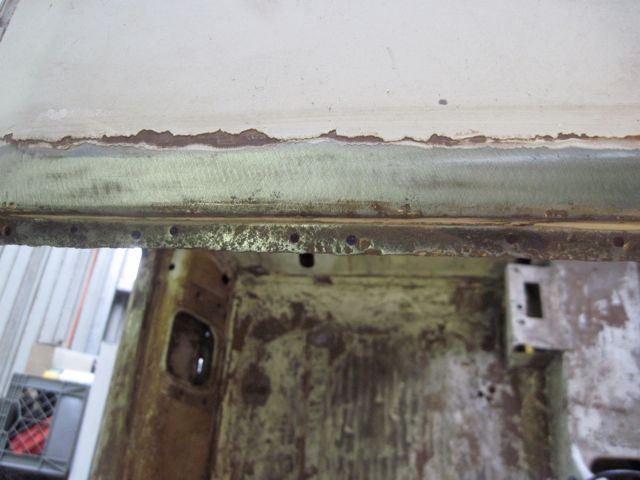
Now I have cut the welds and cut out the rusty strip of metal. About 2/3 of this upper channel at the roof line needs to be replaced. It is easier to smooth a weld at a sharp bend, so I cut right along the front most edge:
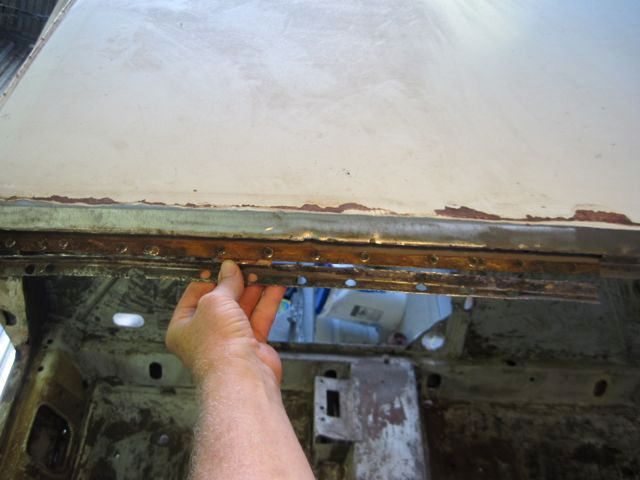
It is good to see the rust had formed from the outside in. Once I scuffed off the surface rust on the inside, the remaining metal is in pretty good shape.
There were a few places where the rust had pitted the roof panel badly enough I did not think I should leave it. Here I’ve cut out a segment, and am preparing to weld in a patch.
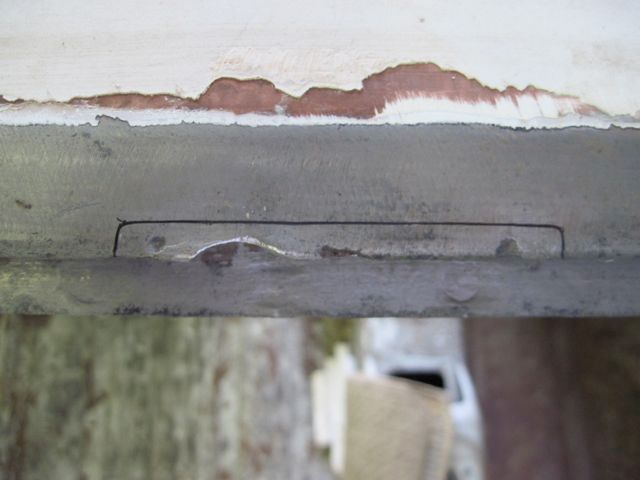
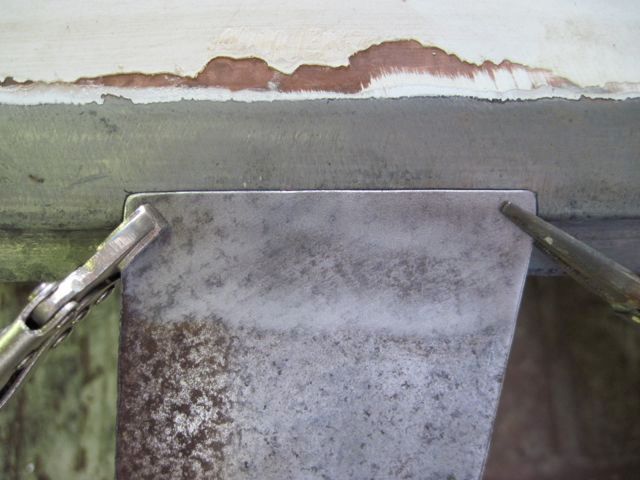
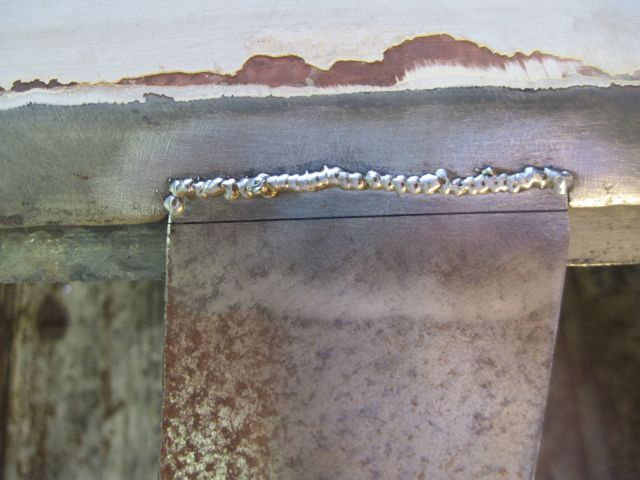
Here is something I learned about welding in small pieces. The small patch piece will heat up a lot faster than the big panel being repaired, and it is very easy to blow holes in it. So leave extra metal on the patch, and cut it off after the welding is done. Some times, it is not possible to do this, but it helps when you have room to do it.
Here I am fitting the repair piece in the windshield channel up by the roof:
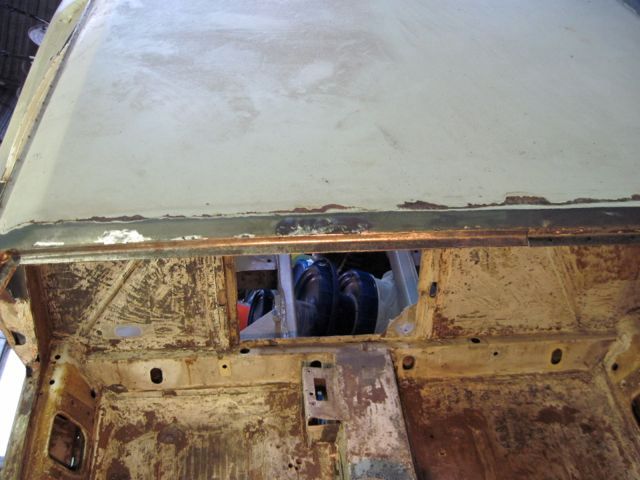
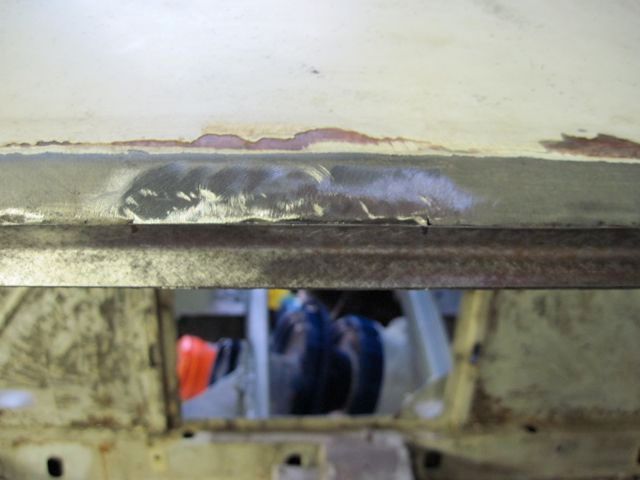
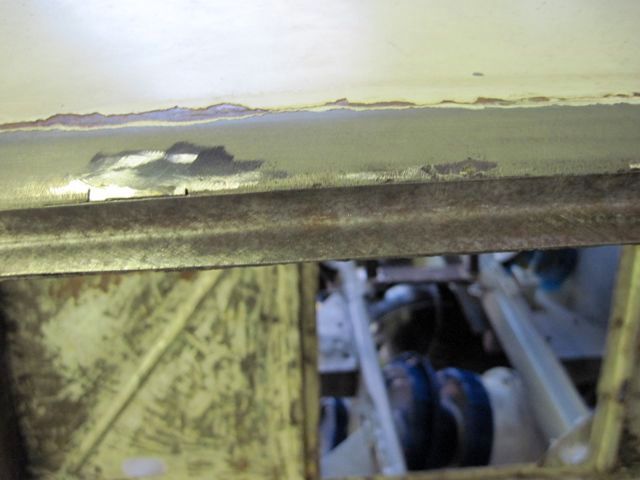
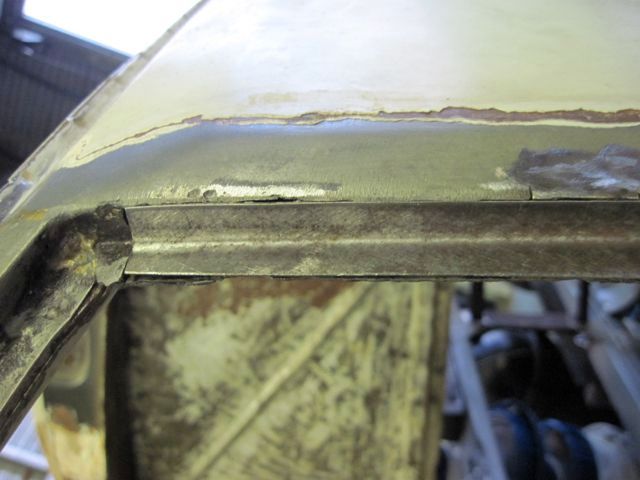
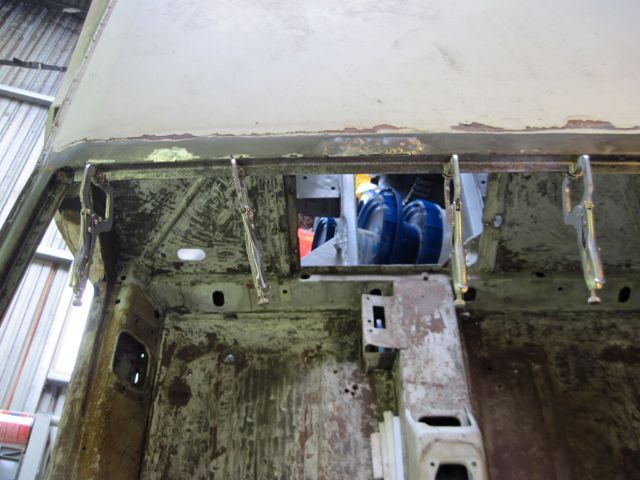
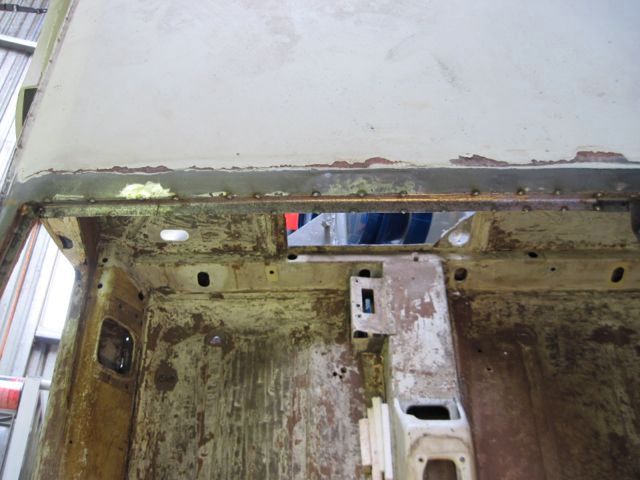
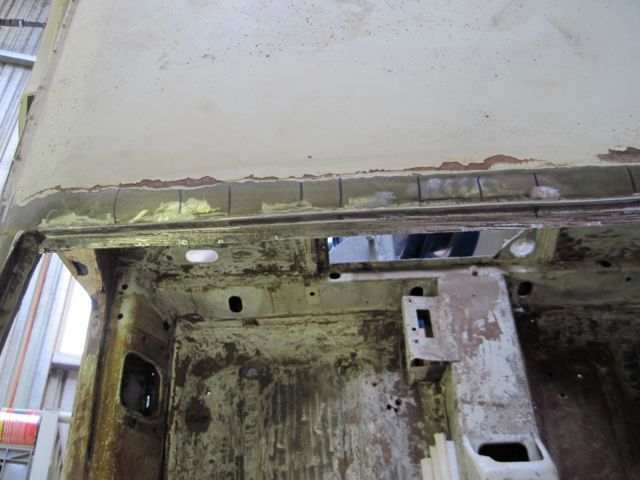
Here is another rust pitted area over on the driver’s side. I’ll weld in a strip of new metal:
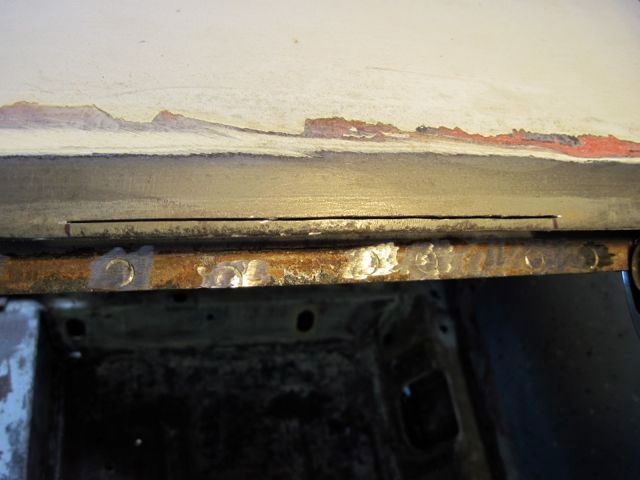
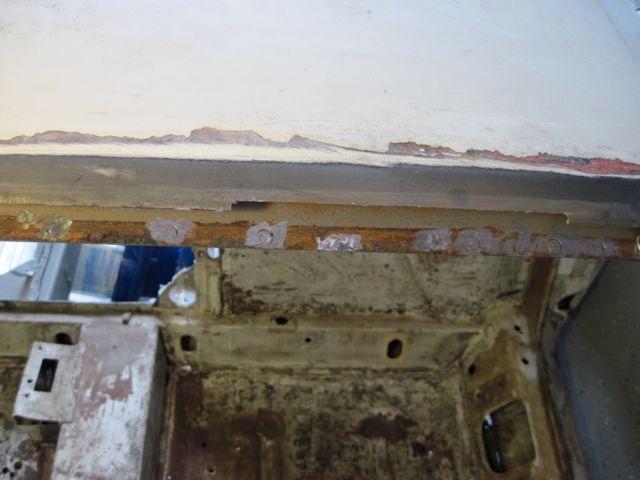
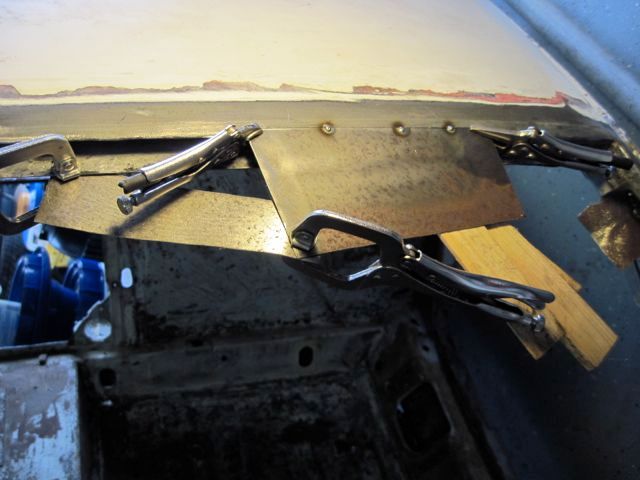
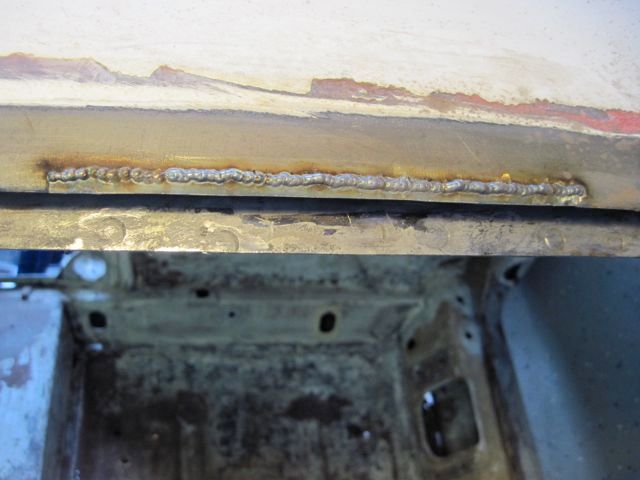
After repairing the edge of the roof panel, I’ll fit in the repair piece of the windshield channel, and tack weld it in place.
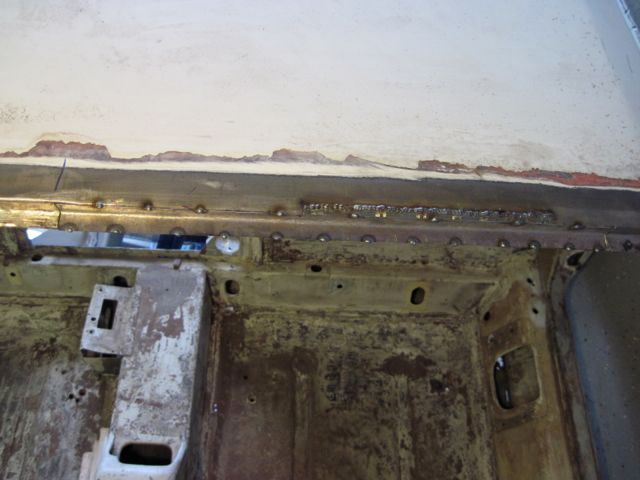
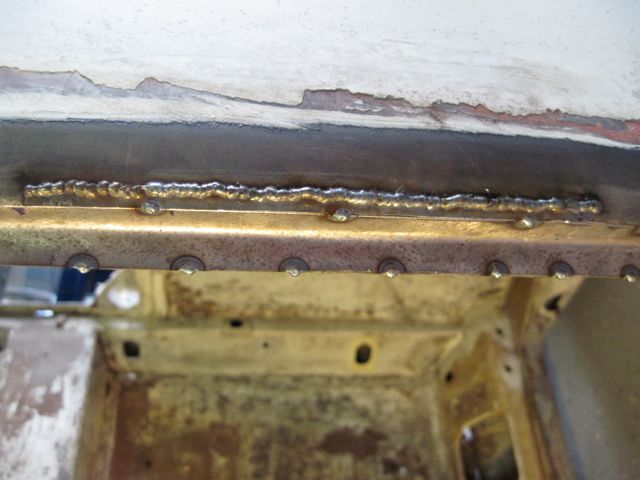
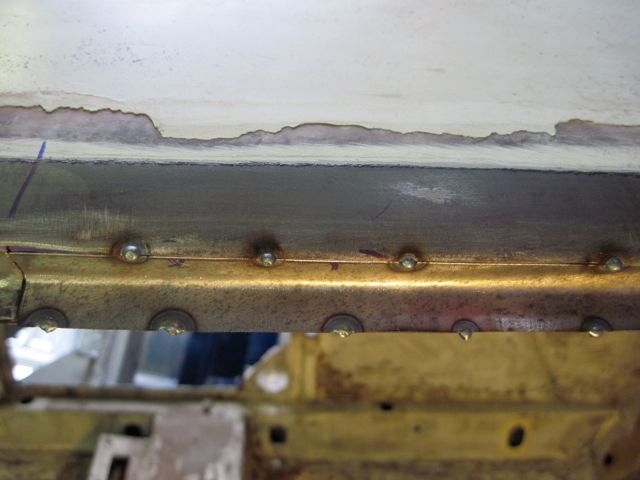
Now normally I would plug weld in a repair piece like this, but in the windshield channel, I decided to tack weld the edge of the repair to the inner frame. I did it this way to not have a bunch of plug welds in the windshield channel, which I would have to finish smooth and flush. I want a smooth surface for the windshield gasket to seal against.
Where the repair meets the roof panel, I stitch weld them together so there are no pin holes to leak. Here I had a bit of trouble, and had to cut out a small section and do it over:
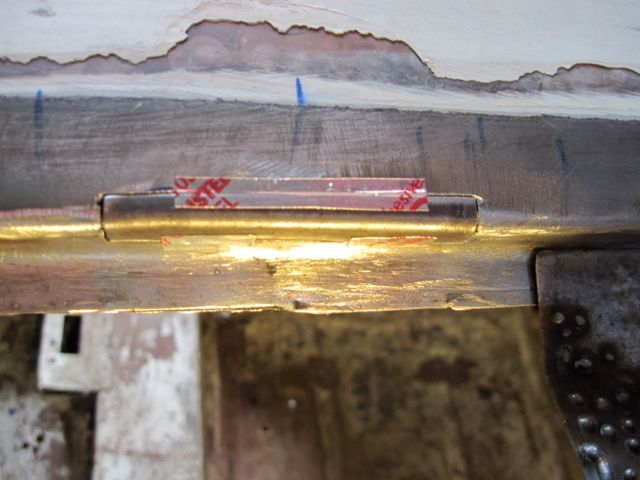
Now to work on the lower part of the windshield channel. This is formed by the rear most edge of the front fender panels, and by the vent cowl. I suppose I could do this repair all in one piece, but that would be cheating. Seriously, if anyone needs to work in this area in the future, it would be a pain to have this all in one piece. I’ll make the repairs to match the factory panels, and leave a small gap in the channel for water to drain away.
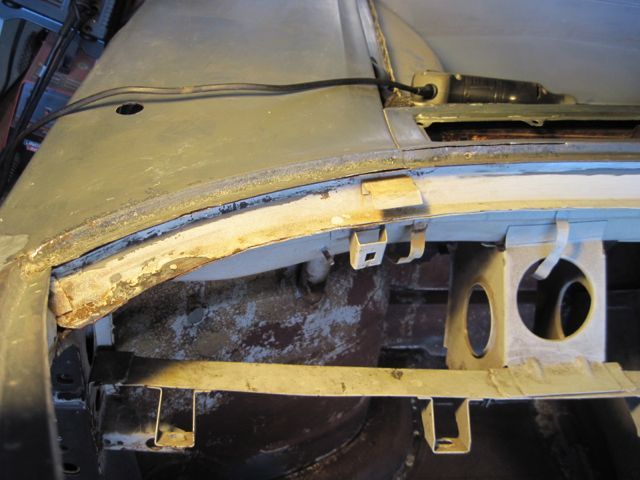
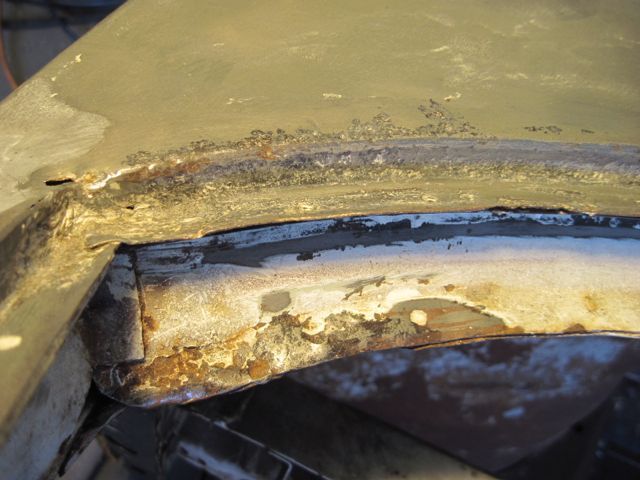
Much like along the roof, the rust has damaged the channel and the edge of the panel. Here the channel and fender are cut apart:
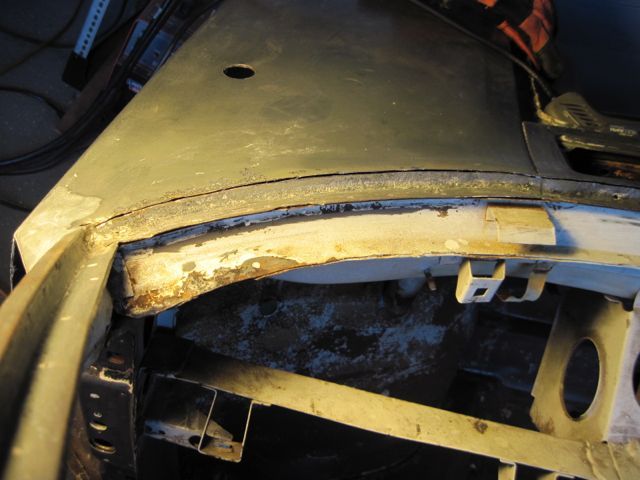
The spot welds are located and cut out:
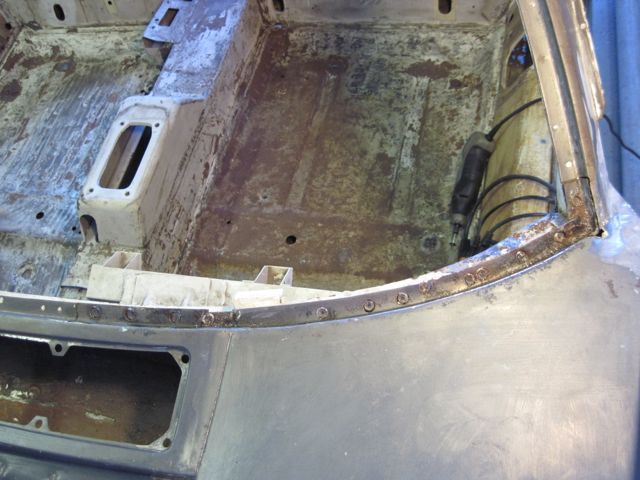
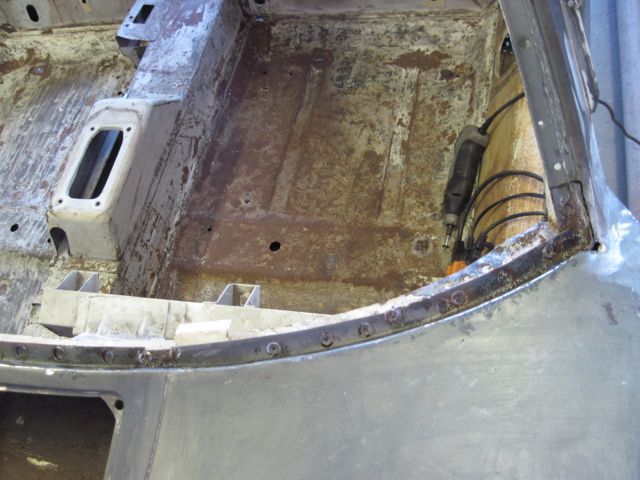
Here the damaged edge of the fender panel is cut away:
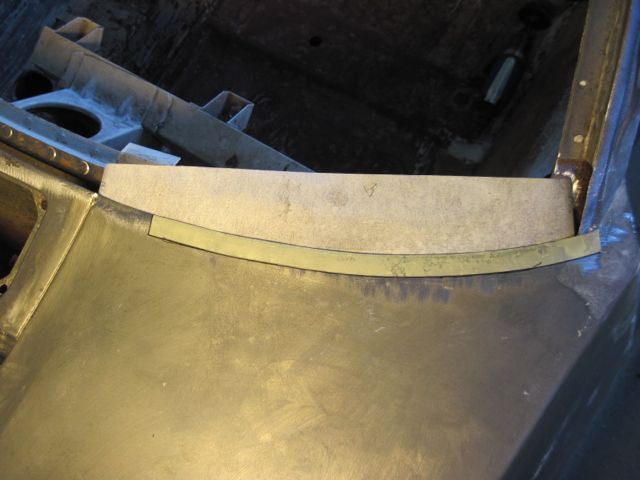
I have adhesive tapes of various widths, they help guide me to make a uniform cut. It is much easier to make repair pieces of uniform size.
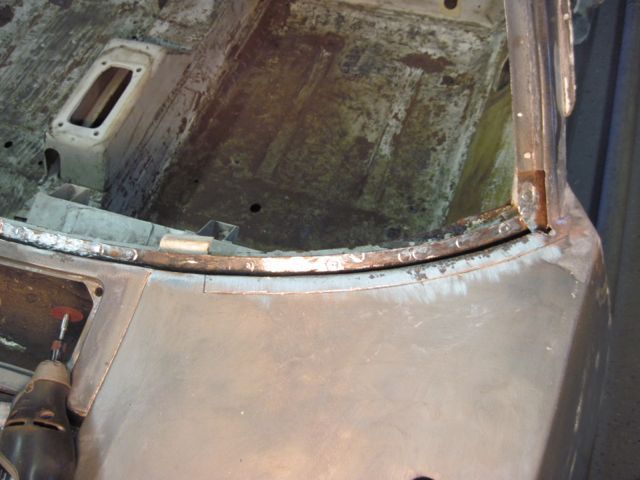
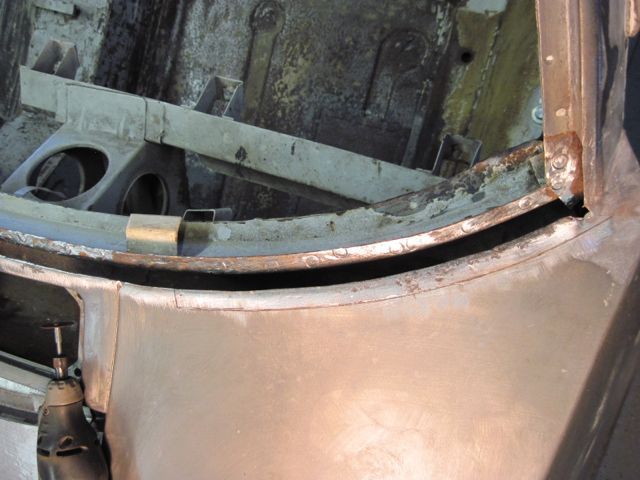
A small segment of the cowl is rust pitted, and needs to be replaced:
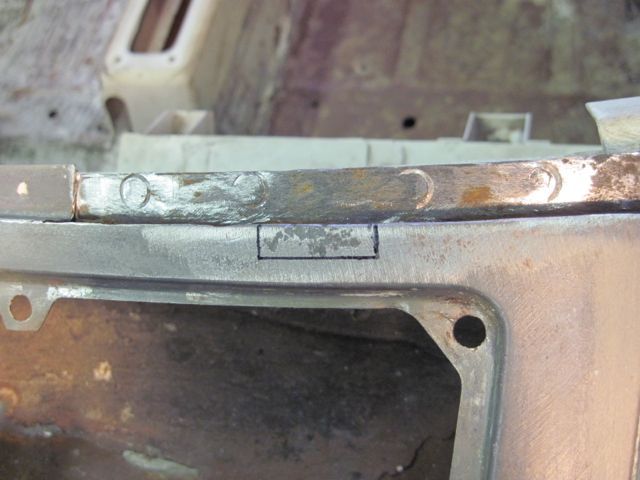
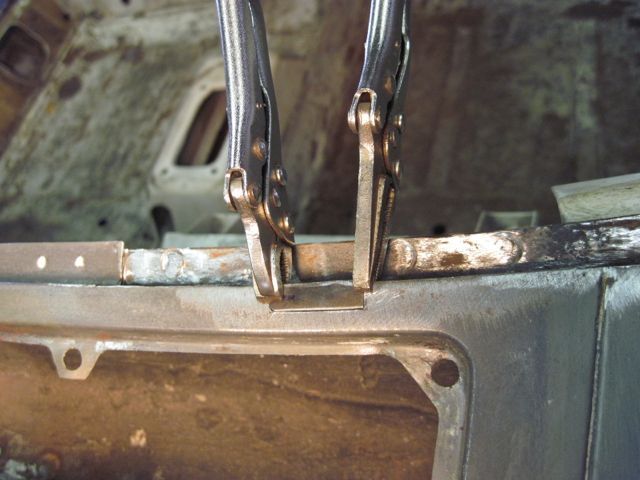
After welding and smoothing, I have solid metal to work with:
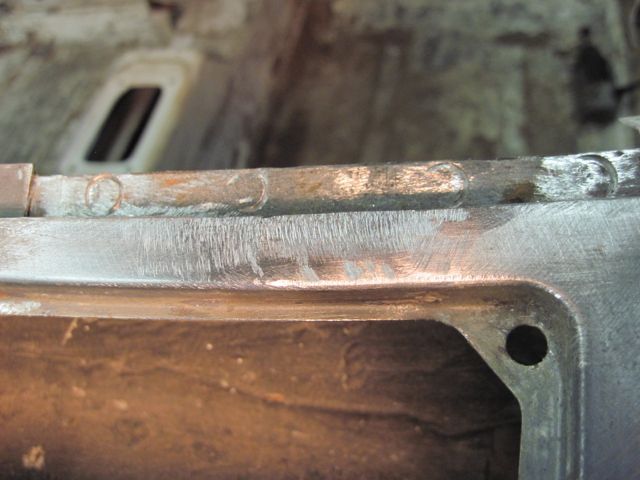
Next I’ll weld in the repair piece on the fender:
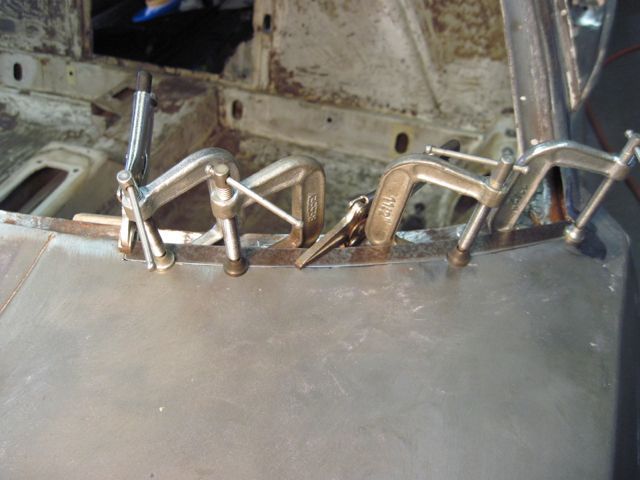
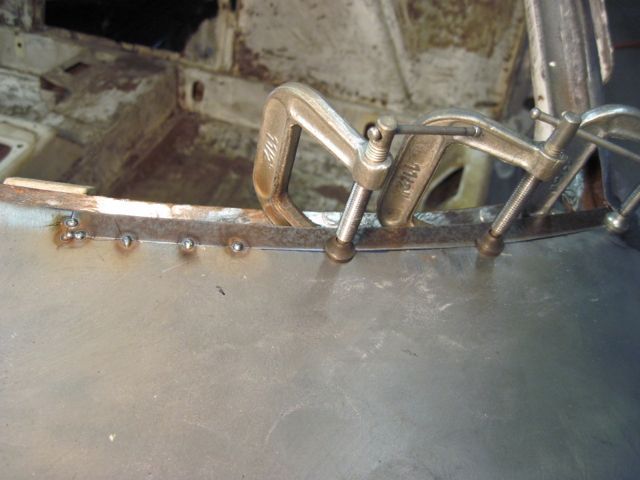
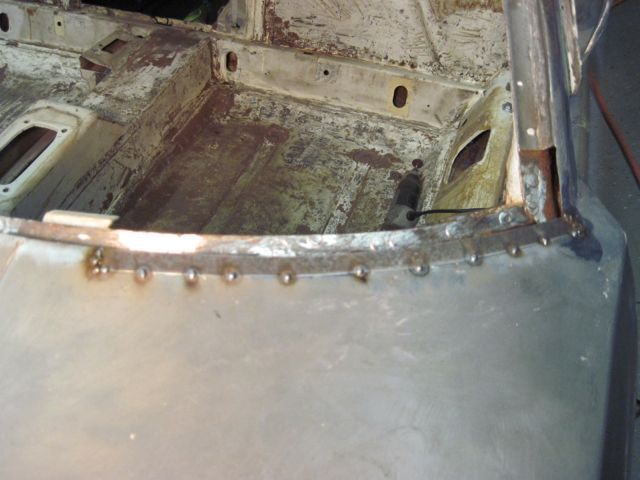
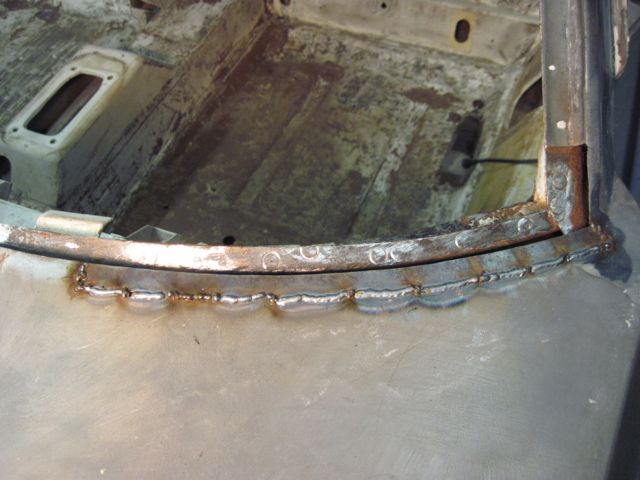
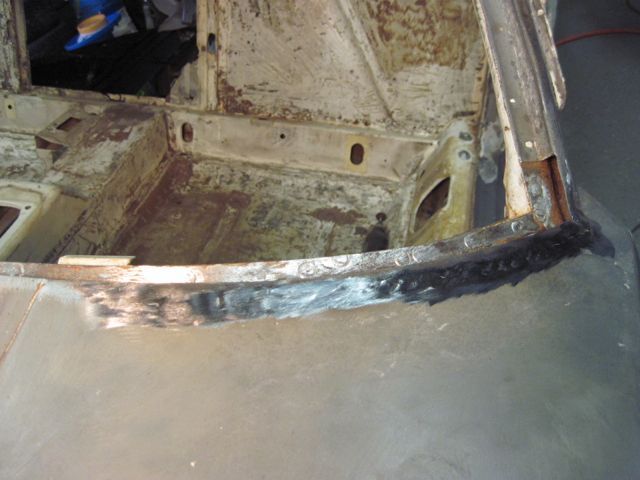
Ok, almost done with this area. Notice how the repairs of the fender and cowl sections are separate, as original. If this area ever needs work again, it will be much easier to do. I will leave the small gap as a water drain.
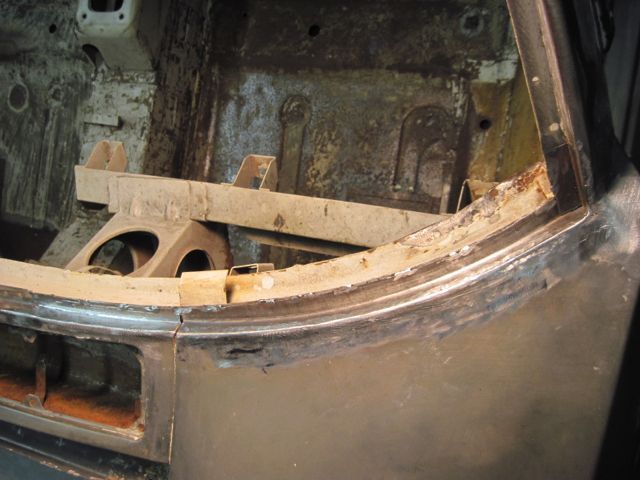
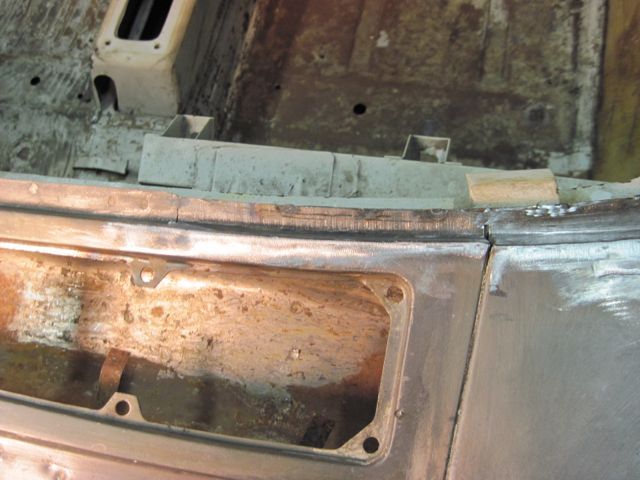
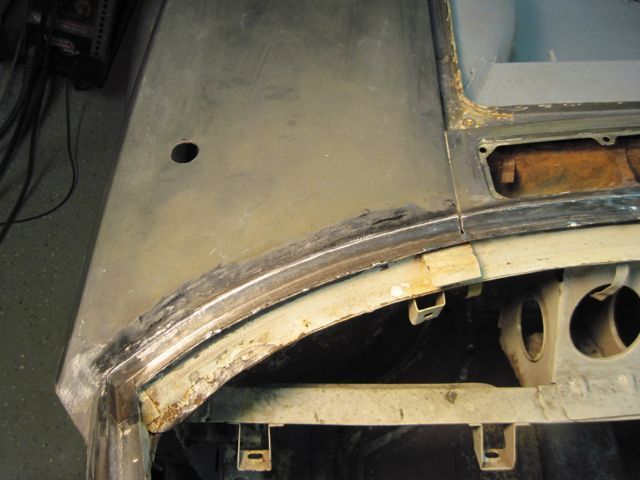
Only the very bottom of the A pillar part of the windshield channel was rusty. Thanks for small favors. This patch segment was welded in here:
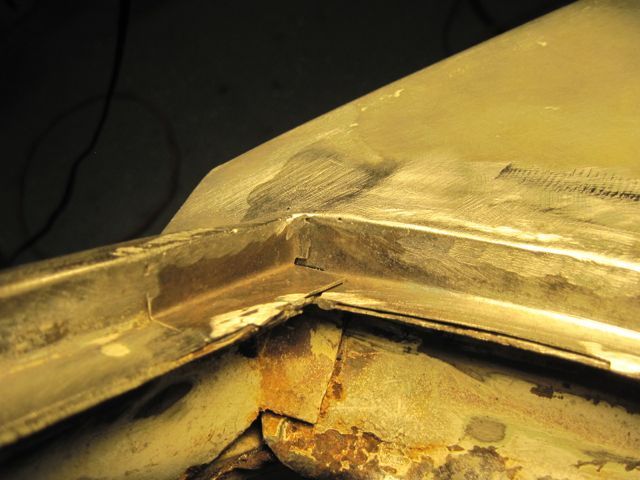
The repairs on the right (passenger) side will have to wait. My right front has both rust and accident damage. It will be one of the last areas I repair, and I will complete the windshield channel on that side as part of the over all work on that area.

