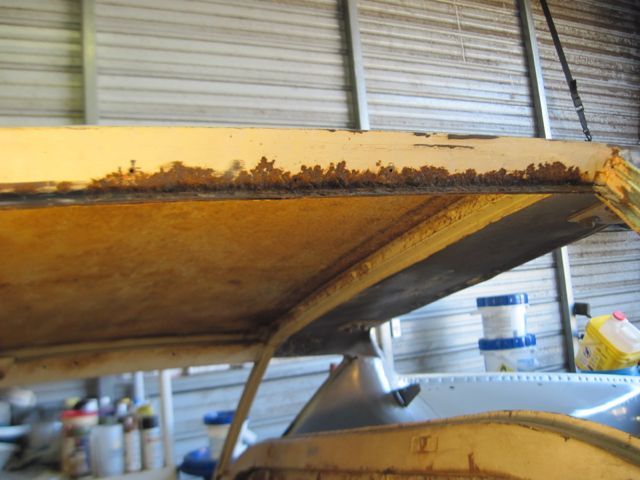
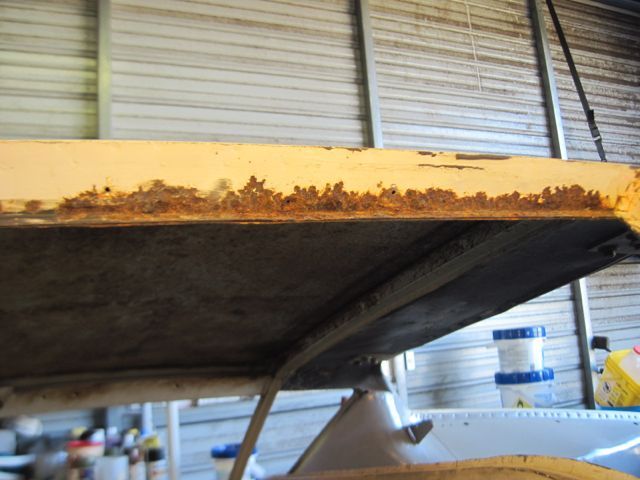
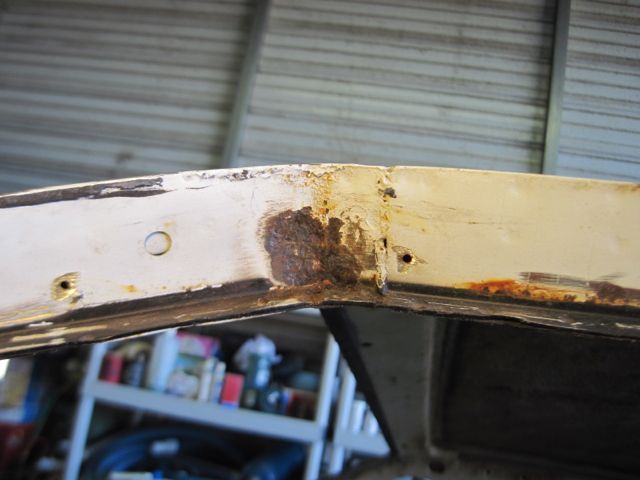
Just a little note about the weld in that last pic, between the rusty patch and the rivet hole. It looks like a butt weld, but it is not; it's a lap weld. More on this in a bit.
The rust on the edge where spot welds are is so bad, I can't see where the welds are. So, I went to the inside and scuffed the paint off so I could see them:
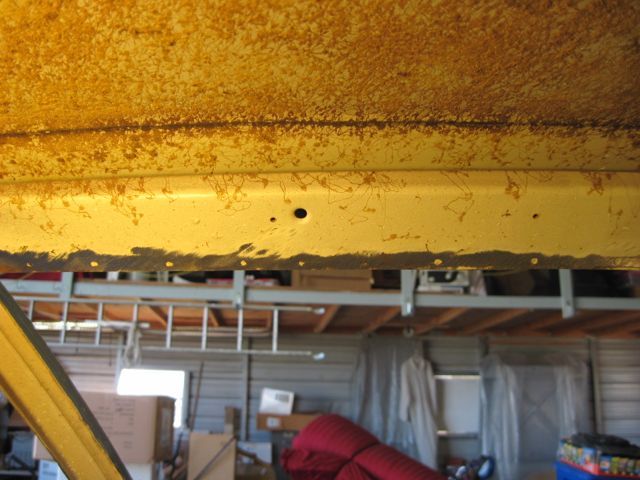
I still cut them on the outside however. Here I cut a small part out to see how the inside structure was made. The inner sill is kind of folded back around and spot welded to the inside of this rusty piece, but up closer to the roof panel. If you look closely, you can see the spot weld divots. If I cut any closer to the roof panel here, I will be cutting into it. This gives me an idea; I can use that inner panel as a guide for my panel nibbler's jaws. It will guide me to cut away just the right amount of this rusty metal:
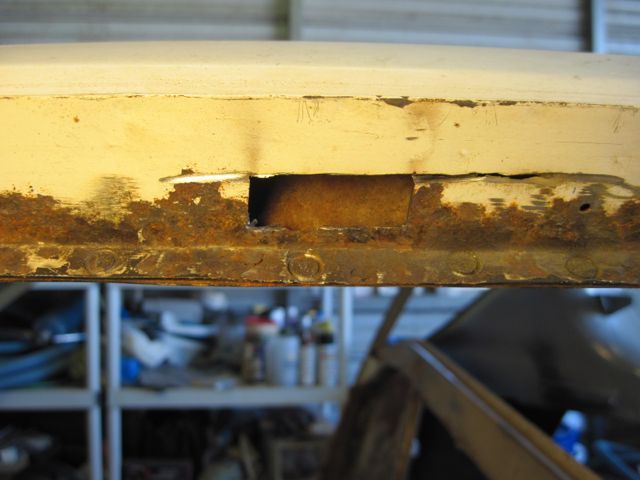
Here you can see this worked pretty well:
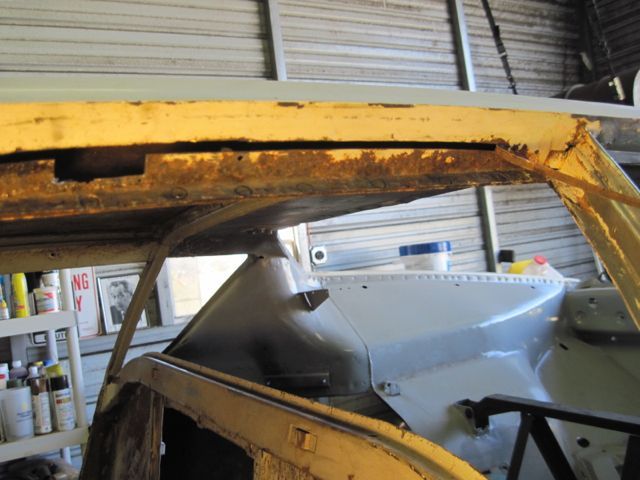
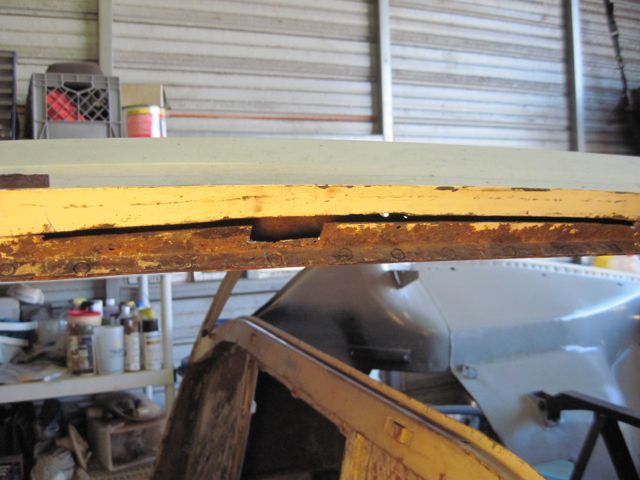
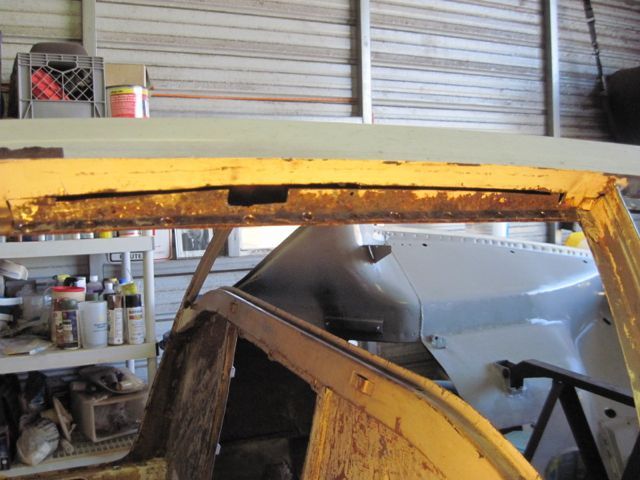
I had to finish up at the fore and aft ends with a dremel. Finally the rusty strip comes off:
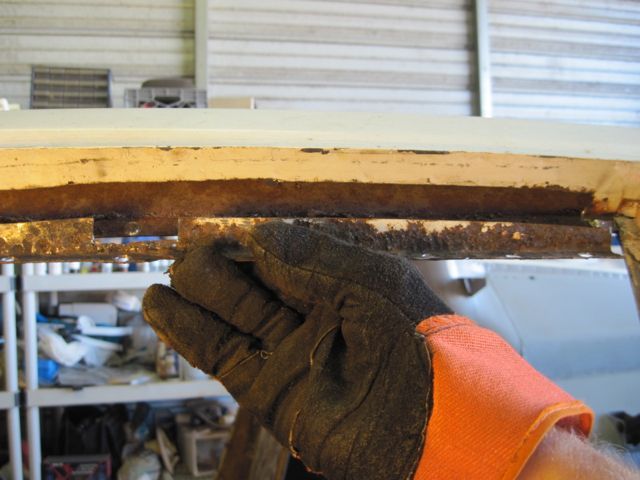
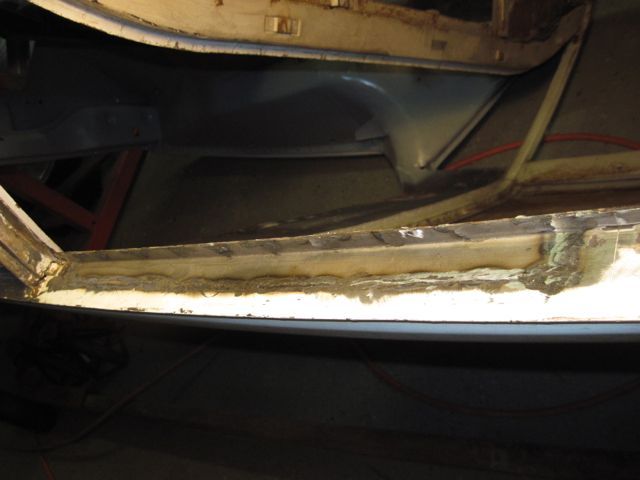
Again I am fortunate that the rust formed from the outside in. The inner structure is solid:
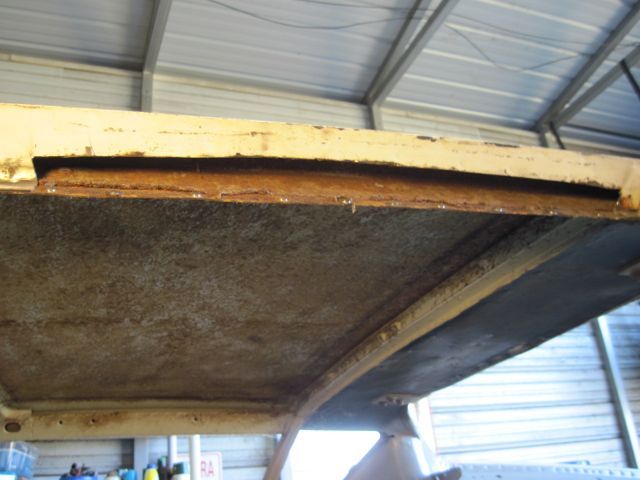
Pay attention when you make the repair pieces; this is 16 gauge steel:
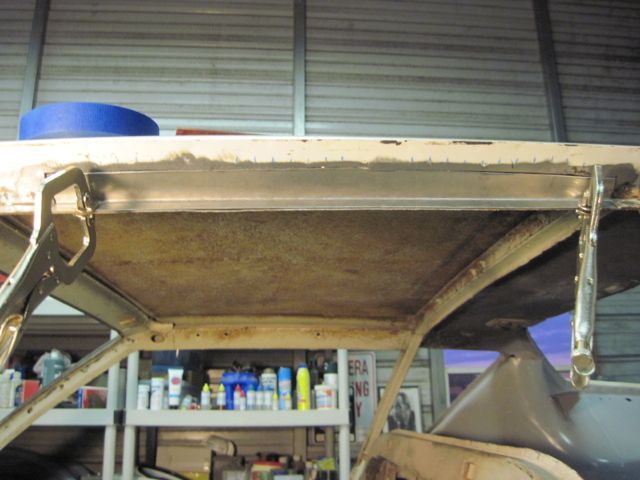
Now to fix this bit. Cutting in tight corners can be difficult. I actually save my cutting discs when I have worn them down to 1 or 2 cm. in diameter. I use them in tight spots like this. I only get a few seconds of use before they're gone, but they do the trick.
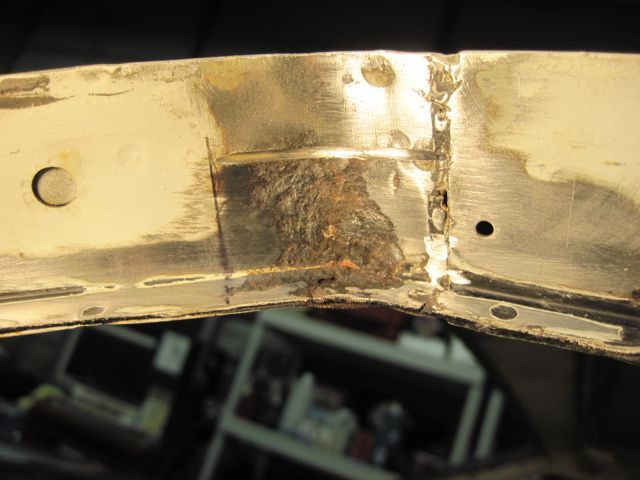
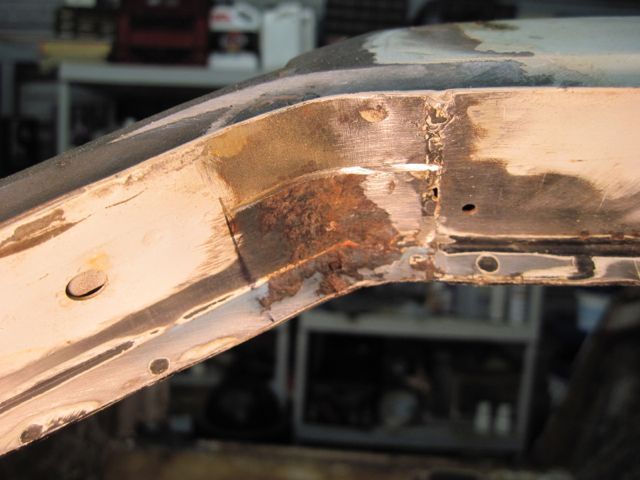
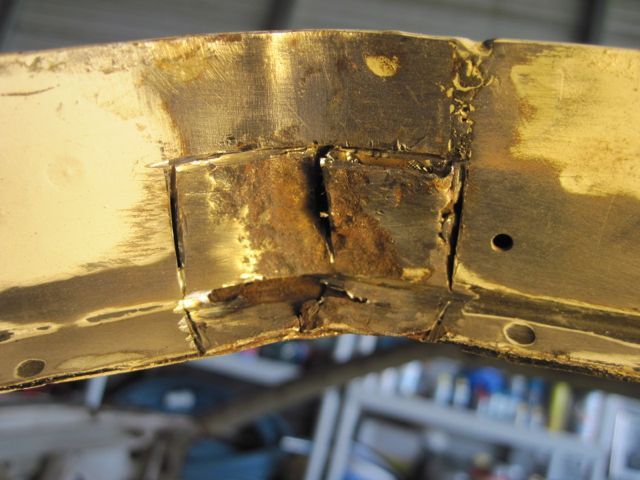
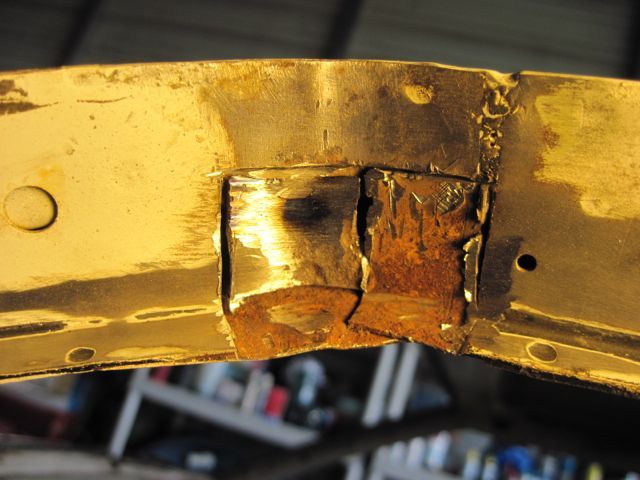
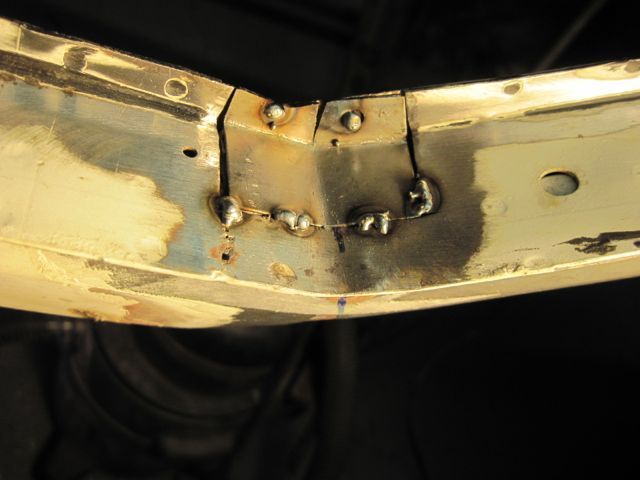
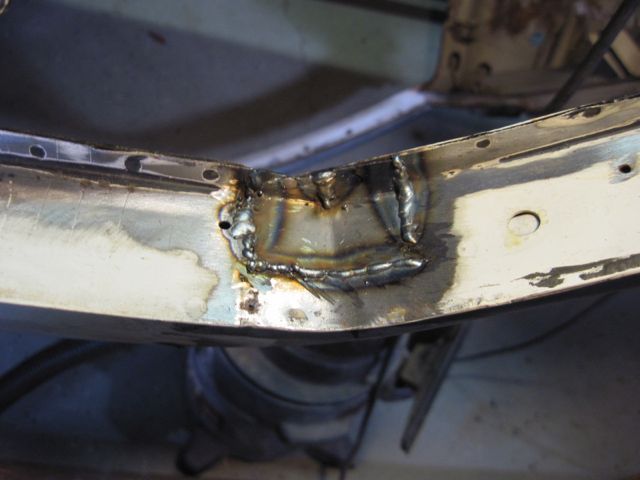
See what I mean about this being a lap weld. Again, I’m lucky that the rust has only affected the outside; the inside is solid. I can clean this up and weld in a small patch:
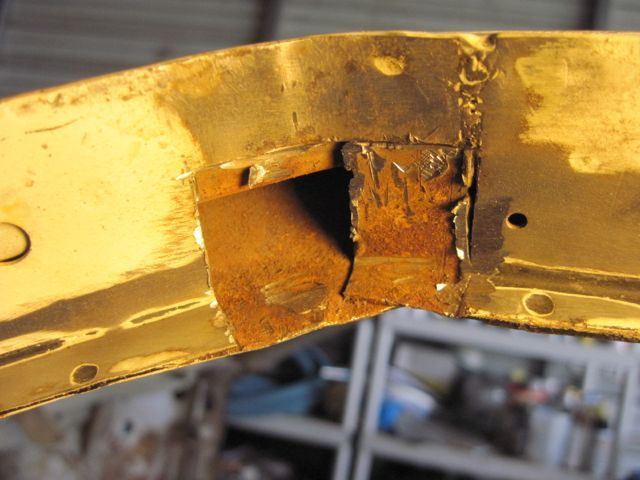
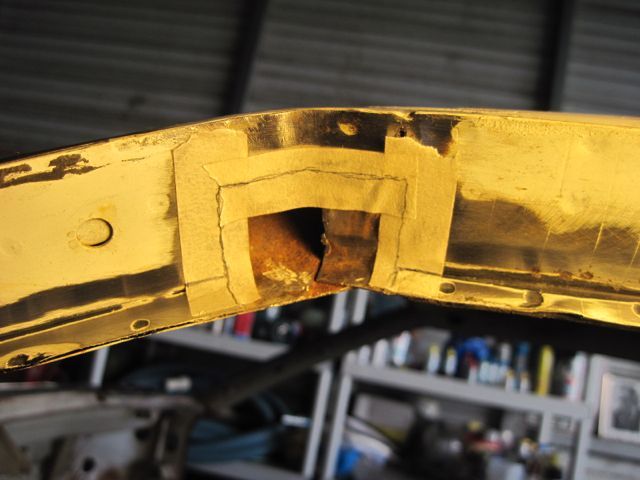
Making the patch and test fitting:
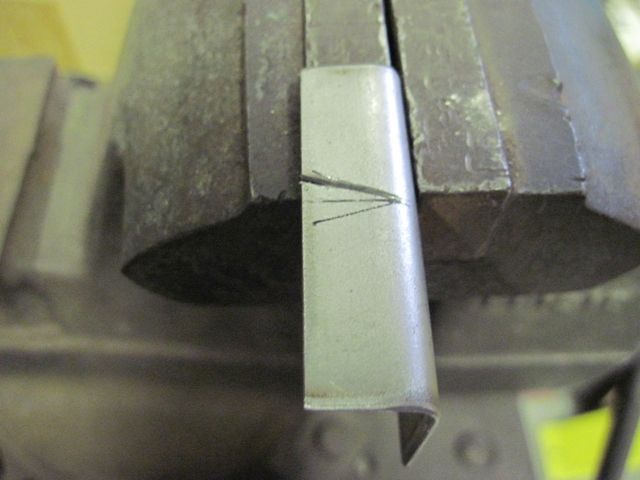
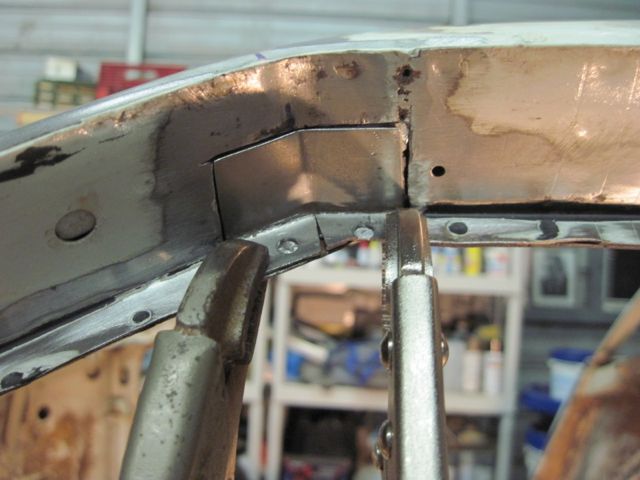
Finally the pieces are clamped in place, tacked, welded, and smoothed:
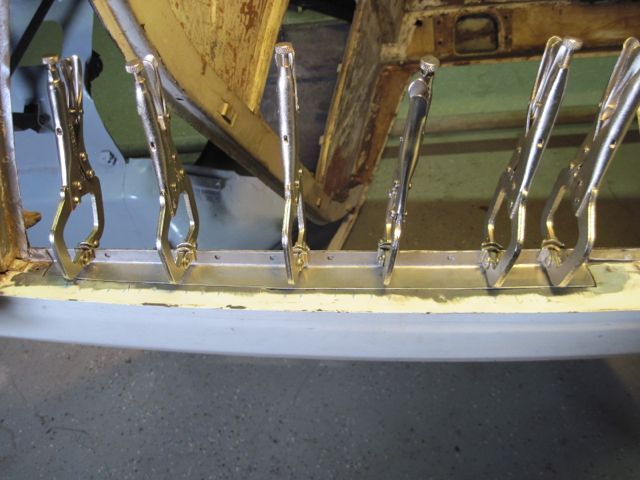
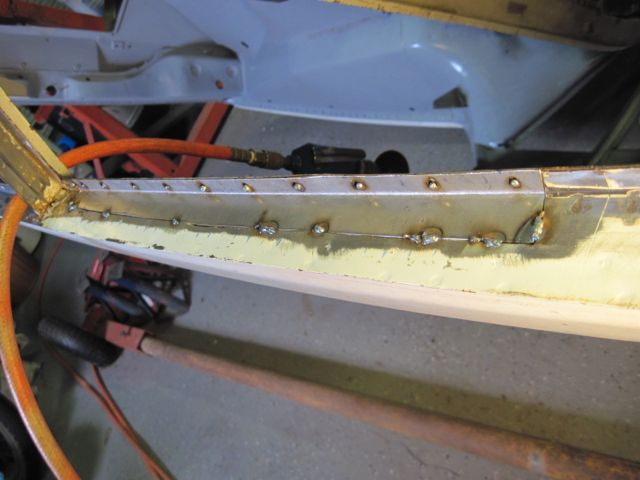
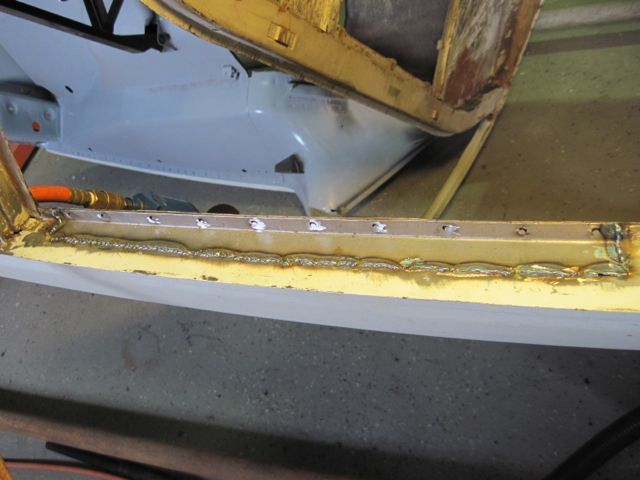
Needless to say, I will NOT be using pop rivets to hold the trim on. I’ll use low profile stainless button head screws.

