Here I have already scuffed off the worst of the rust, and I have to ink mark the spot welds just to see them:
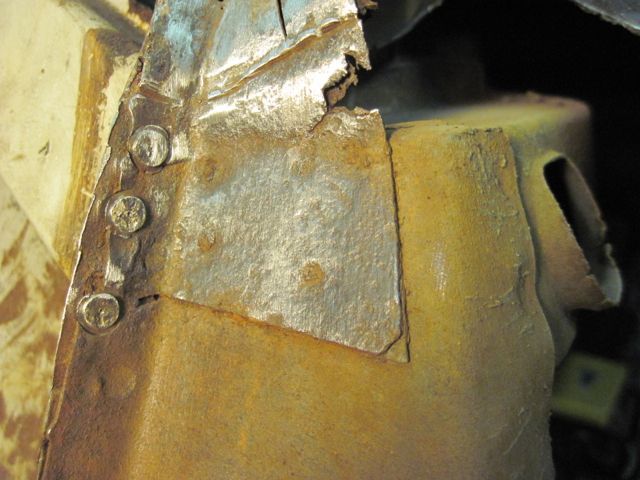
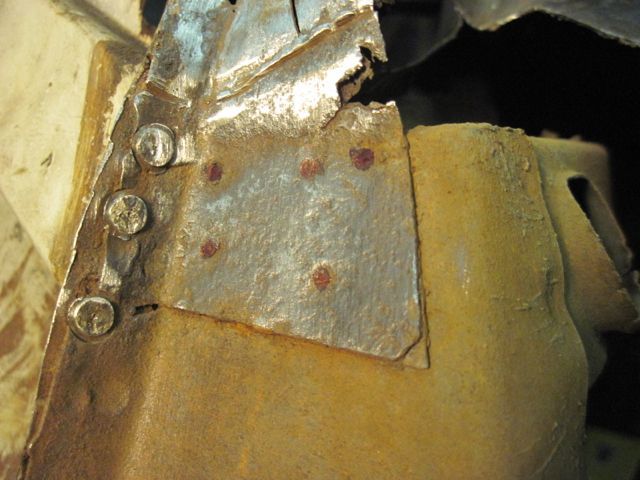
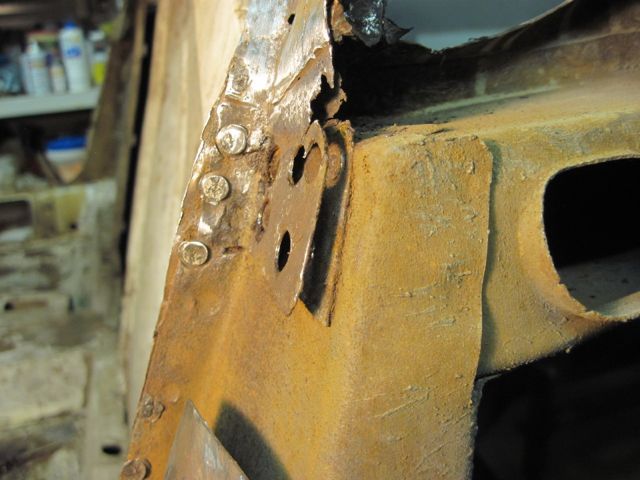
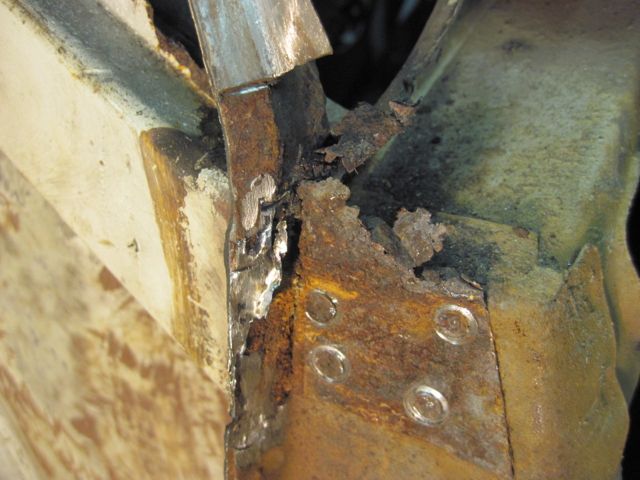
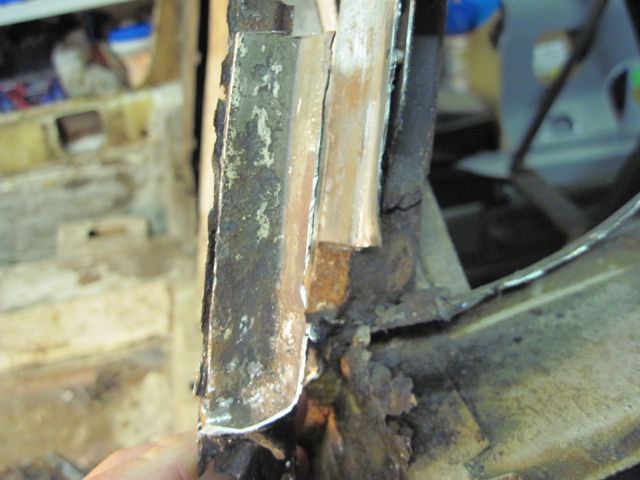
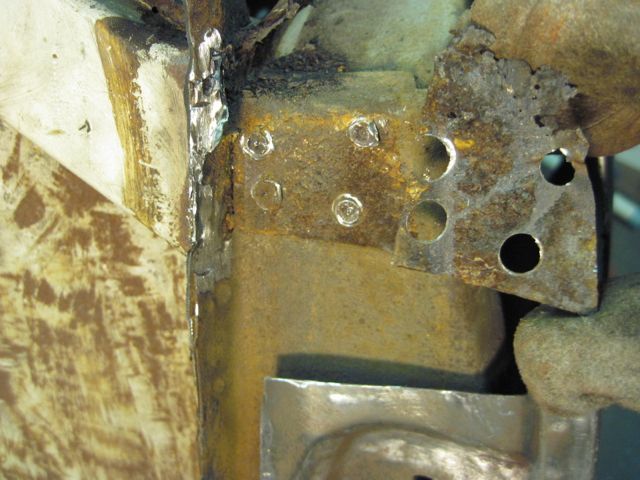
Now I have that junk out of the way, I can start cleaning up this area:
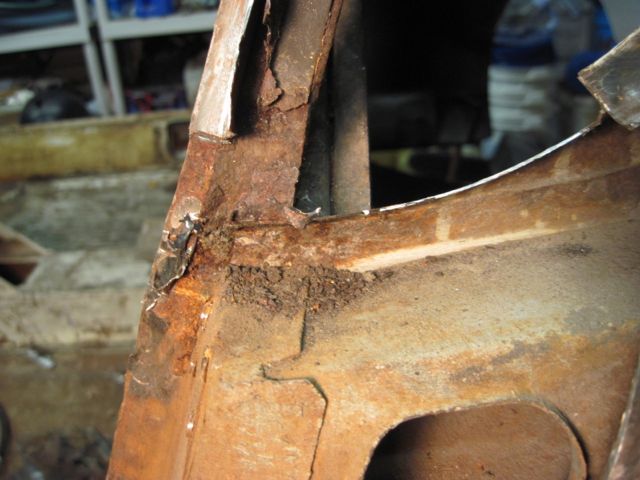
And get an idea of what this weldment looked like originally:
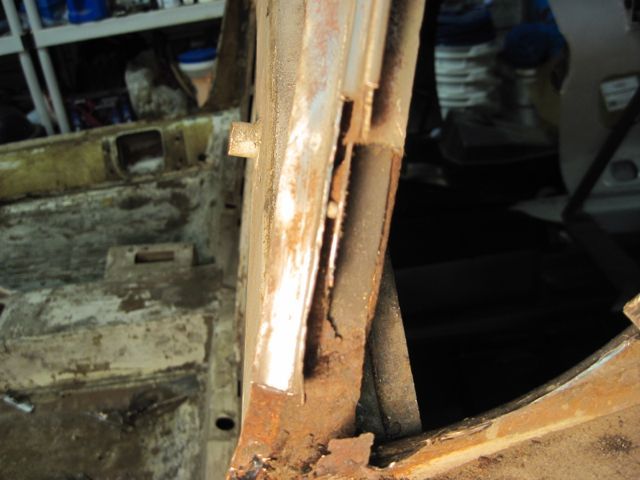
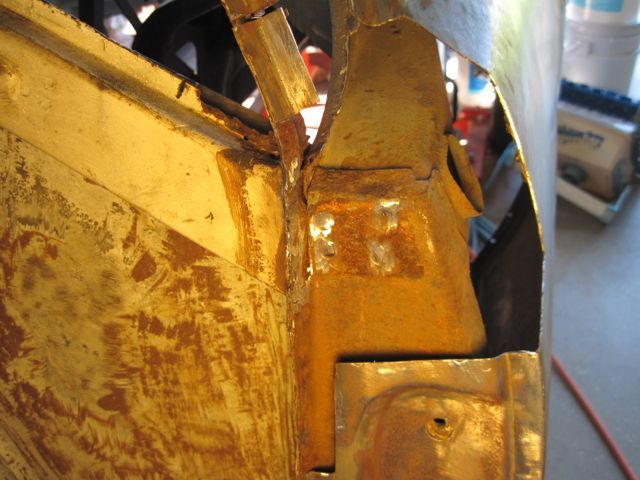
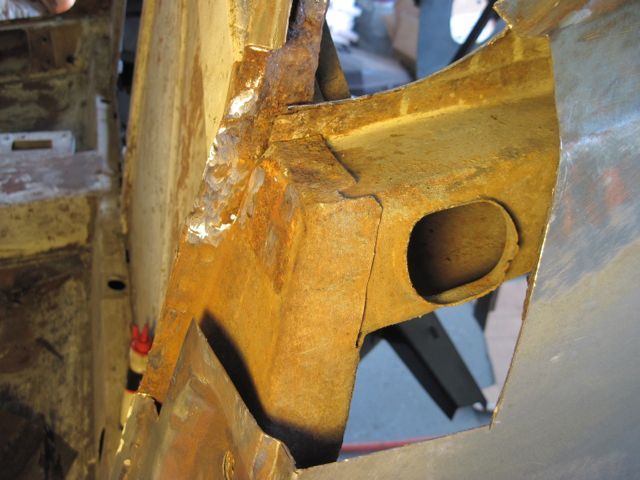
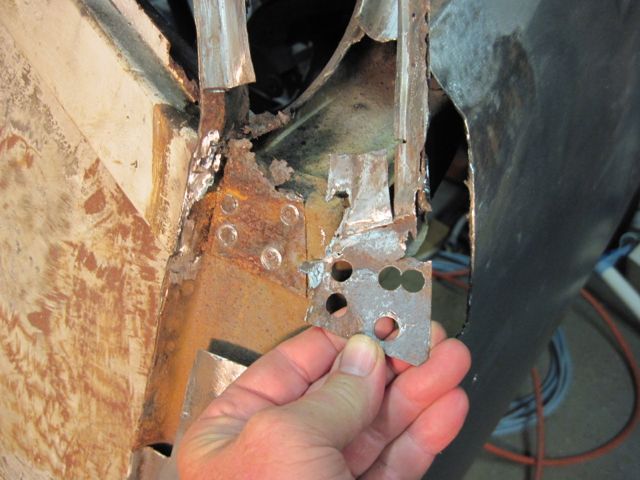
See where I have started to cut these pieces out:
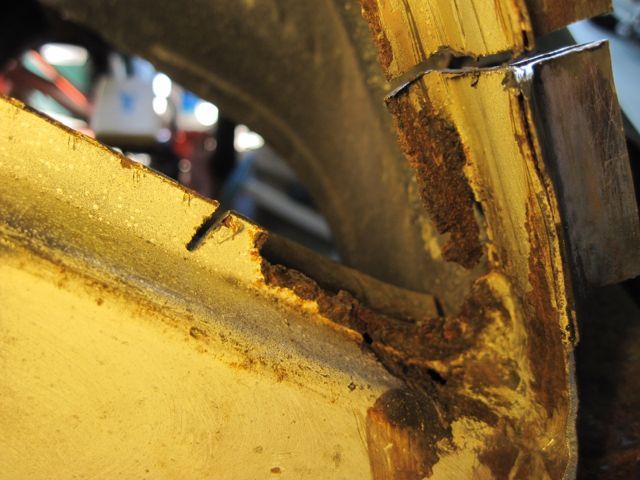
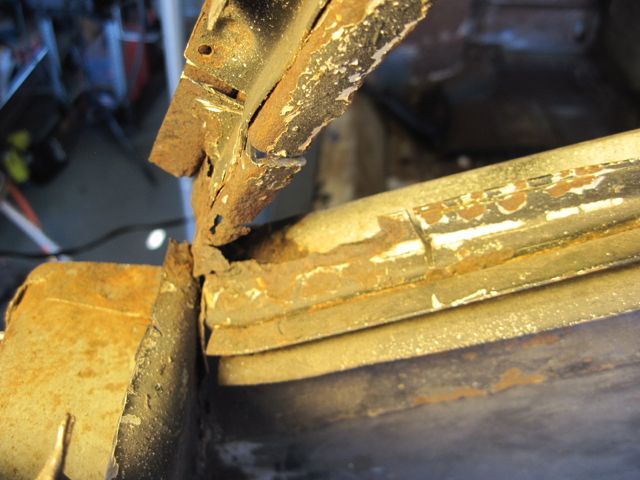
Once you get the rusty junk out of there, and clean up the rest, it starts to look more manageable.
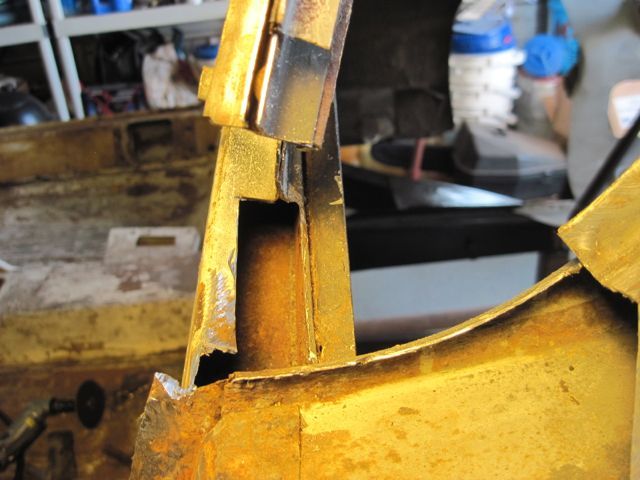
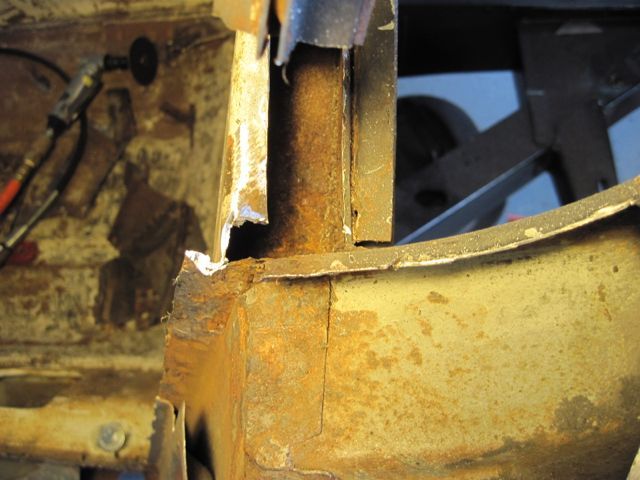
Here is a cross section cut of the vertical B pillar extension:
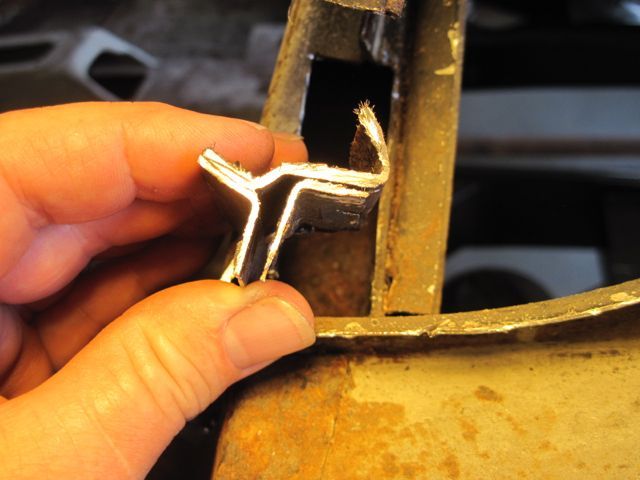
Another tip; keep all pieces of the damaged parts you cut out, no matter how bad, until the repair is completely done. They give valuable clues to guide you in reconstructing the parts. Even if you do not copy them exactly, in many cases I haven’t, they show the intent of the designer. Some times you can simplify, or even correct a weakness in the design, and keep a problem from occurring again.
Next episode: making the repair pieces and welding them in. Stay tuned!
Rod.

