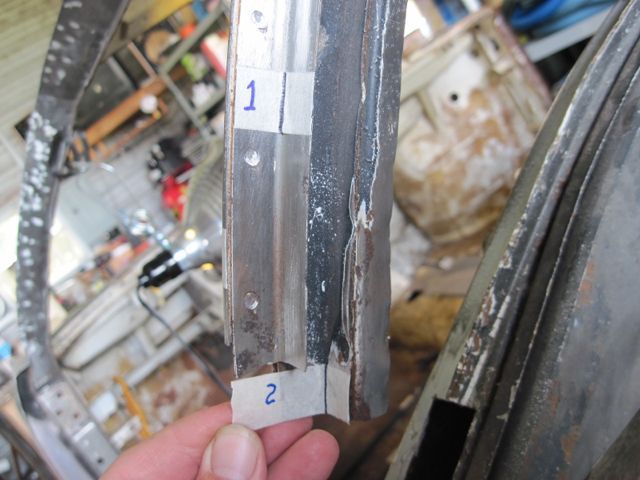
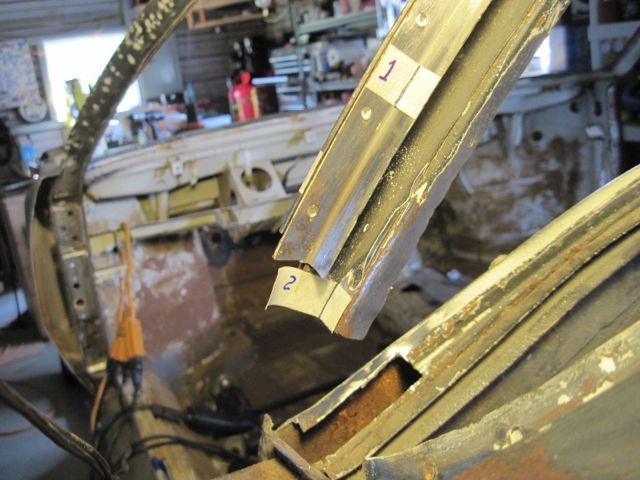
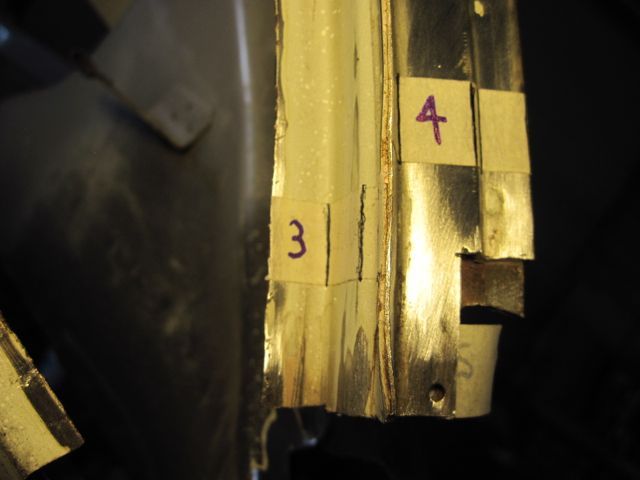
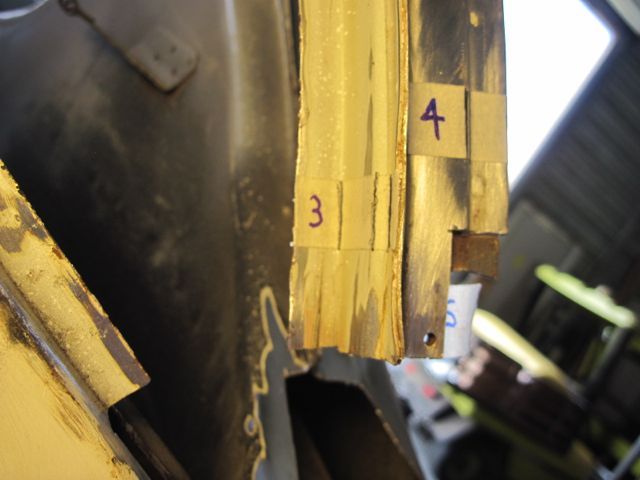
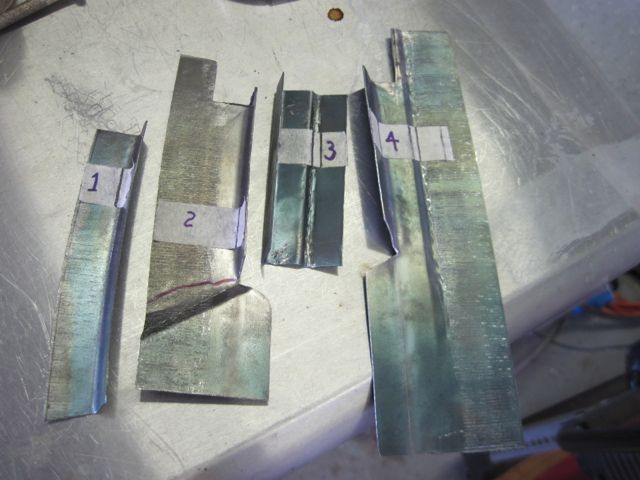
Here are the repair pieces in rough form. Yes, it took a few tries to get them right. Notice on #4 for example, I left extra width so I could get a grip on it with my stretcher jaws. Cut the extra material off after I got the bend right:
This piece I will be saving, but I have to cut off this bit of rusty flange so I can make a new one:
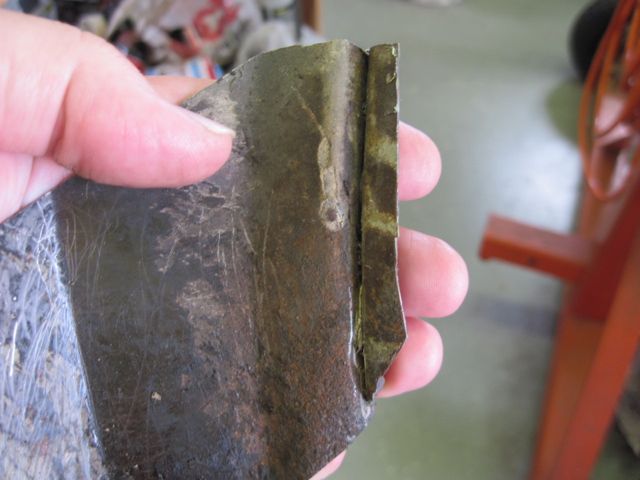
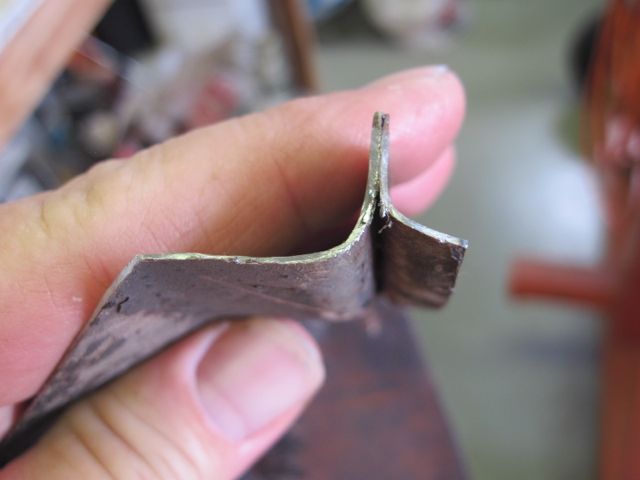
The first piece to repair is the top of the cockpit cross member. I decided to do away with the pinch weld flange, as it really does nothing useful. The back glass gasket has plenty of flange to hold on to, and in this tight corner the flange kind of does more harm than good. If I find later that I need it, I can easily weld on a piece to replicate it:
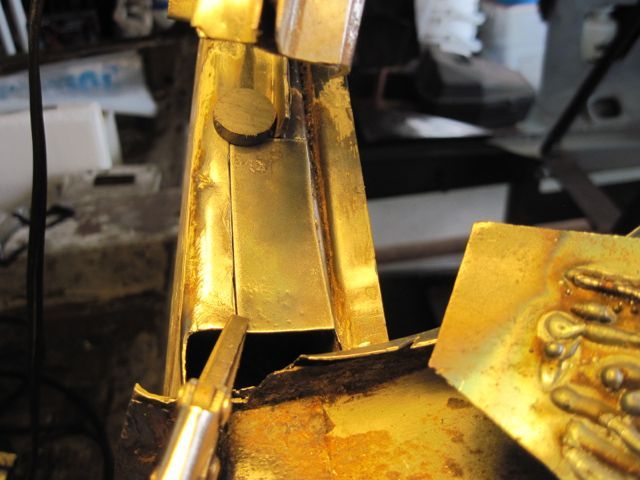
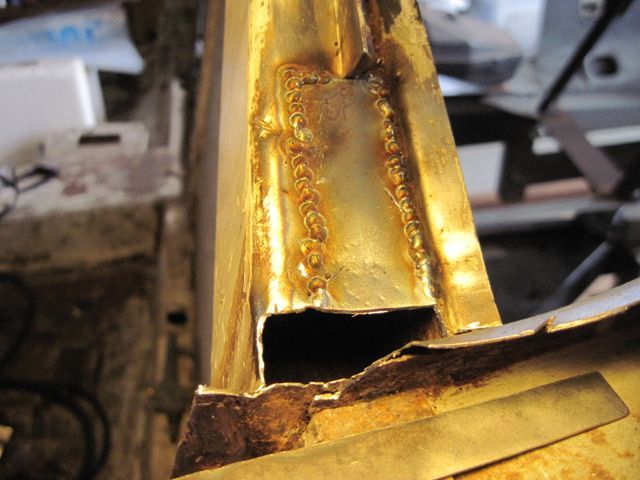
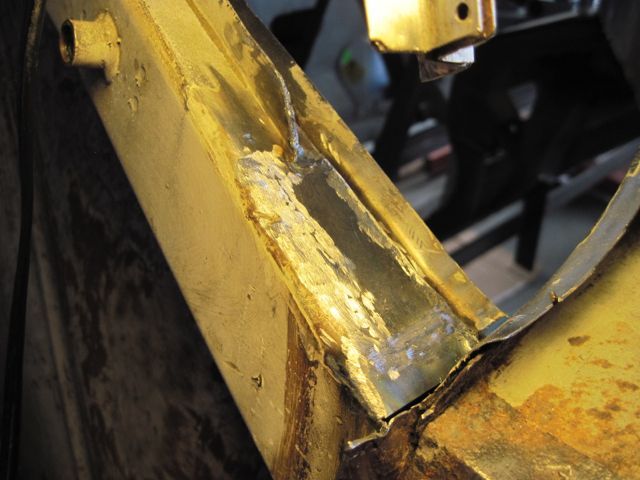
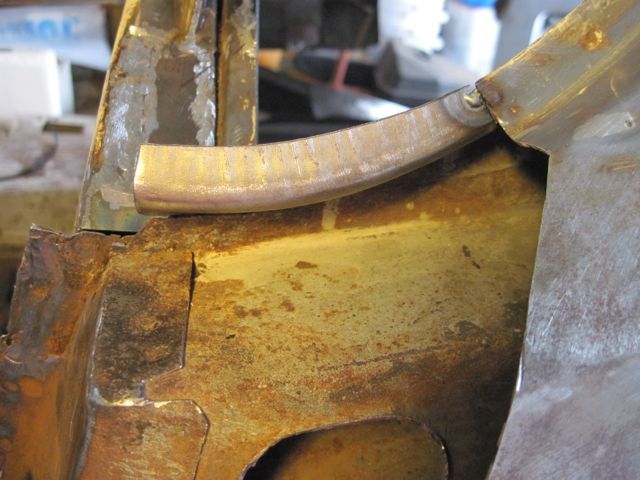
Next to make a new piece for the inside of this flange; at the bottom of the rear quarter window opening:
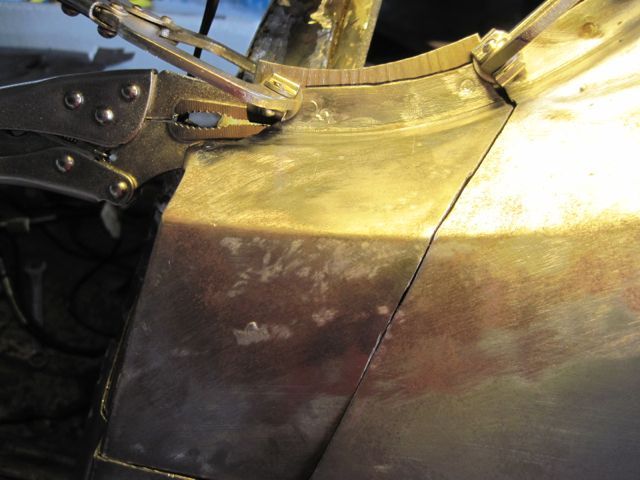
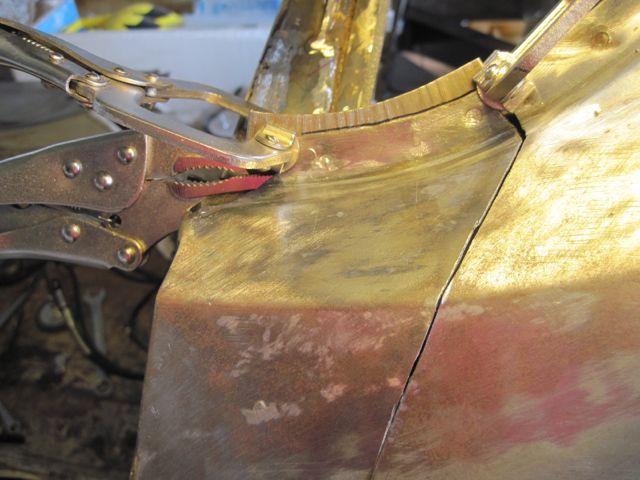
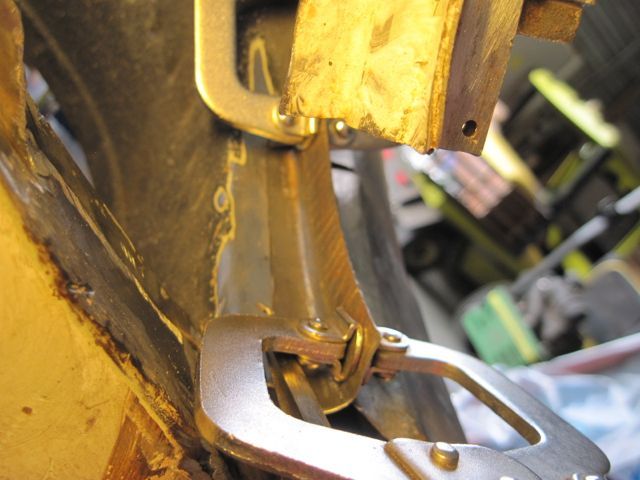
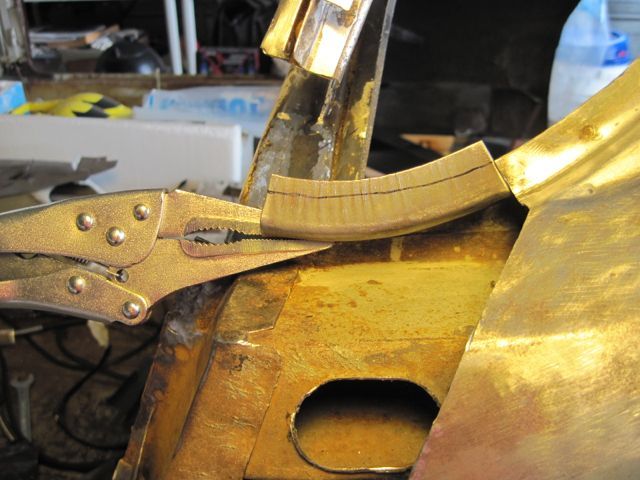
While I’m in here, I am going to make a shield for this big hole. I brushed and vacuumed out the crud, and thankfully found no serious rust inside. I trimmed a bit off the flange, then fitted a simple metal shield:
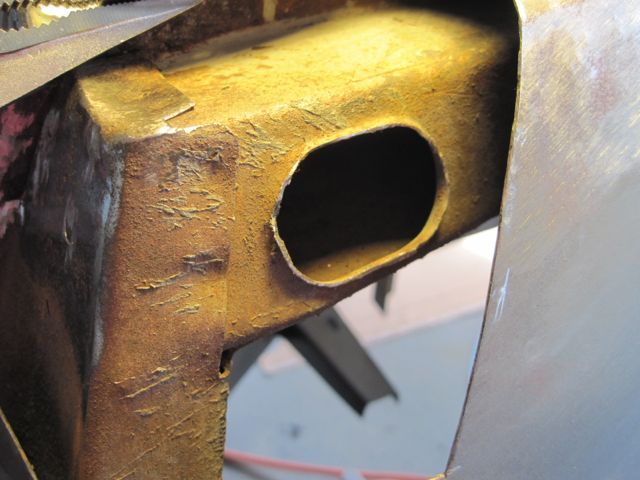
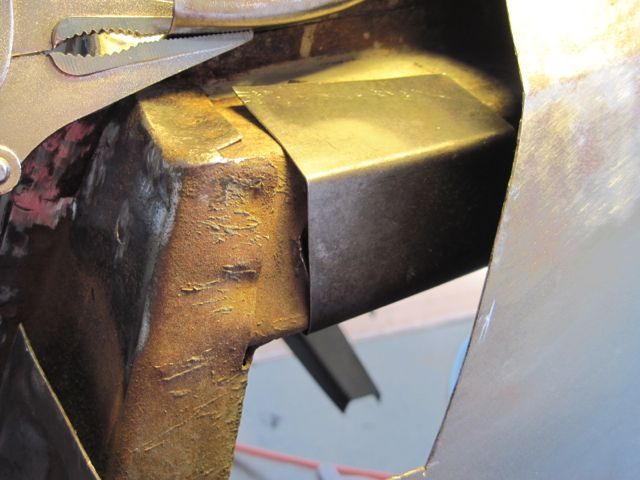
I just want it to keep most of the crud out, but allow air in for evaporation. It is held with a single self tapping metal screw from below. I’ll spray some undercoating in the area later.
Here I have trimmed this inner panel flange piece and adjusting the fit:
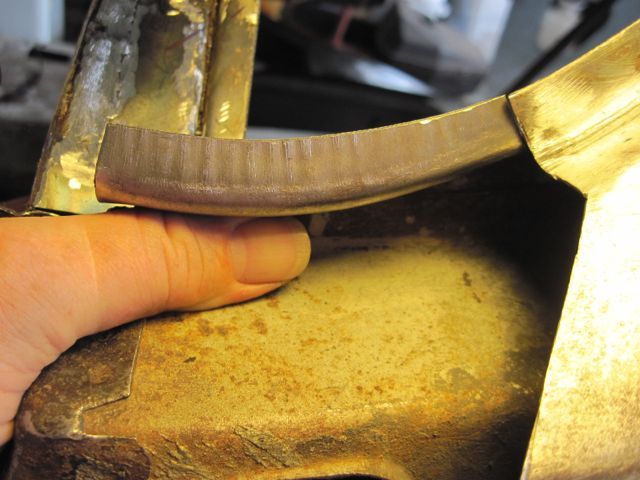
This area is not easily seen, so I do not worry too much about making it pretty:
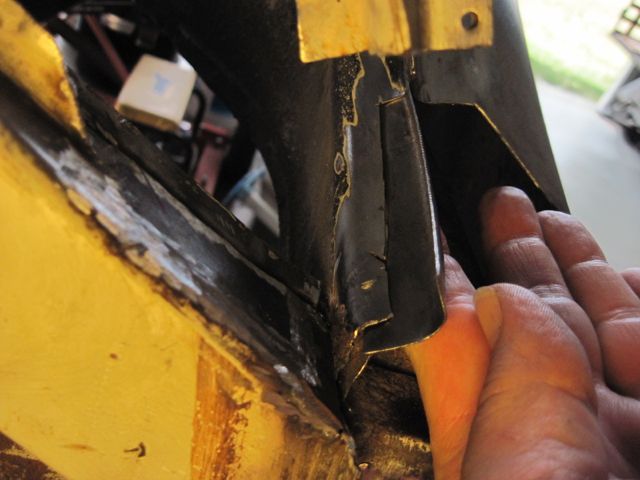
Now to weld it in:
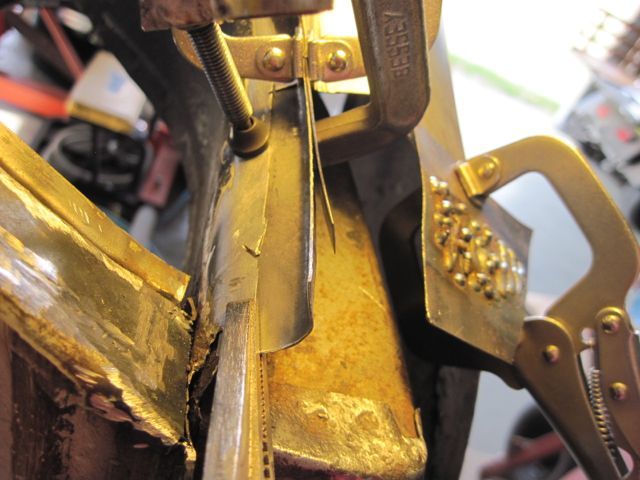
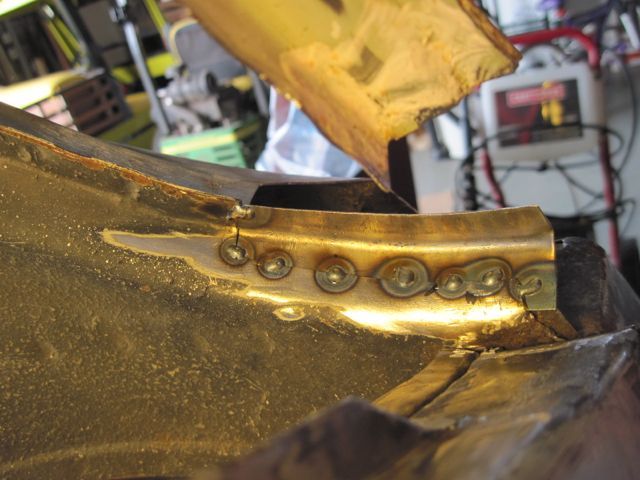
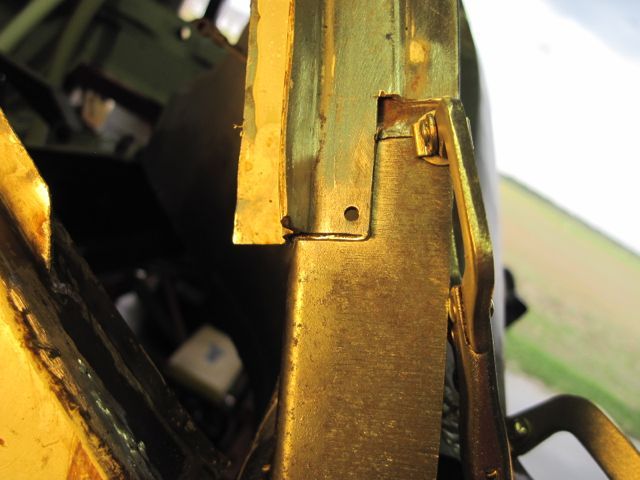
Next to start repairs on this weldment. Starting with piece #2, it is the first one to attach back on to the upper B pillar. That little hole is original, from one the rivets that holds the trim piece on. It is a pain in the butt; I either have to leave it or recreate it. I chose to leave it, and I have to be careful about welding near it.
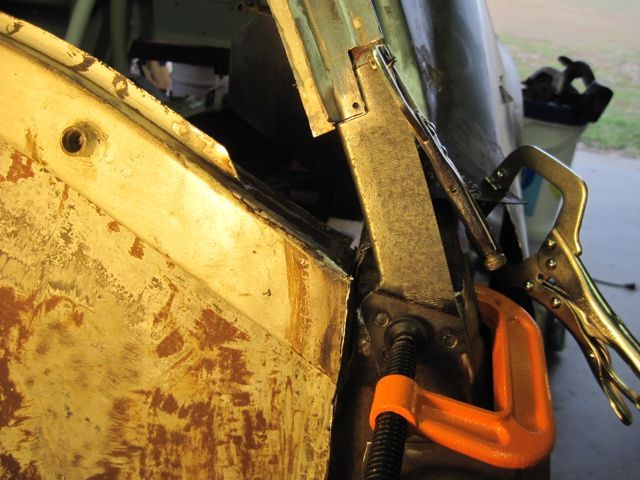
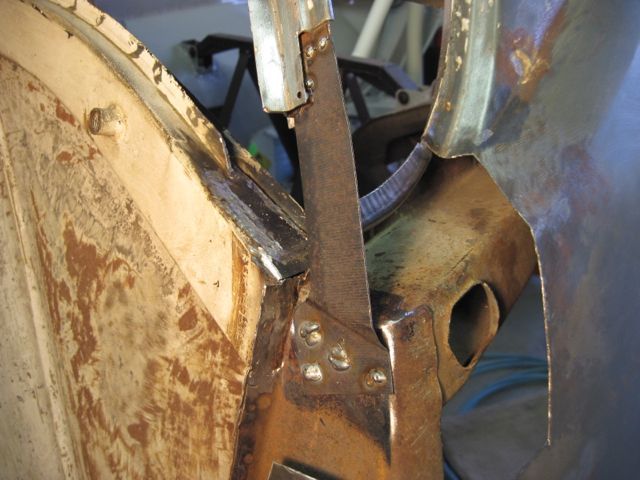
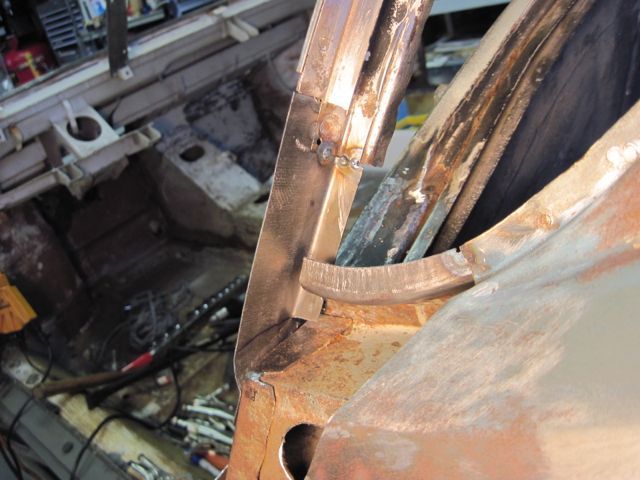
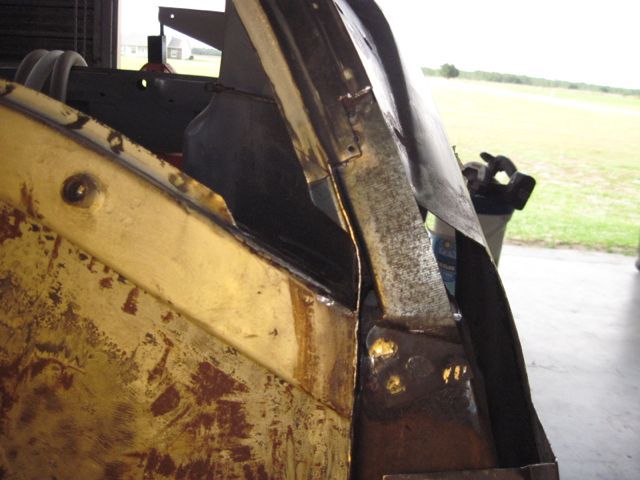
Here I pause to test fit the quarter panel piece I cut out of the way earlier. It hits the edge of piece #2 just a bit, so I’ll trim #2 off a tad.
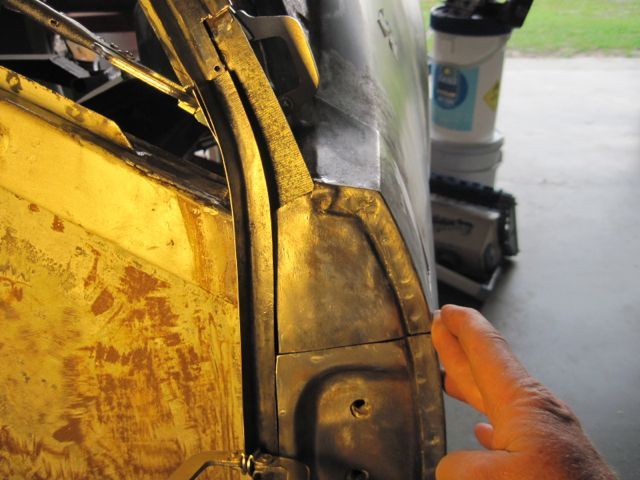
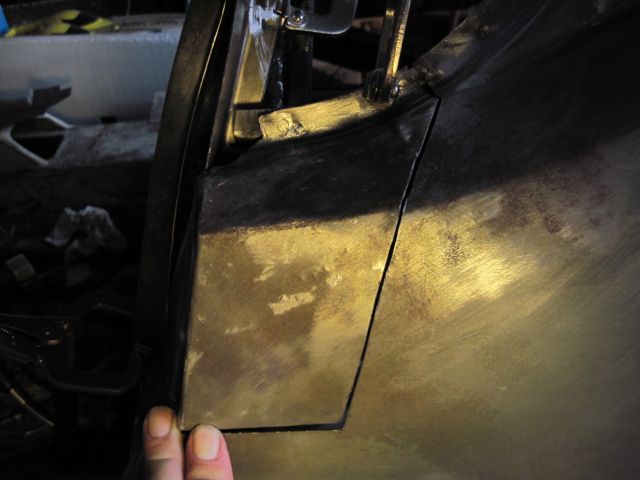
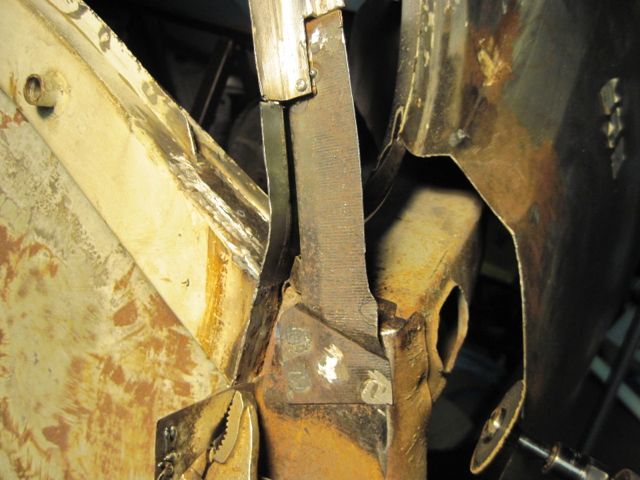
Back to welding:
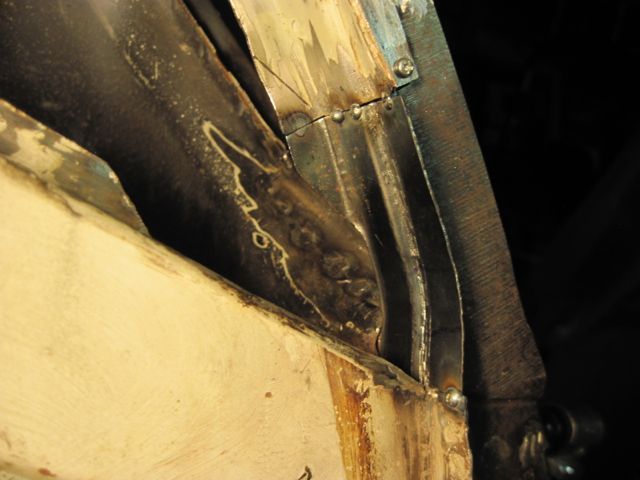
I had to use a small screw to align the rivet hole in this new piece with the original. There was so little room that a nut would have been in my way, so I used a split pin instead. The screw and pin were removed after the welding was done; they were only there for alignment:
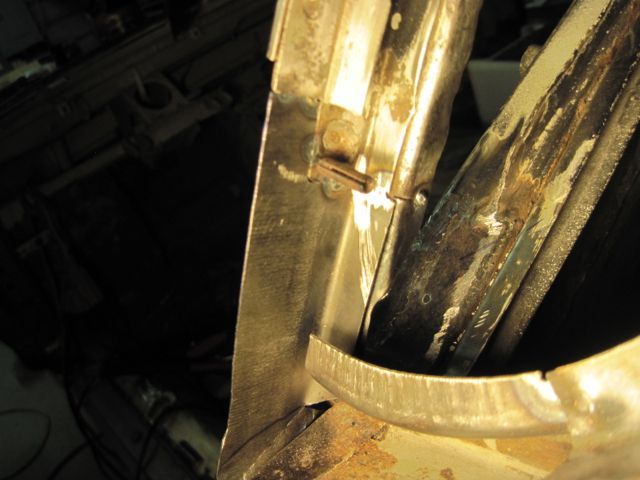
Finally I have enough of the welding and smoothing done so I can spray some zinc primer in there:
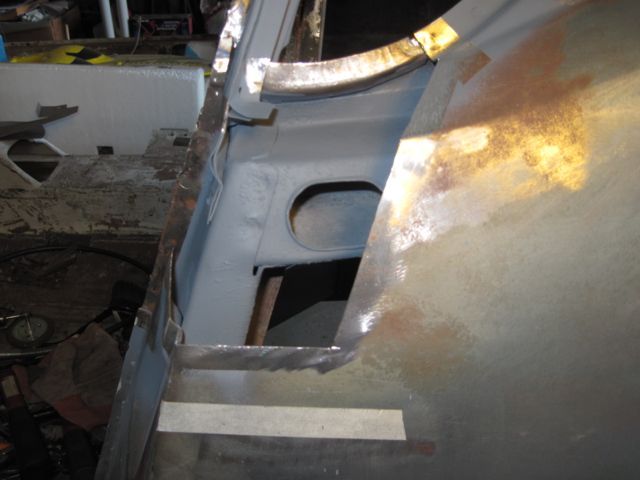
Now to prepare the quarter panel piece to go back on. I welded some backer strips on it:
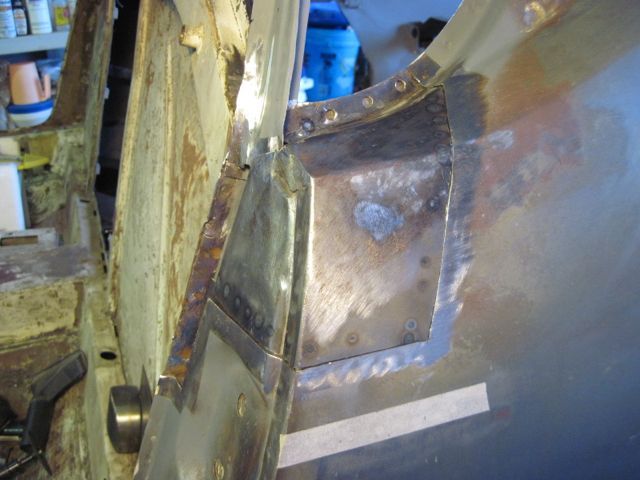
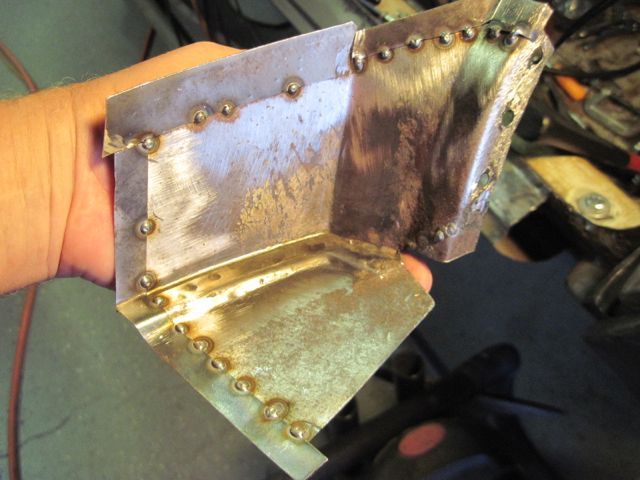
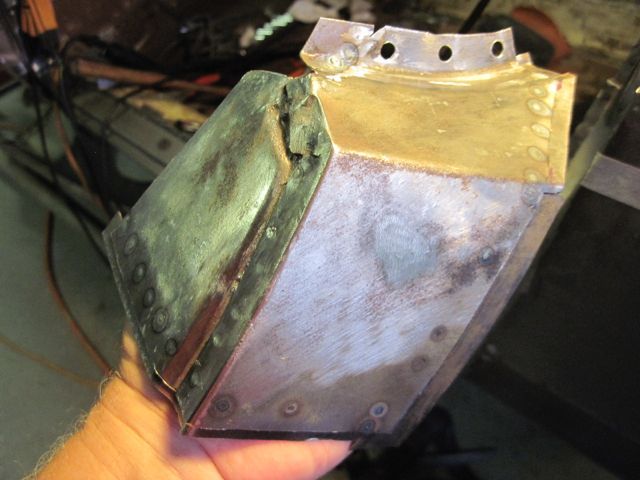
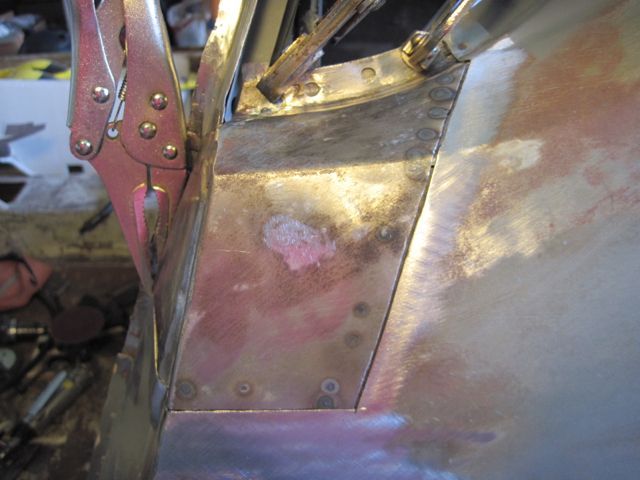
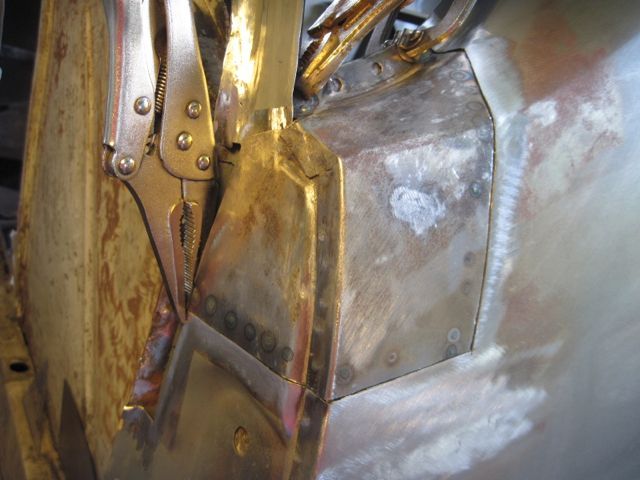
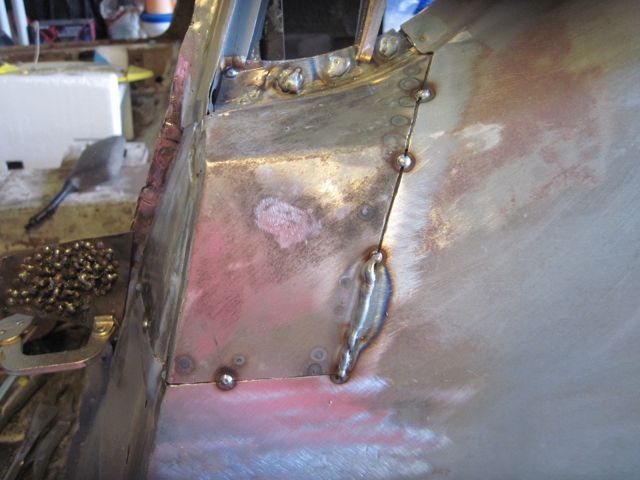
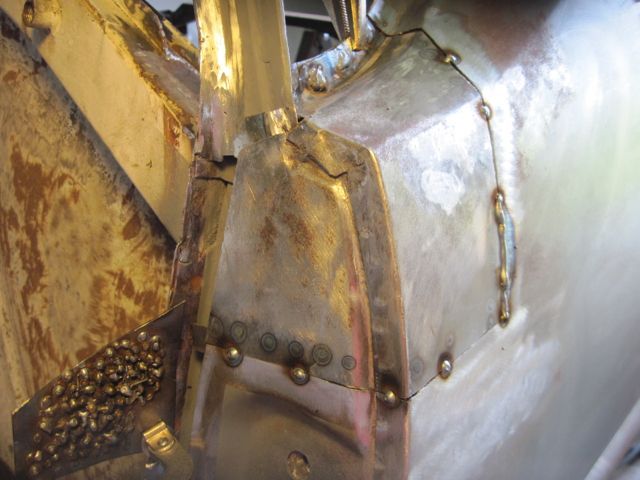
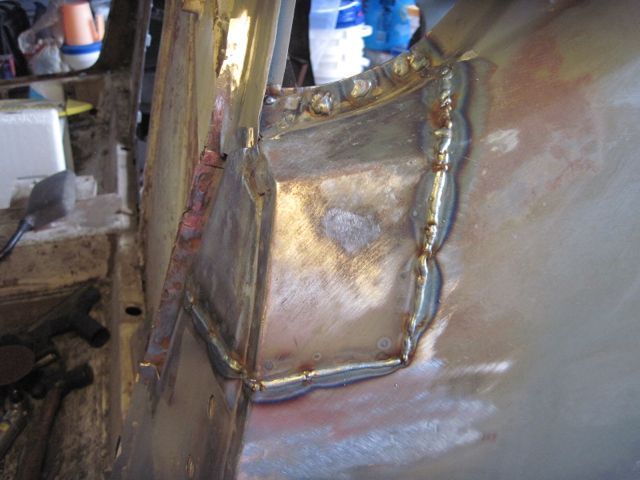
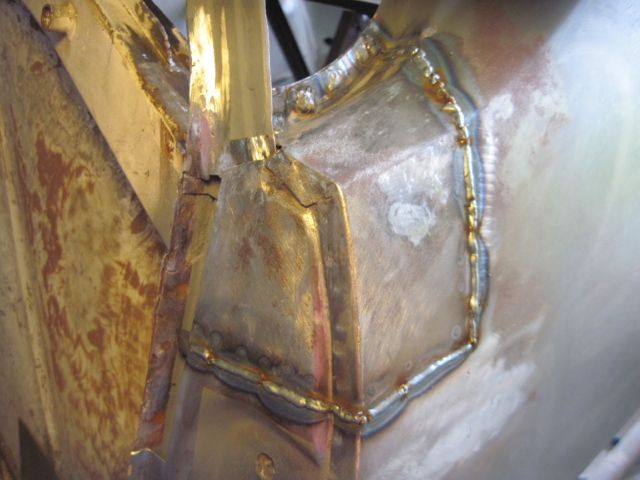
After some smoothing, it looks much better. There were also some dent puller holes just below this area which I welded up also:
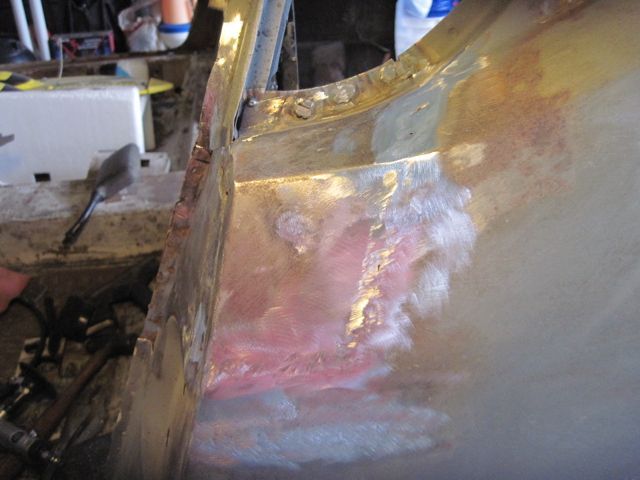
Finally I have to weld in a strip of metal where the striker’s cosmetic panel meets the door frame; this was badly rusted out:
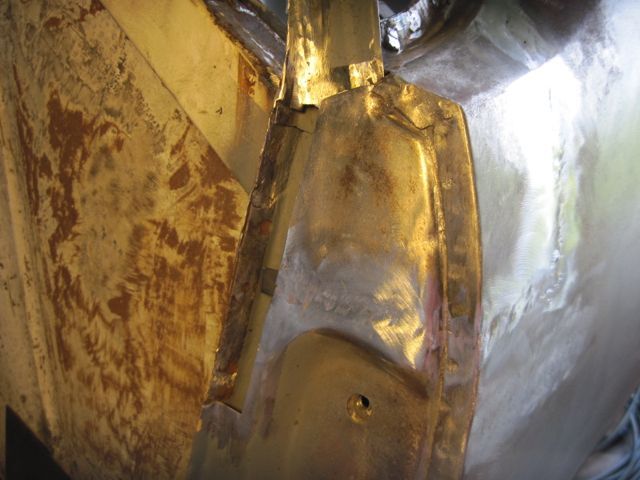
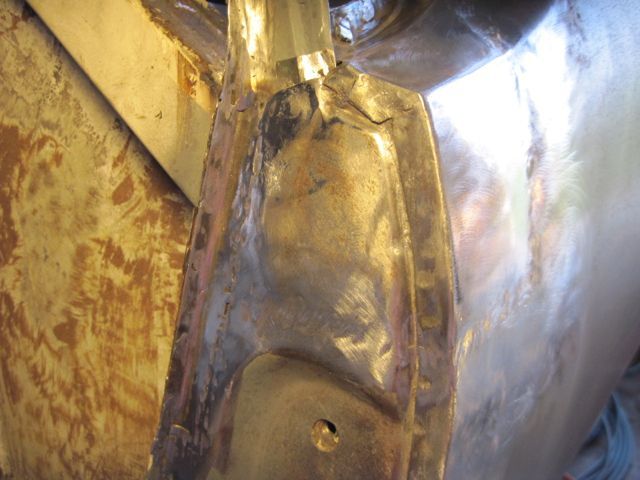
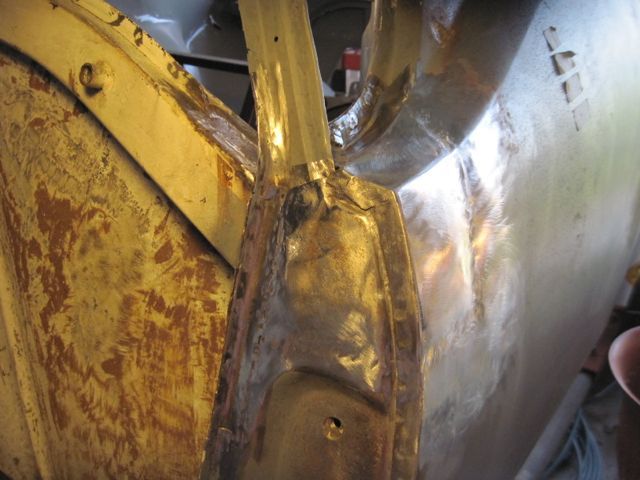
After touching up a few pin holes and smoothing, I pronounce this job done:
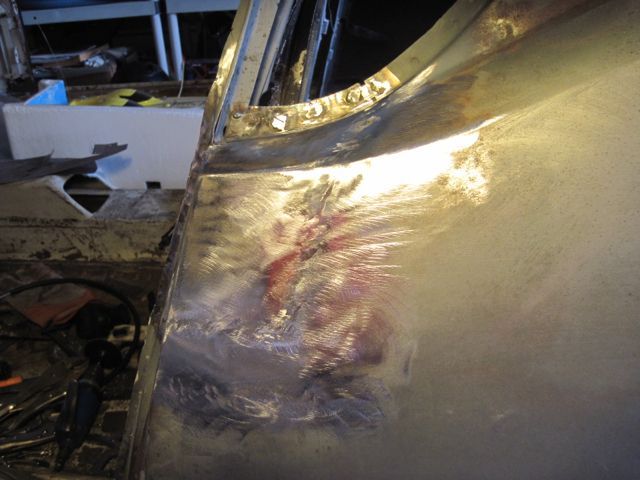
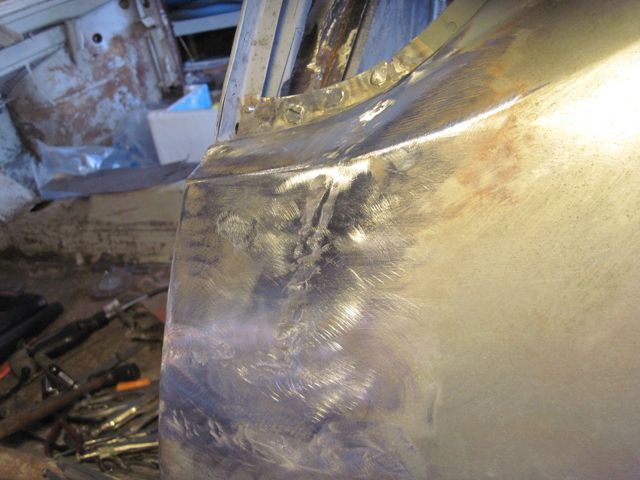
Time for a beer!

