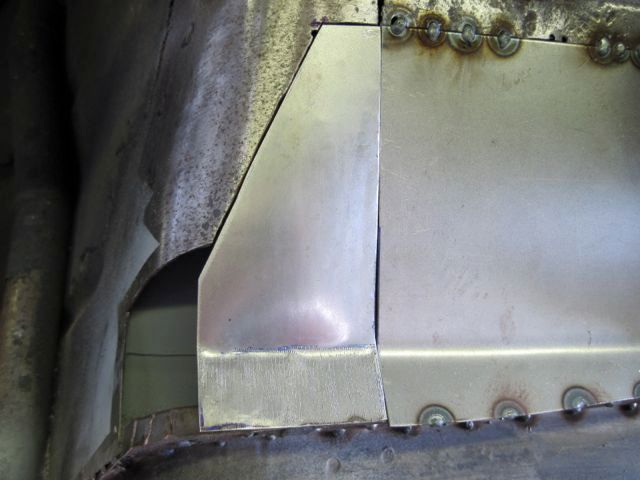
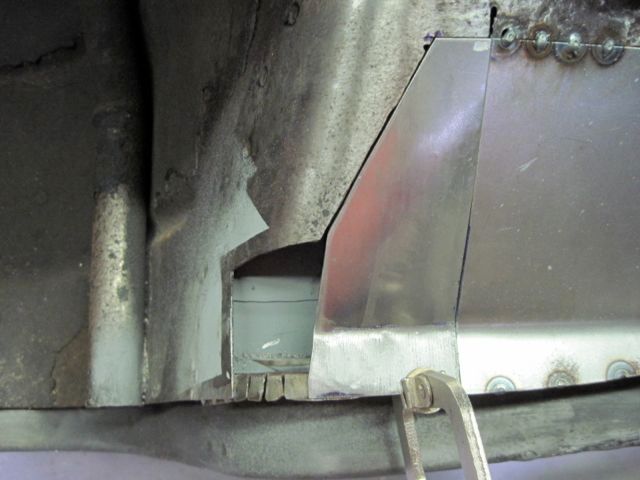
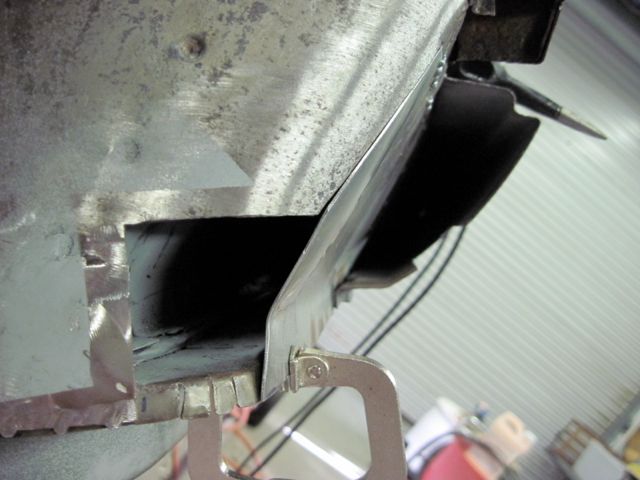
I decided to put a drain / access hole here, so I can spray primer and rust proofing inside later:
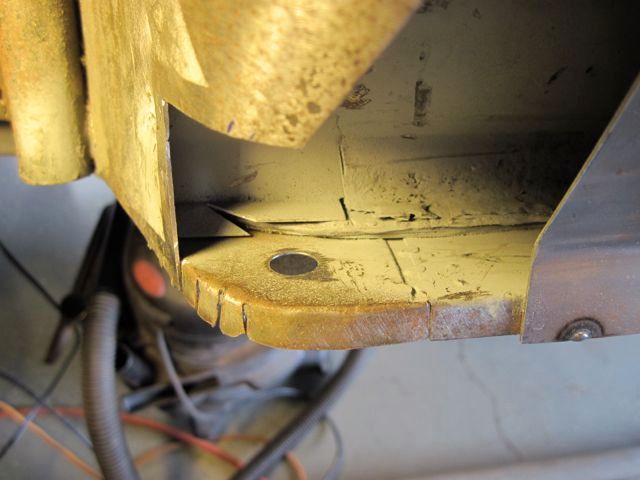
Finishing up here:
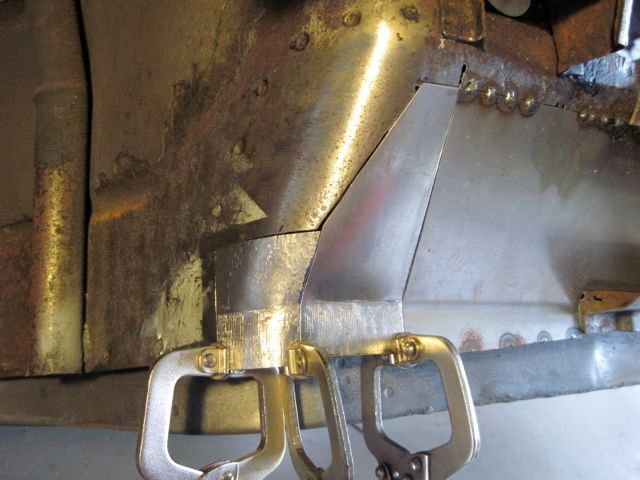
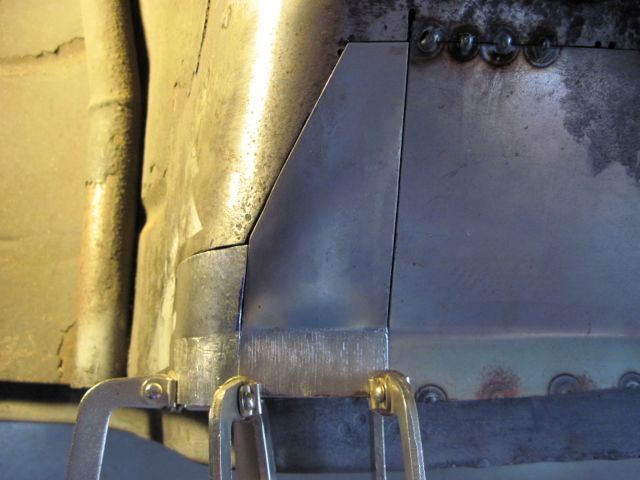
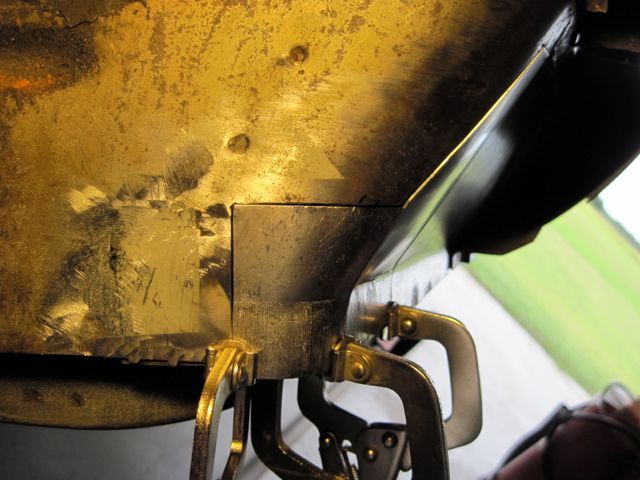
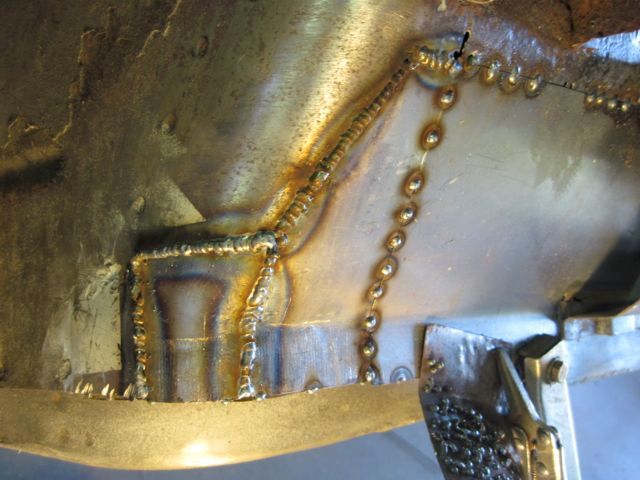
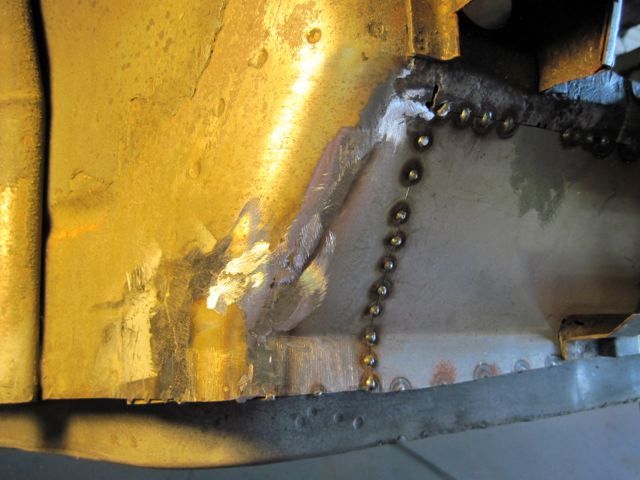
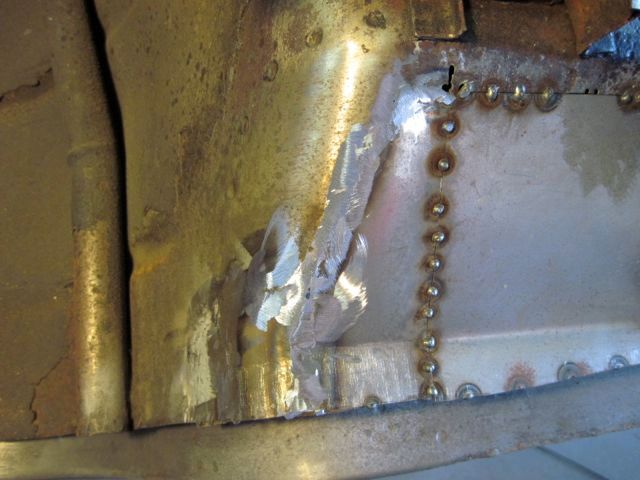
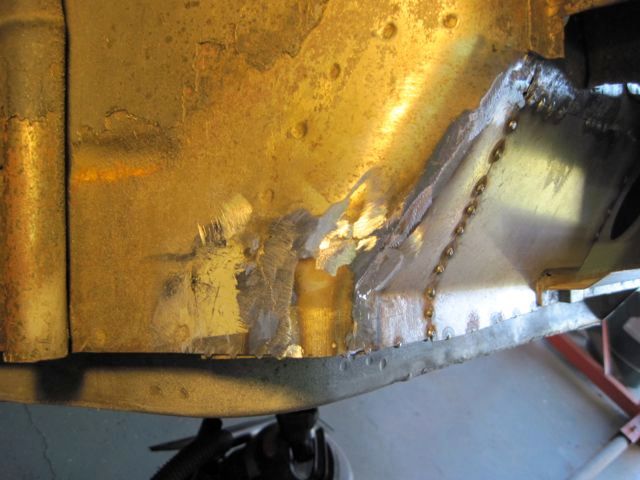
Now I need to rebuild the bottom of the A pillar itself. I chose to use a simple wedge shaped structure. This will restore the original strength, but was also a minor goof up, as I’ll describe in a bit:
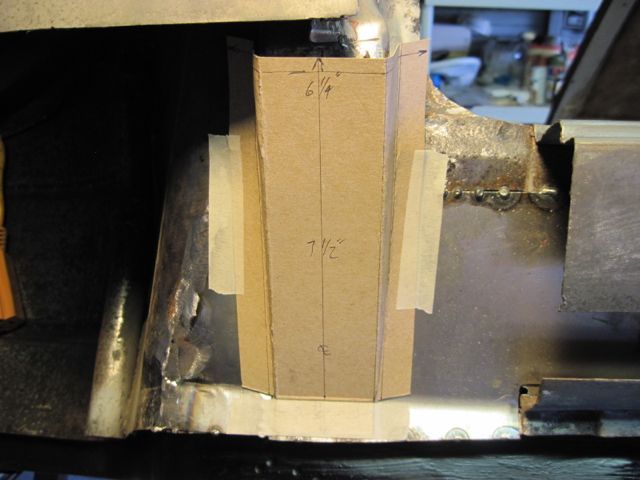
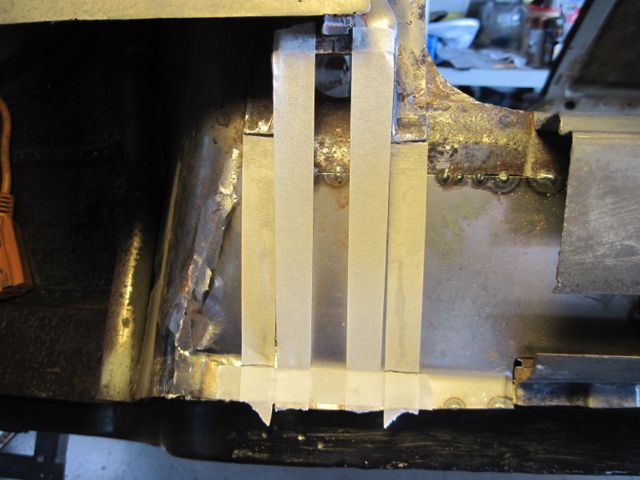
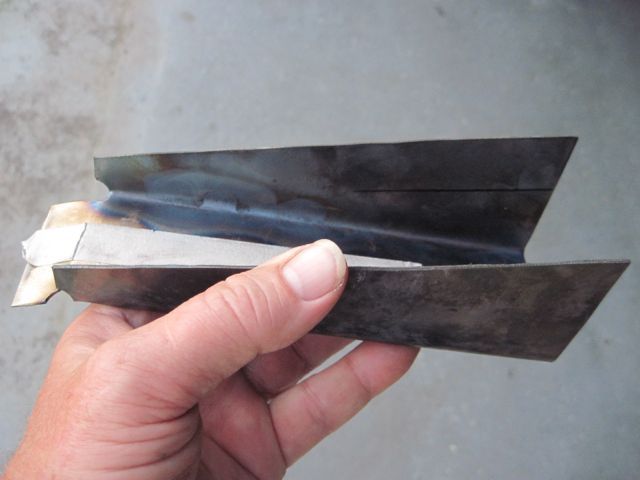
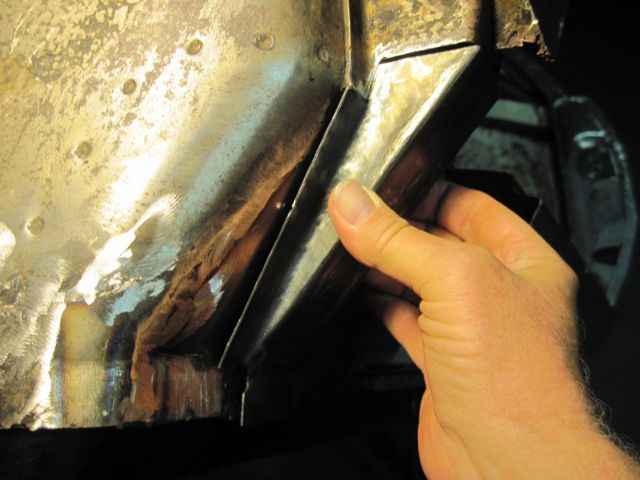
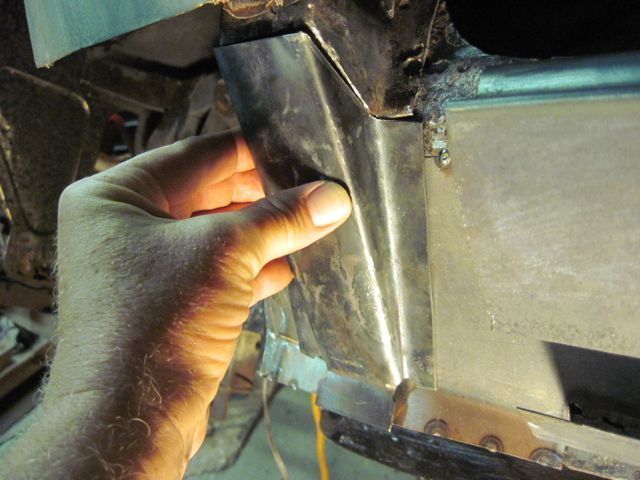
I find that the contour filler panel and fender are rust damaged up a little higher than I thought, so another 1/2 inch or so has to come off:
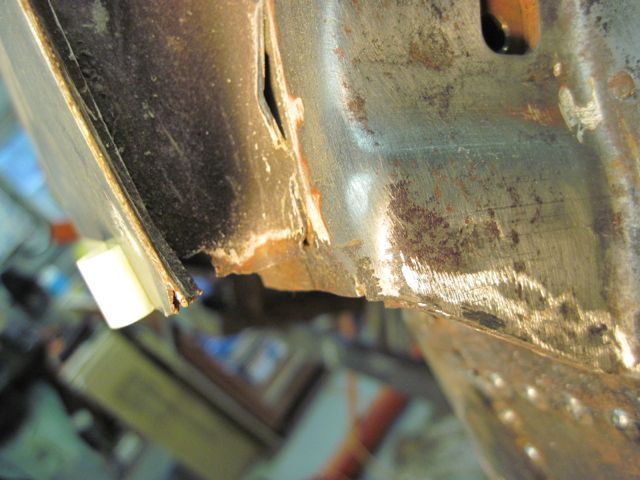
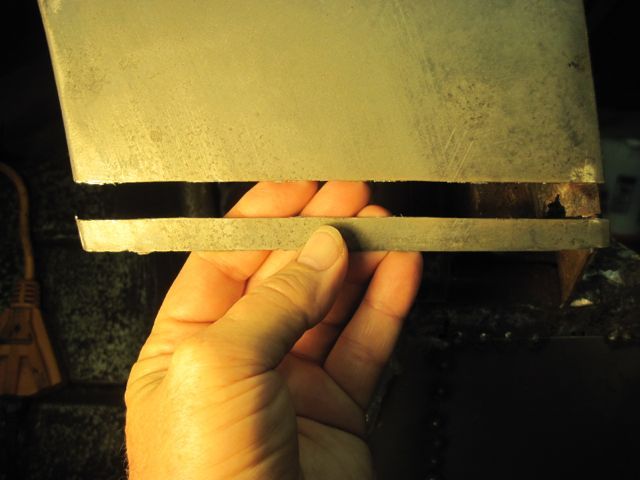
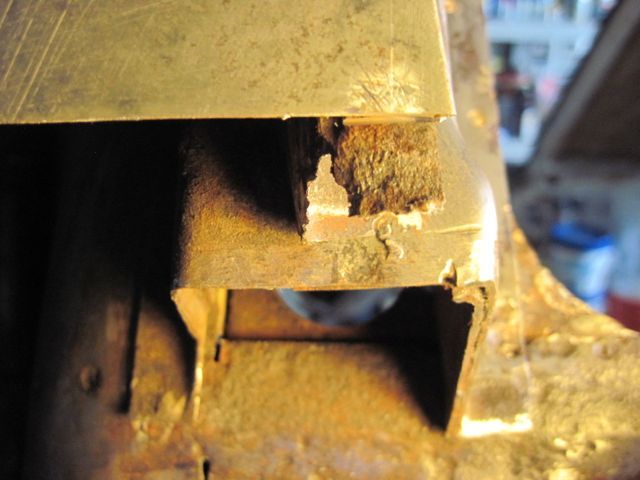
Here I test fit a piece of metal to repair the outer rocker; making sure it will mate up with the work I’ve done so far:
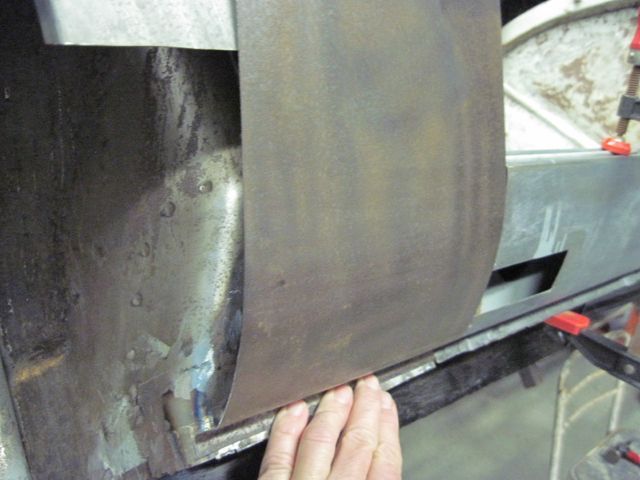
Now to weld in the A pillar repair:
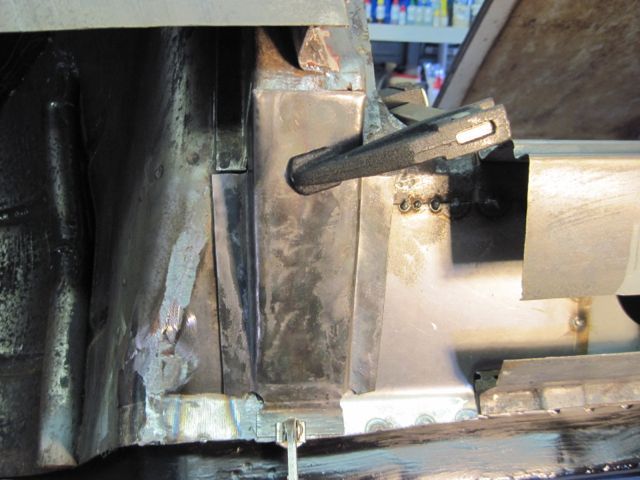
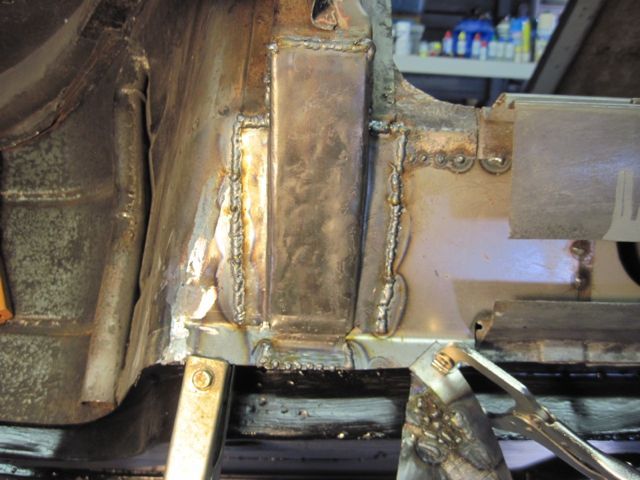
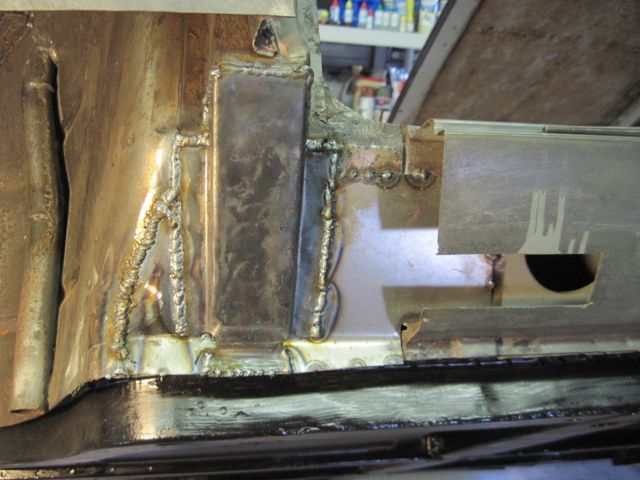
Here is just a small leveling piece. At the factory they just pinched the rocker flange in here and spot welded the snot out of it. This area was very uneven, so it will help to have a clean flat piece to weld on:
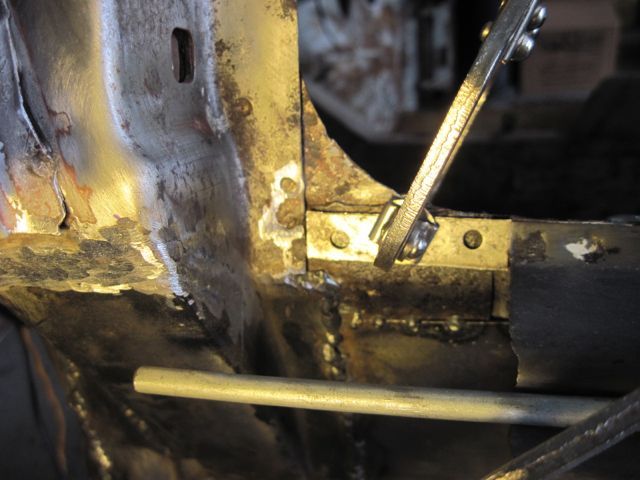
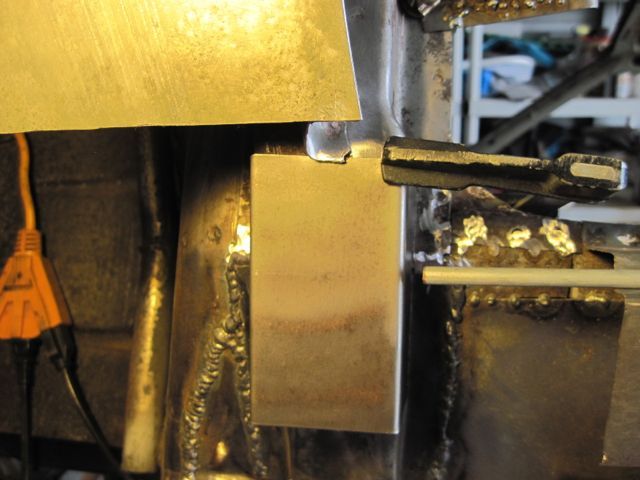
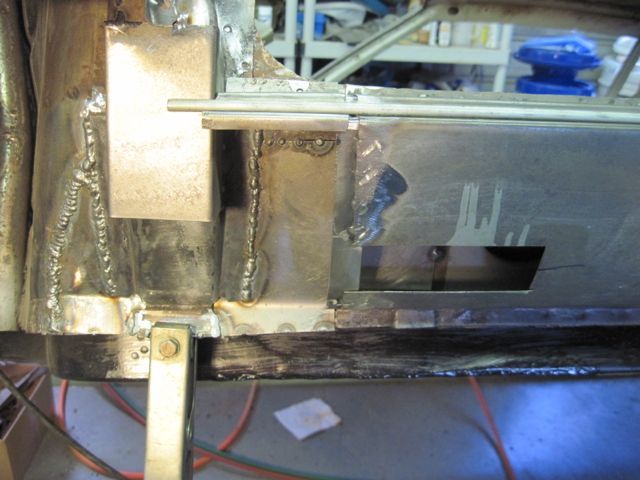
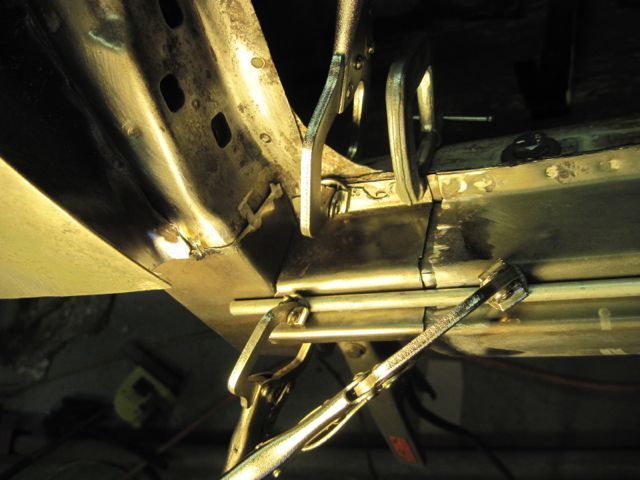
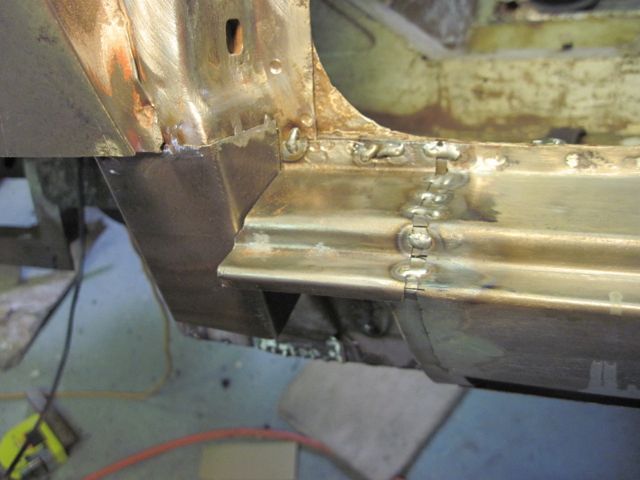
Here is what I meant by a minor goof up. That steel rod you see at right center is laid in the door sill; it helps me line up things. In the previous pic, you can see that it misses the A pillar repair piece by a 1/4 inch or so. That part of the outer rocker that forms the door sill, continues forward to form the flange where the rocker and fender panel join. It should also be tack welded to the A pillar for support. Oops. Likewise, the bottom of the contour fill panel extends down to the same flange, and lays flat against the A pillar. Oops. I need to add a piece to bring the A pillar out further here. It is mostly cosmetic, so a light piece should do:
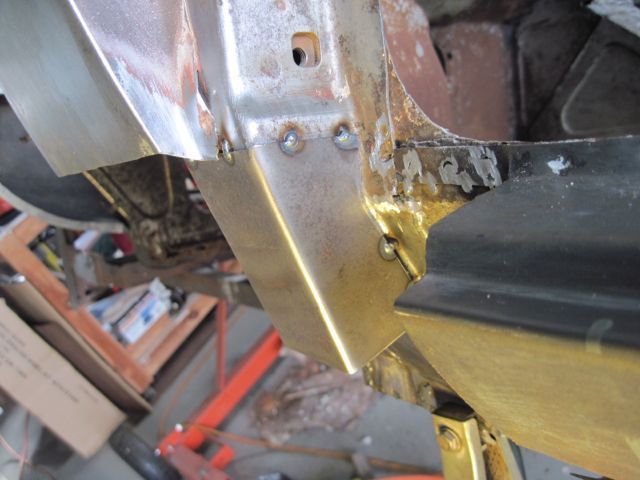
Next I’ll add a backer strip behind where the original metal and new metal join. This helps two ways. In many places, it is not necessary to weld a full bead along a junction like this; a good spot weld every 1/2 inch or so is enough. I also do not have to trim the edges so perfectly. When I’m done with the metal work, I’ll back fill this junction with epoxy, and she’ll be good as new.
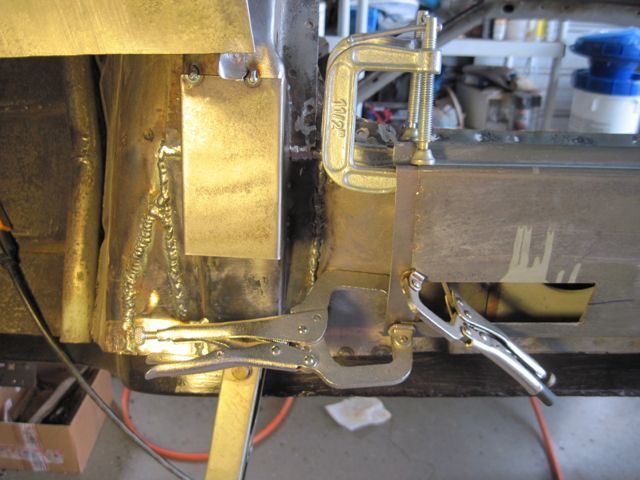
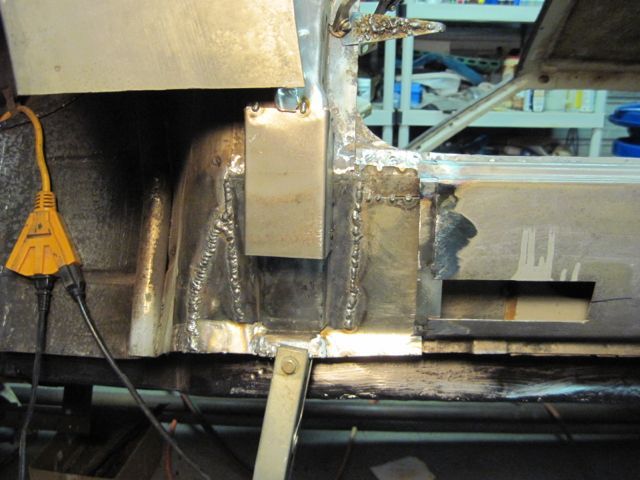
Now I use the steel rod again to position the piece of the door sill I cut out earlier, and weld it back in:
Can you guess what this is going to be?
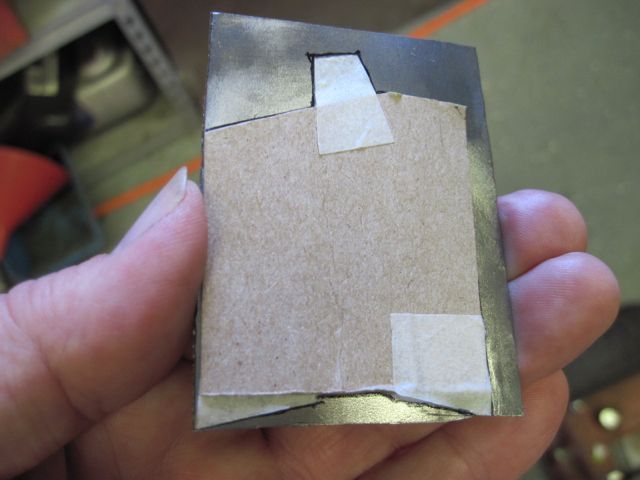
Now?
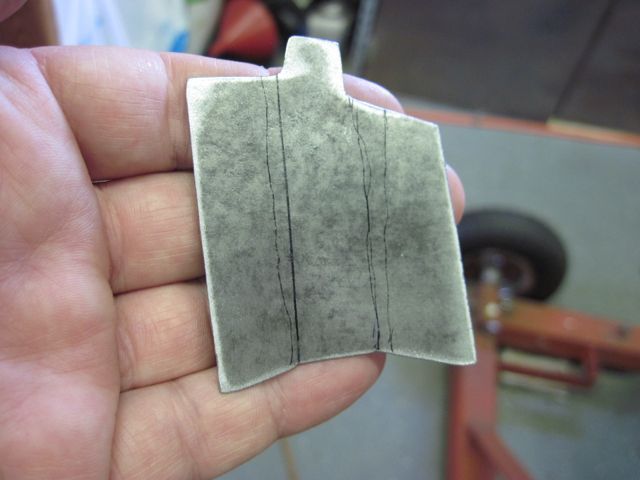
Now??
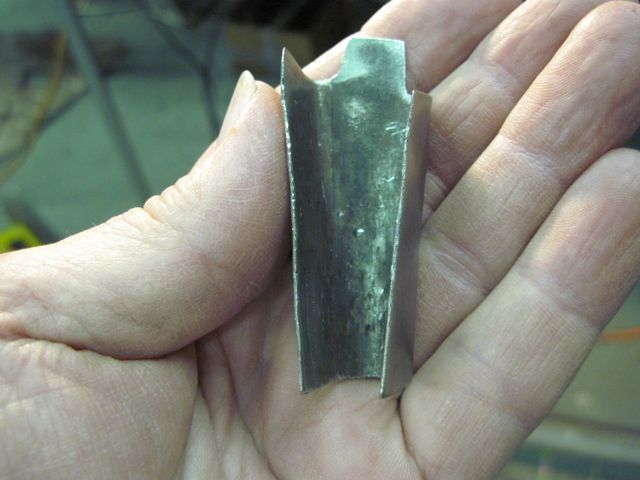
Here is where it goes:
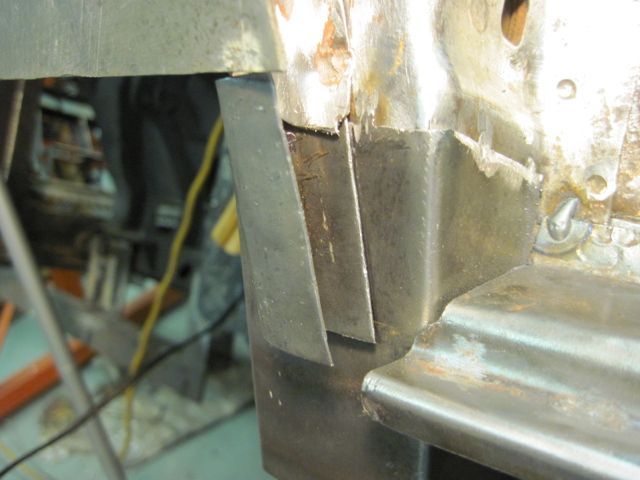
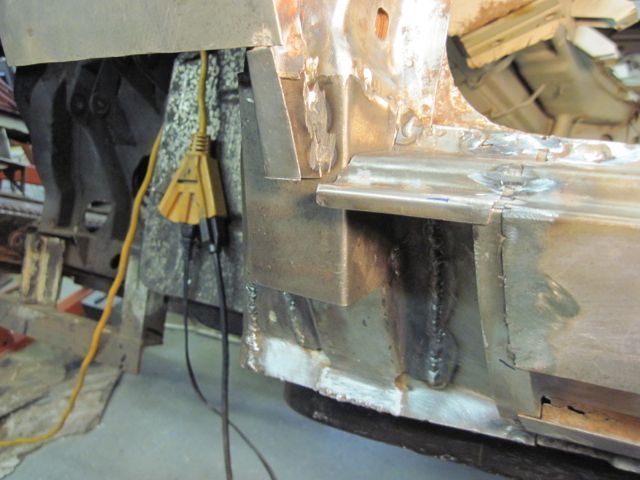
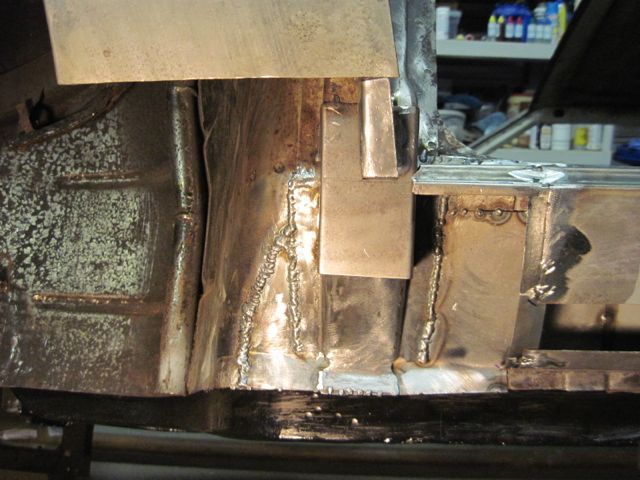
Next to replace the bottom of the fender panel I had to cut off:
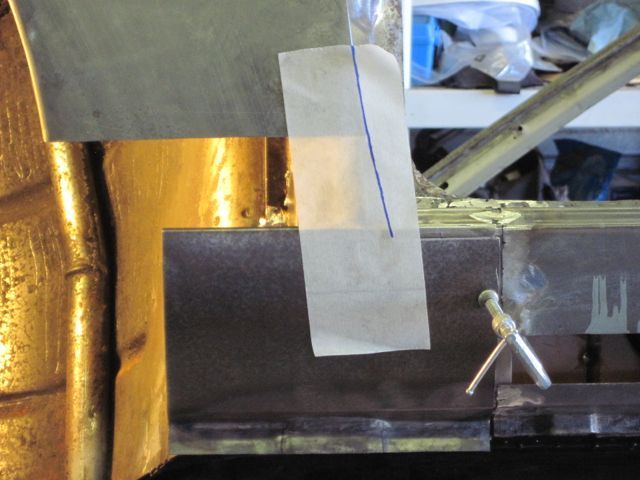
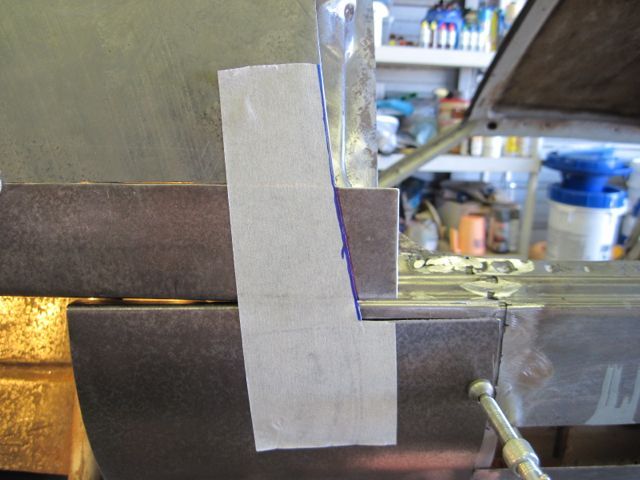
Fitting the new pieces along with the old:
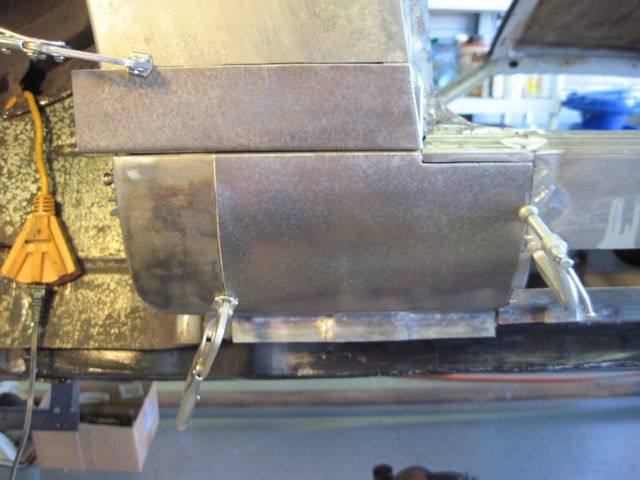
Adding a backer strip:
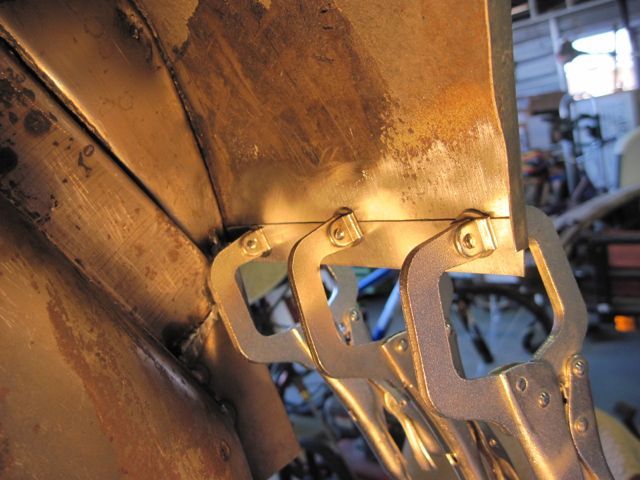
More fitting
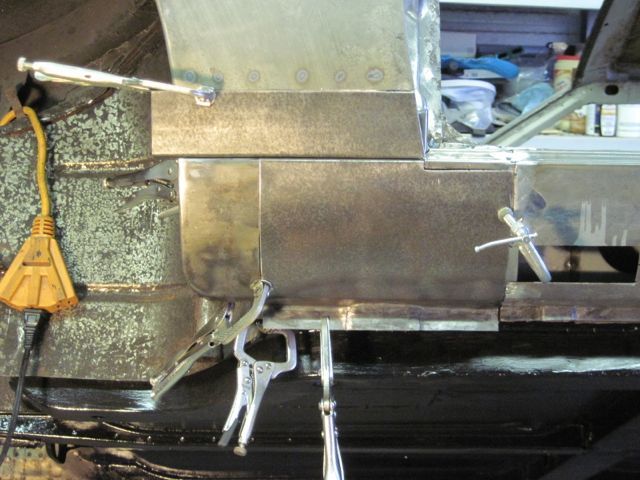
The repair of the fender ready to install:
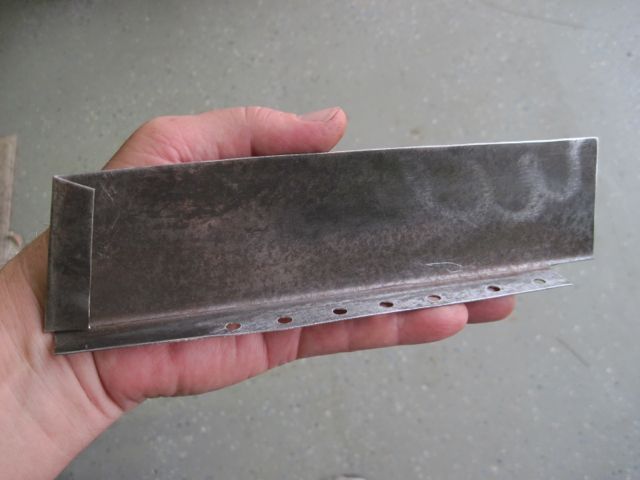
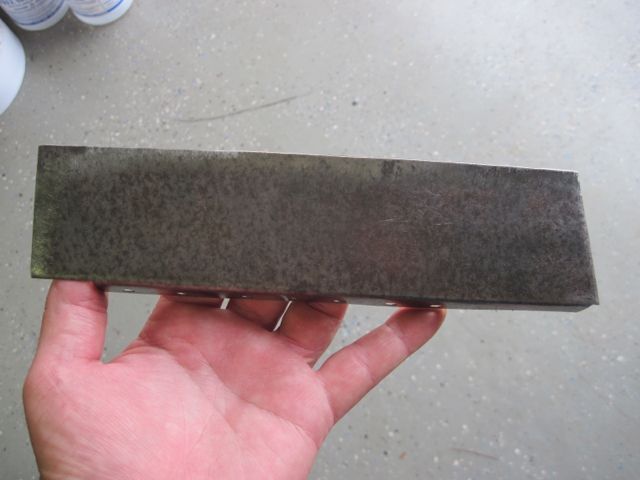
When crimping an edge, I use the extra piece of metal as kind of a pad, so as not to leave jaw marks on the finished piece:
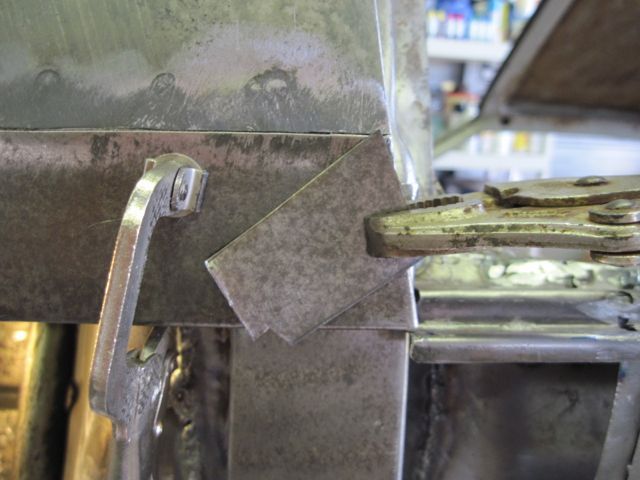
Finally ready to weld it up:
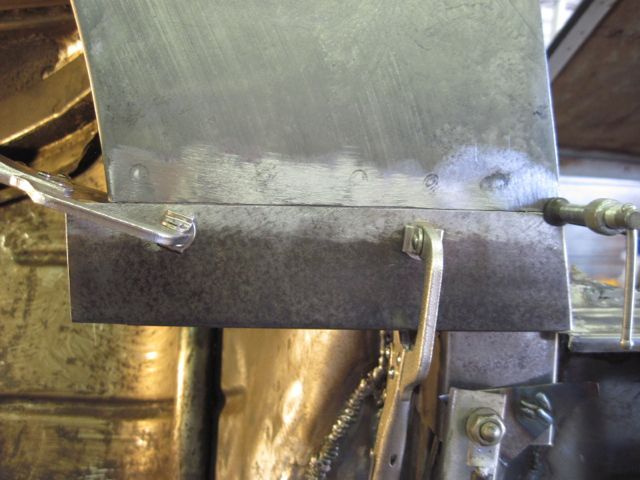
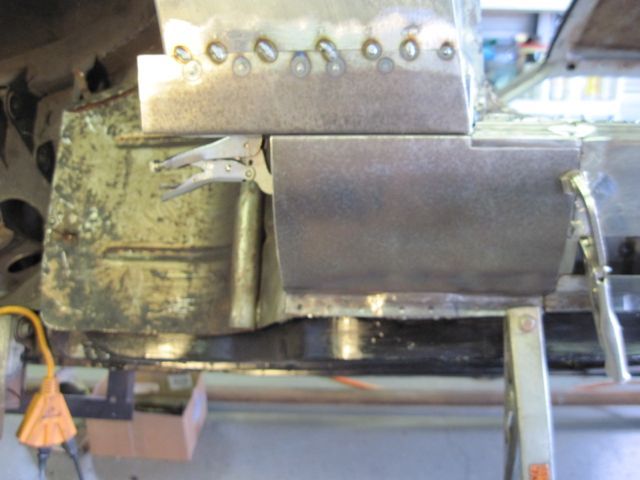
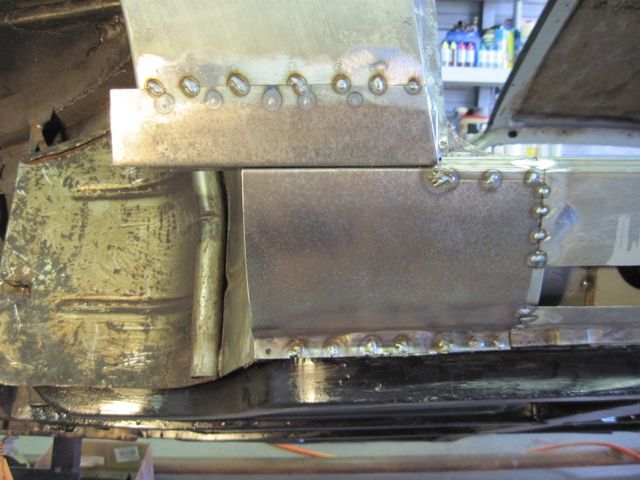
I added a backer strip to this original piece:
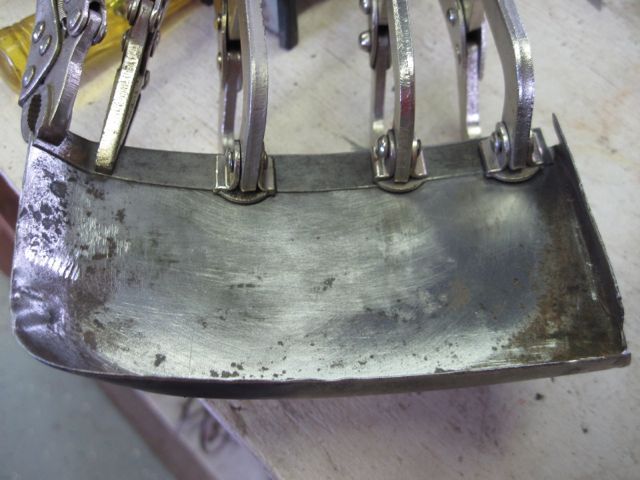
And welded it in:
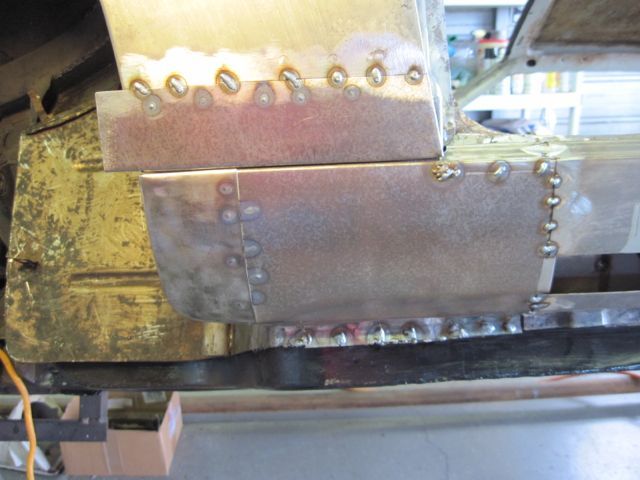
From the back side:
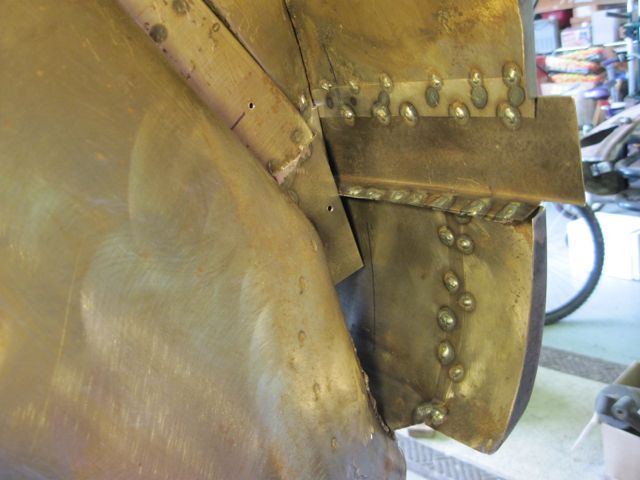
I should have used backers on this piece too, but didn’t. No choice but to weld it all around. The welding is not that hard; the post weld grinding is time consuming:
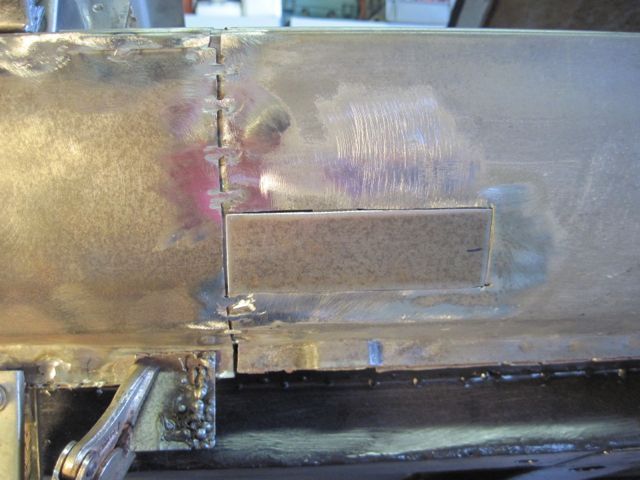
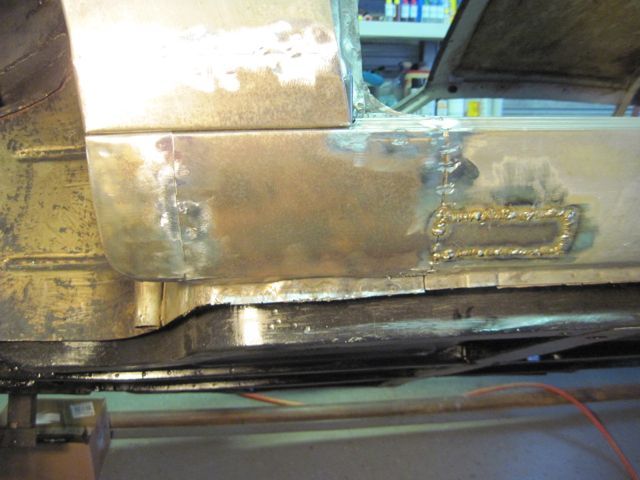
Finally, inside and out:
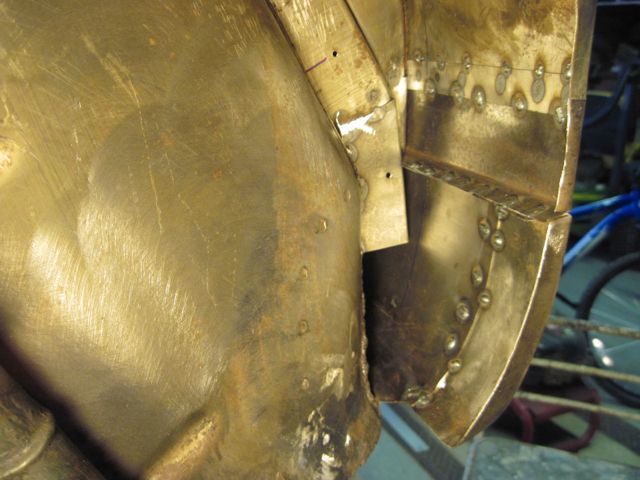
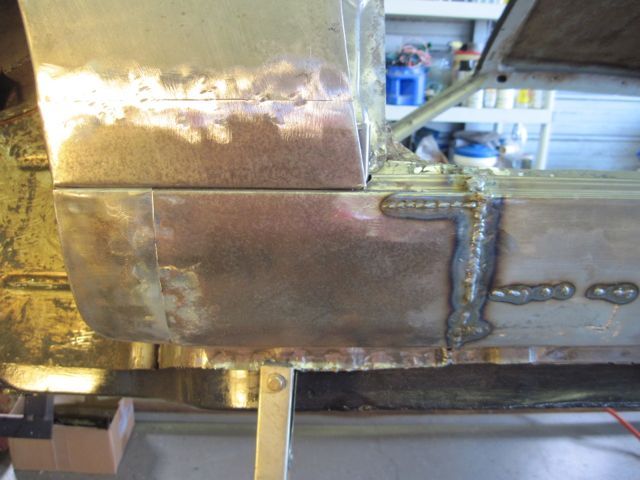
Next up: splash shields. Stay tuned.

