Here is a template for this repair using just masking tape:
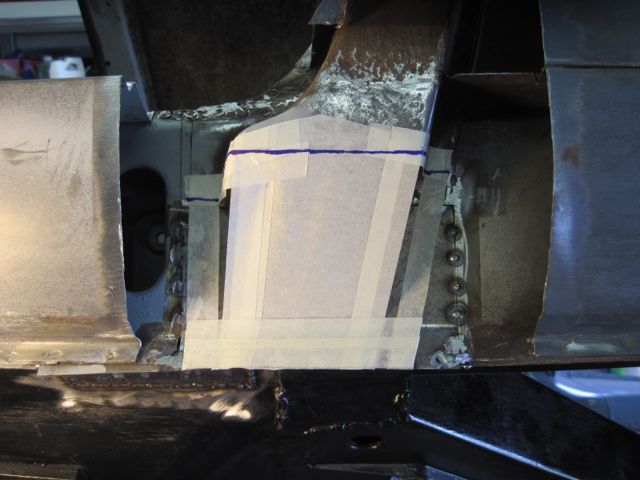
Next I remove the template and use it to rough cut the repair pieces. Meanwhile, I mask off the welding zones, and spray in more primer:
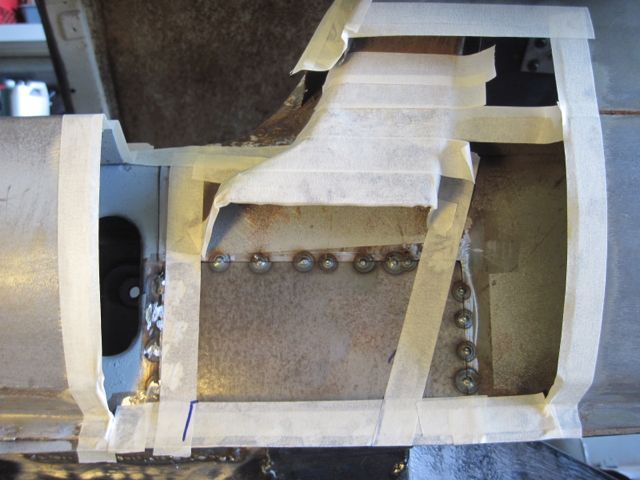
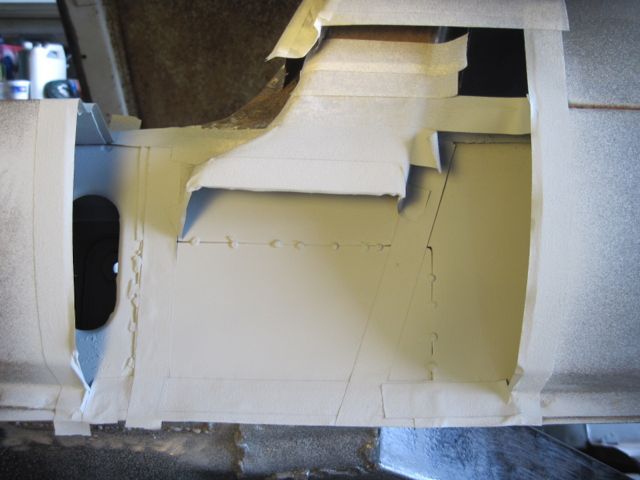
This repair is done in 3 pieces; a flat panel with two wedge shaped bits on either side:
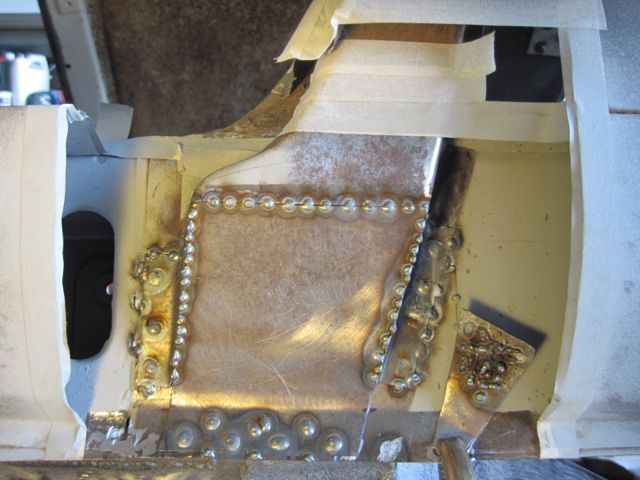
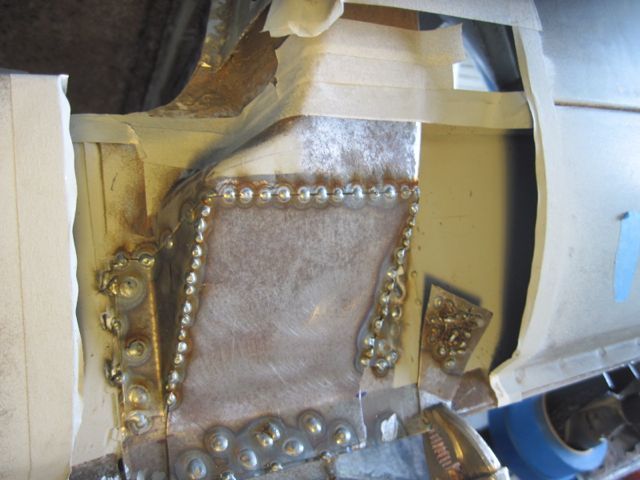
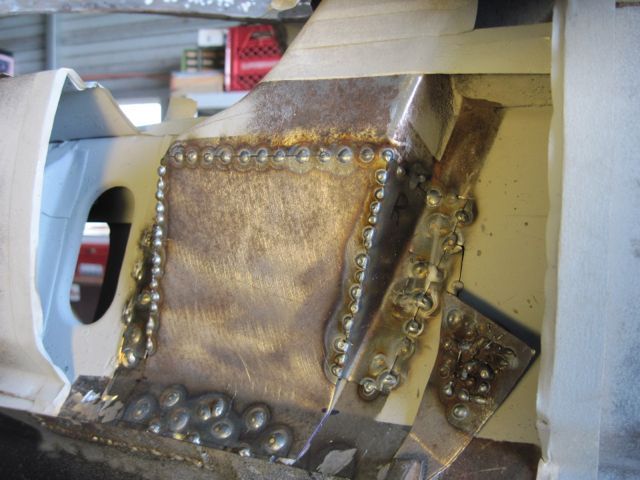
A little welding tip: that ugly bit of scrap metal clamped nearby is what I call my arc strike target. It serves two functions. The first arc strike or two with a MIG are usually not good. The wire is cold and the gas is not flowing. I use a scrap of the same gauge of metal I am about to weld. A few test strikes there gets the wire hot, the gas flowing, and makes sure my set up is right before I move on to the real work.
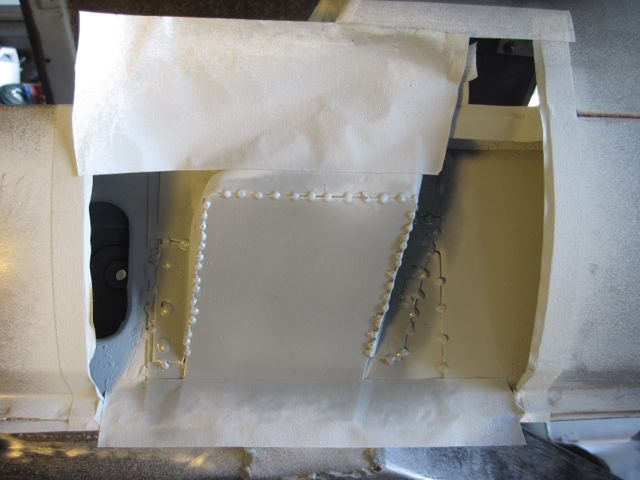
Again I mask and spray primer after the repair pieces are welded in place:
A few inches rearward, there were some rust through spots here, where the rear quarter meets the outer rocker. I cut out the rusty part, made a patch piece, drilled through a couple of new drain holes (not visible in this pic), and welded in the patch:
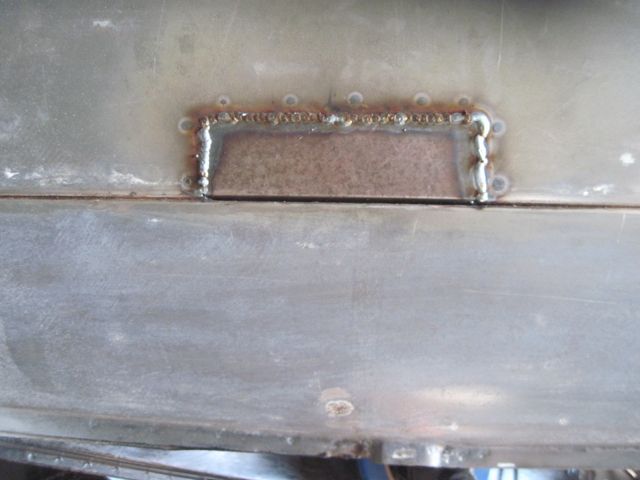
And after some clean up work:
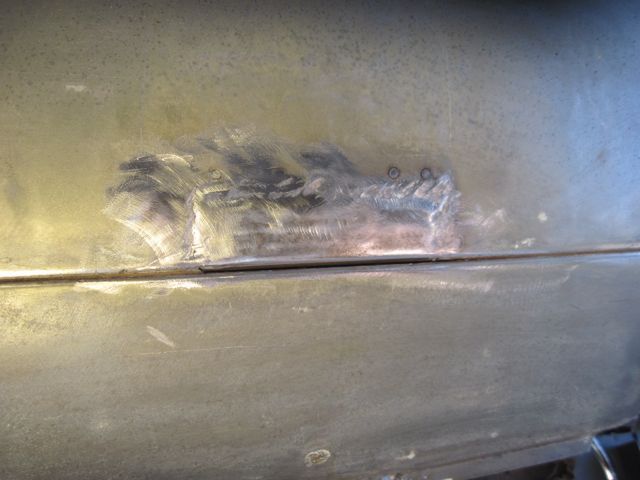
This is a good example of how hard it is to get the contours and bends exactly right. Just off by a tiny bit, and it is plainly visible. Later, after the first coat of epoxy primer, I’ll smear a bead of epoxy (like JB Weld) into this crease, and after it sets up, I’ll burnish it smooth to match the original contours.
Tune in again for my next episode; I’ll wrap up the repairs to this area.

