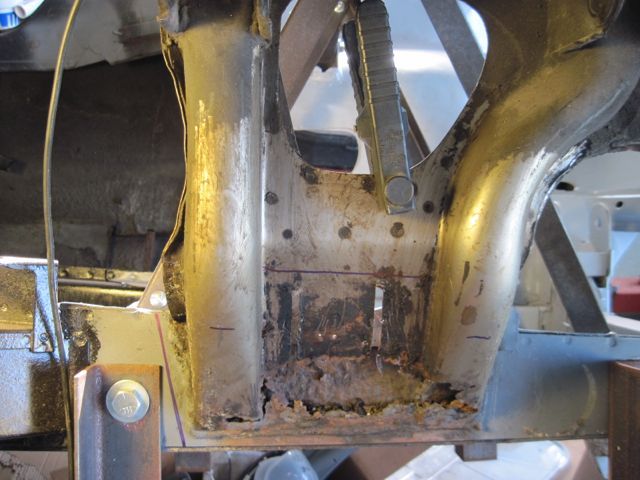
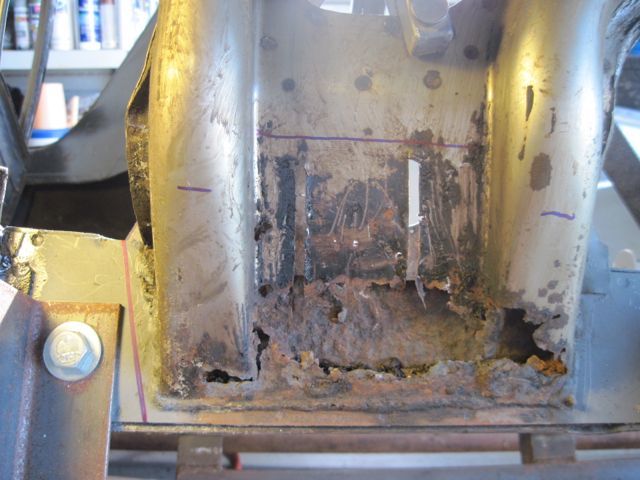
I used the plasma cutter here, since I could see this was trashed pretty much through and through. A little collateral damage is no big deal.
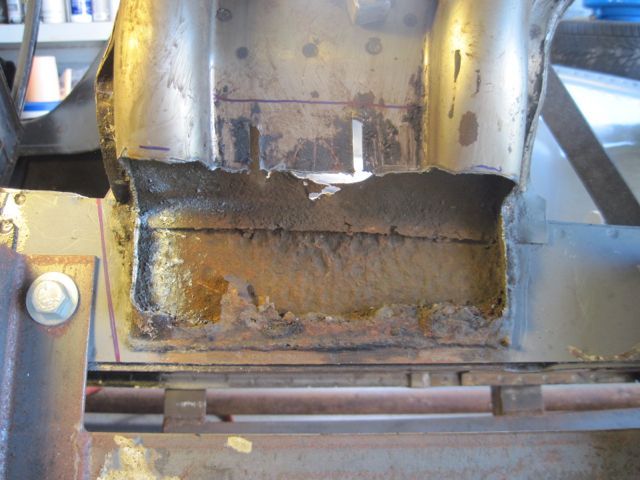
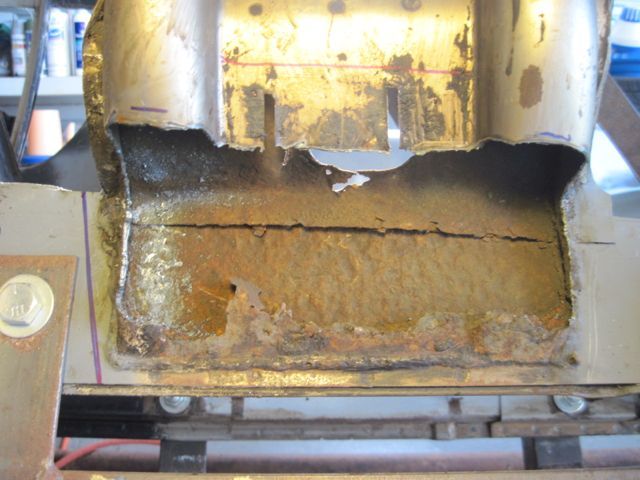
This is kind of strange, how this is put together. The light gauge inner panel must have been welded to the heavier outer stamping, then the subassembly welded to the frame rail. The outside panel of the frame rail is rusted and has to be replaced, but I have to cut away the inner panel just to get at the top welds. Not an issue in this case, since the inner panel is rusted also. If the inner panel were undamaged, I would still have to cut it away to fix this.
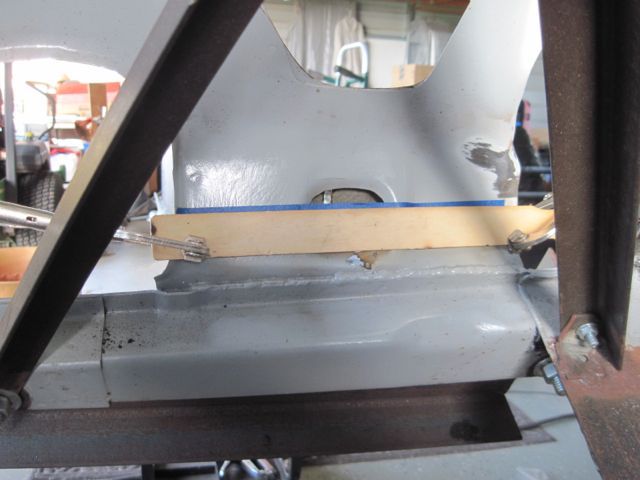
Before I start cutting this all apart, I made an “A” frame support to keep the rear end pieces in position. It connects the rear most suspension points to the bay brace, and to the fixed cross member just above the forward mounting points. I thought I had a better picture of it, and I’ll put one up later if I can find it.
Here you can see part of it, while I prepare to cut off the inner panel just below the obround hole:
With that out of the way, I can cut the spot welds and slice the outer frame rail panel to cut out the rusty section and the old welds all at once. I used a cutting wheel for this, since I don’t know for sure what is inside:
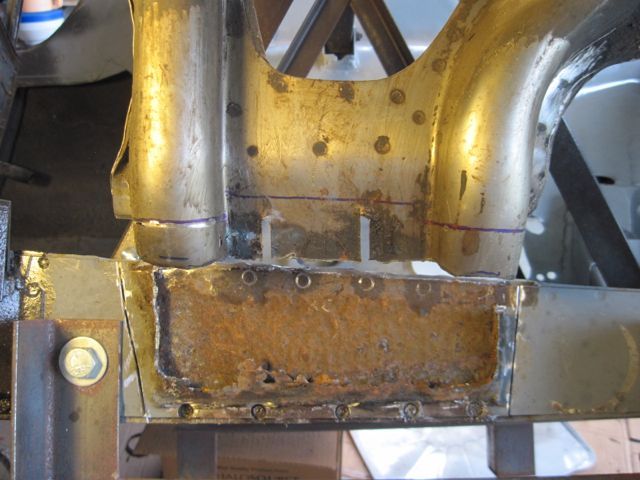
I also cut the wheelhouse again, up higher, because the rust damage went up farther than I thought. Using the cutting wheel gives me a clean straight edge to work with:
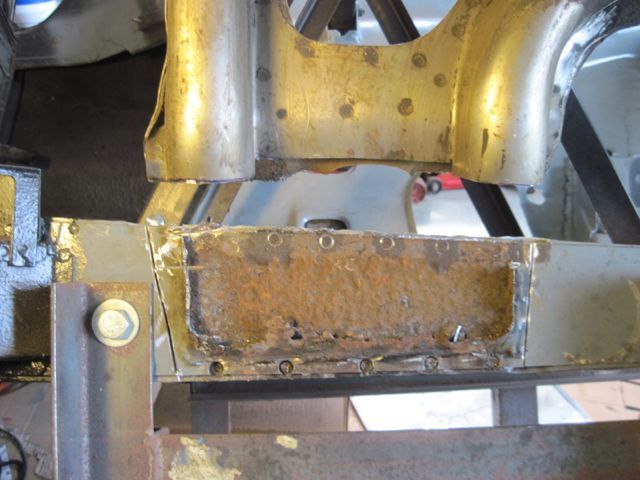
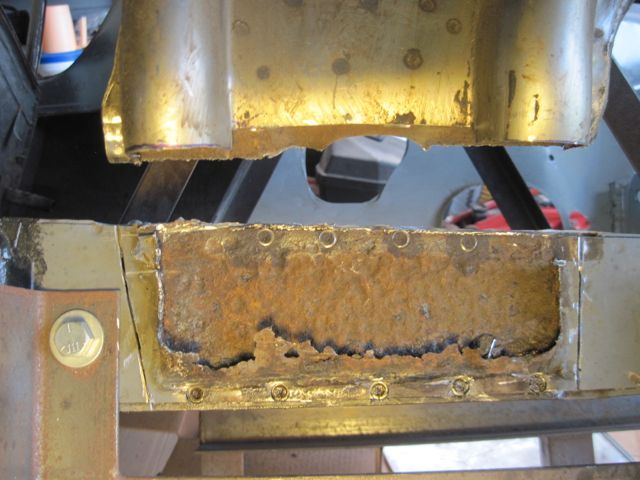
Finally it comes off:
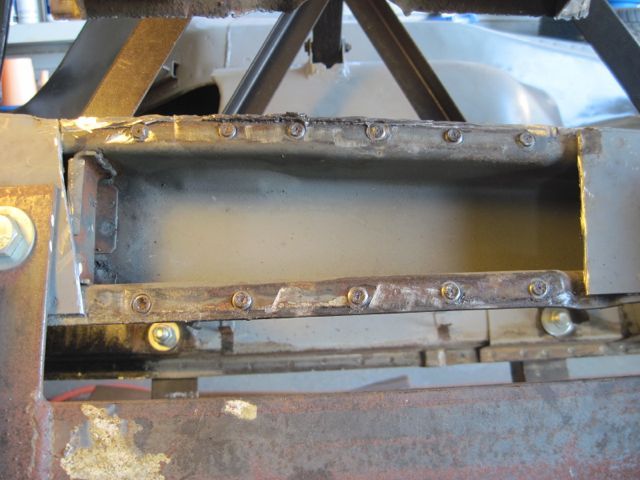
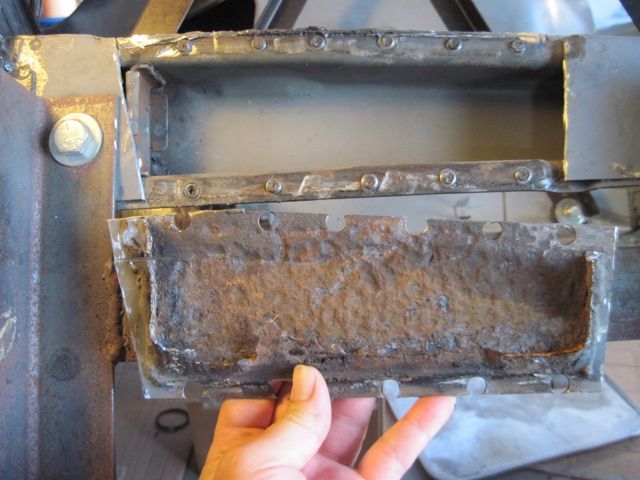
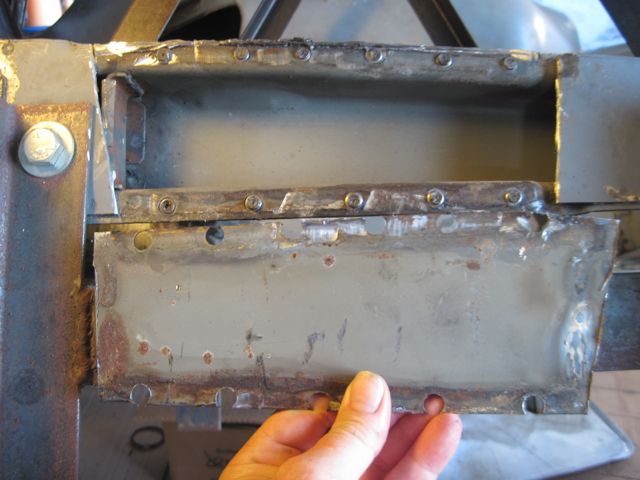
Thankfully, clean and nearly rust free on the inside:
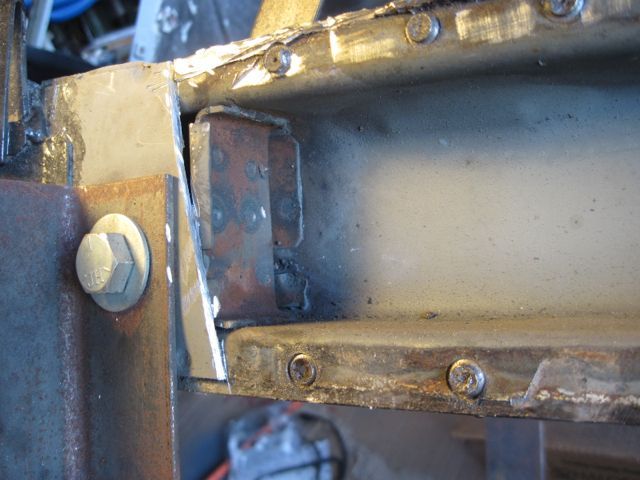
Here is the frame stiffener inside, next to the mount points. This is why I don’t use the plasma cutter when I don’t know what is in there; I could have destroyed this piece:
I decided to move my emergency brake assembly rearward, to make the cables shorter. This is where it ended up, and I’m welding some nuts on the inside to make for a stronger mount. If you stay with the stock arrangement, you do not have to do this:
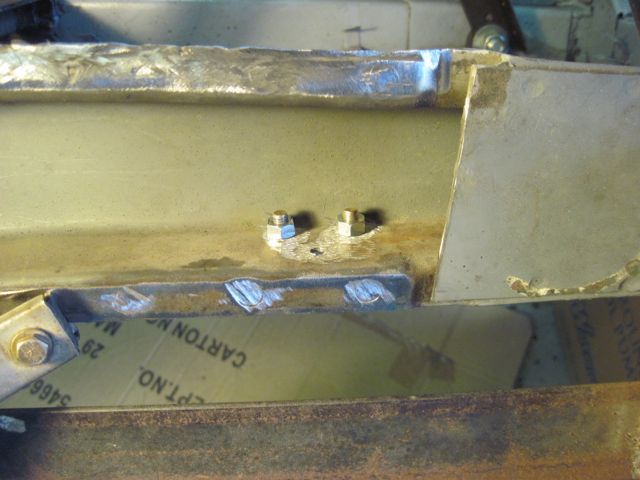
With the area cleaned up, I spray in some zinc primer:
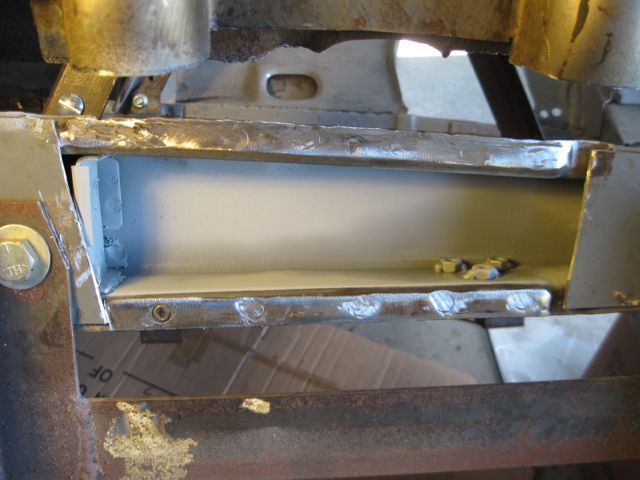
Next episode, I’ll dig into making the repair pieces.

