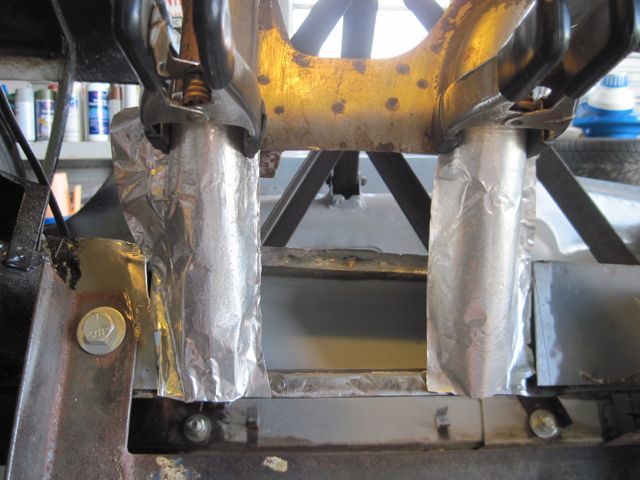
Earlier, JT asked me about the gauge of steel needed. This is one of the 18 gauge pieces I had to order. I could have used 16 I suppose, but it would have made for some uneven steps I had to weld across. Probably not too important, but thought you would like to know.
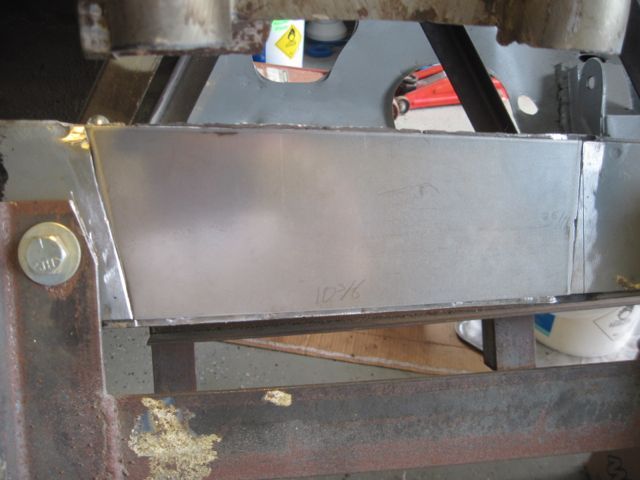
I had to cut away the inner wheelhouse panel here, which left me with a choice; do I reproduce the obround hole, or eliminate it. I decided to eliminate it. The rear most part of this panel is nearly flat, but the front part is concave, so I made it in two pieces:
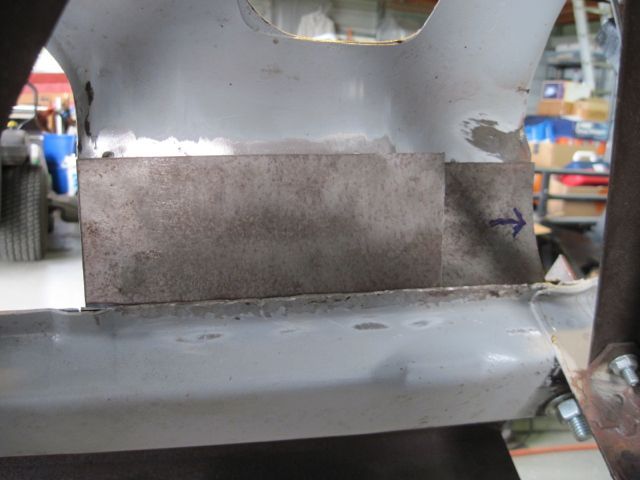
Here I have cleaned up the weld zones, added a hole to allow rust proofing to be put in, and sprayed in some zinc primer:
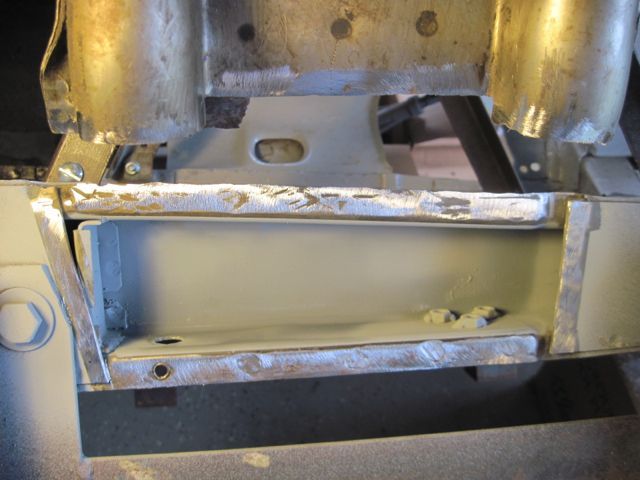
On this frame rail repair piece, I decided to scallop the top to make places to weld. I just wanted less post weld clean up to do, since I have more pieces to weld in this same area:
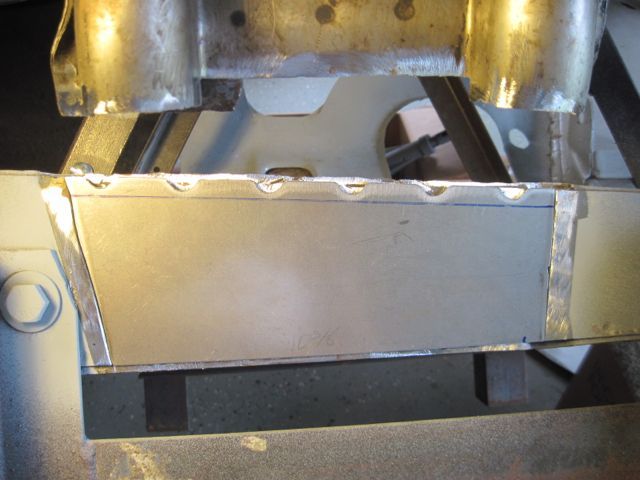
Now tacked in place:
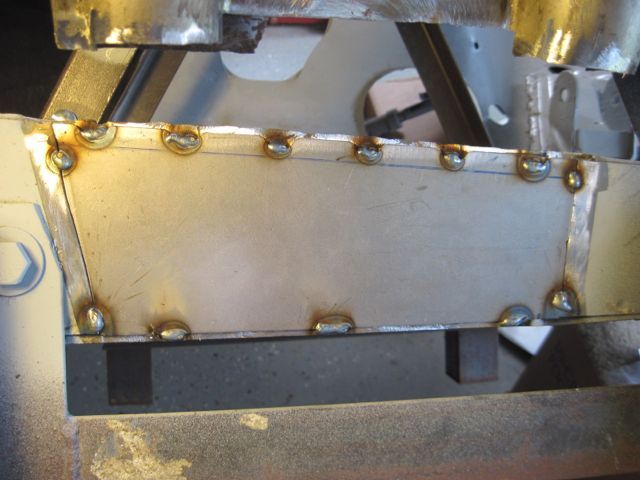
Here I am starting to weld in the inner panel repairs. This is 22 gauge, and I am welding it from the inside so it looks better on the visible side:
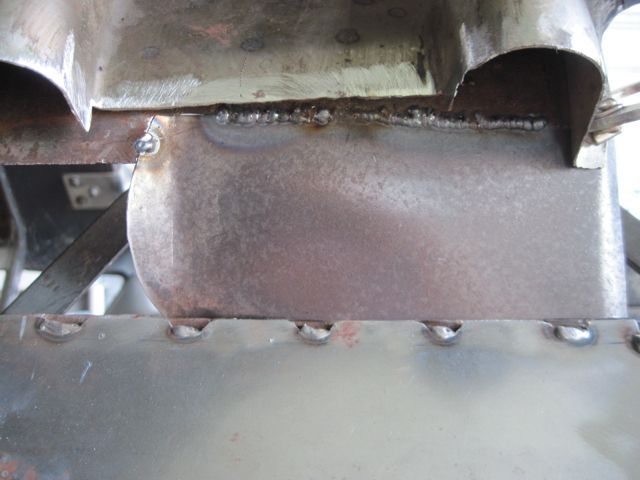
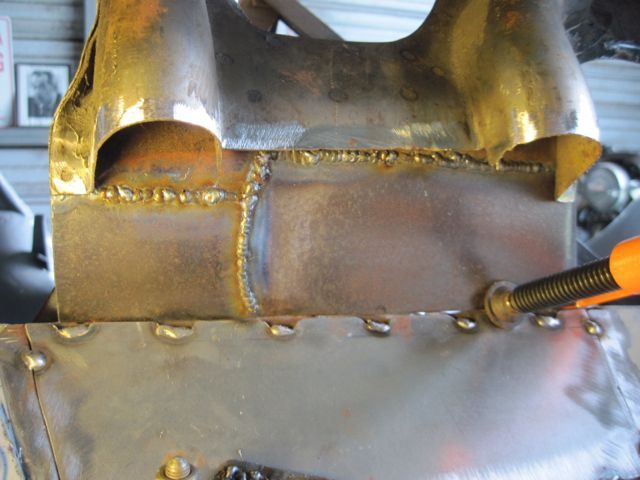
I had to weld from this side down where it joins the frame rail, but the upper seam came out quite nice:
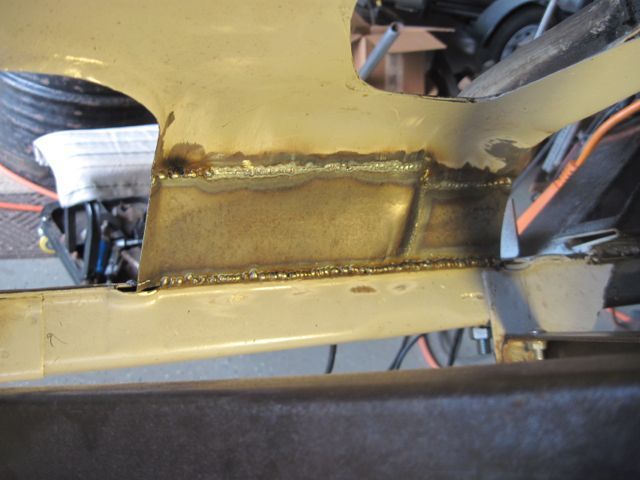
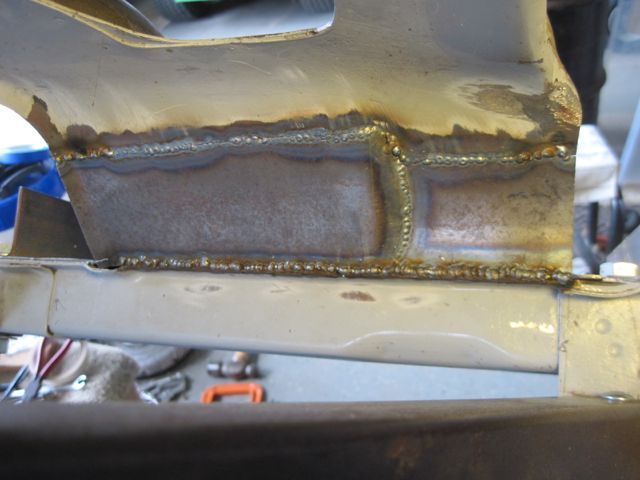
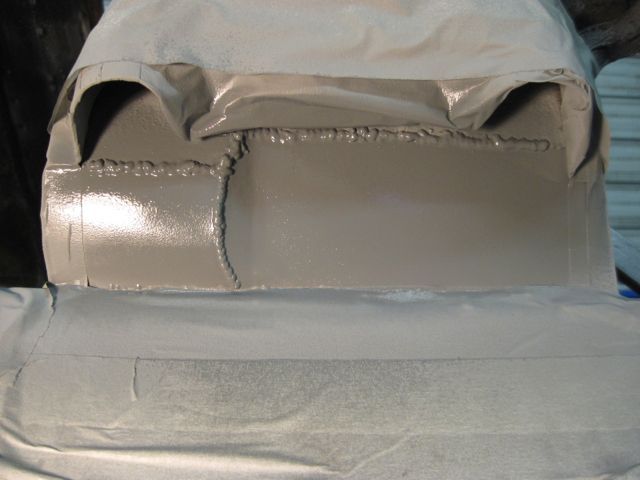
Now to mask off the weld zones, and spray some primer in there:
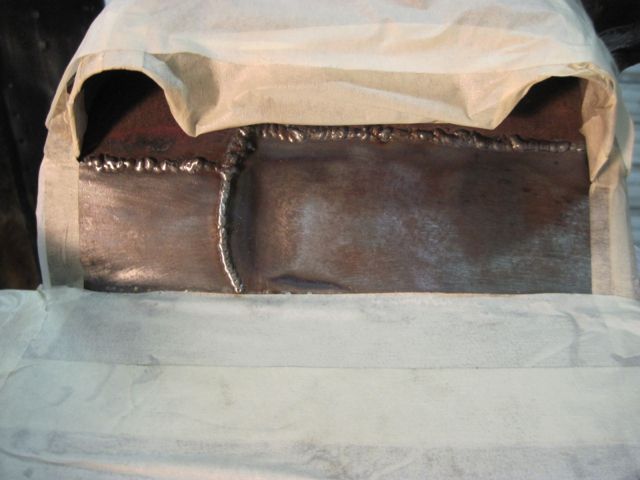
I decided to make the structural repair in 3 pieces. With the simple workshop tools I have, it is just too hard to make all of these bends and get them just right. This is 16 gauge steel, and I have already tacked in the flat center piece:
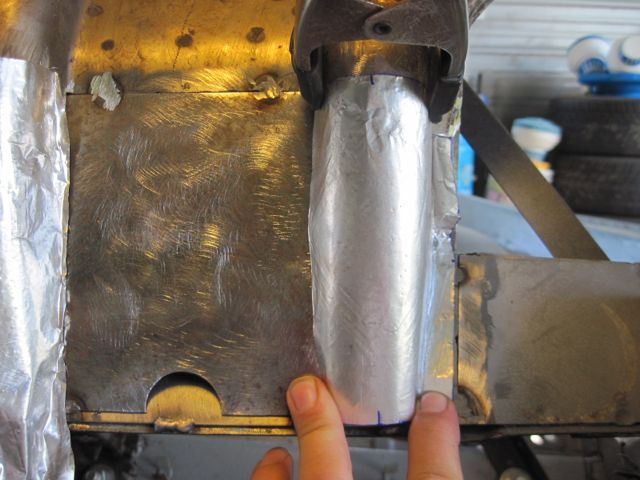
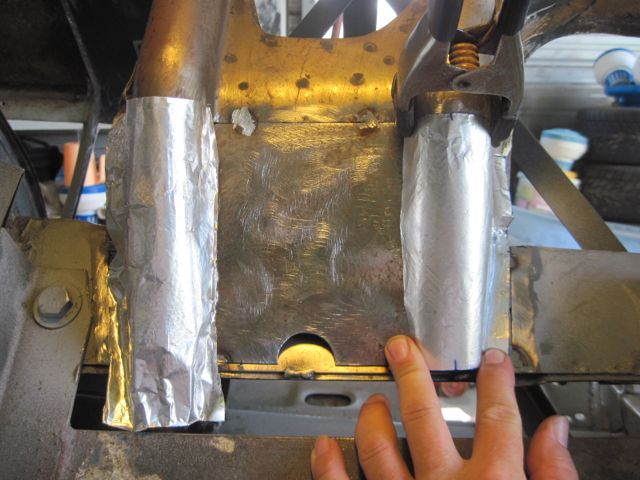
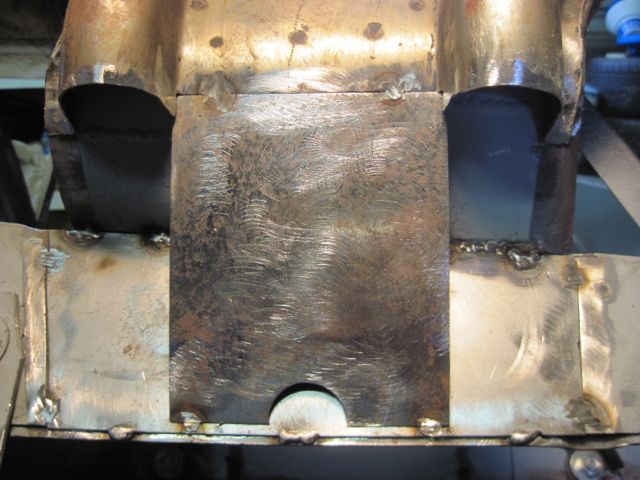
This is my first try at this. Getting it round at the top and kind of rectangular at the bottom was a PAIN.
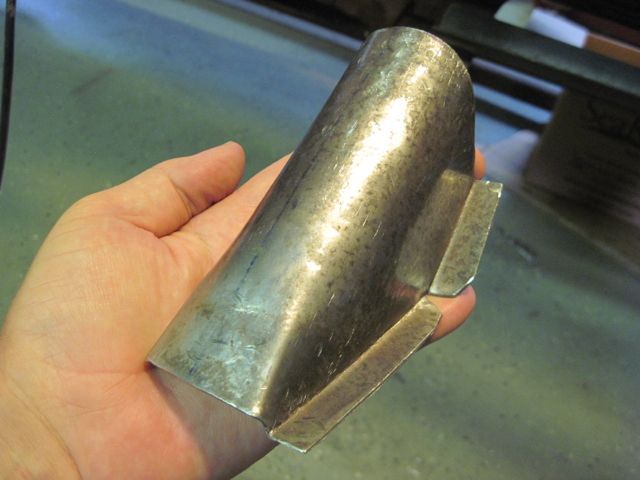
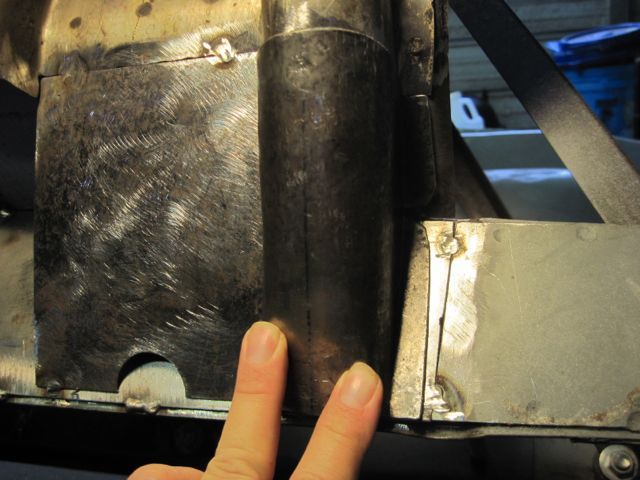
I decided to do away with the side flanges; I just could not get them right. I “T” welded the pieces instead. Here it is just about done with welding:
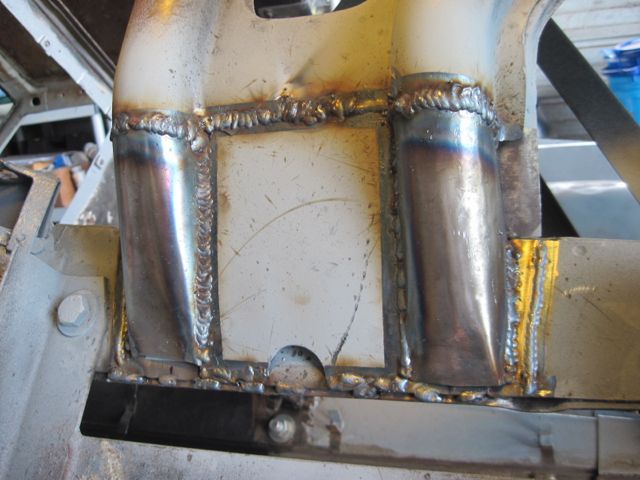
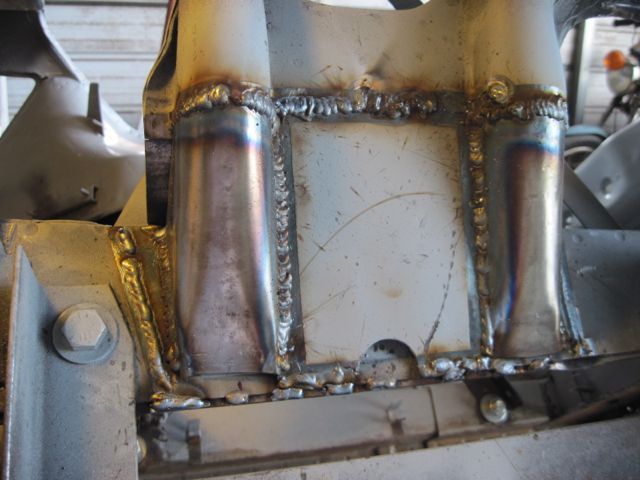
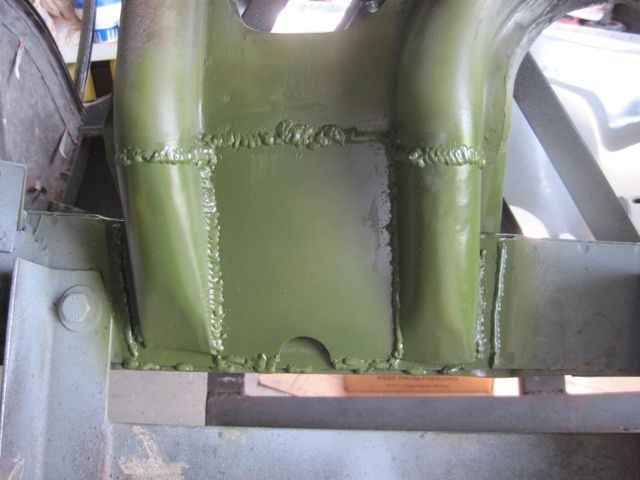
And after several coats of zinc primer, I’ll declare victory and move on:
Not sure what I will go after next; tune in again to find out!

