Here is a look at the area before stripping it down:
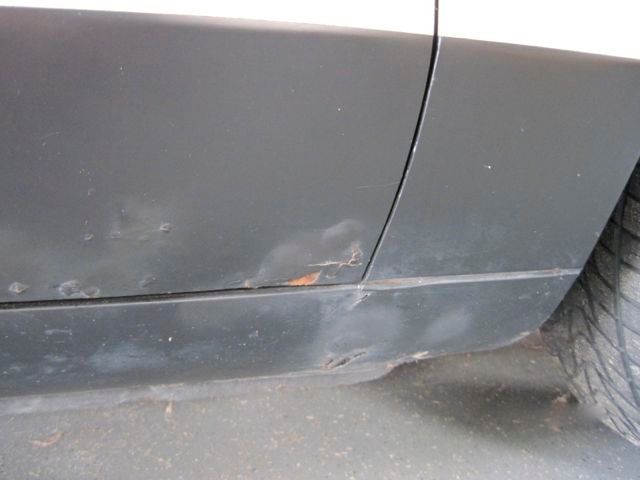
It is amazing how much damage can be covered with bondo and paint. Scary:
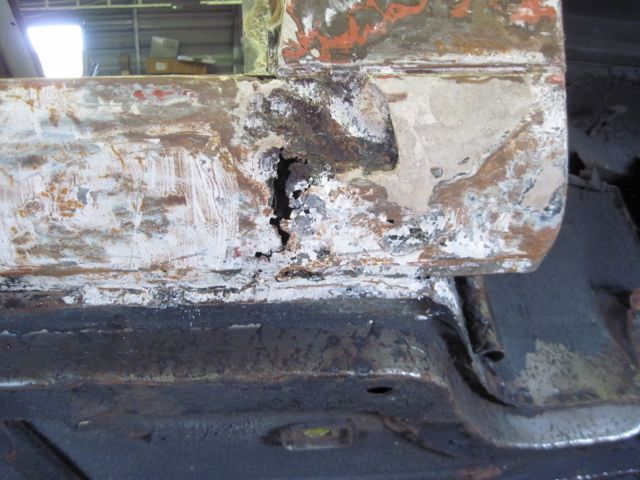
No point in wasting time, taking the bondo off of a piece that obviously has to be thrown away and rebuilt from scratch:
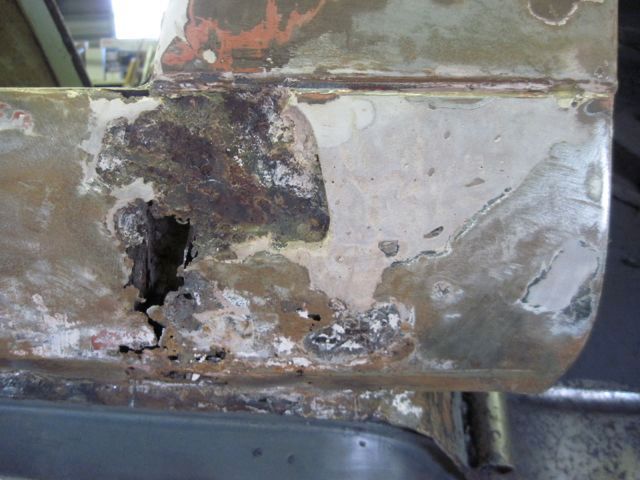
I will toss it in the junk bucket and keep it till I’m done, however. Even a nasty scrap like this is helpful to recreate the contours in the replacement piece.
This is the lower front corner of the door frame, just below the hinge:
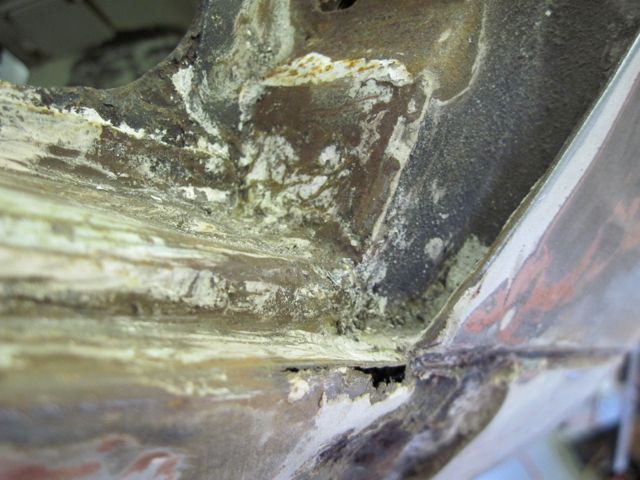
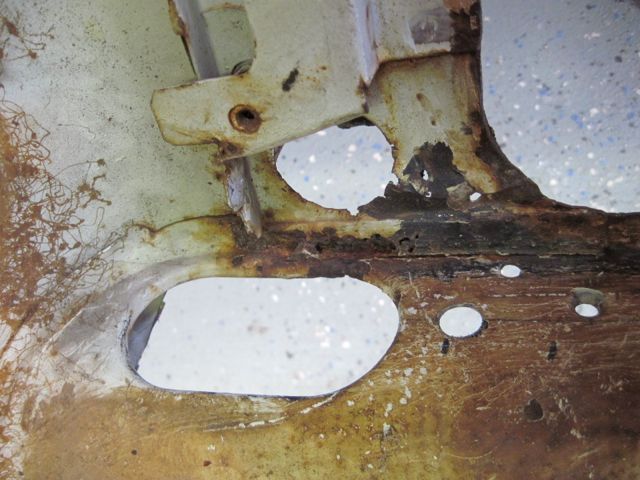
And here the inside view:
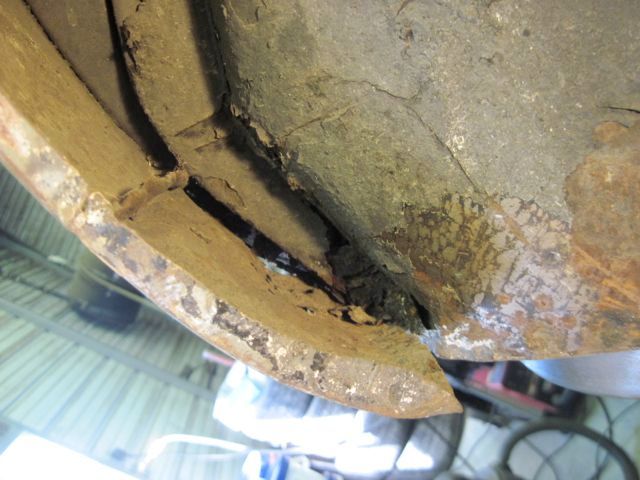
A shame the factory did not put a rock shield here. A simple piece of sheet metal would have made a big difference. You can be sure I’m going to put one in.
Starting to strip paint off the fender:
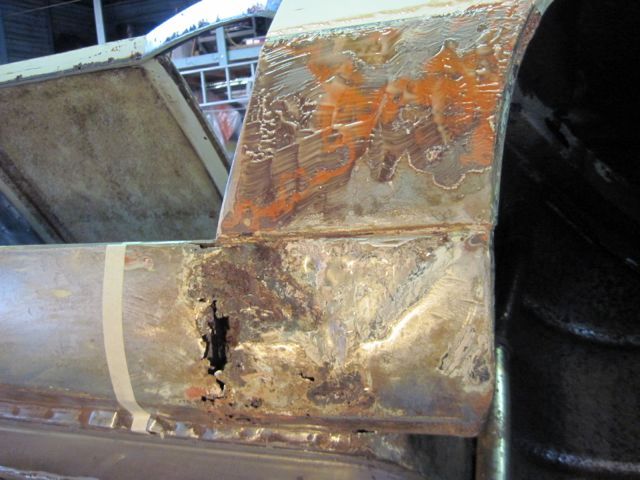
Cutting spot welds and sectioning the pieces to be cut apart:
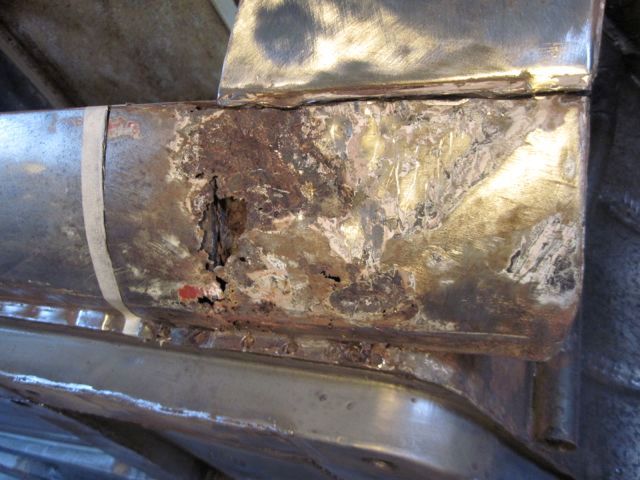
The forward most piece of the outer rocker is cut free:
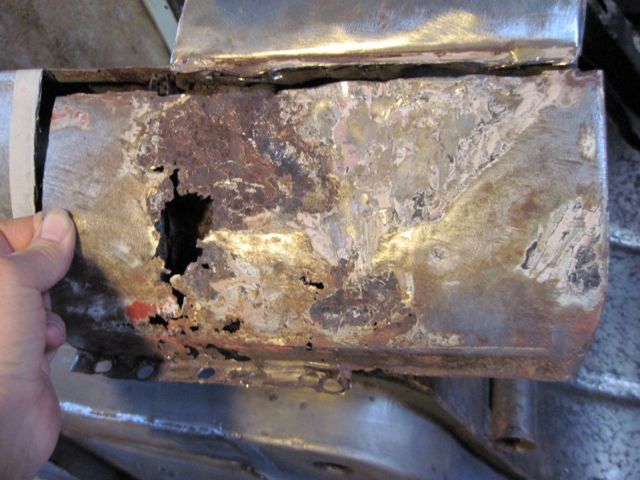
Revealing more nastyness:
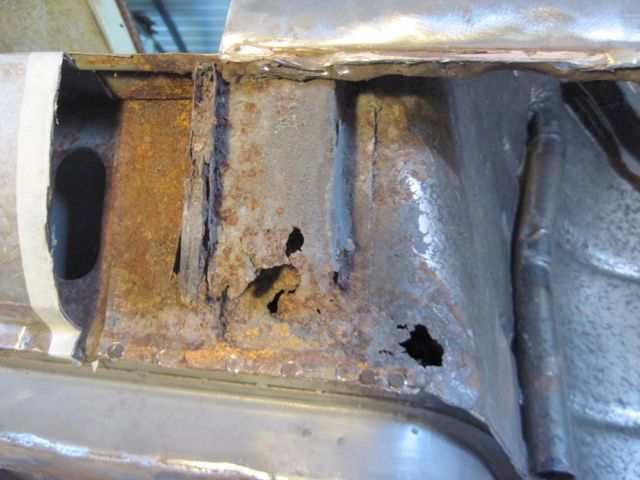
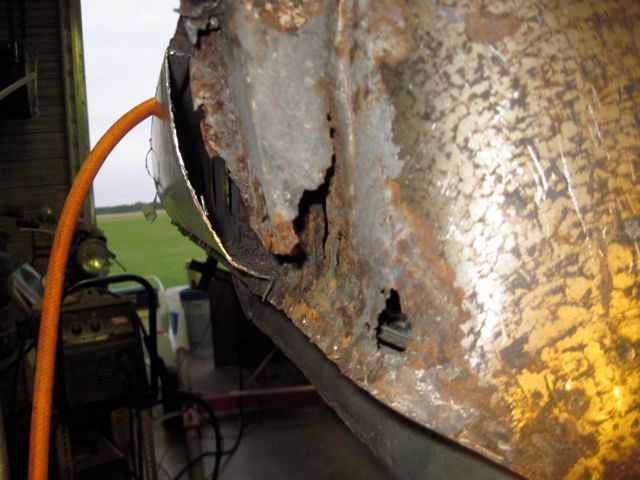
Heating bondo and putty with a propane torch will soften it up, but be careful; it will burn if you get it hot enough:
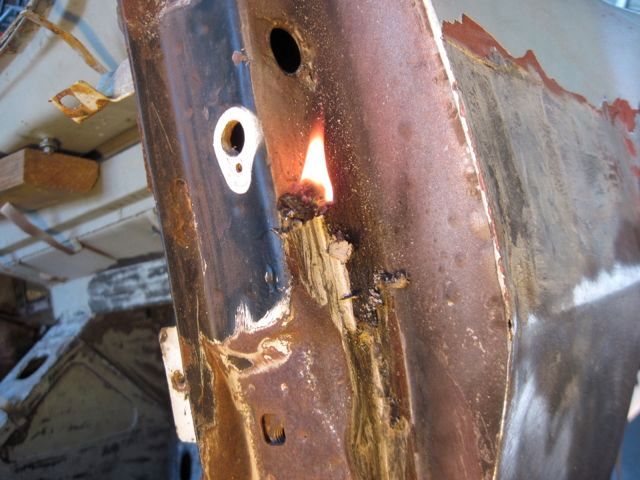
There was a lot of bondo in here, covering up a slightly bent A pillar. I think this contour panel was replaced. I can’t see how you could bend the A pillar without destroying it. I’ll be looking closely at this area when I get to fitting the new doors:
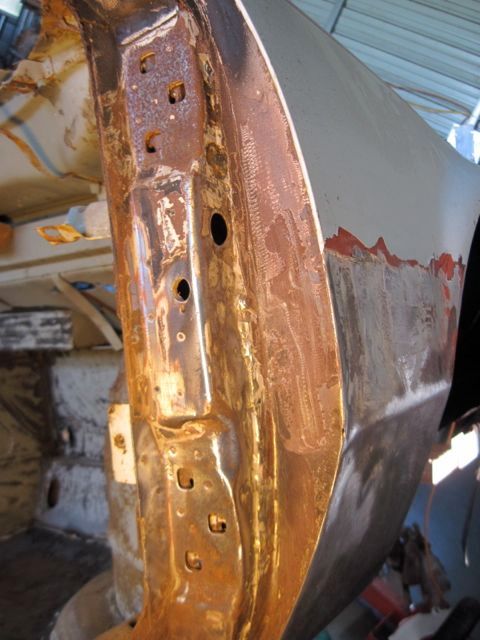
Just like on the driver’s side, the bottom of this A pillar has to be cut off:
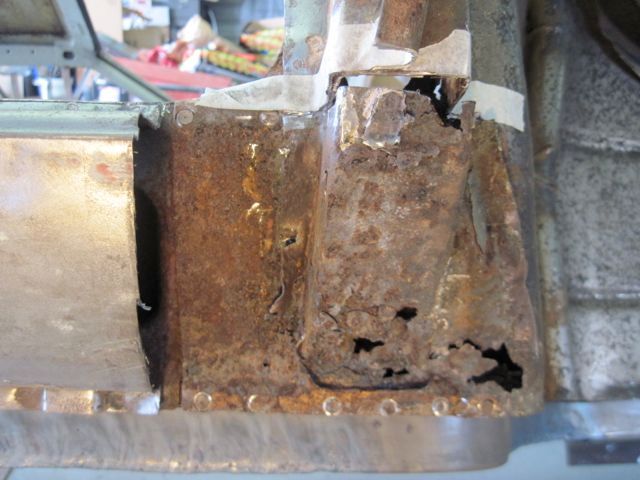
Rust never sleeps:
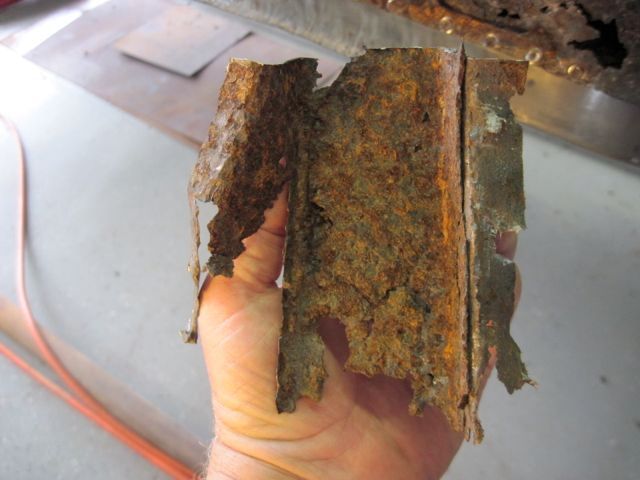
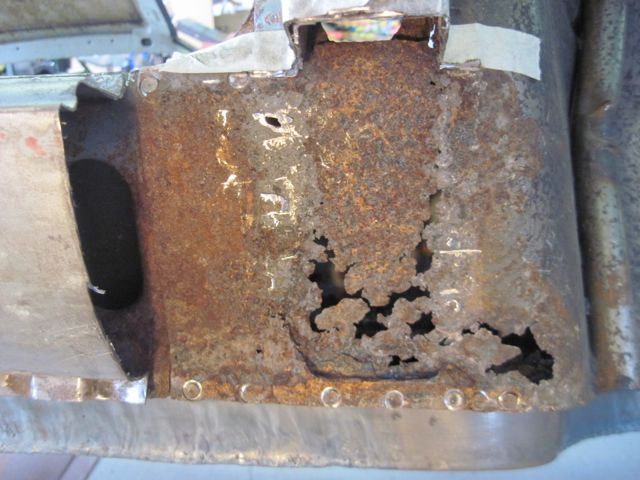
Starting to cut away the wheel well surround from the mid rocker and floor pan. Now having had the other side apart, I know where the lap seam is:
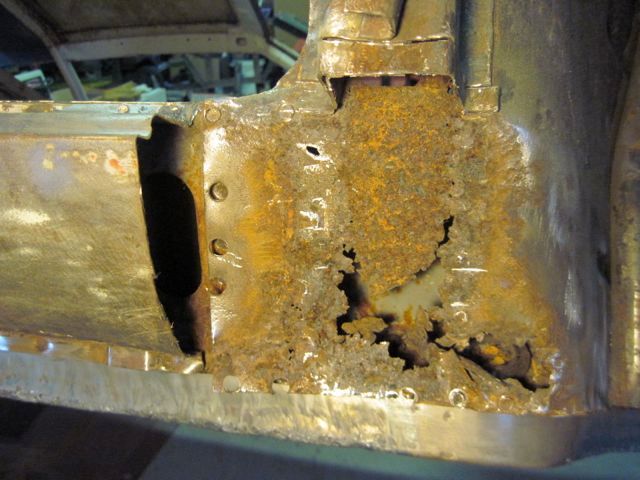
I had to cut another 1/2 inch off the bottom of the A pillar to get at the rusty metal under it. The tape is my guide for cutting away the damaged section:
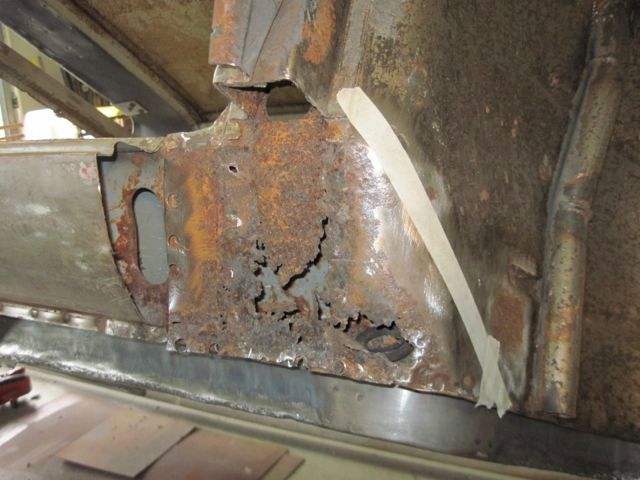
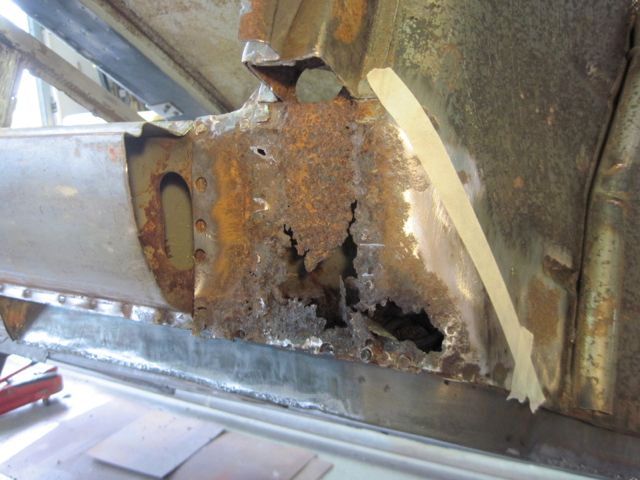
And off it comes:
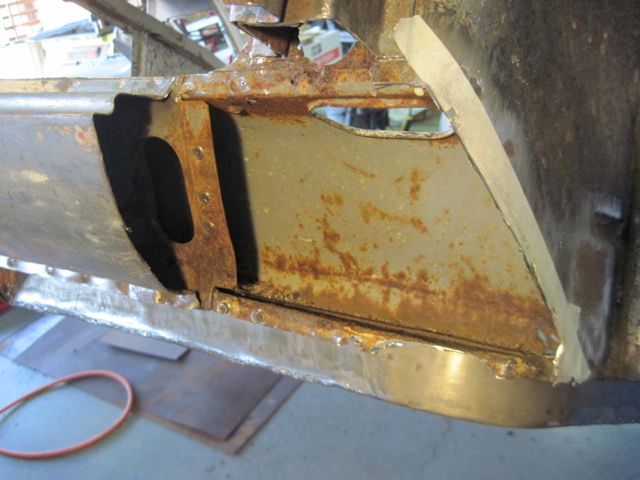
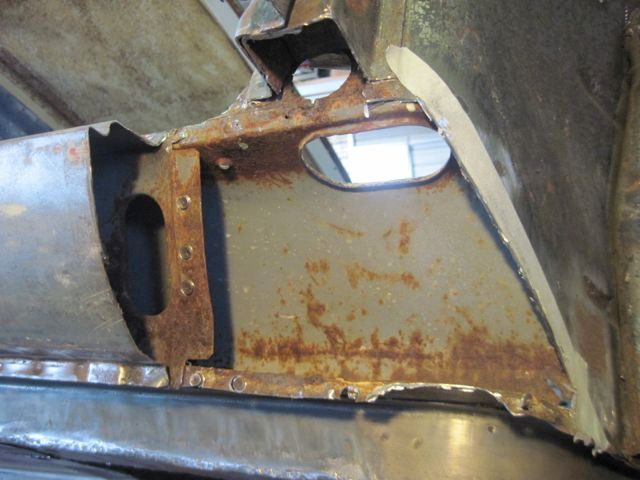
This car has rust in some bizarre places; this just below the fuse box mount:
Most of the de-construction is done here, so next time I’ll start to detail some of the re-construction. Stay tuned!

