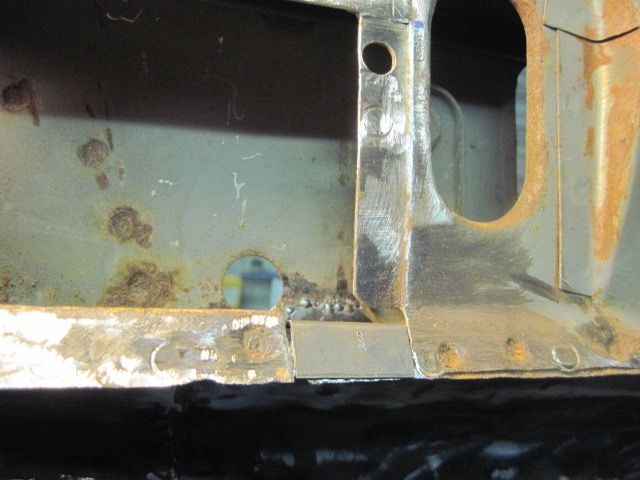
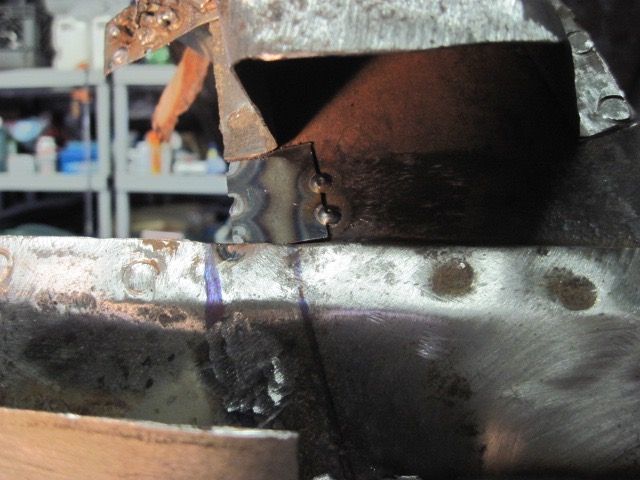
Here I have replaced the rusty part of the mid rocker. I have to grind the welds smooth where the replacement piece flanges will be, and more welding will be done. The marker lines help guide me:
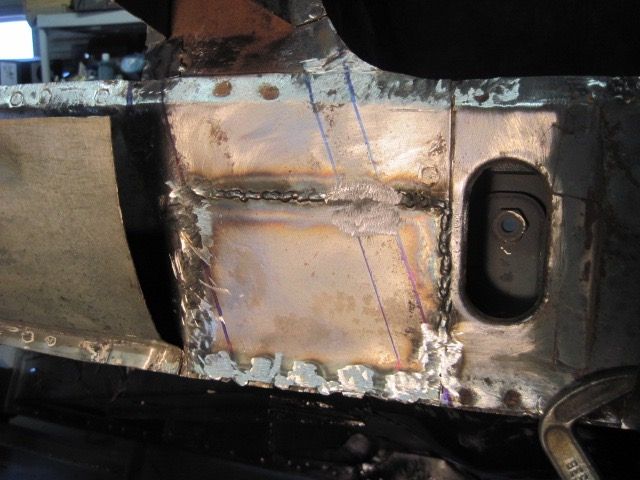
Next I’ll use the heavy aluminum foil to model the repair piece:
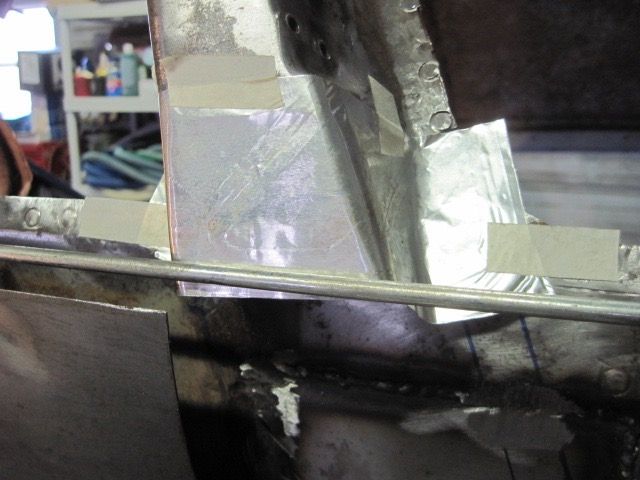
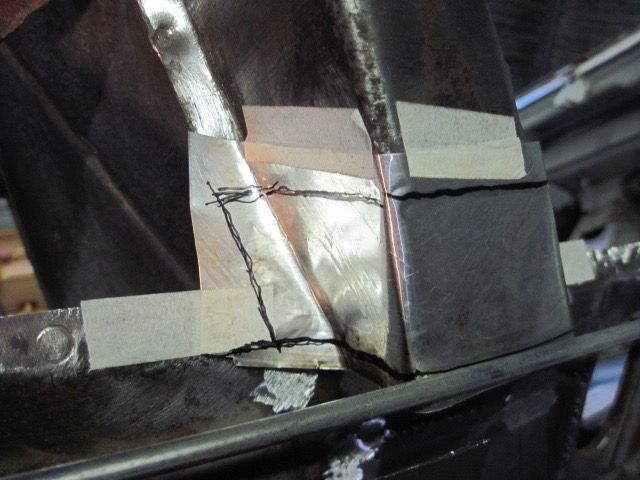
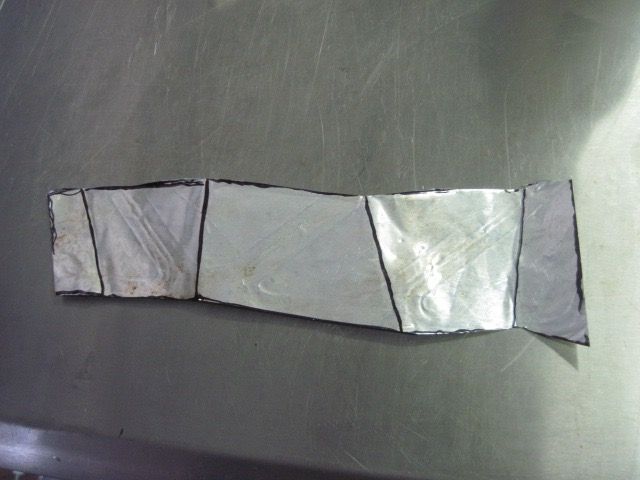
This is what it looks like laid out flat. I use this to cut the steel and get the bends right:
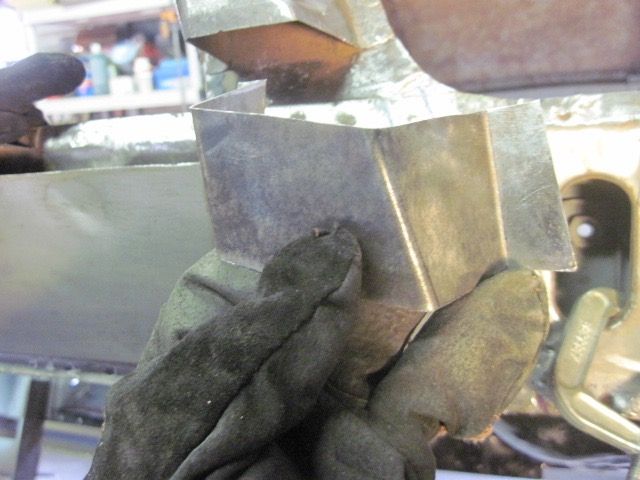
Now in steel, being fitted and trimmed:
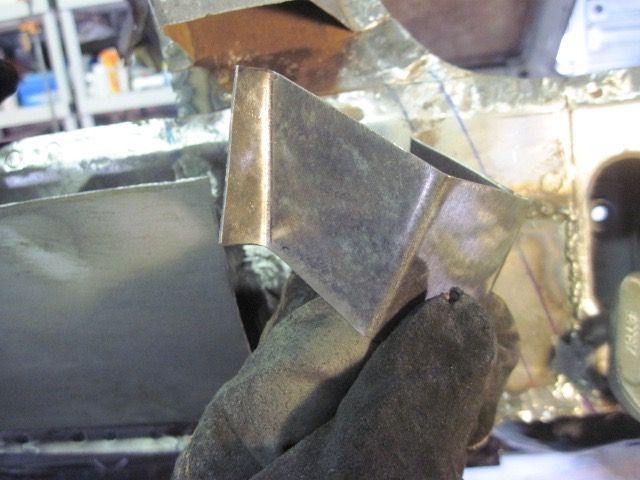
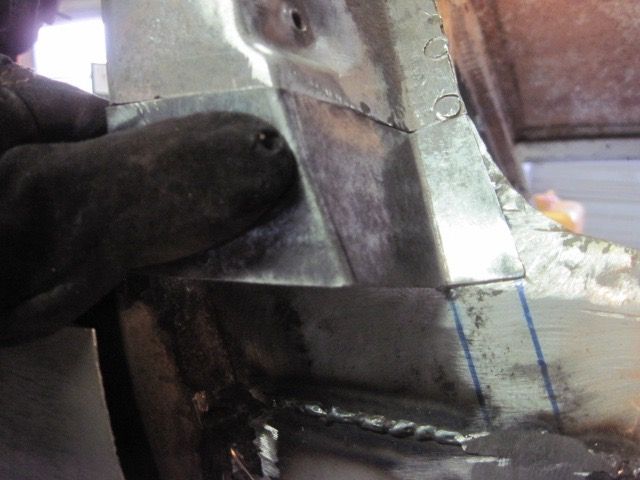
OOPS. I tried to weld up a rough spot, and blew a hole in it:
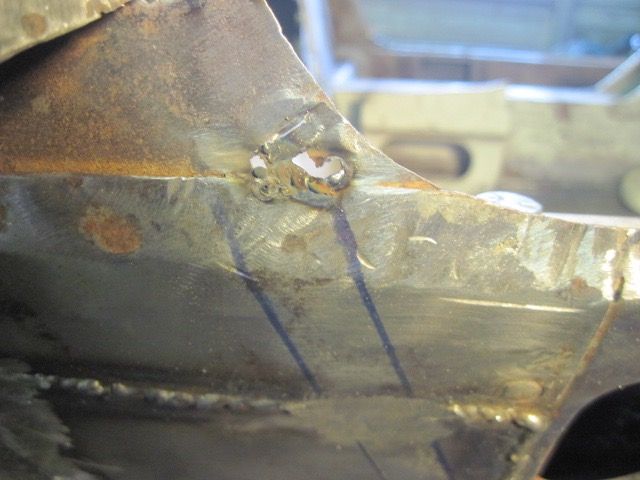
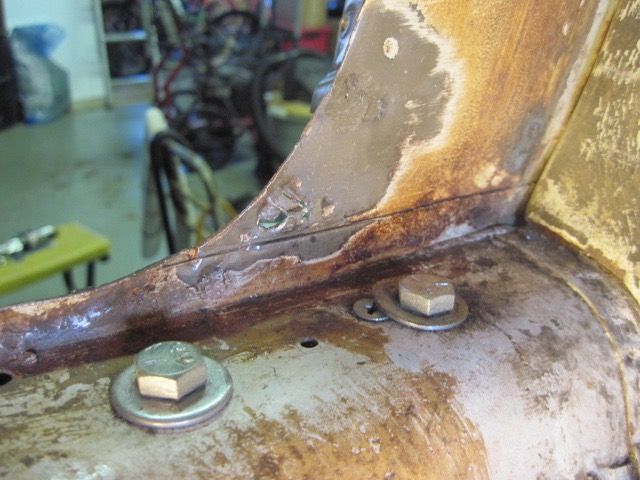
This was just too weak to just weld up, so I made a patch:
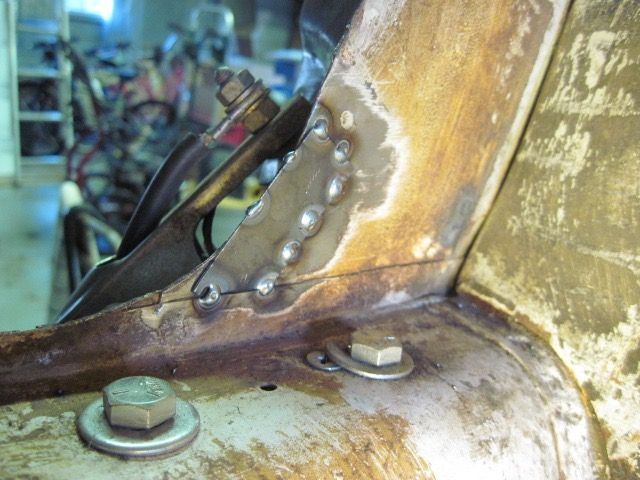
Clamping and welding the repair piece in place:
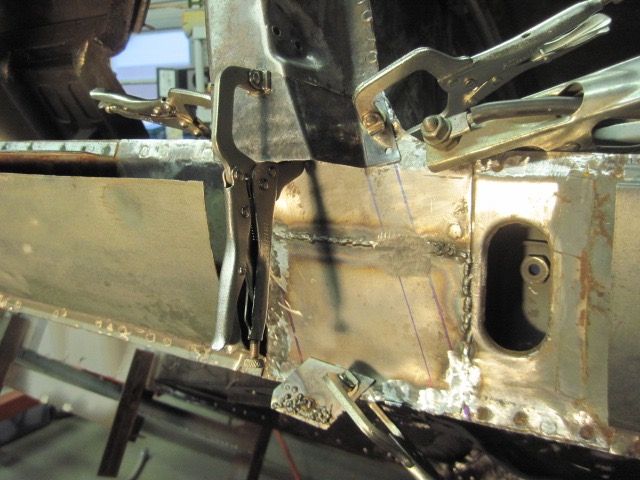
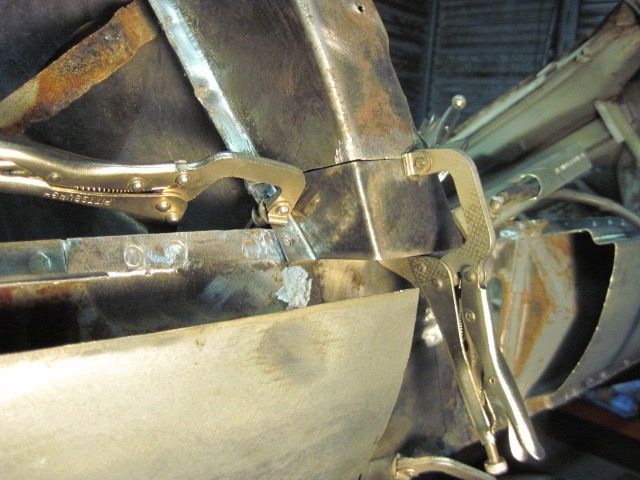
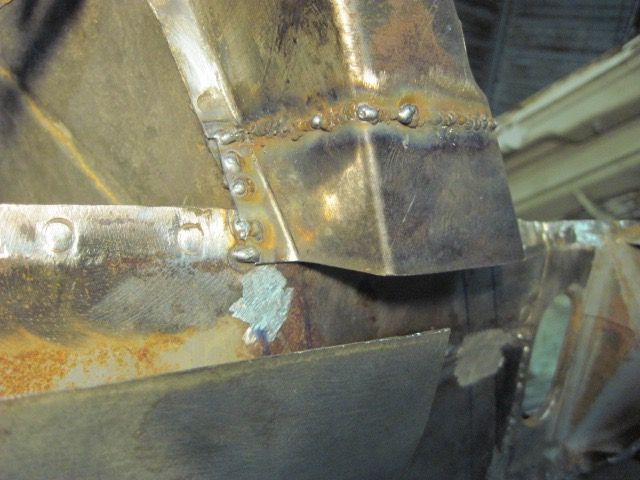
Now for the bottom section of the B-pillar repair. Starting with cardboard and tape:
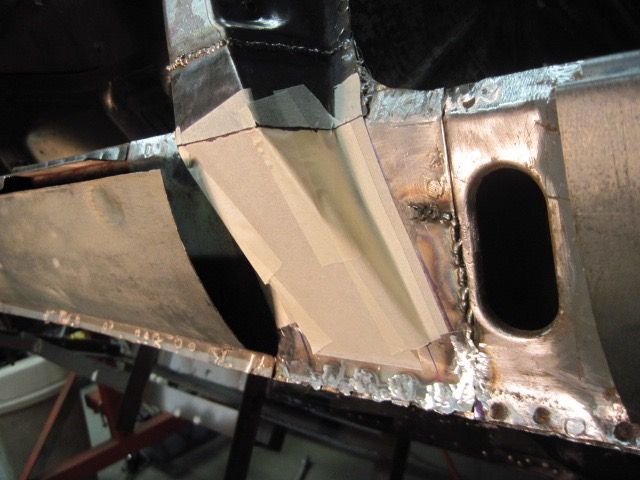
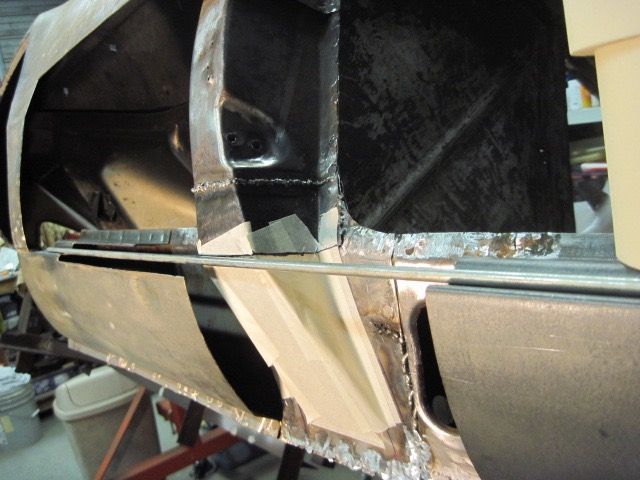
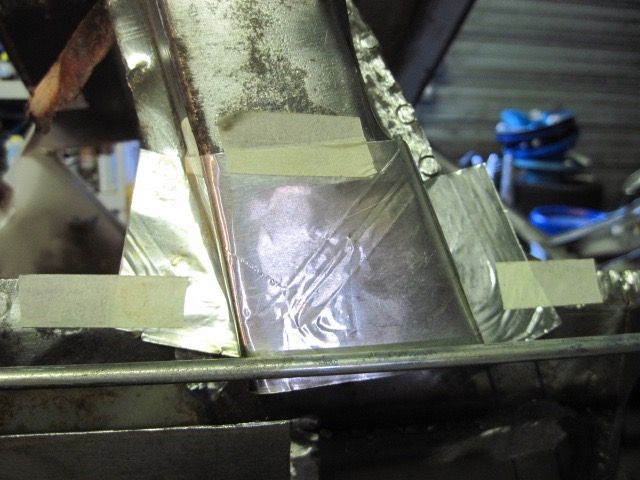
Next model in thick aluminum foil:
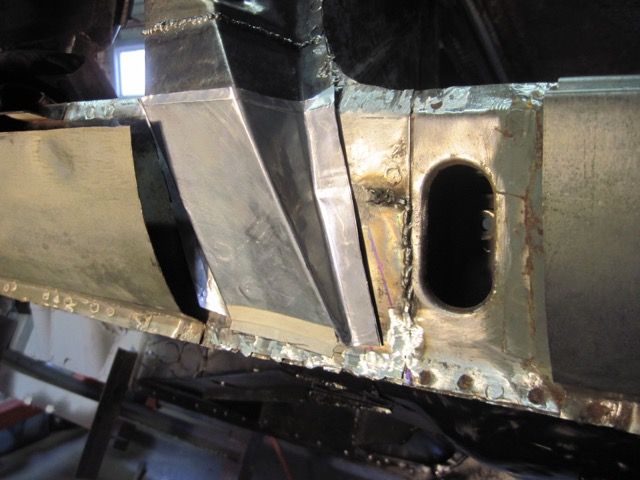
This piece is more complex than it first appears:
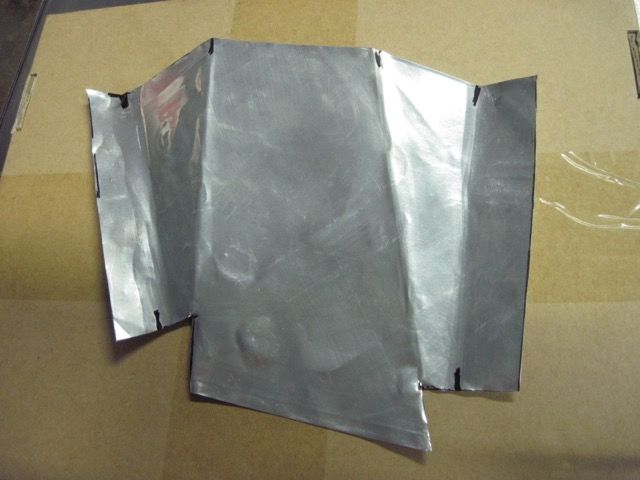
The steel piece is ready to be welded in place:
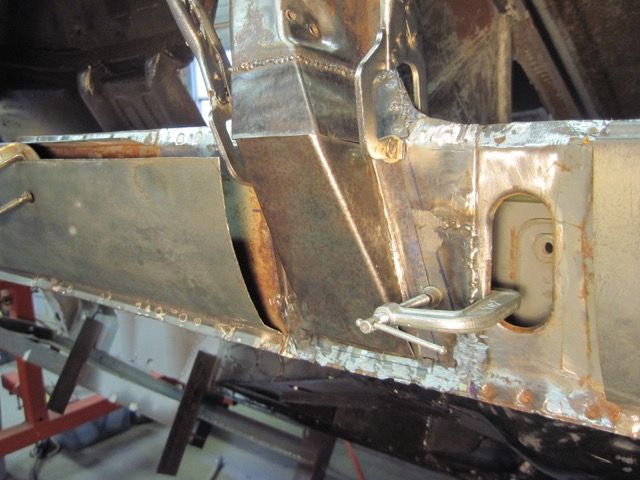
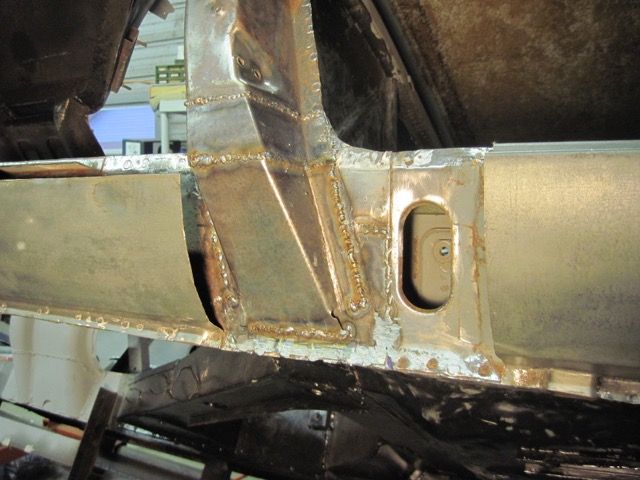
Doing the mock ups in light material seems like a lot of extra work, but it actually saves time and frustration.
Next I will do the upper part of the outer rocker here, where it was rust damaged:
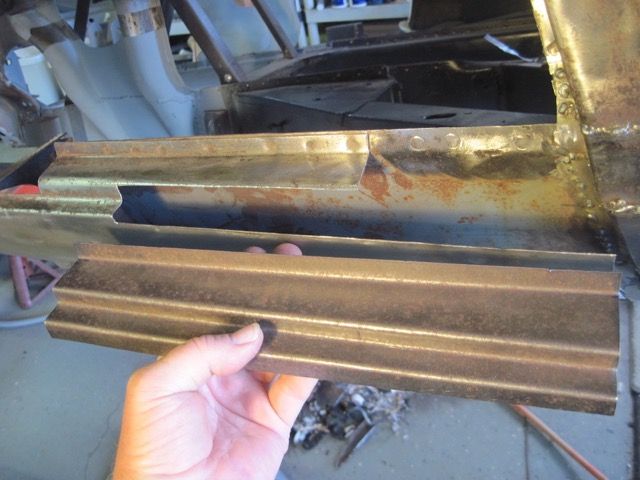
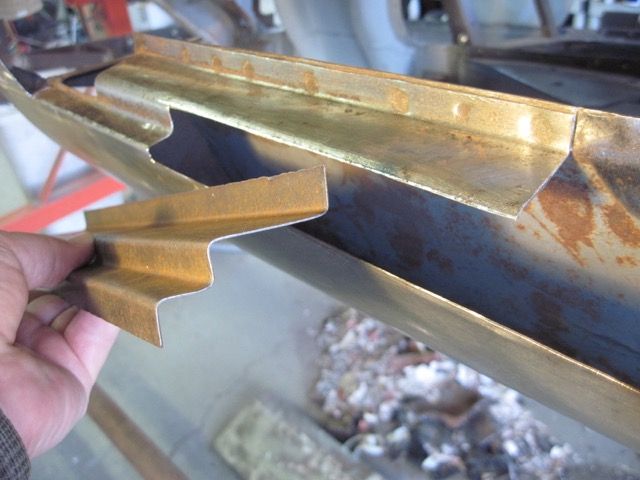
I did not get a photo of this, but I copied the original piece using masking tape, marking the bends with a marker. It is wider at the right than the left, so kind of a tricky piece to make. Took me a couple of tries.
I also decided to cut away more of the original material, even if it was good enough to use. It just made the repair piece more simple. Here fitting and trimming:
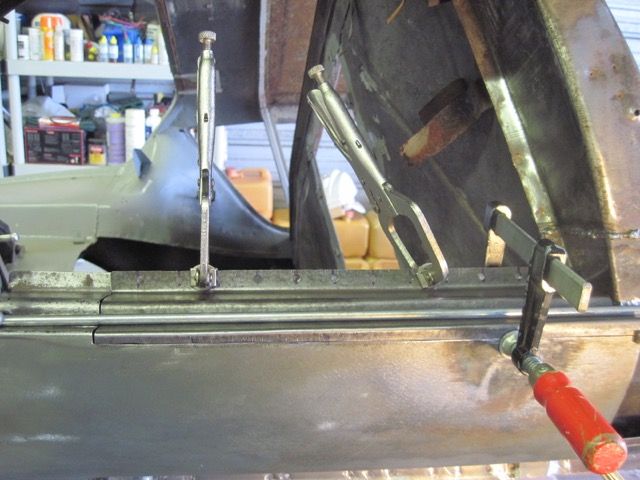
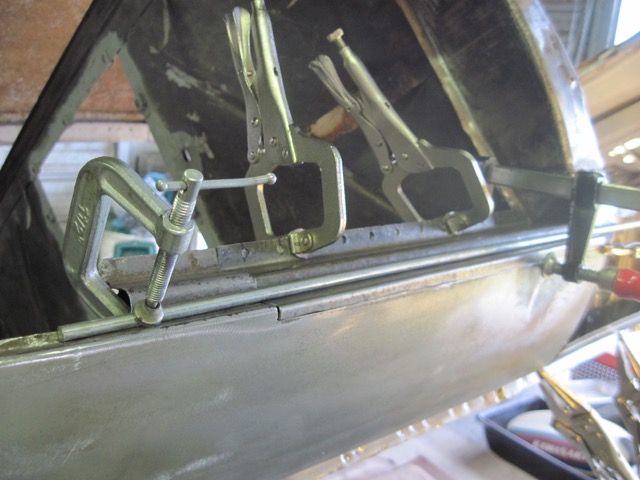
Welding on a backer strip:
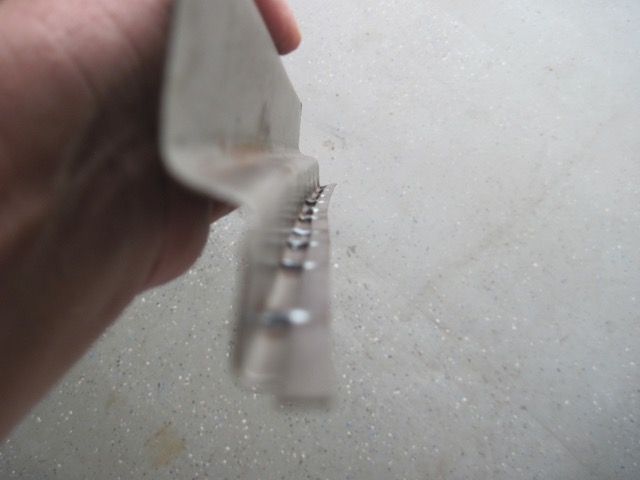
And finally welding the repair in place:
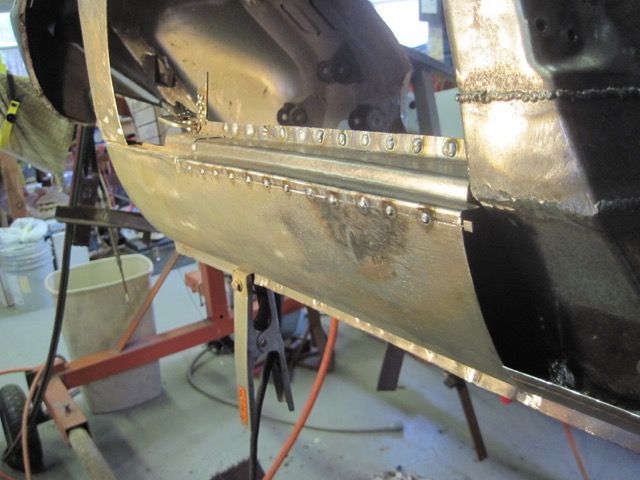
Next step is to clean up the inside and spray some zinc laden primer in there. I take care to mask off any part where I need to weld later on - zinc and welding do not mix.
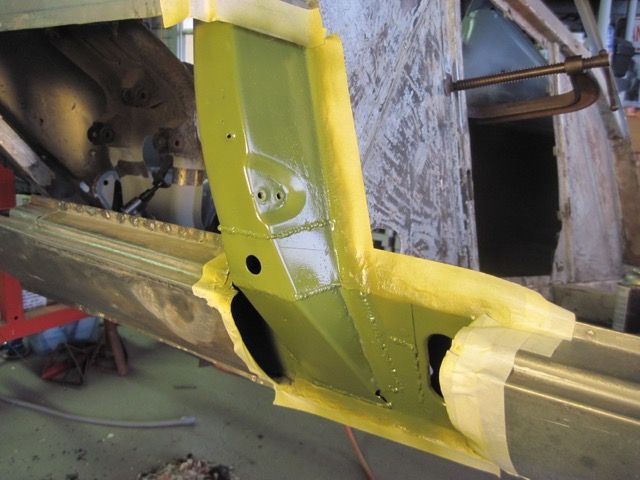
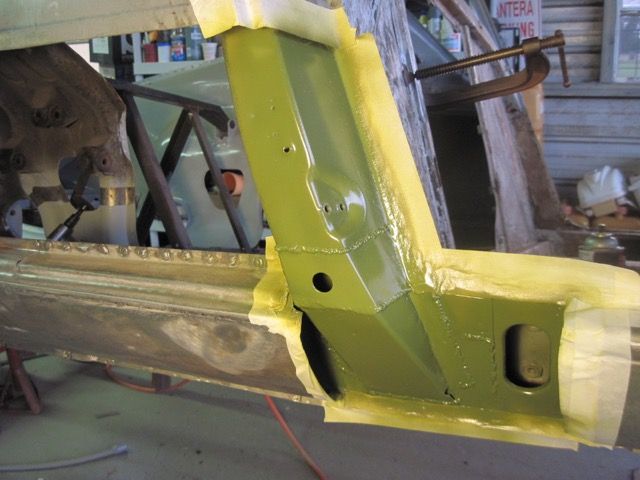
Next episode; finishing the outer rocker repairs and starting to fit up the Johnny Woods repair panel. Stay tuned.

