

Day 2.
I removed parts and pieces so that I can pull the intake and begin test fitting intakes.
First was removing the interior, seats and console to get to the front of the engine to disconnect various bits. I also started draining the cooling system and the oil.
I have installed seat belts from a mid 90's Thunderbird. Rear seats I believe. No shoulder belts. All attaching nuts were already welded to my chassis. I had to cut the holes in the console leather and I did have to shorten the Ford bolts, but the threads were a match! Picture shows bits and pieces with console still in car. I used a piece of leather to cushion the load on the console leather as it had shrunk and pulled away from the fiber glass, to prevent tearing.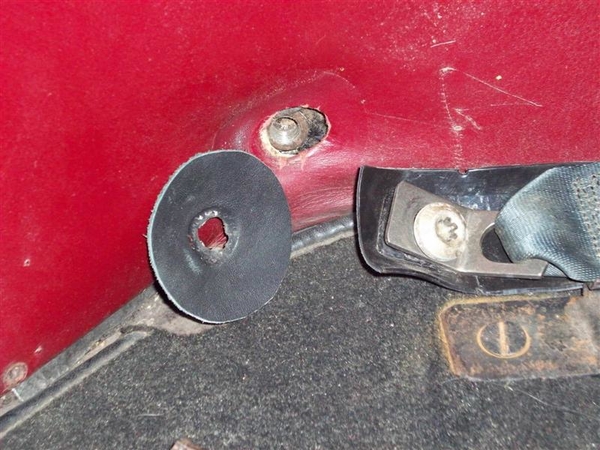
Here is a shot backed off a bit.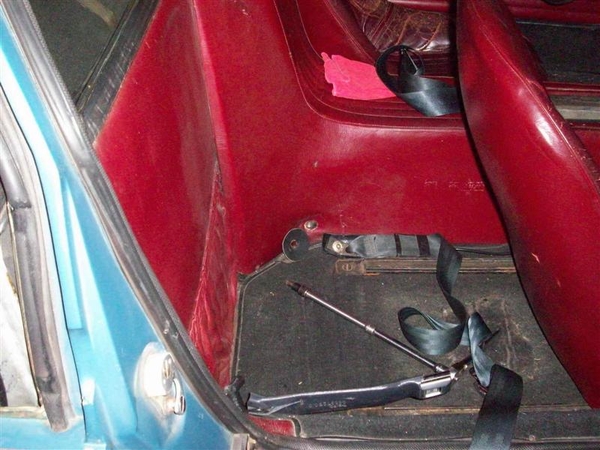
Then things got real crazy when I found this. I had noticed my clutch slave hose was tight on the "ladder bar" that connects the two shock top mounts together...
NOT GOOD!!!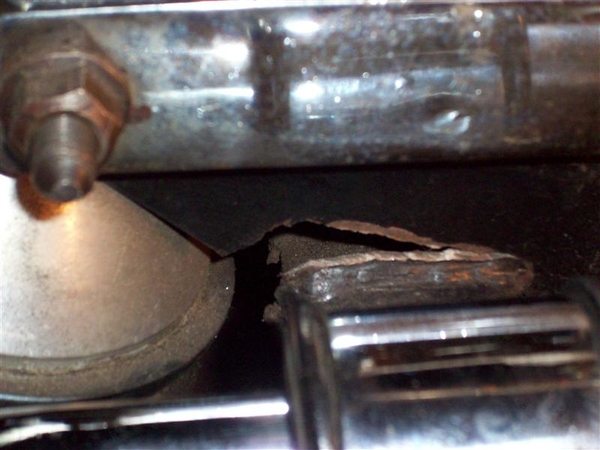
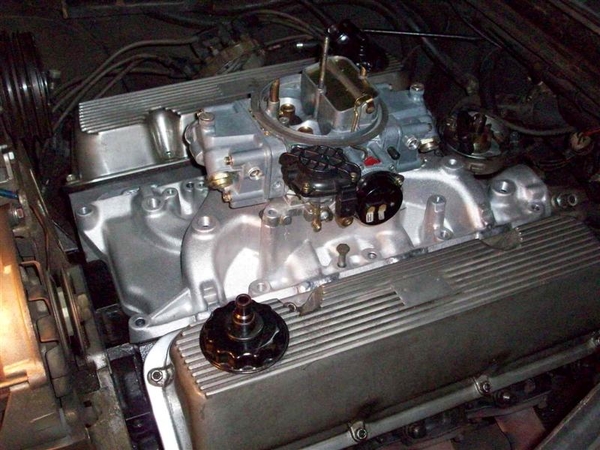
Front side view: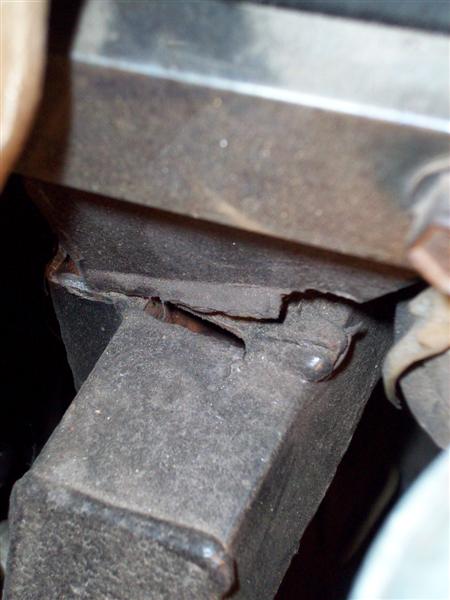
Here is a shot of what is left of my center jackshaft bearing. This went south on my way home from Vegas this year. Since I was planning on replacing this whole mess anyway, and since the other two bearings were fine, I didn't bother rushing to repair anything. This is with the jackshaft bracket was removed....and I found this residue hiding....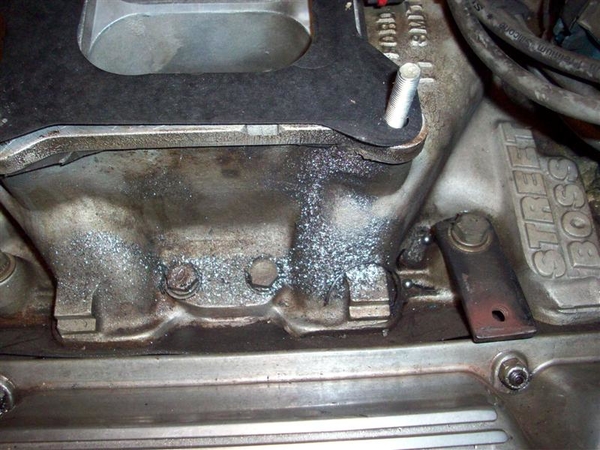
Magnet worked to retrieve the big parts!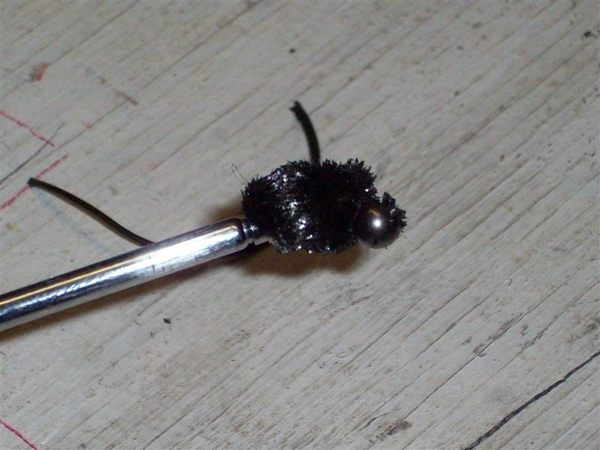
The removed parts pile for the day.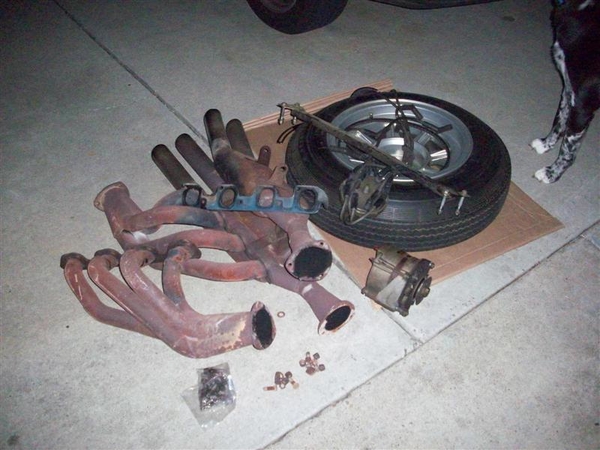
Intake came off after I cleaned up all the metallic bits and blew it off with air and a vacuum to catch some.....
First test, Performer 289 Intake, 3/8" spacer (to help carb clear the jackshaft)and a 428 Ford air cleaner. OK fit! But I'd hate to cut up a $500 air cleaner base to do this!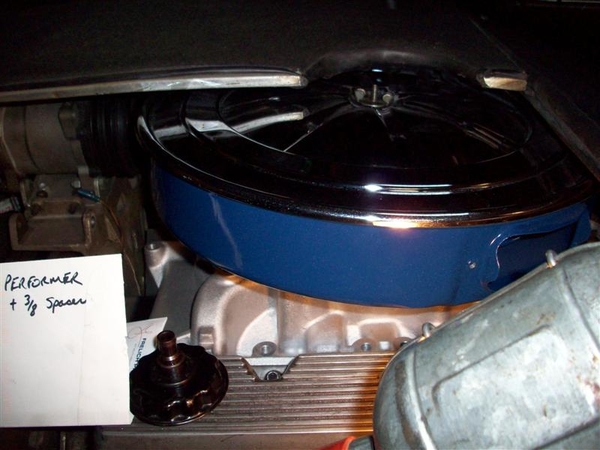
Now the stock air cleaner. Interference at front panel and at rear air tube connections. Removing the spacer resulted in only a slight touching of the front panel. Rear was OK.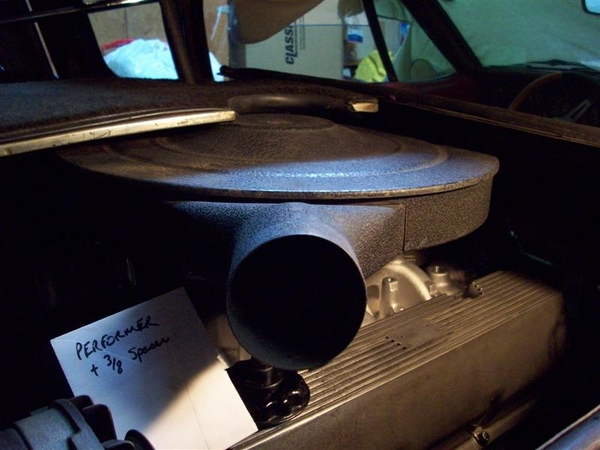
Here's a shot underneath showing no spacer.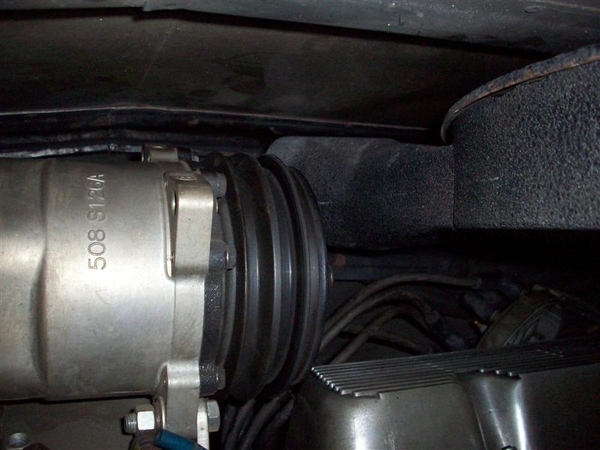
Top View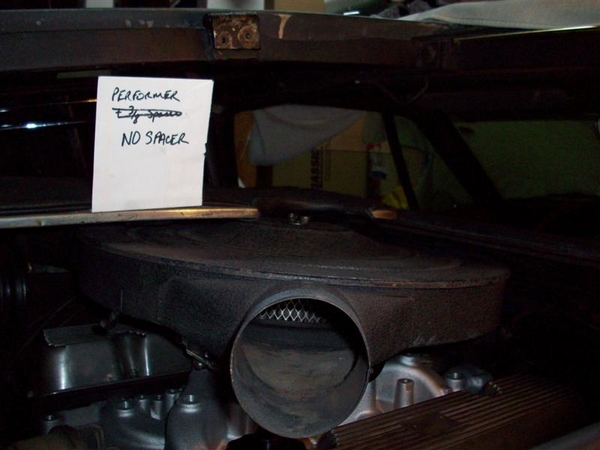
Now I switch to the Edelbrock Performer RPM, carb and stock air cleaner. No carb spacer. Note interference at rear of the hole cut in the shield and the gap at the front caused by the air cleaner hitting the front panel. No way a spacer is going to work!
I tried the 428 air cleaner just for kicks... slight touching at front, ribs on shield would probably just touch the air cleaner top.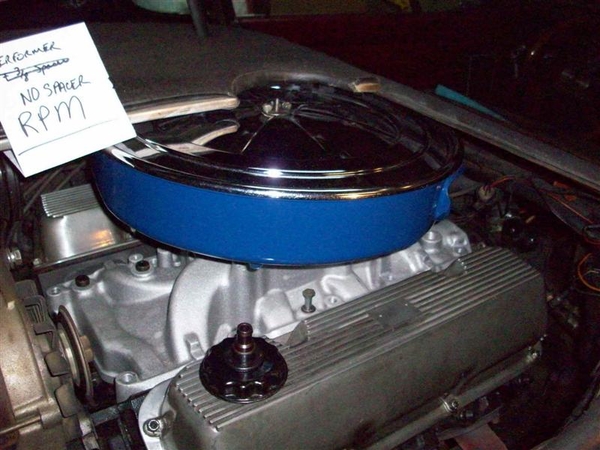
Now for the vintage F4B Edelbrock that supposedly fits! No spacer, no way! Note gap at front! Contact at rear of hole.
The 428 air cleaner had some touching at the front and probably at the rear again....
STOCK AIR INTAKE MANIFOLD...this has gotta fit, right???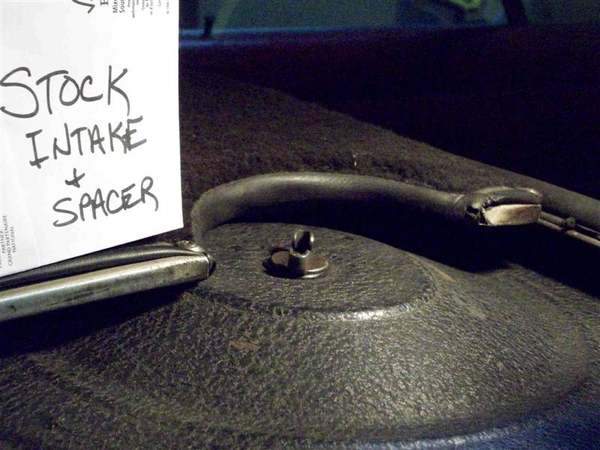
NOPE!
This shot shows how the front panel doesn't fit down....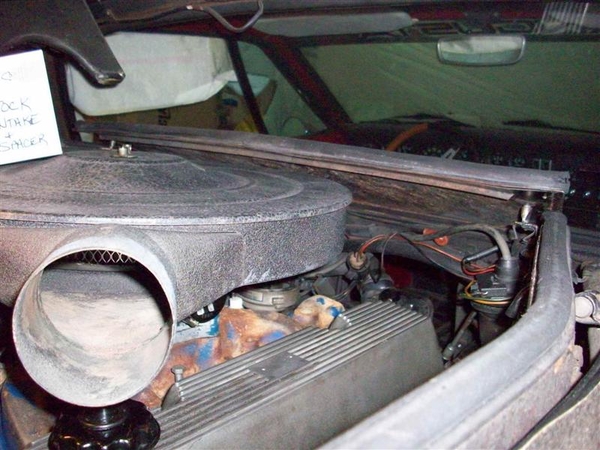
428 air cleaner actually fit well! Note the light you can see in the gaps!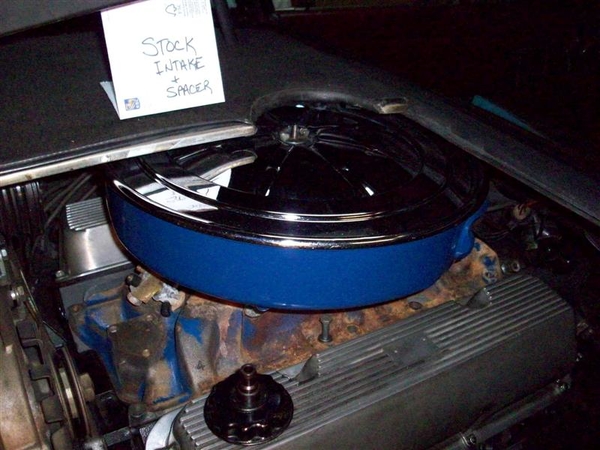
OK, enough intake madness!!!
For those of you wondering how I can test regular intakes on a set of Boss 302 type heads, note in this shot that the two center bolt holes are in the same location! This is a shot of the Performer intake with extra metal added onto the top so that they would seal better to the heads! (RPM has this metal cast in place...)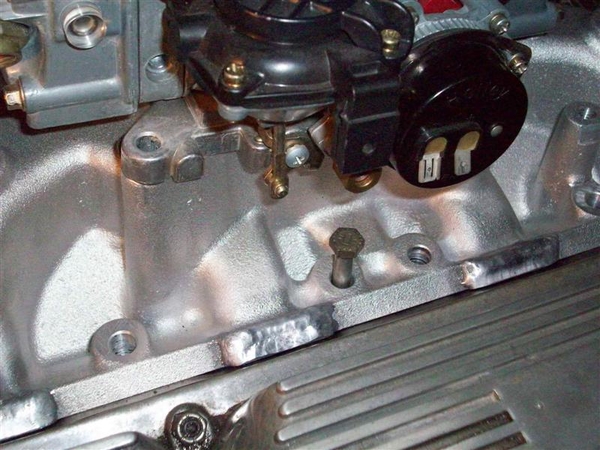
Tomorrow, more discoveries!
Steve
Attachments
Images (22)


