

SMALL PROGRESS IS GOOD PROGRESS....RIGHT??
Went to Reno with POCA and had a blast, finished up my patio project so that I could throw a party for the wife's birthday....(and garner up some stock of brownie points!....) and am now ready to dive back into the Goose!
In between laying bricks and everything else, I managed to find some rivets that were close but not that close to the originals, and a rivet set (punch) to set the rivets with.
My dad sent me this from his garage....to mine.... I wanted something simple.....and while this is bigger than what I was thinking about, sure makes it simple to set rivets!!!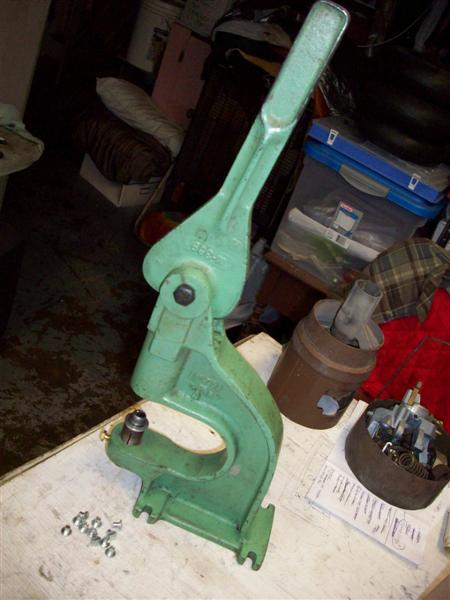
I bought some dies for the rivets, and he machined up some adapters to make them fit into this press. Works like a champ....once I clamp it to the bench...!
Here is my end result after bead blasting the heatshield frame and painting it "BBQ black" (flat black hi-temp) cuz I couldn't find any hi-temp semi-gloss black at Home Depot and I wasn't about to chase around looking for a can of paint for something that you can't see once the engine is in place!!! I had one spot next to a rivet where the tin had evaporated a tad, but as I said, not going to sweat this particular detail a whole lot!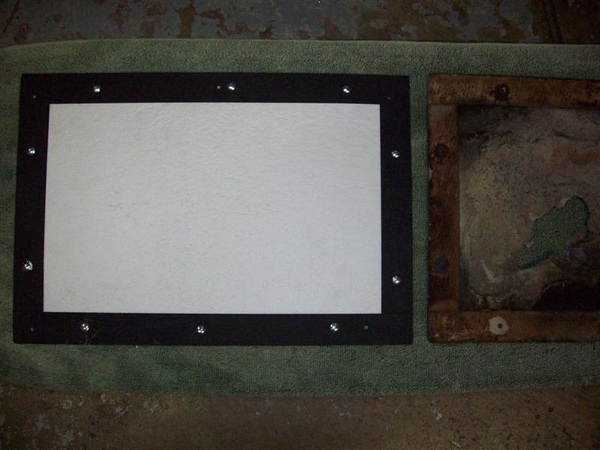
Another bit that was needing servicing was the rubber bushings at either end of the trans cross member. A while back I had sent back some drawings to my dad, a retired machinist, and he made me up this pusher/holder affair to push old bushings out, and new in... What complicated matters was the fact that the resting surface on the crossmember is not flat due to welding during the construction process. This required putting a step in the holder.... Looks like it will work just fine, either side now. I'm not going to push my old bushings out just yet until I get all of the other pieces to fit properly, ie sway bar, ladder bar...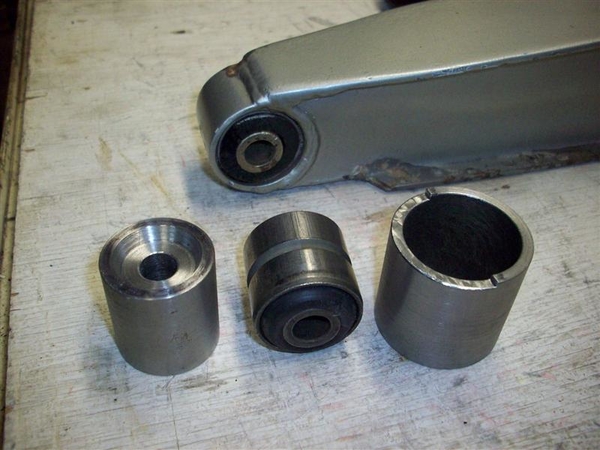
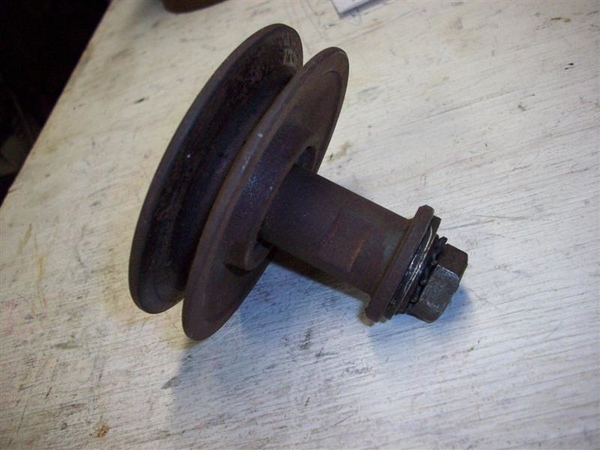
AND last but not least, I was missing the RH idler pulley stand for the engine/jackshaft idler....and Greg T., another local Goose owner working on a puzzle car, came by the other nite before the PCNC meeting to check out my car and take some reference pic's to aid him in getting his car back together! He brought by this pulley and stand-off assy and I'll spec it out, make a drawing, and have my dad whip out one of these for me! Sure is great to have local guys with cars that are apart!!! ![]()
NEXT! Make up a cardboard pattern, and cut out the LH heat shield for the firewall, sand down the old garpy paint, and get it coated with something high temp that will accept the adhesive backed temp shield that I got from Cool It. (Not the yellow stuff I initially bought) This stuff is called "Aluminized Heat Barrier- Adhesive Backed" and is about $55 for enough to do the left and right bulkhead/firewall areas. Sorta pricey, but made to mount near heat sources.... Everything else I have looked at just didn't wax my paint.....so to speak.
Plenty to do, but I figured I'd update the post!
Ciao!
Steve


