

Loaded more pictures....
This weekend, starting on Friday, I tackled the last section of frame, that I didn't want silver.....not sure why, but maybe it was something to do with black being used on every other car, I had to have some too.......or it was the paint fumes....
Anyway, stripper was back, sand paper and sore fingers, more primer and we ended up here!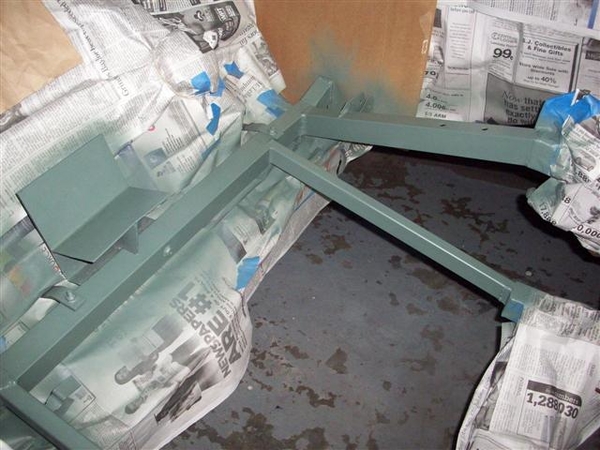
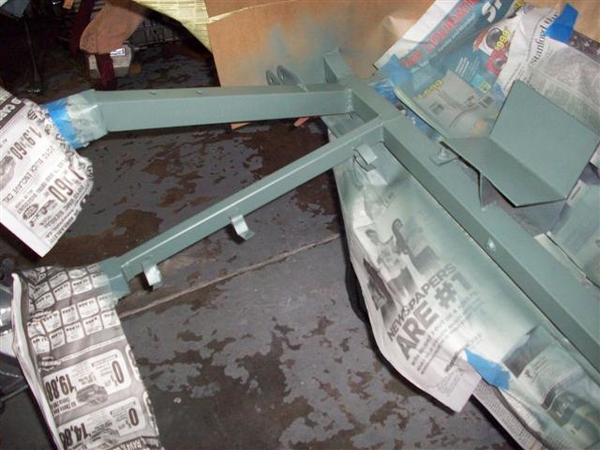
OK, fast forward thru black paint and some backwards here.....I got a little "thin" on the silver paint in this area around the air inlet opening and to either side of it....SO, while I was masking, I hit this area with more silver so that the green wasn't leaking through! So before black paint, there was silver paint....and then more masking and black paint!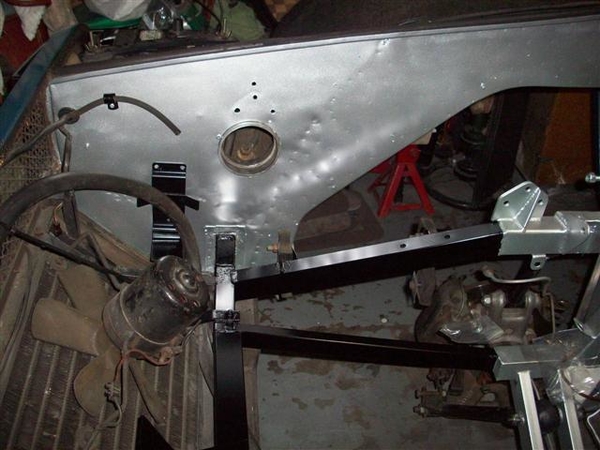
You can see where I mounted the bracket for the Lucas wiper washer bottle, the hose retainer, and a new rubber insulator/grommet for the LH tail lamp wiring etc. Pieces actually going back on the car!!!! WHOO HOO!!!! Sorta like coasting down a hill after you worked so hard to pedal up the other side!
Here's the other side. Actually a picture from yesterday's progress....
I had mounted up the a-arms and rear hub assemblies, wiring grommets had been pushed back into their holes (to the right of the DuraSpark module) and insulation was added to the wiring retainer clips, with the starter cable now securely retained! Like I said... "coasting!"
View from outside looking in on RH side. Battery cable where it transitions to outside of frame, and new braided brake lines installed to calipers.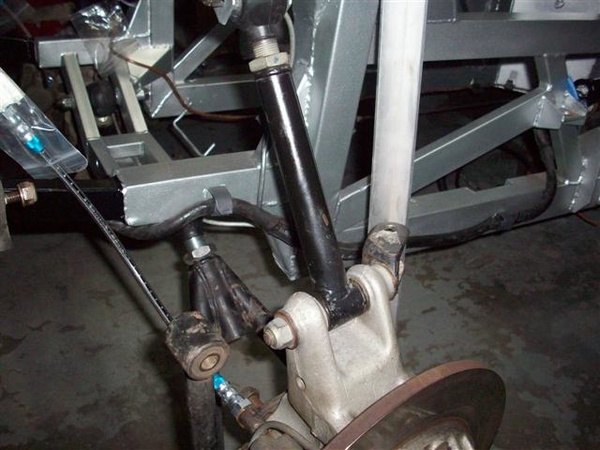
Here is a shot of my new lower a-arm inner bootie looked like after installation. Good thing I had two.....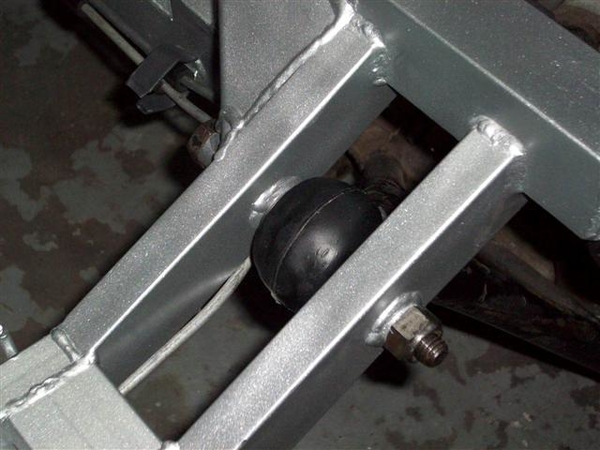
BECAUSE....it took two to get one on....properly....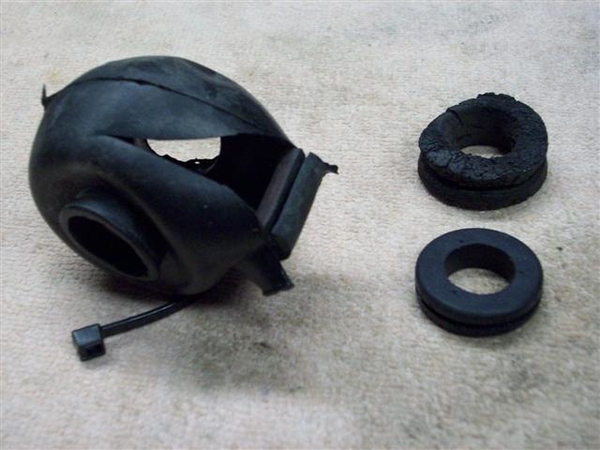
That's a torn up $12 bill or so! You'd swear that they will not fit over that great big spherical joint...but they do! I used a little silicone grease (pool pump grease) to assist rather than actual grease. Once the bootie was in place, I added additional grease to it, then installed the adapters/spacers.....
On the RH side is the original rubber grommet as found in the Left Rear corner next to the battery. Looks like acid mist had taken it's toll on the rubber. New grommet below it.
Here's a close up of how it turned out installed.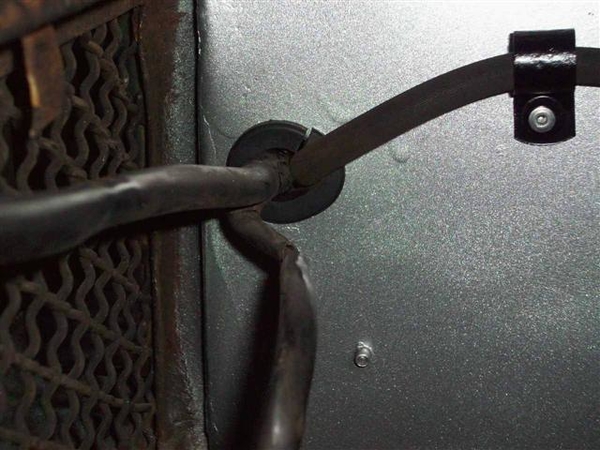
I couldn't or didn't want to completely remove the rear wiring harness to put the grommet on in one piece, so I cut it and worked it into position. Will do the job nicely!
Also worked on some other stuff over the past week too when I couldn't tackle a larger job!
Finished the other heat shield for the sides of the engine compartment walls: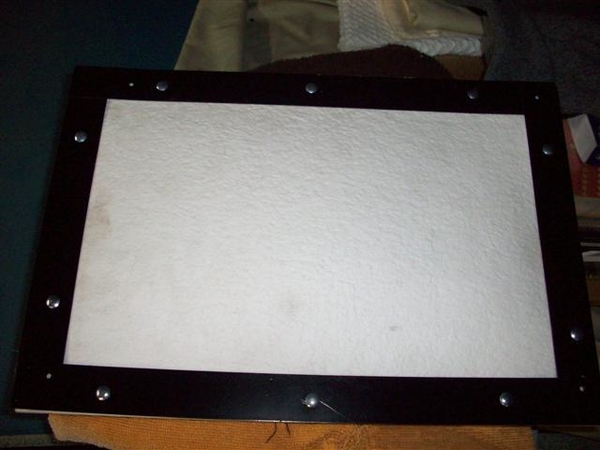
Started working on my coolant reservoir clamp, only to find out that a PO had cut it apart too much such that it could not be put back easily by simply welding the pieces back together....SO, I had another clamp that was sorta rusty chrome (thank-you Greg!) that I blasted with beads/aluminum compound, primed and painted (had one or two days where the sun came out!).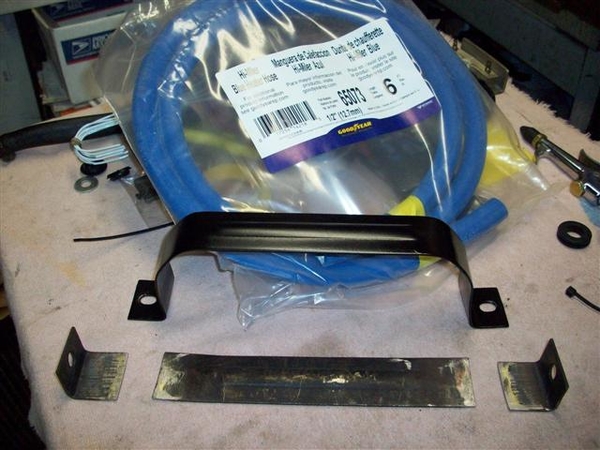
New 1/2" high(er) pressure Goodyear heater hose delivery was detected by the dog.... This will go in after firewall insulation is cut and installed, later this week! Weatherpersons promised warm by weeks end!
Patterns for cutting insulation are ready... those pizza boxes came in real handy again!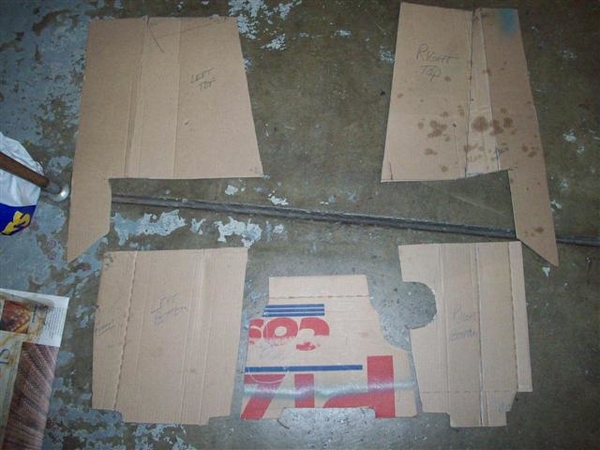
Finally, Saturday and yesterday, I cleaned up the 4 strut rods for the 4-link suspension. They are deburred, sanded, washed, and ready for primer and paint.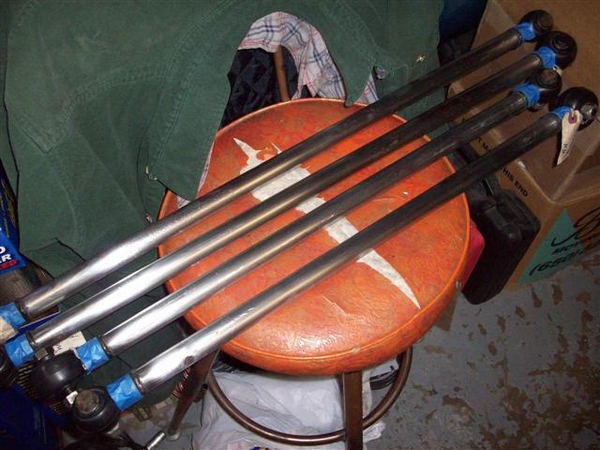
Once the paint hardens, I'll replace any rubber booties that look bad (all were replaced 6-7 years ago and are still soft and pliable) and give them a shot or three of grease before dropping them back in place.
I tagged them to retain front to rear and side to side positions so that alignment is not affected.
So warm weather gives me a short list:
-Cut and install firewall insulation.
-Paint 4 strut rods
-Re-install wiring harness, coil, light, voltage regulator, misc clips and bits...that are in bags on my work table! (They should all be empty when I am done....bags and table top!)
-Install 4 strut rods
-Install shocks and tires
-Set car back down on ground
-Install rear brake pressure amplifier and connect lines up back to calipers.
After this, we go back to the engine for intake porting!
Ciao!
Steve
Attachments
Images (13)


