

Alright, back to it! Spent the last couple of days side tracked on a 68 Shelby tilt column rebuild...was a small challenge....make one good column out of two bad ones please! It is packed and ready to ship....back to the engine!
I just looked at the date I took these pictures and it was almost exactly 25 months ago. I started on the rebuild way before I started dissassembly. Of course never anticipating a one year side track! Should have known...it's a Goose! ![]()
Follow along, this is "almost a long block" in around 20 pictures...and 10 minutes!
My core block, from a 92 T-bird IIRC.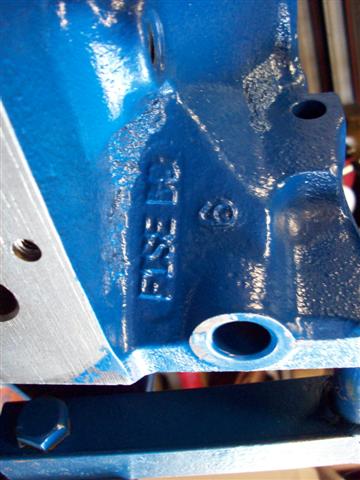
Bought a complete engine and pretty much discarded everything but the block....sold off the EFI intake etc, heads....
I had it bored +.030 and it needed a slight amount of decking on the top of the bores to align the decks properly. (Found this when I was checking installed piston height!) Here the crank is already in as well as the new E303 Ford roller cam.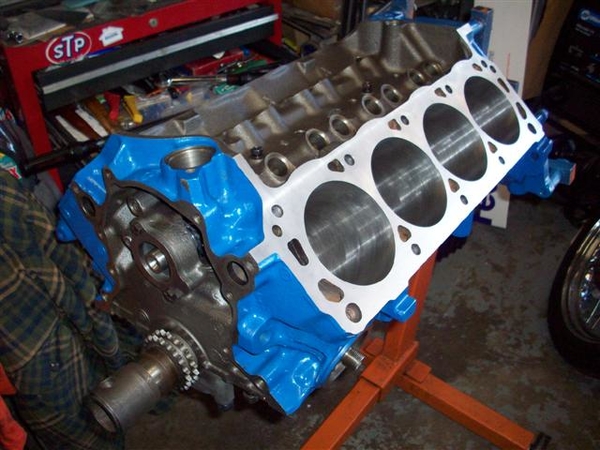
Nice machine work on the crank oiling holes!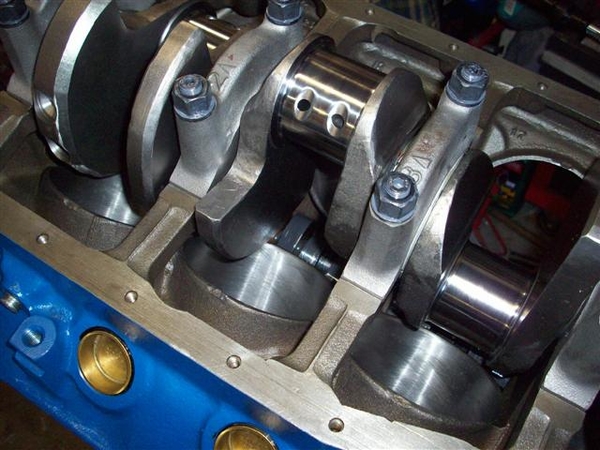
Here is a crank spinning tool I made from an old Ford 352/390/410/427/428 harmonic balancer spacer. Drilled a cross hole in it large enuf for my big screwdriver or a lug wrench and voila! New tool! ...for cheap! Slips right on and off!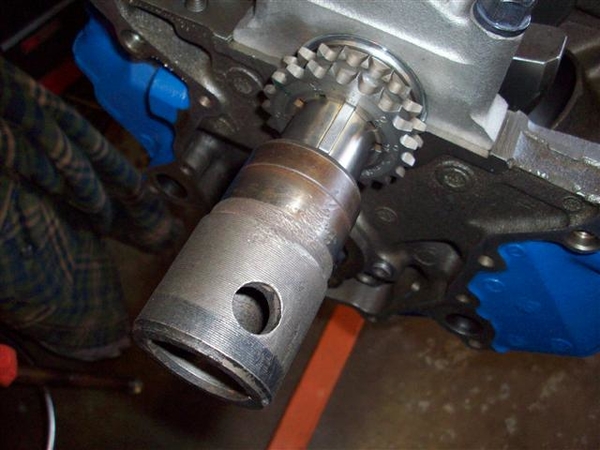
Closeup of a piston. Had to really dig to get a flat top piston with only two valve reliefs! Four would have cut down my compression ratio. I am aiming for about a 10.3:1 if my calculator did the calculations I wanted it to do.....correctly!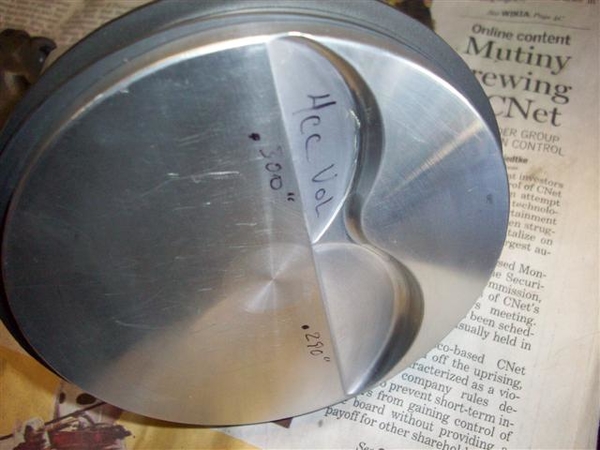
I polished or smoothed the edges of the reliefs to lessen chance of detonation on a sharp edge! Used a machinist's deburring tool followed up with some 320 or 400 wet/dry sand paper, maybe followed up with some 600....can't quite recall.
New I-beam rods with 12pt cap screws. I would have liked H-beams like I have already, but in this case, they would only be effective for bragging rights! (6500 absolute max RPM self imposed limit due to jackshaft...)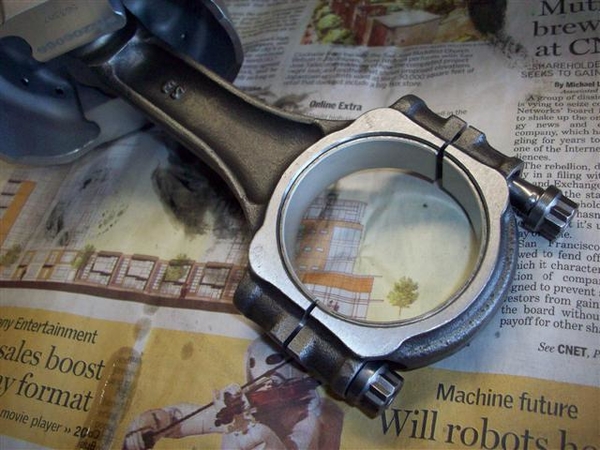
Spirolocks....hmmmm. First time messing with these little buggers!!! Two on each side of the pin.....
In goes a piston.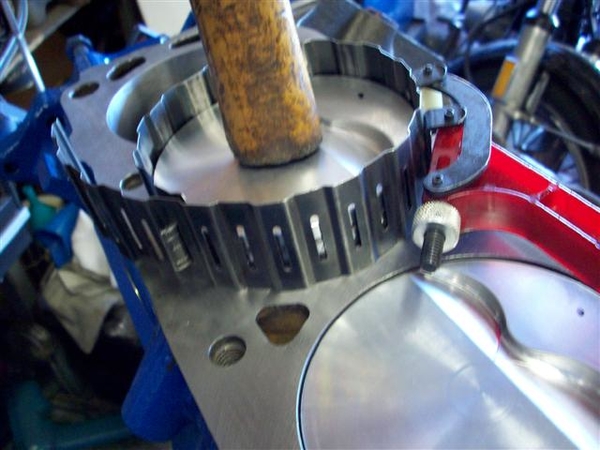
Slight mixture of molylube and oil for the bearings before tapping the piston into position.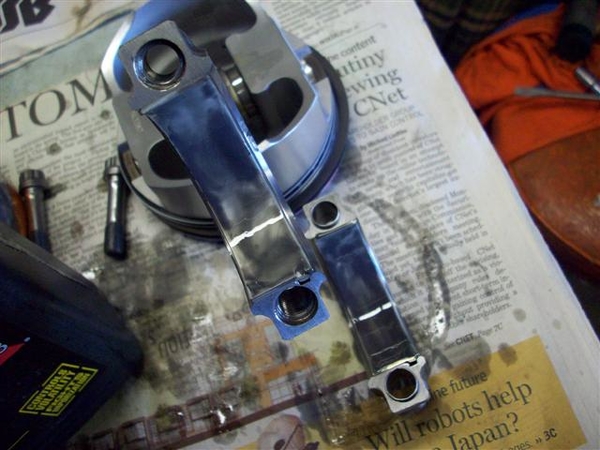
New ARP or so, HD oil pump driveshaft.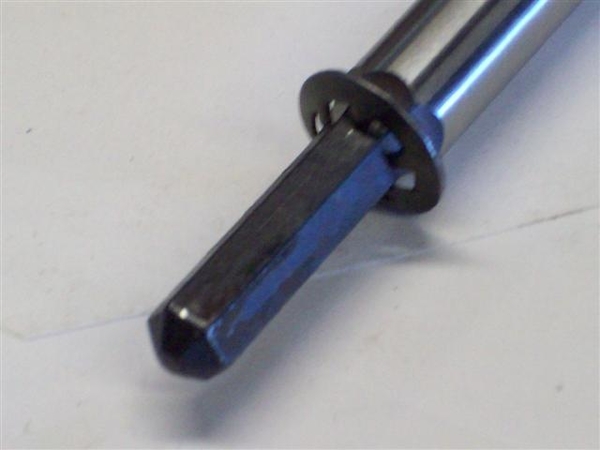
New Ford double roller adjustable timing set and high volume oil pump. (NOT high pressure)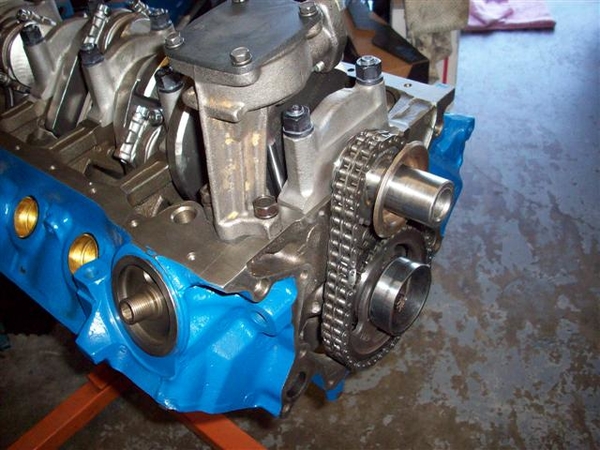
Lubed up the new roller lifters with more of the same mixture of moly and oil.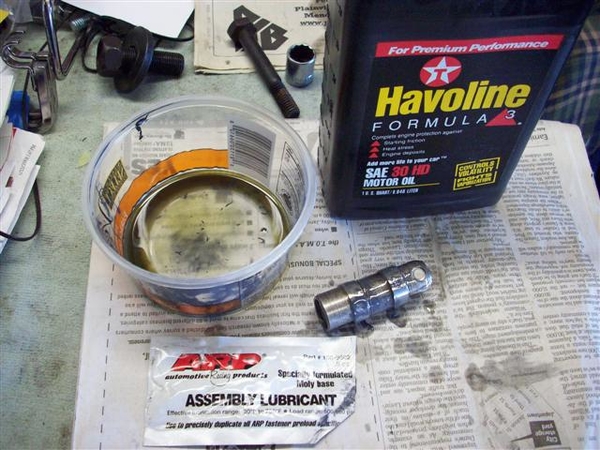
Checking piston to valve clearance. Running 1.7 rockers to get a tad more lift than the stock 1.6's.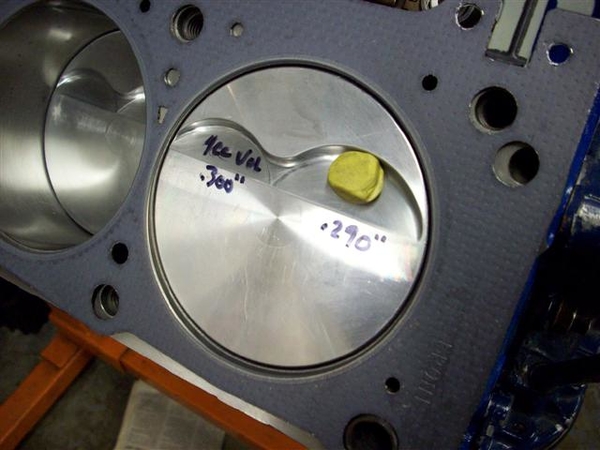
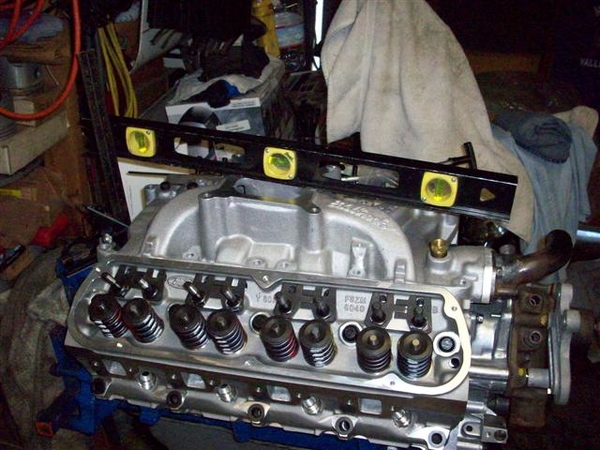
New heads, Motorsports Y303 heads. Tall intake port, no longer available, replaced by X and Z series heads. These have a little more sealing materials around the tops of the intake ports....when the Motorsports tech guy said that he'd seen some cases of intake gaskets failing at the tops of the ports, it helped me with my decision! Mo' meat please!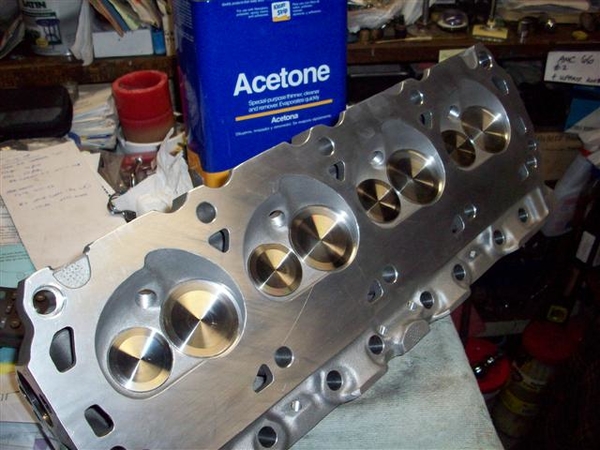
I also smoothed the sharp edges on the chambers too. These are fairly large chambers...64-65cc IIRC. Will see what I find in my notes.....
Since these are Motorsports heads, they are cut for a 1/2" head bolt (351), so spacers are required to install them on the 302 blocks.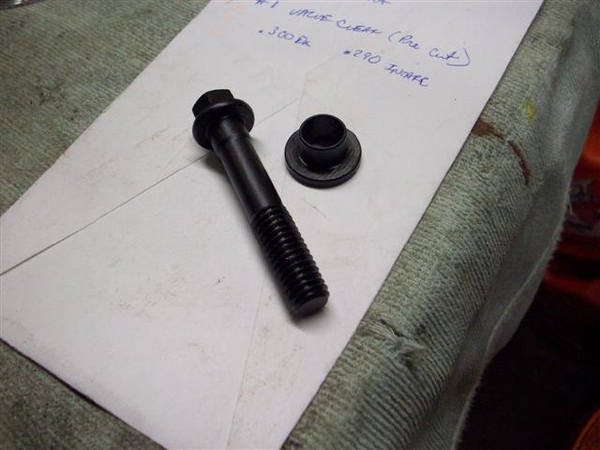
Close up of the chamber and valve work.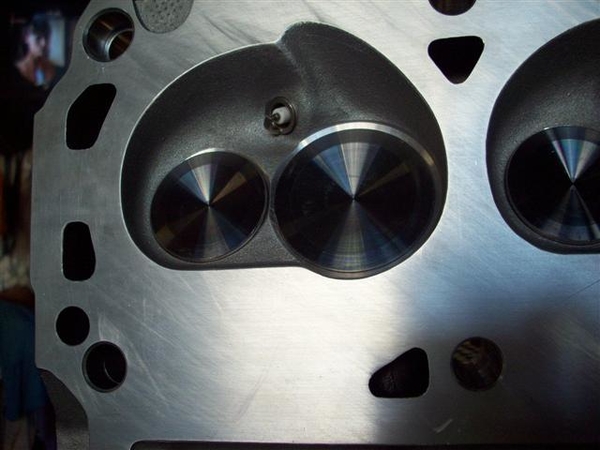
NB: Need to install spark plug indexing washers and mark plugs yet!
This is about where it sits right now, with heads on with only a couple of bolts, so until I can get intake manifold fitting sorted out....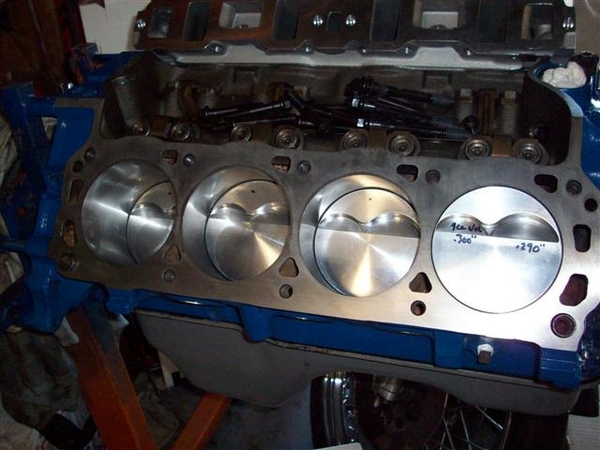
5.0L oil pan is just to keep it clean. Also stored inside a large plastic bag!
Some shots while checking out the Performer RPM for air cleaner height.
First some checks (to deck, front and rear) for comparison against a regular Performer 289 that I had specially modified for the tall port Y303 heads. (I'm leaning towards the RPM now that my chassis engine mounts are now at the correct height!!! ....but the Performer would allow me to raise the engine back up a tad.....ugh!)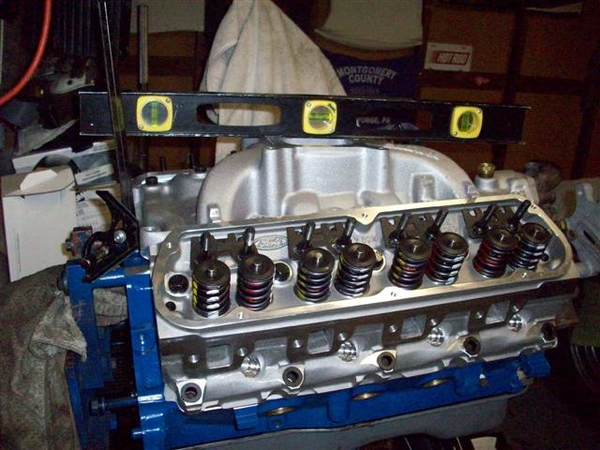
Now with carb and air cleaner (no carb spacers or gaskets)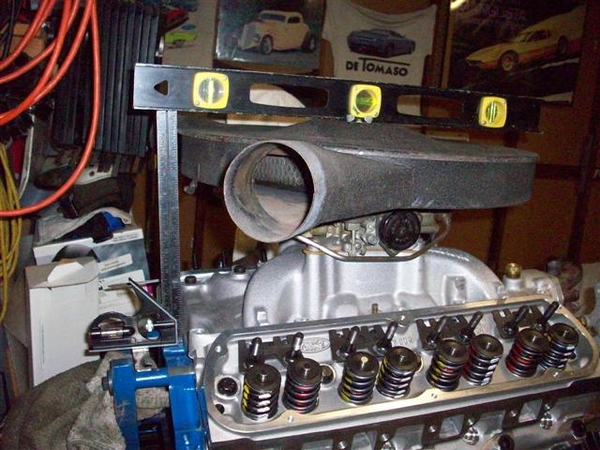
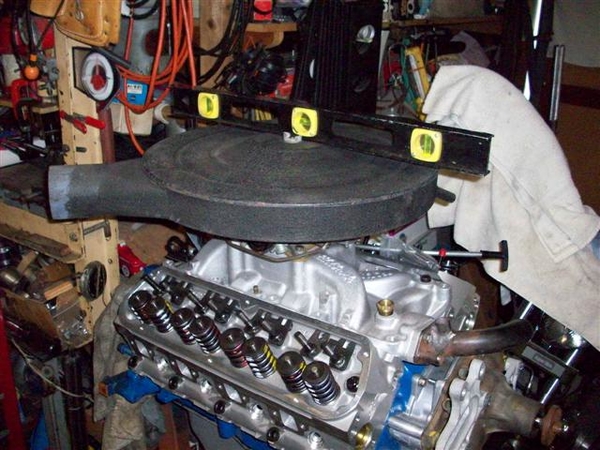
That's about where I am.
Tonight I spent comparing and measuring for the jackshaft bracket and the two idler pulley mounting brackets.
I have all three in NOS form, and none of them fit properly. While the idler brackets are flat on the front side, where they attach to the water pump, they have gaps or are machined crooked!!! I also need to lower the main jackshaft bracket about .200" to get it to line up with the holes in the front support properly!
I'm making my list to take to the machinist....
* also need to cut a new pilot bushing for the trans....or ream the one I have out ever so slightly.
Next? More of the same...lots of staring, putting on a part, taking it off. Put on a different part or two....take them back off......
I guess I can say that it is hand built without lying!
Cheers!
Steve


