

This last weekend was a good weekend of small progresses....
Buddy had a die grinder, so just borrowed it instead of buying one.....
With about 2-3 hours, I ended up with this: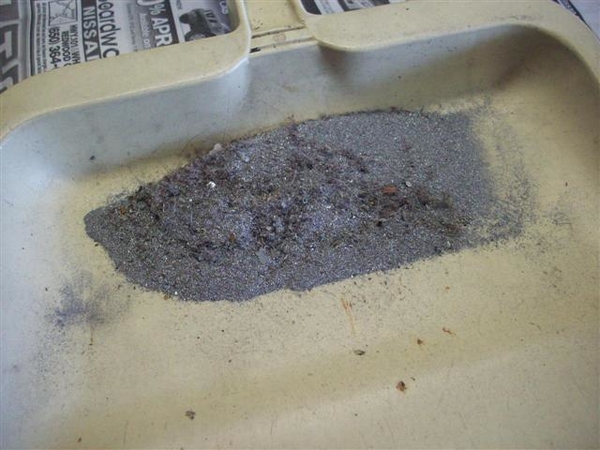
But what you really want to see is this!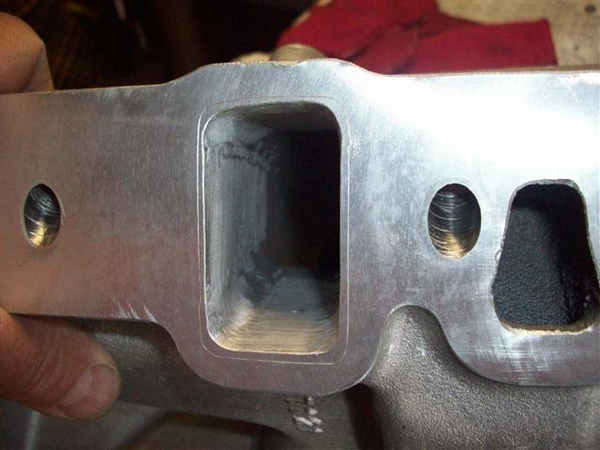
Remember, I never intended to take the grinding out to the scribe marks. They are the gasket size, but not the port size of the head....
While the heads were still loose, I installed spark plugs and "indexed" them, so that the electrode is not shrouding the spark. I used indexing washers, which are various thicknesses, to cause the electrode to land in a different spot when tightened down.
Installed and torqued down the heads. Whoo hoo!
These Y303 heads are made for 351's and have the large 1/2" head bolt holes. Since the 302 takes smaller bolts, I had to purchase special shimmed washers to take up the space. (Ford used to have special stepped bolts....but no longer....you get washers!)
Received my new Swage-lock fitting and installed it today after bending the line to clear the motor mount properly.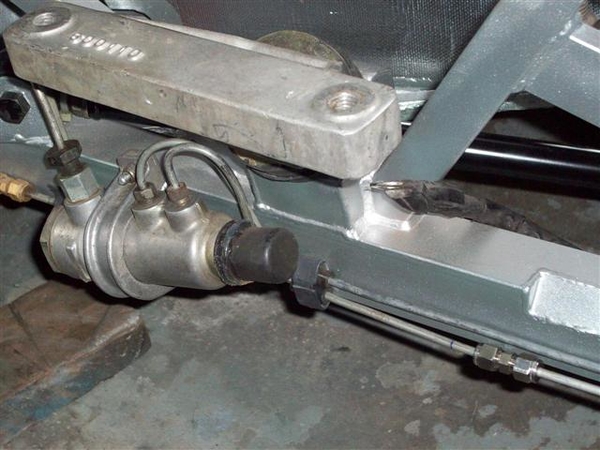
Removed many components off of the old motor. All that remains is to claim the oil pan! Need to eat my wheaties.....and get the long block up on an engine stand to do so...then give it a quick bath in parts solvent. Maybe later this week after it rains...big storm a comin'!
Spent a LOT of time on the jackshaft brackets and alignment. Ran my (new)brackets down to a local Mustang shop which has a small machine shop and the guy to run them...!!! In just short of two hours, I had a .200" shorter jackshaft bracket as we cut down the 4 mounting towers, spotfaced the front mounting surface so that it will mate properly with the front support bracket, a support bracket that was altered very slightly as well to fit better.
I played around with various shims and washers and got the belts to align to the point where they shouldn't go flying off at high RPM's! I have yet to mount the actual jackshaft and it's bearings etc, so will probably need to do some more work to line the front (and rear!) pulley up!!!
I'll need a new small belt (idler only) due to changes in where the idler bracket mounted... and probably a new belt for the jackshaft...we'll see!
Here is a shot with the water pump mounted, fuel pump, oil sender, harmonic balancer is torqued down, and crank pulley is installed. This shows the relationship of the idler pulleys and their mounting brackets nicely.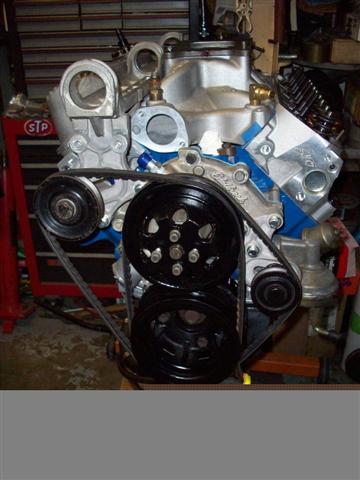
I may need to dredge up on of those spacers that you find for the nose of the water pump. DeTomaso cut a 3/4" hole in the pulley and the shaft is 5/8"....could be mounted off center easily! I think their first motors may have been industrial types....which supposedly use the larger shaft size! I know I saw one of these spacers not that long ago, perhaps last water pump job we did here.....but I have no idea what the heck I did with that spacer!!!! AP store will have one..... Didn't need it before, but just in case the bolts don't center it properly, I don't want a vibration....for a $1 cure!
These pulleys, water pump and crank, are special units cast up by a vendor for DeTomaso. Although some of your cars will have a stock Ford Crank pulley, found on some early Mustangs (1965-1966), it will most likely have a DeTomaso version of a water pump pulley on it, as Ford never produced a two sheave water pump pulley with one small and one large belt (width)....just the crank pulley! I dug through the Ford parts books and could not find a stock pulley which would do the job! Not made by them!!!
Tonight, I spent time aligning the pushrod guide plates. I had a set of Motorsports guide plates, but they seemed a little on the weak side and they really didn't allow fine tuning of the rocker arm position!
Here is a shot with a Motorsports fixed version on the left and the unnamed adjustable units on the right. Once they are in position, you are supposed to tack weld them together so that they don't shift when you torque the studs down! That will be interesting!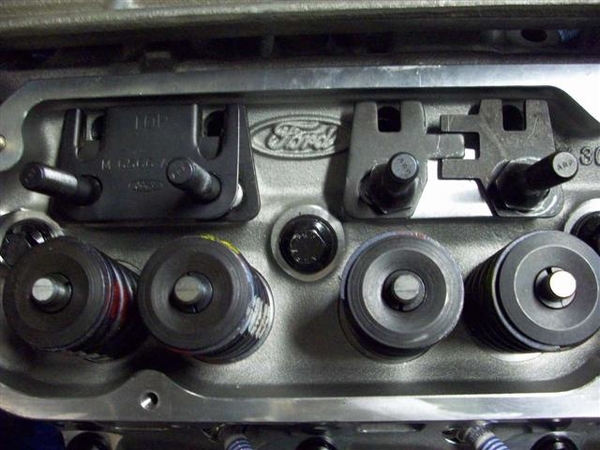
One thing that I have not yet figured out yet, is the oil dipstick. I would love to use this version here.... from a 91-92 T-Bird and probably a few others!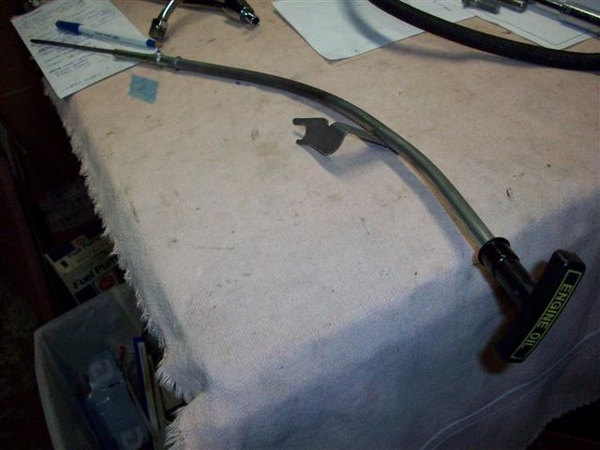
It could go on the RH side in the stock location but I want to bend it back some more to get out of the way of the coil and front hinged cover, so it is easy to get at when filling up with gas.
Something like this, only bent back more...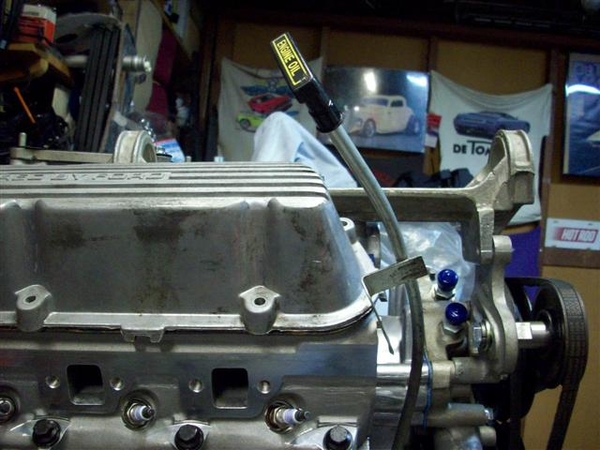
If that isn't going to work, then put it on the LH side but instead of curving towards the front of the engine, swing it 180 degrees towards the rear. Need to figure out if the AC compressor will be in the way there, or perhaps the paper tube for the air cleaner, or even the water tank! We'll see!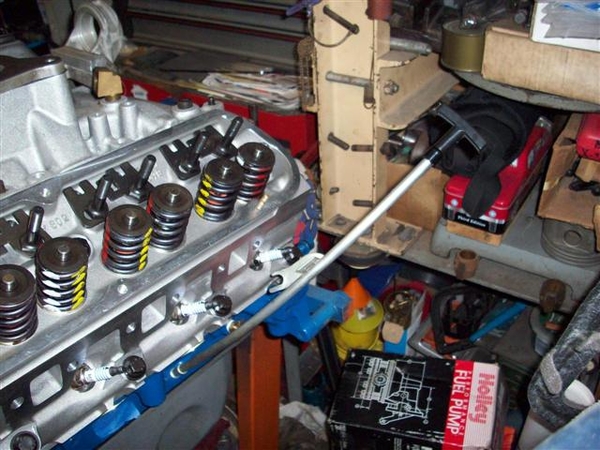
That's it folks!
Shopping list:
Various bolts, washers, lock washers.
Water pump shaft spacer
Belt(s)
Lower hose for water pump
1/4-3/8" carb spacer. More choke clearance!!! Almost there!
Research:
Colors on distributor gears for roller cams. New gear I have has yellow paint on it. Distributor that is from a roller motor...has orange paint on it.....not sure who is telling the truth! Could be both are good!
Valve cover spacers...did I forget to mention that my whippy dippy late model "powered by Ford" aluminum valve covers will not fit with the adjustable roller rockers installed???? UGh!
Always something!
Ciao!
Steve
Attachments
Images (8)


