

Well, this has been interesting!
For a bit, I was thinking that my shaft had been remanufactured to some odd dimensions......very odd....
Rich Chandler has been an immense resource to me here, in that he not only sketched out a rough but very detailed drawing of the jackshaft from his car, but he also dug out the pulleys, bearings, and attaching hardware and sent pictures of it all up to me! Oh, and he measured up the front pulley for me too!!! More on this later.....
In an effort to get some small stuff done, since big stuff is just not happening right now.... I took care of this....
I am using a late model 5.0 roller block, which has a provision for an oil dipstick in the side of the block about 3/4 of the way down the LH pan rail, to the rear. I used a 1/4" NPT (National Pipe Thread) tap and gave it a few whirls into the metal, and filled the hole with a brass plug I found in my junk, coated with some Permatex #2B Form-a-gasket (non hardening sealer).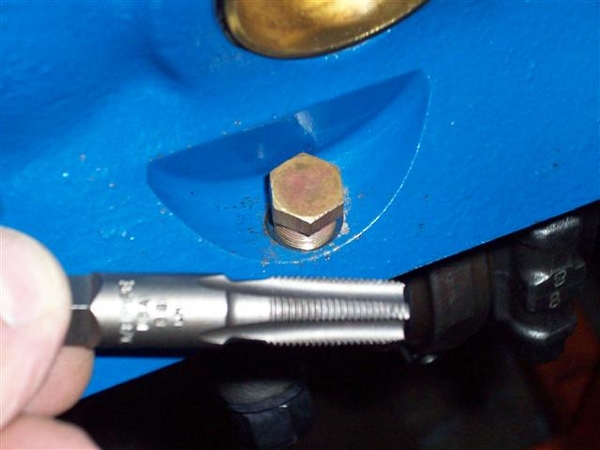
Since I was nearby, here is a shot of the drain hole boss that I had to take metal off of in order for the DeTomaso engine mount bracket would bolt up properly! Wasn't much, perhaps 1/8" of cast iron...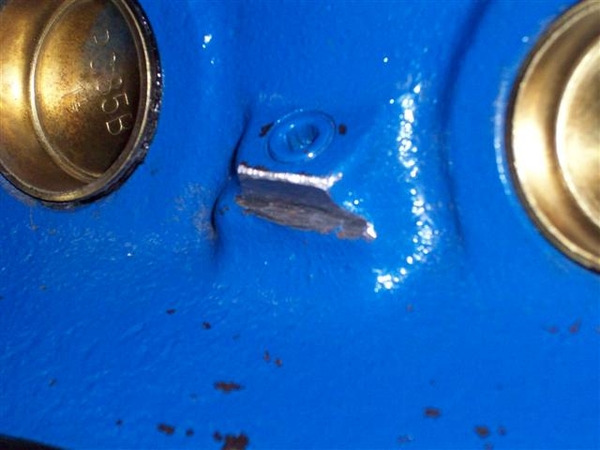
Next was the dipstick. Since I plugged the hole on the LH side of the block, (dipstick would run headlong into either the AC compressor or the coolant overflow tank...so opted for the stock location...
I am using a dipstick that came with the motor...found on many many many late model Mustangs, T-birds, Mark VII's etc. I cut the bottom section off of the tube first and filed down the sharp edges.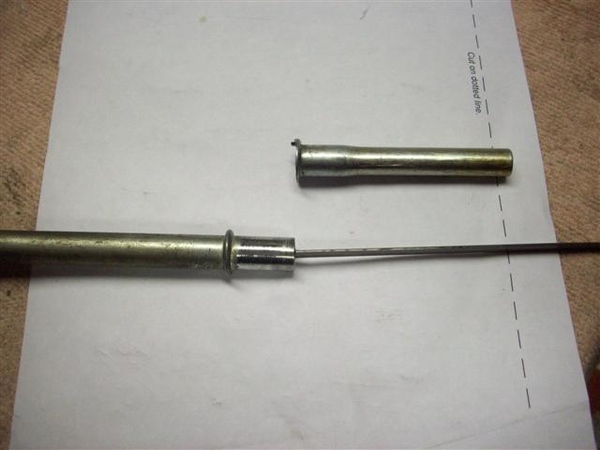
I then wiggled and forced it into the hole in my new timing cover....can't remember if this one came with a hole or I drilled it.....that's the problem with an engine build that spans years instead of weeks!!!!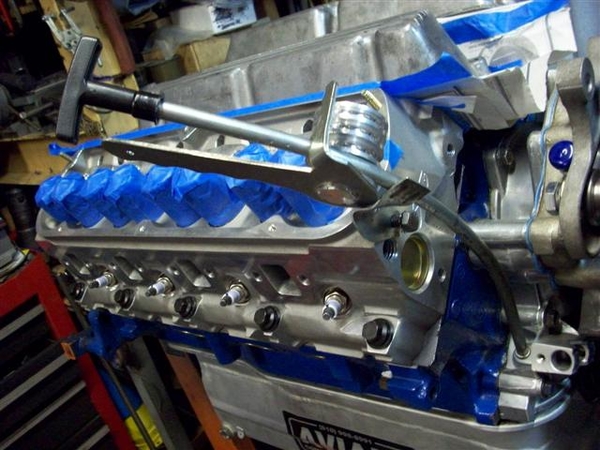
Using a crescent type wrench, I reformed the little mounting bracket on the tube and was able to get the metal to line up with a convenient 5/16" hole in the front of the head. Drilled a suitable hole in this little tab, cut off the excess and filed it all smooth....
Using a tubing bender I have I managed to put a slightly different bend on the main tube...not much....and also I dimpled the hell out of the bottom of the tube, where the retaining guide wasn't fitting the tube real well.....oops! Can't see it when it is installed anyway......just little dimples....little bends!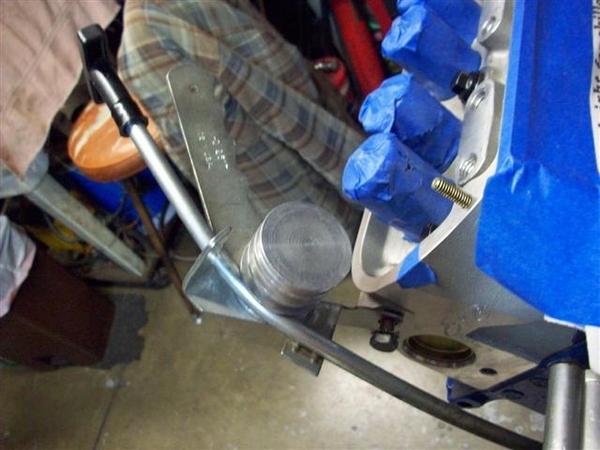
Dipstick still moves in and out "ok" but it is dry and will be better once oil is involved!
Here is a shot from the business end...what you will see when looking in the engine bay....I hope!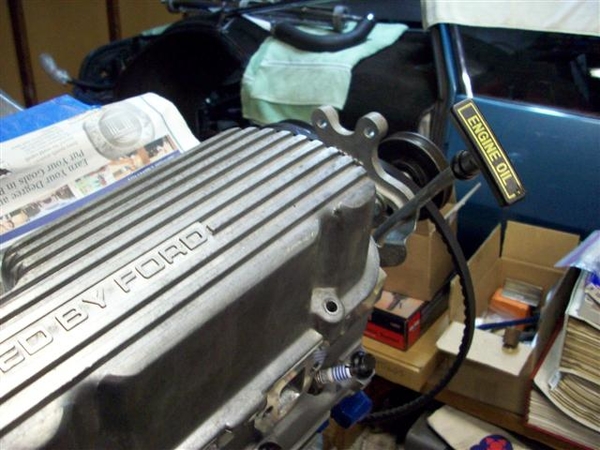
I also installed the one unique main stud that I need for supporting the Aviaad oil pan pickup. I didn't have this piece when I installed the crank etc. Sorry, no pic's yet.... And I put the oil pan up under the engine hanging by two bolts. Will button that up once I am done making a mess out of the rest of things up top! It goes on once the top end is all sealed up!
OK, while chasing bolts or something or other, I happened to come across a little adapter that I knew I had seen...but couldn't find! Was driving me nuts!!! I knew I got this in a water pump that we bought for our 68 XR7.....I thought I threw it in my steel bucket of nuts and bolts, but alas, I found it one shelf up in my brass recycling bits!
THIS is the part that adapts the DeTomaso water pump pulley's larger diameter center hole to the water pump center shaft, to keep it centered!!! The four mounting bolts won't necessarily do this on their own, although you could get lucky like I had been doing......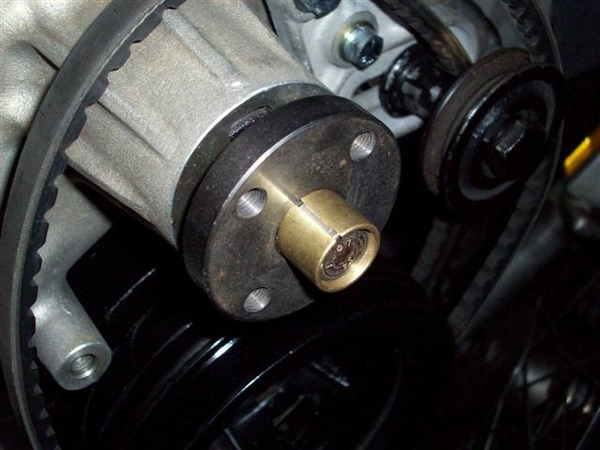
Pulley on!
Attachments
Images (9)


