

Well, the engine is resting in it's new home!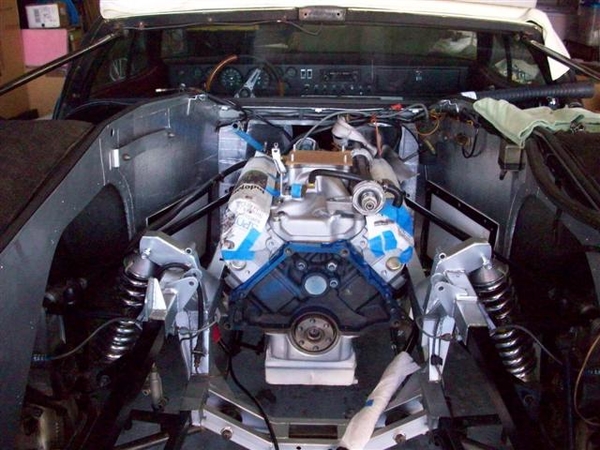
A few things didn't go as desired....
New fuel line protruded just enough at the bottom bend that it hits one of the braces that connects the top chassis rail to the bottom rail....working on reforming it...
Oil filter must be installed AFTER engine is in place....now I know why the previous owners installed a remote filter on my other engine.....
Oil pressure sender stand off was NOT the correct one! DOH! Had to remove the sender to get the engine to set down.... Will need to install the shorter stand off I guess!
Would love to see pics of your oil sender area if you have an engine out!!!
Here are some pic's of how we got to the shot above!
Trying to get three types of chain to fit into the elcheapo load balancer for the hoist...which has a loop on it that doesn't allow "easy" looping of the hoist cable thru....so that we can get enuf overhead clearance in the garage with the old flip up door open! Of course the heads have both 3/8" holes and 7/16" holes and not all of the chains would fit the 7/16" bolts...and the big chain wouldn't fit in the load leveler.....ugh! Since I had no easy & safe 4th point to attach to up front, I used a seat belt and tied down around the balancer and back into the chain connected to the LH front. Worked like a champ! (no pic's of that Rube Goldberg solution....!)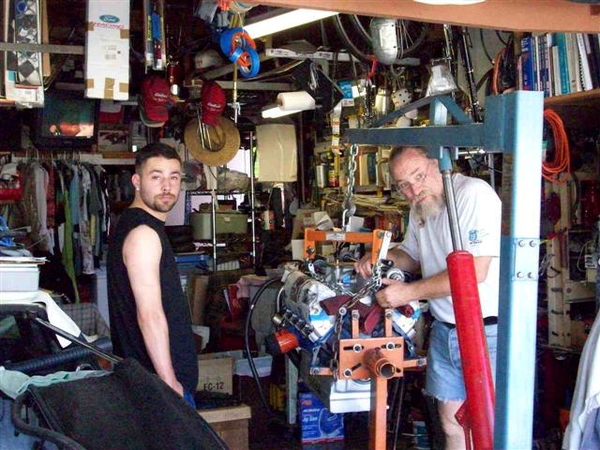
Almost ready....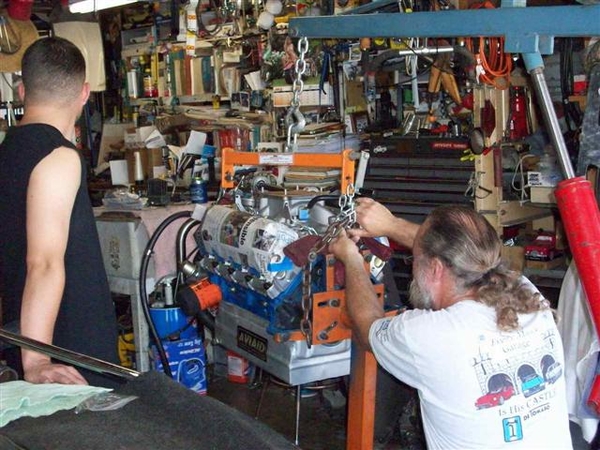
It's gotta fit in here....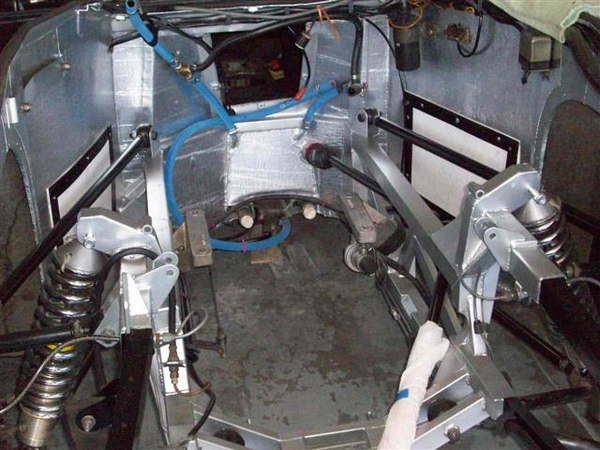
Not impressed with lack of progress...he'll be moving shortly!
I lost my photographer when we were actually lifting and lowering.....
But here we are unable to go any lower...and had to start taking things off..... Oil filter was first thing to go...then this pesky sending unit!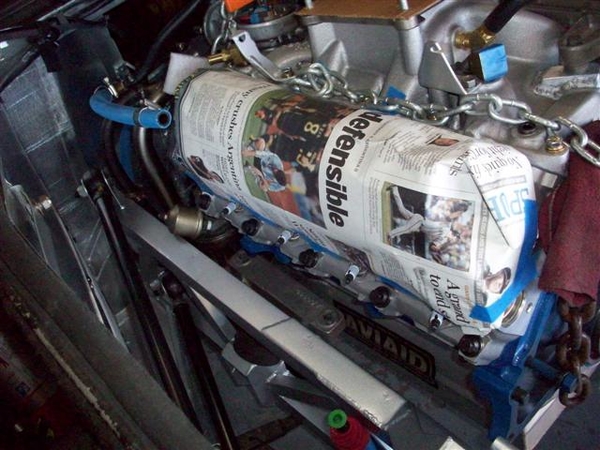
I did find a solution I believe. Will use something similar to what was used in the 1969 Boss 302's with power steering. They used a fitting in the block connected to a remote mounted bracket/fitting(front of the head! Imagine that!) for the sender, with a short flexible line! It will work beautifully!
RH side....no problems!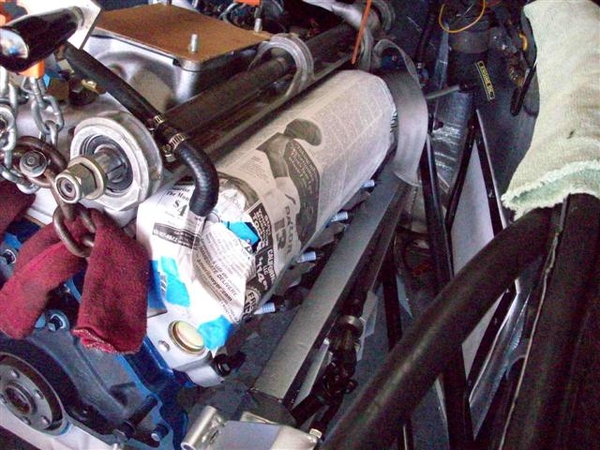 NOTE IN THIS PIC Y0U CAN CLEARLY SEE THAT i HAVE FORGOTTEN TO PUT THE ONE PIECE REAR CRANK SEAL IN PLACE!!! THAT GAP IS HUGE!!! This will come to light once the engine is fired up for the very first time!!!!
 ![]()
![]()
![]()
Almost there...checking to see that we don't need to take anything more apart! Removed my new fuel line about this time.... Using the leveler we nosed the engine down to clear the front of the jackshaft bracket, and then once that was in place, raised it up and maneuvered it into position above the mounts.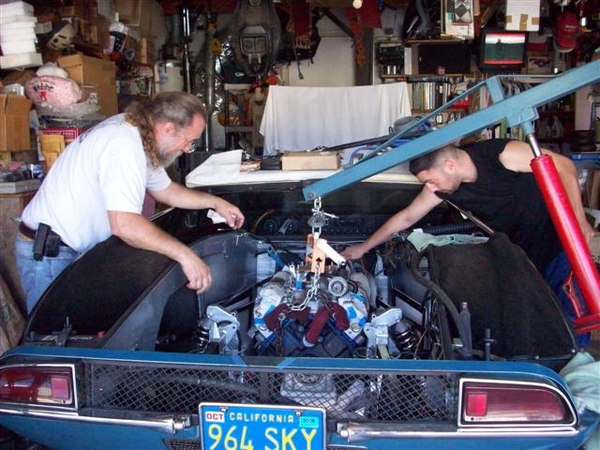
Note how the hoist angle is. From the side, not perpendicular, but just a tad to the rear. The rear tires are on the car, and they are sitting on 2x4's to get it off the ground so that the hoist wheels clear the pan etc. If we needed more "in" I would have removed the wheel and left the chassis up on jackstands, but you'd need to strategically locate the stands so they didn't get hit by the hoist legs!
I was able to climb into the engine bay and sneak the engine mount bolts into position from the rear, by looking down from above to see if we were close to the bosses in the block, and then just push and shove a bit (OK, cheated and used a mirror once...) to get the bolts started and then cinched them up snug, but not a final tight yet! I may raise the engine back up if I can by putting spacers between the mounts and the block....time will tell!
It felt REALLY good to drop the weight of the engine down onto that chassis! That was a lot of load off of my engine stand and my brain! Finally!!!
And that's how we got to the picture at the top!
Steve
Attachments
Images (8)


