

Engine install plus one day:
OK, bent, unbent, bent, almost kinked..bent, rebent, formed, deformed and finally installed my hardline from the fuel pump to the top of the engine! I think I now have about 1/8" of clearance between the frame brace and the line.... I didn't have a bender that would do tighter curves that I would have liked to have had!!! I used a variety of bits and pieces in a vice and managed to get the lower bend a bit tighter and also took out a 3/4" or so piece from the original flare to suck it in closer to the pump..... Shoulda known...!
Straightened the bent lower lip of my block plate (aren't yours bent too???) set it in place on the back of the block, and lifted the flywheel in place. Engine needs to be tipped forward just a tad even for the block plate to fit! As it gets heavier...it will want to sit down to the rear.....and hit parts on the fresh paint on the frame!!!
ARP bolts want 80ft-lbs of tight when lubed with 30W oil.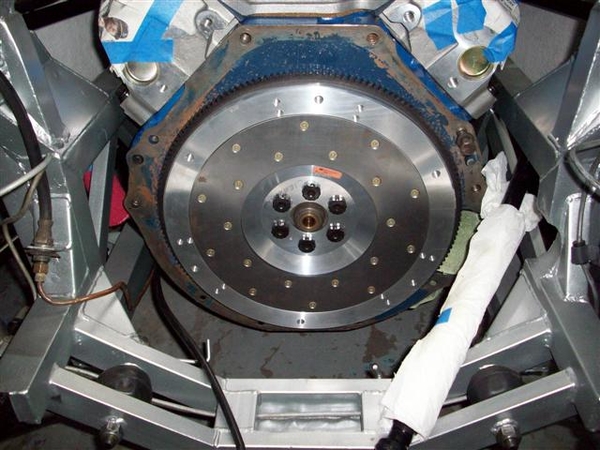
Tapped the pilot bushing carrier in first...so that I didn't bugger up the flywheel with an errant hammer blow! Used a socket to drive it home...once it hit the end of the hole, the entire hammer operation sounded completely different! Much more solid when seated!!!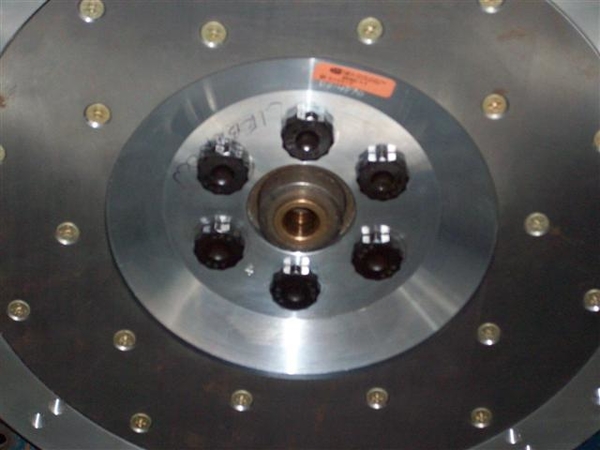
Clutch disc in place with an installing tool: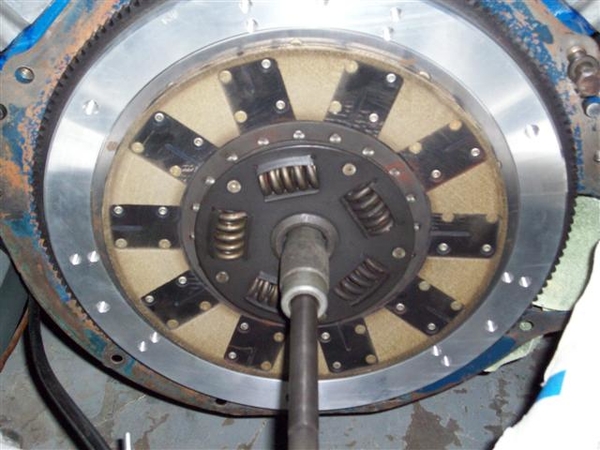
The disc is a Kevlar construction friction surface on both sides. I am VERY happy with the feel!!! No grabbing! Very smooth engagement. This has just under 20K on it IIRC...can't find my mileage log at the moment!!
Carefully slip the pressure plate (stock Ford unit) in place and bolt it down! Again ARP bolts...no spec, so used Ford spec of 20ft-lbs. Hope that isn't too much for aluminum!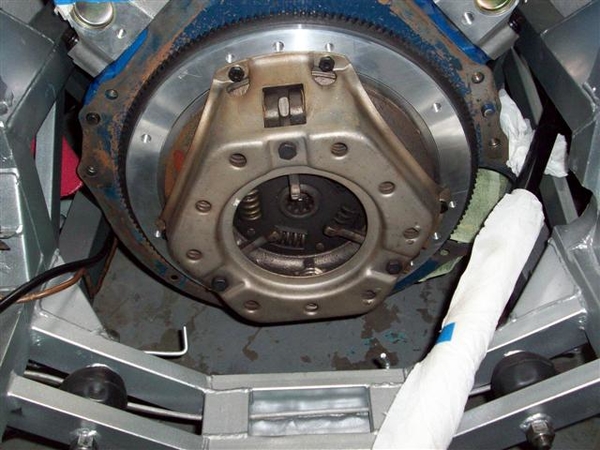
In this shot you can just make out the gap between the center splined hub area and the machined pilot bearing area. No clearance here would be a bad thing. It would mean that your flywheel and or friction disc has worn so much that they are touching...not a good thing!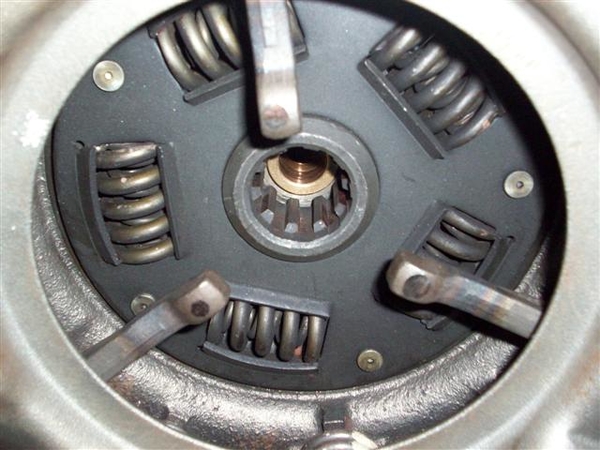
Using the ol' eagle's eye, you can check the work of the clutch disc installation tool before you cinch the pressure plate bolts down all the way! Make sure that disc is centered, or your ZF will not slide into place.....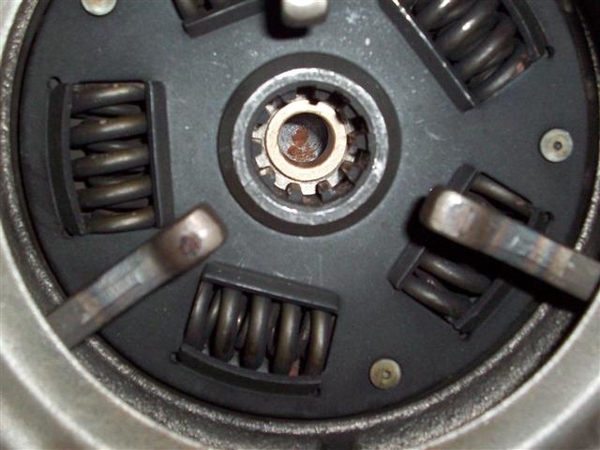
Time for the bellhousing to go back in! This is tricky....to get it in place without banging up the paint! How the heck the factory put these engines in, as an assembled unit, is beyond me....they must have had a hole in the floor that the front of the engine went into and was then lifted up........ Let's just say that it is a tight fit!!!!
At this point, with the bellhousing installed, the rear ladder bar MUST go back in place. (I guess you could wait until you put the ZF back in, but it will be one helluvalot heavier lift once you do!!!) You lift up on the bellhousing and rock the engine forward (watch out for the distributor cap if in place!!!!) and then slide the ladder bar in place on the left and then feed it thru to the right. I should mention that the frame is now supported by a jack under the rear crossmember, just enough to take the tension off of the shocks so that the upper bolts can be removed....
I was able to slip the two bolts in on the RH side, capturing the shock top as well! Here is what I saw on the LH side....but it was expected!
I raised the car up enough to put another 2x4 under the RH wheel to put some tension on that side of the frame and lowered it back down. The LH side was still on the jackstand. It helped!
With the help of a ratcheting tie-down, I was able to pull the remaining little bit back into place.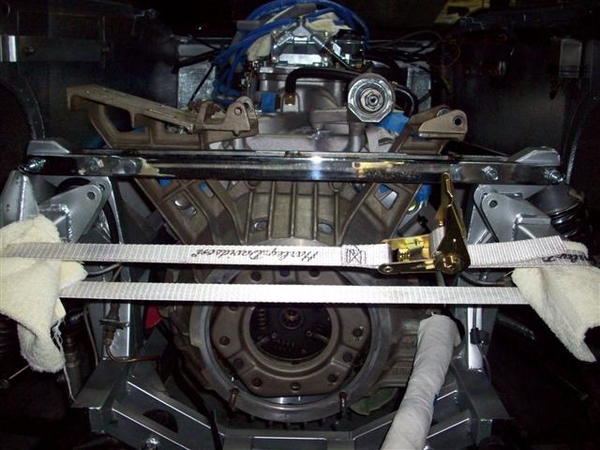
Using my knees and thighs to gently push up on the LH wheel, and lifting the bellhousing with my hands, a third hand pushed the bolt home the last half inch with a firm push from the handle of a hammer. (No hammering on the new parts....yet!)
Being the problem child that she is, the car gave up one last issue....the new center bolt on the LH side would not go in from the front to the rear....so went in rear to front....AND may need to be shortened for clearance with the AC arm on the bellhousing. Here the engine is just resting on this bolt....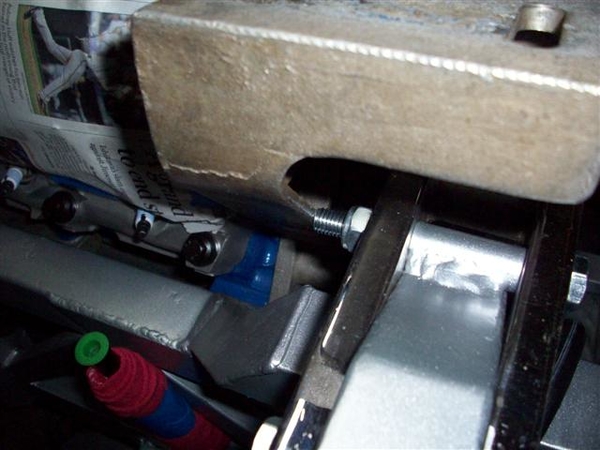
We can make bolts shorter....it's making them longer that's tough!
I connected a few hoses and easy electrical connections....and called it. More tomorrow!
Ciao!
Steve
Attachments
Images (9)


