 ...Back to the Line-Up for those who have Never seen this! Enjoy!!
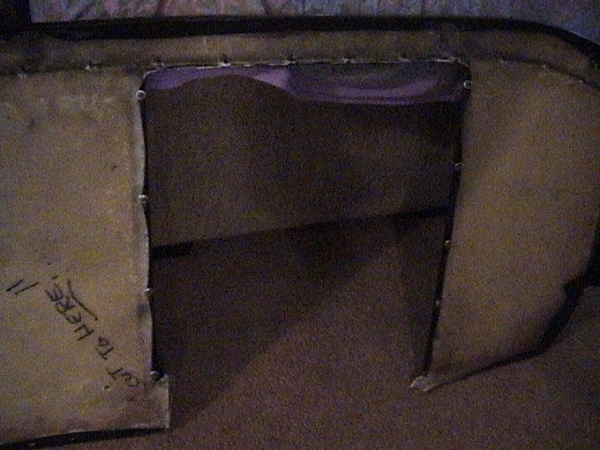
...submitting This photo as most informing! With careful dissection of the Center 'Bubble' fiberglass and then the Vinal itself...you can see here, to carefully separate the sides to MAINTAIN the Stud holes, that are already there! Stretch the vinal around the edge, place over threaded studs, add washers and nuts, snug them up, Done. Also, see in photo, when working with the small nuts I chose to use a 1/4" Drive 'Finger-Rachet', 3" Extension and Socket. Can't remember the size in mm.
The work at the TOP 6 Studs, is pull vinal under stretch, mark for punctures, pierce and stretch the Bubble Vinal around edge, slip over studs add washers and nuts, snug up, Perfect! Taking the bubble cover to completion is Mostly gluing, clamping and weights, Let Set Over-Night. Black Marker. I used Rubber Cement.
This project was accomplished back in 2015. To this day, the F-glass Cover and Vinal, still 'Snap' into place and remain there until removed using a slim Spatula.
The Steel Cover, after all 10 Machine Screws are removed...gets pulled straight out with a similar pryze device, with JUST Enough Clearance! I added a 1/2" thick, sound deadening/thermal Blanket, with total coverage of the Steel. Not Glued! so as to be removable.
Time of Project with all tools present...3-4 Hours. Tools Tape measure, Dremal tool, wood chisel, Nutdriver. Rubber cement. Marker.
This Firewall Cover was taken from a '74L #5723 The Studs and nuts were ALL there.
Thanks for Looking in.
MJ


