All,
Replies sorted oldest to newest
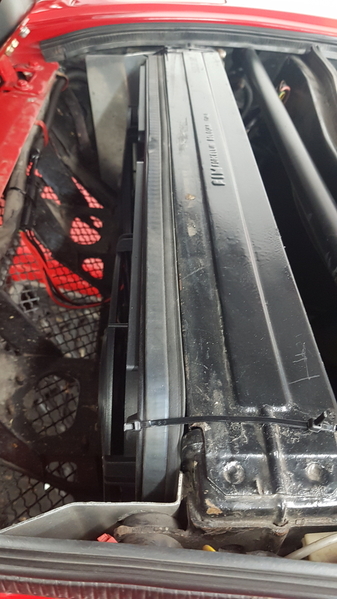
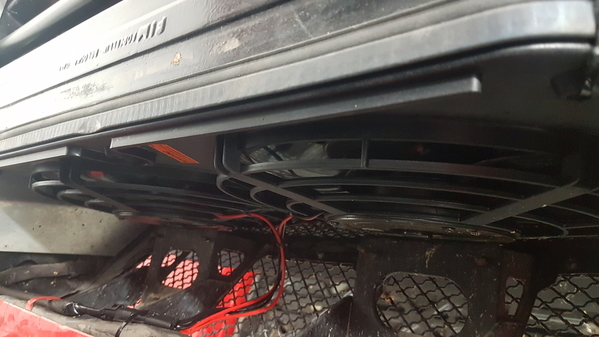
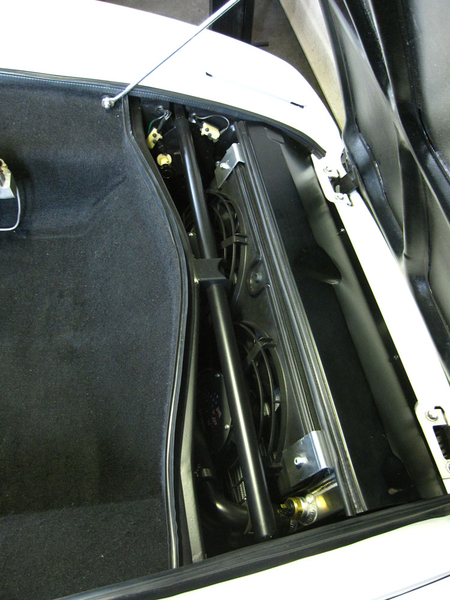
I will try and get you photos tomorrow. I just slid the fan assembly in front. I trimmed the bottom part of the weather stripping on the assembly to get it to sit as far down as possible and so it sits flush at the top with the rad. The fan assemby is quite tight and would pretty much sit there by pressure and not move, but I used black zip ties to hold it where I wanted it. I did not use the supplied brackets or drill any holes. I used the Legacy Model 430 pusher fans with the variable speed controller.
Larry,
As I recall, the coolant hose fittings on a stock radiator won't clear the Flexalite dual sucker fan shroud. The hose fittings need to be changed to either short, straight fittings, or 90° sweep fittings.
John
If your not going to modify anything, I am pretty sure they need to be pushed fans mounted in the front.
Make sure your friend had the radiator shop ensure the original FIM radiator has had its internal baffle modified per the TSBs. I don't know what the SN of the car is but early cars had a vertical baffle splitting the tank in half which was found not to work so they modified the tank baffle for a horizontal plate. Water comes in, goes across, and then back the other way and out.
Regarding fans, I have two pusher fans mounted on the front of an original radiator. There is not enough room to mount them from behind. I used the plastic ties that came with the fan kit. Carefully push them through the core. Been there for 30 years with no leaks.
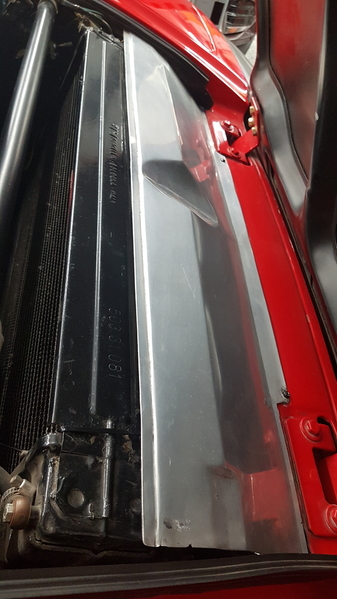
Sorry had troubles on my phone getting text and photos to go at once. I used black zip ties to go through the rad between its top plate and the core and secured the fans that way. I also stuck one through the bottom mesh grill in the middle however it really isn't needed. The original Detomaso fan mounting brackets are still in place and my new fan assembly just squeezed by. If the weather stripping was removed from the new assembly it creates more space however I have ran both ways and prefer the sealed fit to the rad. I only trimmed the bottom part of weather stripping to push the assembly down far enough to sit flush with the rad and for my cover to sit and seal properly as pictured in the last photo.
Thanks, Otis.
your photos gave me the information I was hoping to receive.
Larry
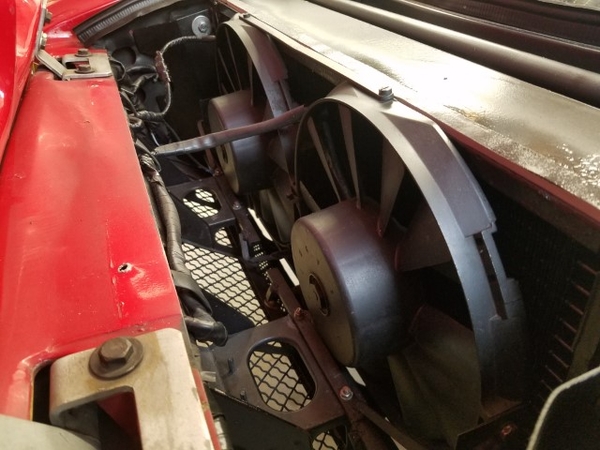
Just another pusher fans example, FWIW. Previous owner built a bracket to secure both fans together; the bracket then bolts to the original mounts. Second fan rarely turns on and then only in stop-and-go traffic on a blazing hot day. I eventually figured out they are Bosch fans apparently from a Mercedes. No issues to date during the 22 years I've owned the Pantera. ![]()
Attachments
See this thread for simple mounting brackets to mount the fans to the radiator. Could be used for pusher fans as well:
https://pantera.infopop.cc/top...69#24697472603968669
Simple bracket that folds over the top and bottom of the radiator to mount to the shroud. Fans should stand off the radiator by 1" from the radiator to fan blade edge for maximum efficiency.
Mark Charlton did a semi-lay-forward position with easily made side-brackets. He has a Fluidyne radiator with a Flex-A-Lite fan assembly mounted over the top of the radiator (to avoid attaching through the fins) with simple folded aluminum brackets. It's very effective and looks somewhat stock in appearance to the casual observer.
There's no reason you couldn't mount a Flex-a-Lite pusher fan assembly the same way, but wouldn't need the semi-lay-forward brackets.
Attachments
If you do in fact lay any radiator down, be sure to fabricate a new deflector panel that fits the now-smaller space above the radiator, as the stock one won't fit anymore. If that little deflector is left off, some cars may experience overheating. The opening will be about half the original size, so I found it was simpler to make a new one out of thin aluminum sheet than it was to try and modify the stock steel panel.


