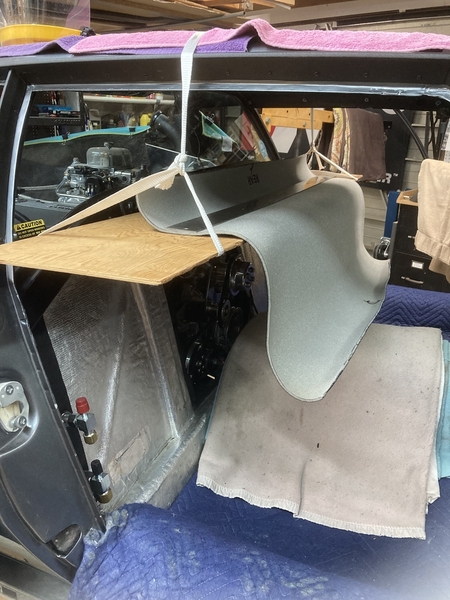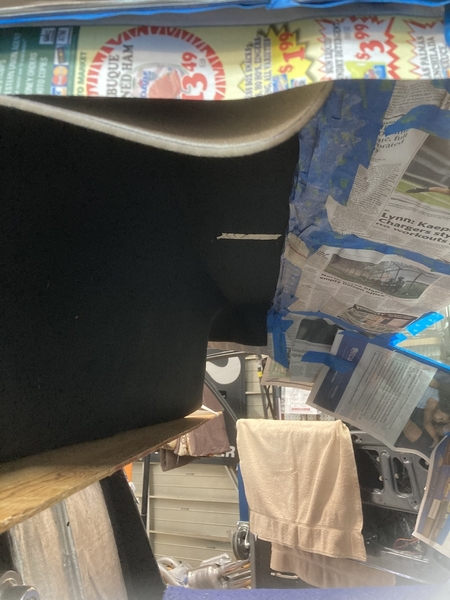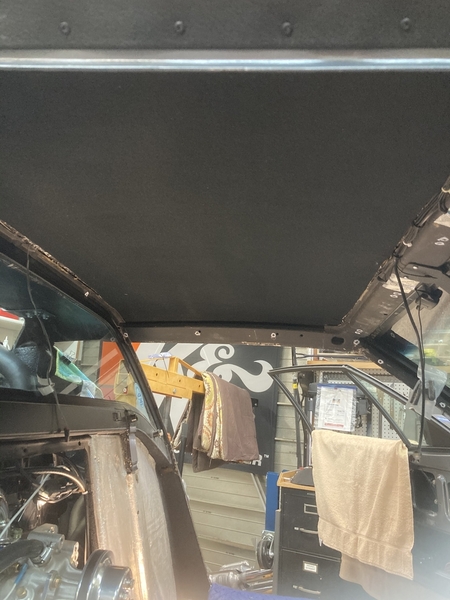


 A couple months ago I was talking with a fellow PCNC member and he shared a headliner installation trick he had used.
I had never installed a headliner until today and I found his tip to be worth sharing.
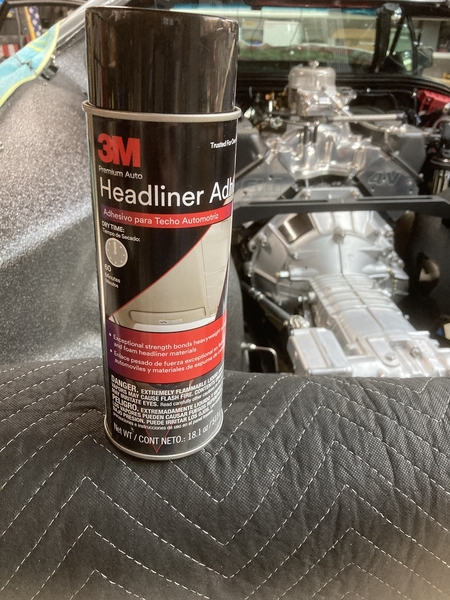
As shown in the photos, I created a hanging shelf inside the cabin. The shelf, and a long metal straight edge, served to hold up the rear of the headliner fabric. This left two hands free to start, from the center, pressing the headliner onto the adhesive-sprayed roof. (No adhesive on the headliner.) Once the front portion was attached the shelf was removed for the installation of the rear portion.
I did this with both seats removed and several blankets piled on the center console to somewhat spare my back and neck. 😕
I spent much more time masking off the interior of the car, figuring out the shelf and doing several dry runs than the actual installation required.
I did not use an original headliner, but replaced what had been previously installed, a black foam-backed material.
Contact adhesive like this is very unforgiving in normal situations, but with a foam-backed material there was ...absolutely... zero chance of re-positioning once contact has been made. This approach allowed a very controlled installation and was fully successful.
Measure twice and cut once is always good advice, especially with material like this. I measured front to rear distance and cut just a little over size but added more extra on the sides; trimming after installation was quite easy. Mark cabin center on the masking and on the headliner to use as your starting point.
Larry


