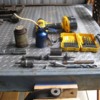
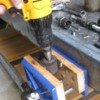
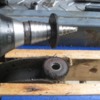
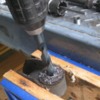
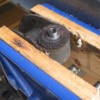
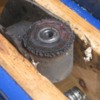
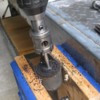
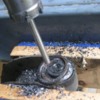
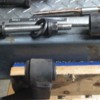
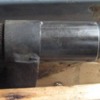
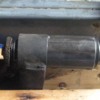
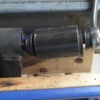
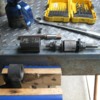
Here is how I am removing the original bushings.
I wanted to make a wrap around press and hopefully remove them without removing the shoulder flange, However the local guy that has machining equipment in his barn didn’t like my plans and thus didn’t feel like making it. However he did make me a receiver for pressing out once the flange was removed.
The receiver was cut from a piece of 1.5" OD X 0.156" WALL 4130 ALLOY STEEL TUBE I got from online metals. The receiver is 2” long with a slight inside chamfer on one end.
To remove the flange, the outer washer was removed using a step bit inserted in the sleeve’s bore until the washer spun off.
I then opened up the sleeve’s 12mm bore for a drill guide bushing. My selection of drill bushings was limited to Wal-Mart online, thus I got a 1/2OD X 1/4ID X 1/2L. I used ½ drill bit to open the bore about 3/4” deep. The guide bushing then tapped in. You might notice the reamer…I tried that, but the twisting allowed by the rubber cause it to grab too much to use quickly
A 30MM hole drill, also from Wal-Mart’s online, was modified by removing its 6mm pilot drill bit and a ¼” drill blank installed (guess where it was from!).
The first cutting removes the bushing’s rubber and then starts cutting into the flange. I intentionally took things slow here, to ensure I stayed fairly centered in the ARM and just cut till the flange spun off.
Again from Wal-Mart’s online, I got M12X140mm studs, heavy washers and nuts. Applied thread lube and assembled the receiver to pull the bushing from the sleeve. Initially the inner sleeve spool compresses the rubber and given my bushings had swollen and cracked, a doughnut is sheared off before the inner spool starts pushing on the outer sleeve. the “break away” torque required a good one hand push with long box end wrench, and after that it was just a matter of wrenching the old bushing its length to free the a arm. A deep socket on a ¼” drive was handy incase the stud started spinning the far nut.
3 down and 13 more to go! Hope they go as easy.
Attachments
Original Post


