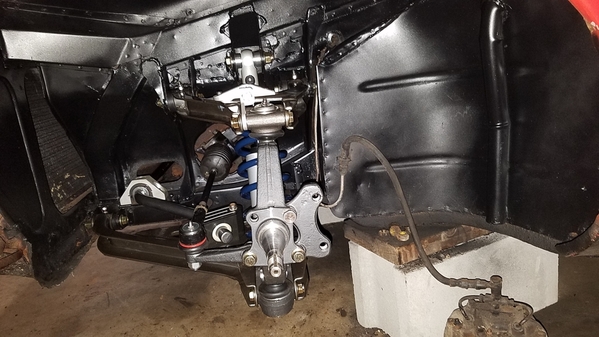
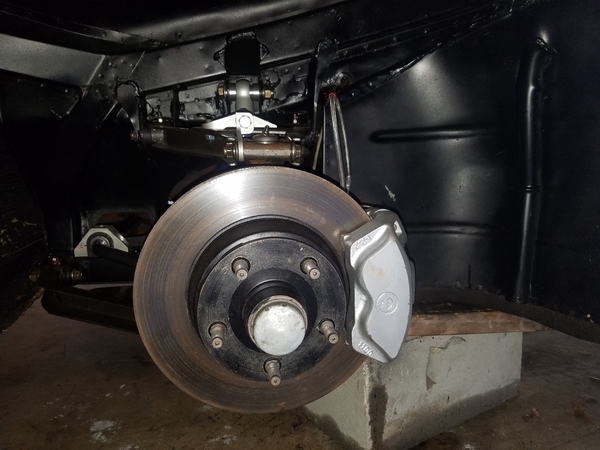
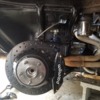
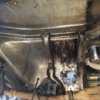
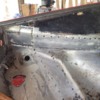
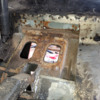
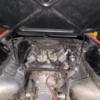
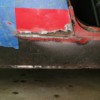
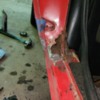
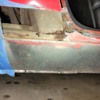
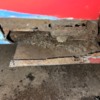
I've had a year to get to know my car, work out a few gremlins and get some needed for the restoration. I want to do as much of the work as I can myself, so doing it in stages. I'm starting with the front suspension, as everything was still original. So far it's looking really good underneath the thick undercoating. What fun it is getting that off! Parts out for powdercoating now. Hopefully all back together in a few weeks, then on to the rear.

John

Attachments

Images (3)
  • 20191010_183044
  • 20190930_182854
  • 20191010_183051
Original Post

Replies sorted oldest to newest

Thought I would finally take some time and show my progress. Lot of work was done since I posted last year.

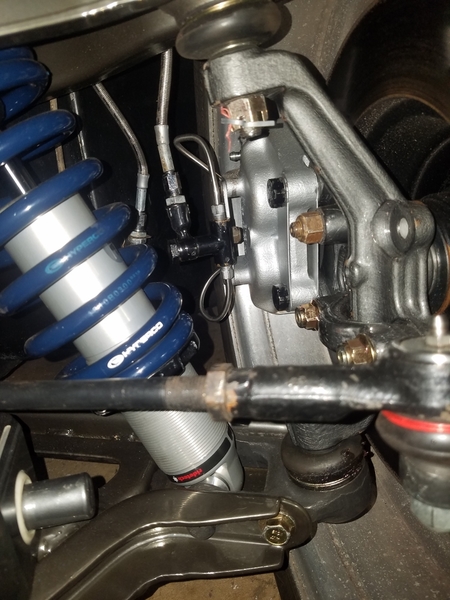
I completed the rear upright rust repairs, rebuilt the rear suspension and upgraded to Wilwoods front & back.

Let's start with rear rust repairs. This was a task, as the previous owner had a half-shaft bust and rip the opening and let it rust out.  I bought a mig welder and started learning. Came out pretty good for my skills.

Attachments

Images (4)
  • 20200302_194253
  • 20200307_130530
  • 20200517_162008
  • 20200405_162145

The rear suspension rebuild included new bearings, with the wider inner bearing. Rear uprights rebuilt. New spindles from Wilkinson's and new CV axles, Ridetech shocks & Wilwood brakes from Saccr. These are all a very nice upgrade from stock. Up to this point I was doing all this in a storage unit. Ugh! But I got it done.

Attachments

Images (3)
  • 20200724_181343
  • 20200727_105955
  • 20200707_192749

I forgot to mention, I removed most off the old undercoating from the wheel wells. The metal was really clean and rust free! I also replaced the original a-arm bushings (boy were they shot- and fun to get out)  with new offset poly bushings from Pantera Parts Connection. I also installed new rear upper ball joints and  grease fittings on everything.

I ended up buying a house, moving and selling my old place last summer, so I haven't done much since then, except drive it every chance I get. The good thing is,  I have plenty of space and  an air compressor to work on it now.

I've recently started working on the rust in the rear hat channels above the wheel wells/engine bay. I knew about this before, but didn't have time to get into it. From the wheel well, it looked really rust free, except at the ends of the channel at the tail lights, it had wasted away. The driver side will all be replaced back to the upright, while the passenger side is good except a 10in section at the taillight. Wish me luck, it's pretty ugly!

Attachments

Images (3)
  • 20200223_172835
  • 20210311_111449[1]
  • 20210311_111434[1]
Last edited by trstno1

Hi Tajon,

Yes, all these cars are worth saving! Just takes time & $$, but well worth it.

I did order the Wilwood parking brakes as well from Scott at Saccr, just never got them installed until about a month ago. I changed up the mounting from factory, but still use the hand lever. They work pretty good after getting the adjustments right. I though I had pics, but I can't find any.

Tube frame would be great if I was replacing it all. Probably more rigid than the hat channels too.

I made good progress on the drivers side this week. I had the channel made up and got it fitted & welded in. I think it came out pretty well. I primed , then  coated the channel with eastwood internal frame coat before welding in. Should not rust out again!  Pictures don't show it, but I punched holes in the channel flanges and spot welded in from there after welding in the new sheet metal. I still need to install a new panel above the engine bay brace bar, then on to the passenger side.

Attachments

Images (3)
  • 20210407_125805
  • 20210407_180440
  • 20210408_115822

Not sure how good it is, but I must say thanks to all that have tackled these issues before and posted here on how you did it. I would not of had the courage to try myself without all the well documented pictures and informative posts. This forum really is the best!

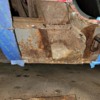
I'm still learning as I go, so taking my time & trying to make it the best I can.  Besides grinding the welds, I'm done with the drivers side. Here is the ugly I cut out on the passenger side. Mostly cleaned up already, just need to weld in the new panels and channel in.

Attachments

Images (2)
  • 20210325_172549
  • 20210413_163842

Cut as far out from the rust as you dare!  We are liking the patch panels to have rounded corners these days.  Modern cars have small areas at the bottom of the pinch welds left open for drainage.  I would clean as much of the surface rust behind the outer parts and treat with Eastwoods  Rust encapsulator. Acids do wonders to remove the rust, but just KNOW that epoxy will not stick to an acidic surface so if you use acid, make sure and rinse it well.   I bet your gonna have more behind the fuel tank area too! 

IMG_3869IMG_3870

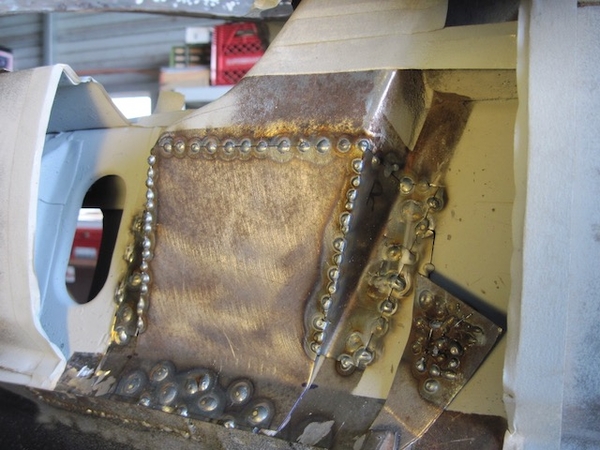
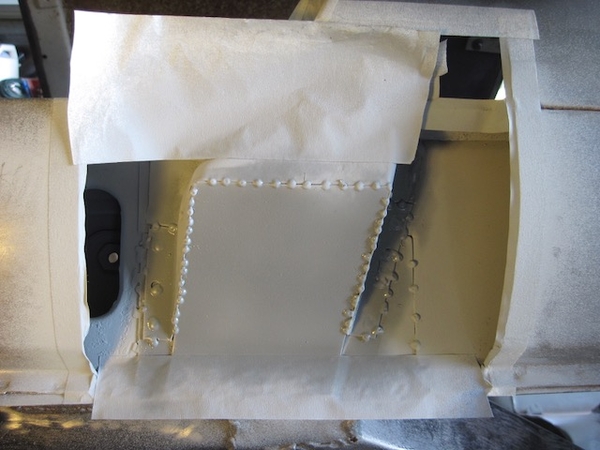
Here are a couple of pics of how I repaired this area.  Since it is not visible, I did not attempt to recreate the original contours of this piece, I only wanted to restore the structure.  I did attempt to make the repair in one piece, but found I was wasting a lot of time and sheet metal.  Finally I made it in 3 pieces; a flat outer panel and two triangular fillers front and rear, and welded them together.  Near the bottom of the repair where the pieces are joined, you can see a small gap which I left there for drainage.  Hope this helps - Rodney.

Attachments

Images (2)
  • IMG_3869
  • IMG_3870

Thanks the input guys. I have cut out the bad stuff & got it cleaned up and it now looks managable. Surprizingly  the rest of the rockers looks very solid inside. I'll be treating what surface rust I can before using eastwood internal frame coat. Used it in the rear uprights and I really like it.

Ufo- I've followed your restoration and saw those pics but I missed the small openings you made. Great idea! I willl copy that. 🙂

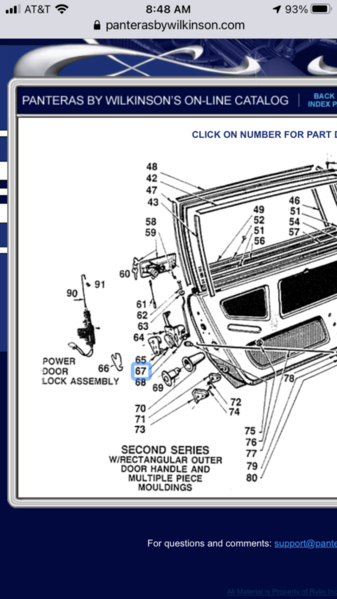
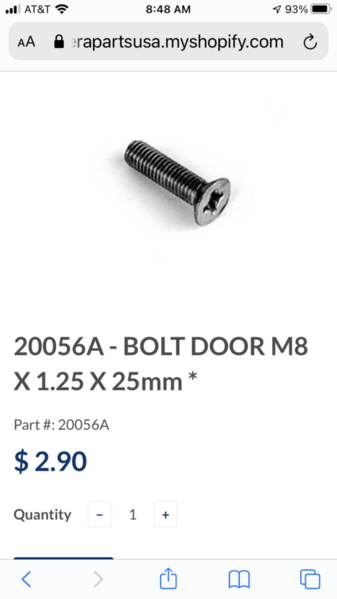
Ran into another issue. I started to remove the door striker since I had the channel open at the bottom and wanted to clean it all up, but the one screw is just spinning on . Looks like somone has been in there before and put in small plates with nutserts on them, and the one is just spinning. I can get this out, but how have others fixed this? I was thinking of welding in a plate with nuts on it? Any better solutions?

Add Reply

Post
×
×
×
×
Link copied to your clipboard.
×