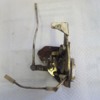
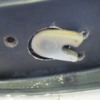
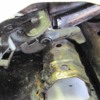
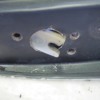
I finally got it, and there are tricks to it. The first pic shows the latch assembly removed and cleaned up a bit. The interior lock rod is vertical to the left, the exterior lock rod is horizontal at the bottom (not it's position as installed), and the exterior release lever is the pennant shaped piece at the top. The interior release rod has already been removed; it goes in the small hole in the lever near the center of the pic.
First you need to remove the interior release rod at the latch end. Remove the lower rear window guide channel from inside the door. The channel weather strip in my door was one piece, leaving a foot or so hanging free inside the door. If you intend to keep it, tape it up out of the way. Mine was trash, so I just cut it off. Remove the exterior door handle and lock assembly, disconnecting the exterior lock rod. It doesn't matter which end of this one you unhook. The plastic end bits are a ball and socket affair which pops off, but use care. That plastic is likely to be brittle after all these years.
Trick 1 is getting the interior lock rod out of the way; it is riveted on so you can't just remove it. Rotate the latch catch to the door closed position, and push the rod down to lock it. Remove the latch mounting screws, and move the latch down as far as it will go. This should free the lock rod from it's hole in the door frame; rotate it forward and down out of the way. Raise the lever it attaches to to unlock the latch.
The major trick is the exterior release lever; it has to come out (or in rather, toward the interior) between the door handle mount and the bottom of the upper rear window guide channel. Both of these obstacles are welded in place. Only a slight variation in manufacturing makes this easy, difficult, or impossible. If yours is easy, great. Mine was difficult. If yours is impossible, a little grinding will be required here.
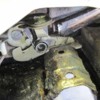
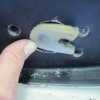
Pics of step 1 show the inside and outside views of the latch with the release lever caught between the handle mount and window channel.
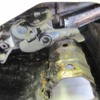
Step 2 shows the latch position just after the release lever has cleared the obstacles.
Step 3 is almost done; with the release lever free, maneuver the latch assembly around to get the catch through the hole in the door frame. Whew!
Attachments
Original Post


