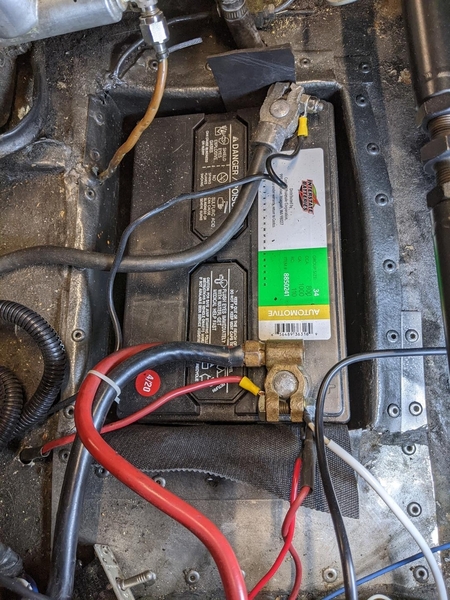
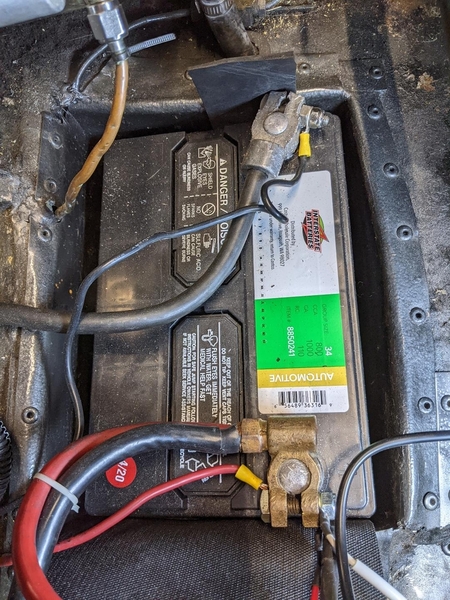
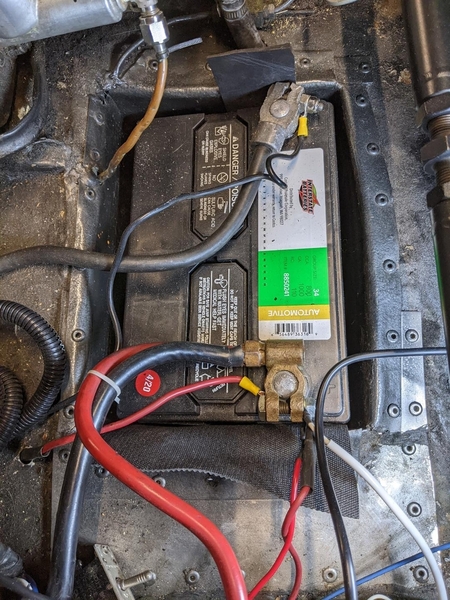
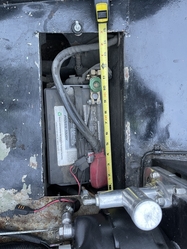
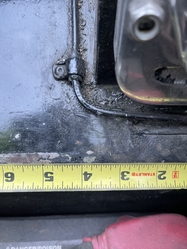
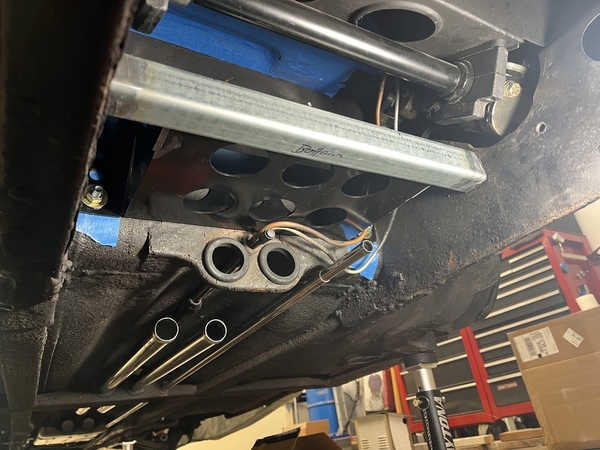
I'm strongly considering relocating my battery to the dropped location between the steering rack supports. I've read every post I can find but I'm looking for some feedback from those that have done this before I cut the hole.

I purchased a box from someone who had it sitting around for a long time. After some measuring I found that it will not fit in my '74. I think it is a Hall box as it looks like pictures that have been posted elsewhere on the forum. That box measures 12-1/2" long by 6-7/8" wide. The space between my steering rack mounts is only 11-7/8". I'm working on drawing up my own design and will have it fabricated locally. If someone can use this box, it is for sale. It is 20ga stainless steel with the matching top.

Questions:

1. Did you bend a flange on the ends of the hole? If so, how did you do it and how difficult was it to do? From pictures I have found of the later cars it looks like the ends were hemmed over 180°.

2. The right side of the hole will be in the area of the original battery perch where the bottom of the trunk has been pressed up to make the area flat. What did you do on this end? The box flange will not sit flat on this end. The metal is stretched enough that I'm not sure it can be shrunk down to make it flat. I think the other end can be massaged up a little to make it flat.

I'm sure I will have more questions, but this will get the topic started.

Steve

Last edited by tsolo
Original Post

Replies sorted oldest to newest

1/2" fwd of the bend at the leading edge of the battery tray is where the front firewall is formed. You really don't need a box, just a wide crossmember bolted between the lower subframe rails. The battery will sit nicely ventilated on the new crossmember and be bounded by the triangular weldment for the steering rack in front, the firewall in back and the steering shaft on the left.  A wood 2x4 spacer of custom size depending on what battery you use fits on the right.

To hook up, with a lot of fiddling, the stock  +cable can be fed down to the new dropped position and there are lots of bolts down there to attach the stock ground cable. Now all you need is a hold-down strap. I used a thick rubber cargo strap with hook ends because of the restricted access once a battery is installed. You don't want to bolt a battery retainer on such that  you'd need to climb under the car to access the battery, which will still need water etc. I don't recommend using a side post battery due to the same space problems.

I dropped mine 20 yrs ago and it's yet to cause any problems including 1000 mile road trips, open track events and the like. IMHO, the hardest part was actually cutting a big hole in the trunk floor! I made a sheet aluminum cover for the hole and made a tab on the aft end to fit in a slot and a dzus fastener on the other for easy access. Dzus can be opened with a coin- no tools required. As usual, a POCA Newsletter article showing all this, with photos, is in the downloadable Archives.

I used the Hall box. You just need to dimple it where the rack mounts are.

Theoretically a box is better simply because it will keep out road debris and water better.

It is true that the later cars with the dropped battery do not use a box but part of that consideration is the access to the bolts against the battery box holding the rack support.

You can fix that by substituting Allen Socket head bolts for those two bolts but you don't often need to get to them. Probably once in a lifetime to service the rack.

Some of Hall's "upgrades like this require a little additional thinking or fabrication. You need to realize that Gary was a bit of a street rodder at heart and had little or no issues with a little creative thinking. The fitting of the battery box in my experience was the most extreme but not really an issue at all. Many have difficulty in thinking outside of the lines then, now and always.

Thanks for the feedback so far. I have seen all the previous threads and pictures that have been posted. I’ve also looked at Mike Daily’s site and Provamo. I’m not sure how difficult it is to bend the floor of the trunk down and get a sharp edge. So I was curious if anyone has done it or if it is even necessary.

Steve
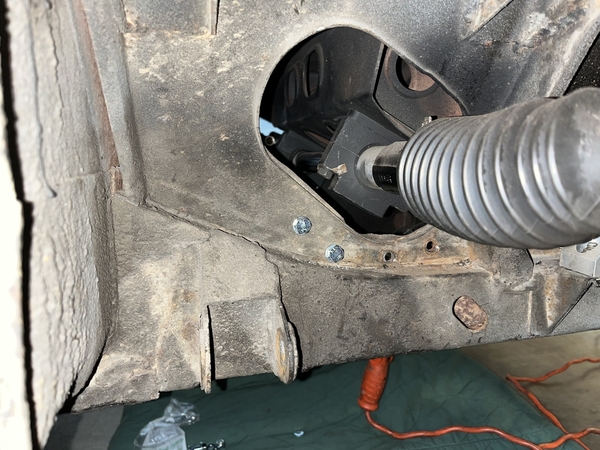
Well I did this back in the old days before there was electricity and camera's. You had to hire an artist and have them paint the situation in oil on canvas, so I have no pictures to post.

However, I have the distinct impression that the battery box is what I folded over and pop riveted in place. Not the floor.

The gauge (thickness of the steel) was 16 gauge so that's pretty thick although it is not tempered so it bends without too much issue.

I believe that I have 1/2" clearance against the footwell side and I might have "shaved" the square edge off of the rack mounts.  That's the trickiest detail although I might have taken a big hole saw, like 4" od or so and bored a hole first so that I could get a better picture of the situation. Then nibbled the front and rear until the box would go in, then put a 2x4 or 2x6 block in the bottom of the box and tamped it down, not smashed it down, and let that dimple the box over the rack mount blocks.


Since I might have been drinking wine with my friend Leonardo from his vinyard and not remembering clearly, Merlot, if the dimpling thing doesn't work, you can just notch the box at the interference points.

One of the advantages of this box is that you can use a larger battery with more electrical capacity and reserve then stock. The stock battery size is just going to get lost in the box and look like a motorcycle battery by comparisons.


I do also remember running 00 welding cable back to the starter relay, and then the starter at the same time. The advantage of the welding cable is that it is more flexible then battery cable and the large gauge really helps in really hot restarting situations.

Last edited by panteradoug

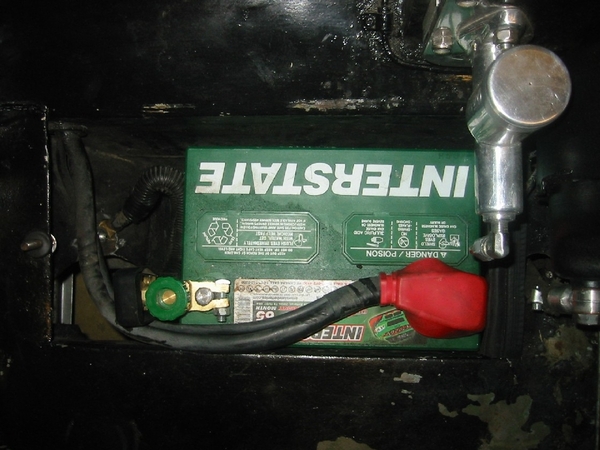
...I remember, after marking off, and drilling a 1/4" hole in the center, to start, I 'saber sawed' with a Thin Fine tooth blade, cuts that left metal on Left and Right sides, Even. But Front to Rear was Biased, More sheet, Don't remember. The Box was built with Mild Steel, and  had flanges that were bent over the Bent down Original sheet. Extra Supporting Plates were Stainless Steel, see picsthumbnail [12)thumbnail [15)thumbnail [16)thumbnail [15)thumbnail [16). All Rivets are Stainless Steel. Custom Hammered Fit. Don't forget to drill a Small 'Drain' Hole in the Bottom.

...I Should Follow My own Advise, as the Positive Terminal is very close to a Grounding. Even though there is a Rubber Insulation there. I Must Fix That!

Attachments

Images (3)
  • thumbnail (12)
  • thumbnail (15)
  • thumbnail (16)
Last edited by marlinjack

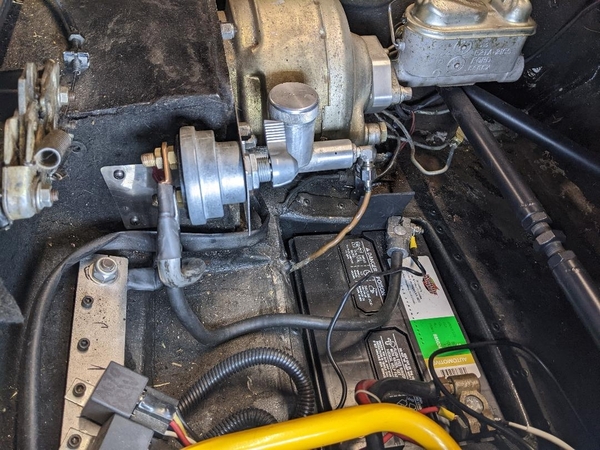
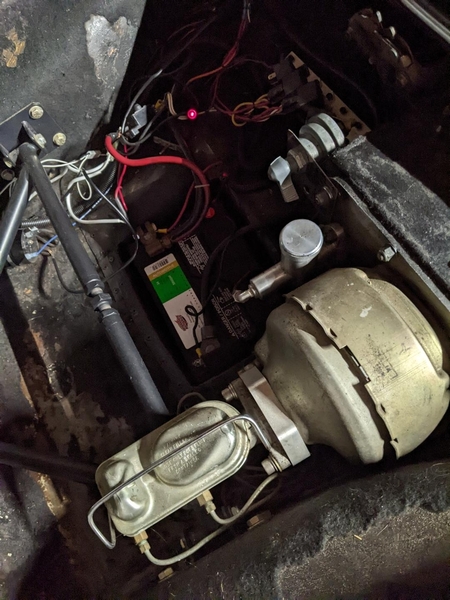
...Here is a Little Extra for All. These pics show the Main Power Shut-Off. Just behind it is a Stainless Steel Plate and screws. This opens to a 2" Hole-Sawed Hole that allows You to Reach in with a wrench and work on the Bolt/Nuts of the Master Cylinder. The Other Pic in 'Low Light'thumbnail [9)thumbnail [10), shows Most of the Trunk, see Relay Mounting Strip/Ground. The RED Light Proves the 'System' is Hot! Circuit Breaker for the Fuel Pump can also be seen.   

Attachments

Images (2)
  • thumbnail (9)
  • thumbnail (10)

Mine is stainless 18 gauge sheet with louvers and has a reinforced top to it. The cables are recessed. I have a race battery kill switch installed in the floor. The box is deeper then Marlins and leaves maybe 1-1/2" over the top of the battery.

I have a stupid phone with a camera. Maybe I could take pictures of the thing installed if you want to see it. I mean see the installation. No. I am not drinking Merlot right now. I am just normally flakey.

Last edited by panteradoug

I've spent some time on this under the car and have decided that the open design with crossmember is my preference. After measuring and marking where a box would fit, I discovered just how tight access is once a box is dropped through the floor of the trunk. Access to the u-joint for the steering column would be all but impossible with the box in place.

Searching the internet, I found prefabbed battery tray brackets that are close enough to modify and make work.

Some trimming of the mounting flanges will be required but this bracket will fit. I'm thinking 4 bolts through the firewall with a backing plate possibly and a crossmember under the front edge of the tray like the later cars have. But, unlike the later cars this will all be removable if the need arises.

Could someone confirm some measurements for me on the later cars? Based on pictures I could find it looks like the width of the opening in the trunk floor of the later cars is ~12.5". And, the left edge of the opening is ~1-3/8" from the center of the hole for the brake booster hose. This opening would be larger than the battery with the excess open area on the right side. My thought is that copying this design would ease battery install and removal. I'm going to be installing a Wilwood clutch master cylinder with a flex line and banjo bolt as Doug pointed out to assist as well.


Steve
Attachments

Images (1)
  • mceclip0

Thanks Joules. If you could get some measurements I would really appreciate it.

The plan is to use a X2Power AGM group 34 from Batteries Plus. They are made in the same factory as the Odessey batteries but come with a 4 year warranty. It is as short as I can find and it will fit in the bracket really well. The height of the battery is critical to be able to fit a cover and have some clearance.

IMG_7720

Attachments

Images (1)
  • IMG_7720

Joules,

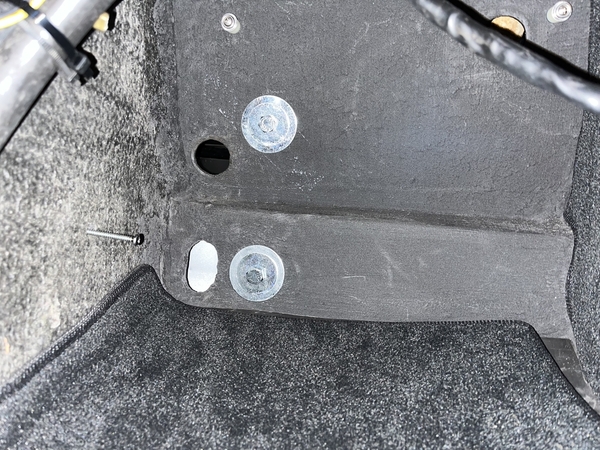
Those pictures are very helpful. Thank you. The opening in the later cars is much larger than what is typically done to the early cars based on what I have found. At this point I have the bracket bolted to the firewall and am working on fabricating a crossmember to support the front. I'm going to mockup something to help determine how long the hole needs to be in order to get the battery in and out while clearing the clutch master cylinder.


Steve
I suggest re-routing the stock steel brake line connecting the left and right hand front brakes, whether or not you drop your battery. This will 'tidy up' the front trunk a little more and possibly prevent damage to the exposed steel line. The stock line can be used for doing this without cutting and re-flairing although you may find noticeable corrosion (after 50 years) from its production position behind the stock battery.

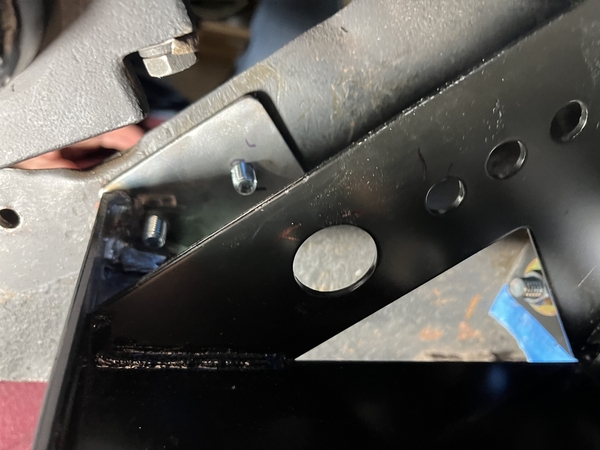
Due to time constraints my progress is slow but I am moving forward. At this point I have the crossmember completed. I made it using cold formed 1/8” x 1-1/4” angle and 1/8” plate for the ends. The whole assembly is very sturdy.  Next is to cut the hole. I plan on laying out the hole from the underside and then drilling some pilot holes. From there, I can make the cuts from above.

IMG_7735


Attachments

Images (1)
  • IMG_7735
Last edited by tsolo

Looks great., Steve I did almost the same except I used 3/6" thick 2" aluminum T-angle and the battery sits directly on the crossmember. For those curious,  the  crossmember length will vary a bit for every Pantera but there's no advantage to making it adjustable. Once in place it will never be fiddled with again. I see you have the late factory(?) bump-steer shims on your rack, too. Good idea!

The battery tray is bolted through the firewall with 4 3/8” bolts and large backing fender washers. The bottom 2 bolts go all the way through the rectangle frame crossmember at the bottom of the firewall. The battery tray crossmember is bolted through the inner fender structure just like the steering rack support with 4 8mm bolts. The whole thing is supper strong and rigid. I think you could Jack the whole car up with it. It’s hard to get a good angle to take pictures with the car only on Jack stands.

Add Reply

Post
×
×
×
×
Link copied to your clipboard.
×