Meet My Italian Mistress    running cat

My first step in shopping for a Pantera was to identify what I intended to do with it, and to define my preferences. I intended to use the Pantera as a part time driver while I worked, and as my daily driver after retirement. It would also be driven long distances. My visual preferences were "stock looking" with dark blue or silver paint, which are relatively rare colors for Panteras.

I needed a reasonably stock restored car or a survivor that could meet my needs in terms of reliability and drivability. I did not want a restoration project. And I knew that to get a car with most of the Ford improvements I needed one with a chassis number of 5300 or higher.

Although I didn't want a highly modified car (a car that looked custom or personalized) I had a list of about 20 "under-the-skin" improvements I felt were desirable; things like adjustable gas shocks and cooling system improvements. If the car I purchased was already equipped with any of them it would save me from having to purchase and install them myself.

Mike + 6018That's Mike Mayberry standing next to the car.  ↑

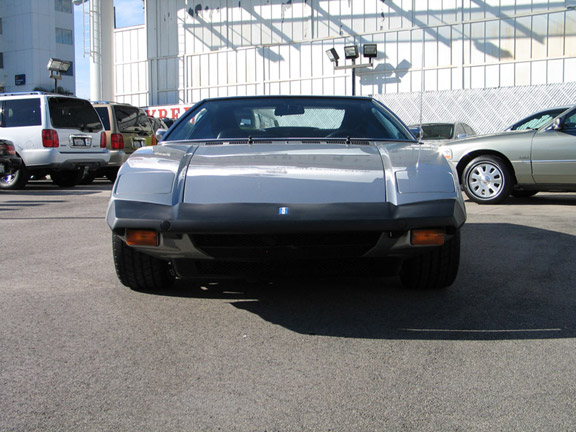
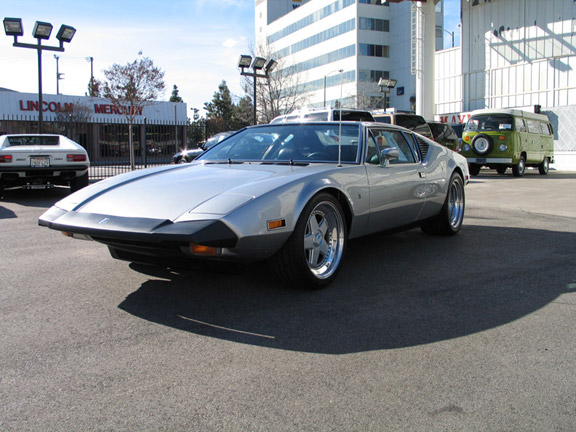
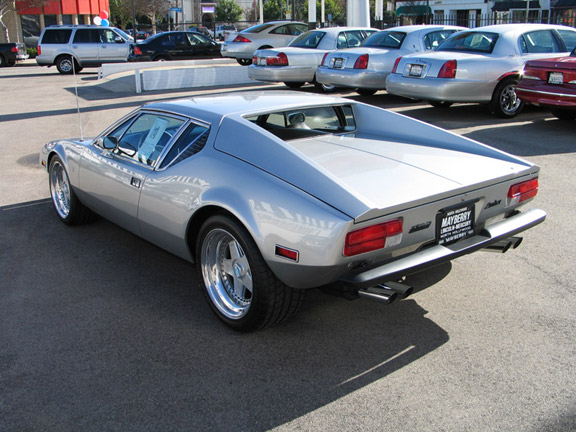
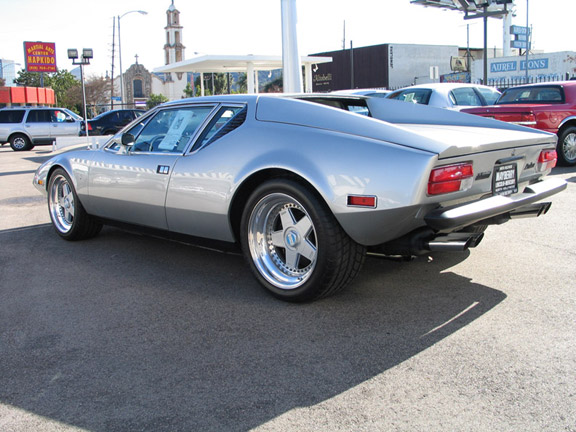
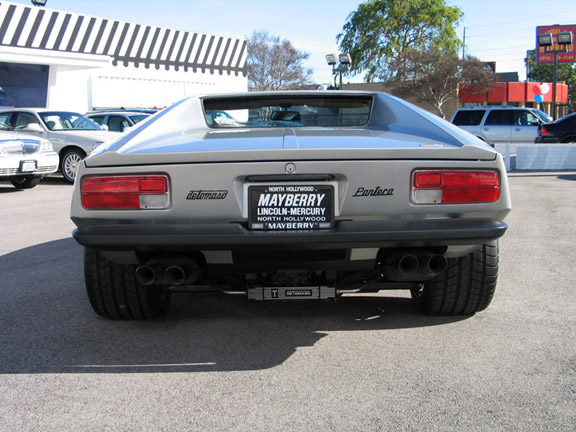
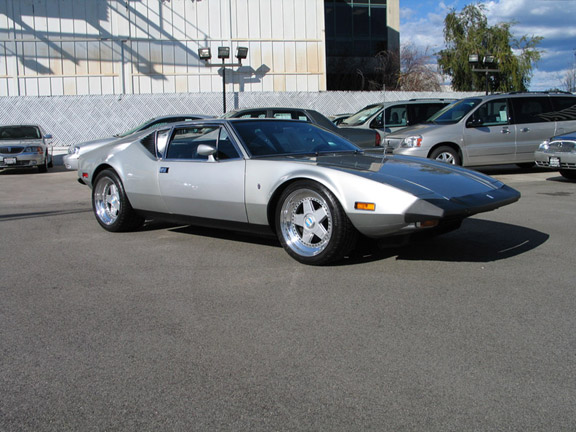
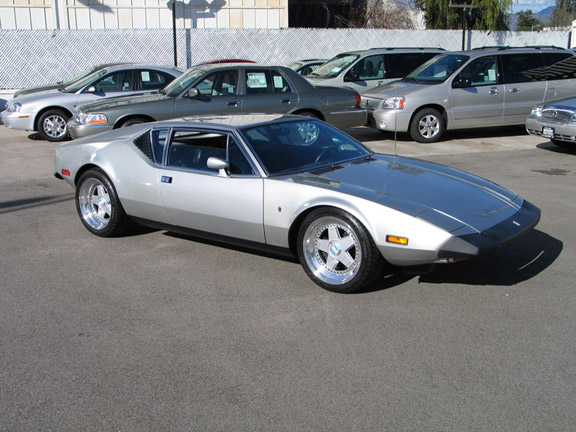
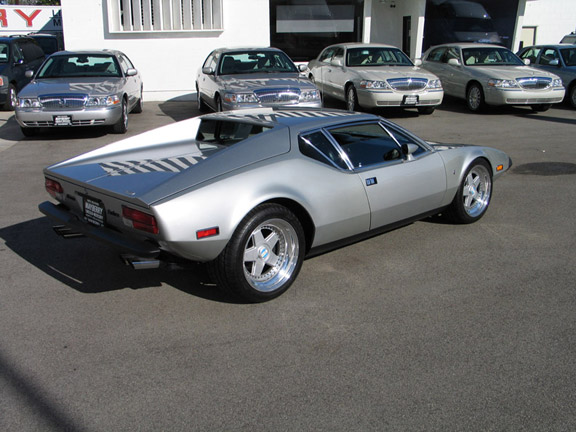
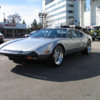
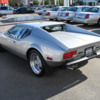
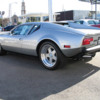
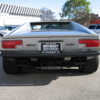
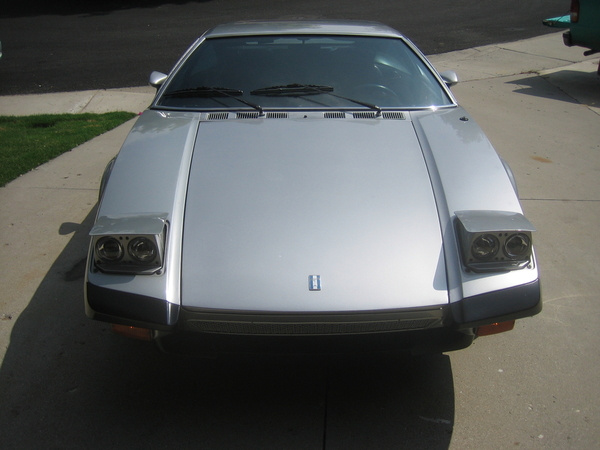
I found this beautiful silver L model Pantera at Mayberry Lincoln Mercury in May of 2004. Pantera #6018 was in good condition for a 30 year old car, but unrestored. This was perfect for my intentions. 

DSCN1131

6018 is an early 1974 L model  assembled in July 1973. It was originally sold in California, re-documented as a 1973 model, as all 1974 Panteras sold in California were. The federal tail pipe emission regulations did not change  between 1973 and 1974, but the California regulations did. Thus the 351C 4V (Q code) was not emissions certified in California in 1974. 6018's registration reads 1973/1974 De Tomaso Pantera.

Mayberry_front

The engine was bone stock, unmodified. As were the exterior and interior, excepting for a Momo steering wheel. The chassis had been modified with the following:

  • Wilwood 4 piston brakes with the extra thick racing rotors.
  • Koni gas shocks equipped with Hyperco springs having spring rates "similar to a GT5" (i.e. 450 lbs front, 550 lbs rear).
  • A fatter European sized rear anti-sway bar (7/8 inch).
  • "Ball caps" for attaching both anti-sway bars to the control arms.
  • Ron Siple's upper control arms which pivot on spherical rod ends.
  • The 17 inch Etoile wheels which you see in these pictures.
  • The rear hub carrier lower pivot shafts were modified to enable lubrication with a grease gun.

Most of the modifications were among those I was looking for.

Mayberry left front

  1. I examined the car thoroughly, poked all the usual trouble spots. There was no sign of rust, no bubbling paint, no thin metal. The car was rust free as far as I could determine.
  2. The body and paint were in good condition. The car has been repainted at least once, in the original color; and I liked the color.
  3. The transmission shifted well, there was no gear grinding during shifting.

The 3 items that are most expensive to repair all passed inspection ...

Mayberry left rear II

After my pre-sale inspections (plural) and test drives (plural) I had a good sense of exactly what I was buying.

Mayberry left rear

I had a list of 11 items that were in good condition, thus I  wouldn't have to service them. Important  items like the suspension, brakes, steering rack, charging system, the starter, and the tires.

The air conditioning even blew cold air!

Mayberry rear

I also had a list of 20 items that would need inspection and service post-sale, but nothing that was urgent.  None of them would keep me from driving and enjoying the car.

Mayberry right front II

Mayberry right front

Mayberry right rear

Attachments

Images (11)
  • Mayberry_front
  • Mike + 6018
  • DSCN1131
  • Mayberry left front
  • Mayberry left rear II
  • Mayberry left rear
  • Mayberry rear
  • Mayberry right front II
  • Mayberry right front
  • Mayberry right rear
  • running cat
Last edited by George P
Original Post

Replies sorted oldest to newest

This picture was taken at the facility where my office was located from 1987 until my retirement in 2012. Located about 15 minutes from Mayberry Lincoln Mercury.

The picture was taken by Mark Fechser, a gentleman with a great natural talent for photography.

6018_at_work

Life With My Italian Mistress

I purchased the Pantera to be a driver, I don't plan to restore it. But I'll replace, repair or refurbish whatever is worn as time goes along. Along the way I'll perform the usual emendations to cure the Panteras foibles and perform a few improvements too.

I tackled a few easy things right away. I adjusted and lubricated the shifter linkage, and widened the slots in the shifter gate where needed. The trans shifts buttery smooth with very little effort now, I can shift it holding the knob lightly between my thumb and forefinger.  I placed stacks of washers under the front seat mounts to make the seating position more comfortable until I replace the seats.  And I fiddled with the engine a little bit.

The speedometer needle started bouncing, so I lubed the inner cable with synthetic grease and squirted WD40 down the cable housing to soften the old grease. That fixed it.

I drove #6018 half of 2004, all of 2005 and all of 2006 with very little maintenance (servicing fluids) and no major repairs or refurbishment. I drove it to work at least one day per week and on weekends. I drove it to Phoenix Arizona and back (1000 miles round trip). I also drove it to my mother's home and back in very heavy rain (700 miles round trip).  I made many day trips northward along the central  coast and into the mountains and canyons along the central coast.

Frankly, there were a couple of items I was pushing my luck with; the cooling system and the clutch & gearbox. It was so much fun driving it that I kept putting-off working on it. Between my day job and the club time was also an issue.

Attachments

Images (1)
  • 6018_at_work
Last edited by George P
Cool George! I didn't realize that was your car in the video of the silver '73 starting and idling at Mayberry Lincoln Mercury. I've had it linked from my website (1/2 way down the page) since they offered that car was for sale in 2004:
http://www.banzairunnerpantera.com/movie_dtinfilm.htm

Great looking car! Now add some pics at the same angles with the current wheels and tires (I think you have different wheels now, IIRC).

Cheers!
Garth
Last edited by garth66

6018 left-rear

These photos were taken in 2005.

me & 6018

I like the original appearance of the Pantera as-is. I do not have the customizing bug. But I have two changes planned which impact the car's appearance.

(1) I have never liked the L bumpers. I plan to alter #6018 to look like a Pre-L by replacing the bumpers. It will have the factory look, but not the look it was built with. I've got the bumpers on the shelf.

(2) I plan to replace the current "Cougar sport mirrors" with "Torino sport mirrors". The mirror "heads" are identical but the mounting bases are different. The mirrors are just as period correct as the Cougar mirrors, but mount more rigidly to the door than the Cougar mirrors. They mount to the sides of the doors and extend outward instead of upward, thus the mirrors are positioned further beyond the sides of the car and provide better rearward vision than the Cougar mirrors. They function better and look better too. I've got the mirrors on the shelf.

Attachments

Images (2)
  • 6018 left-rear
  • me & 6018
Last edited by George P

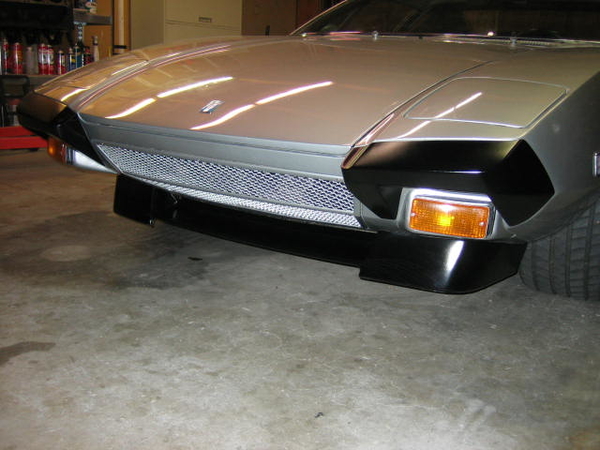
I decided to replace the big L front bumper with a set of mini bumpers from Amerisport in the spring of 2005. That's the quick and dirty way to eliminate the big front bumper because the Amerisport bumpers hide all the big bumper mounting holes. This was an interim step, my final goal is to make the car look like a Pre-L version. But before I do that I'll have to fill-in all the holes in the front and two big holes in the rear valence too.

While I was at it, I installed Kirk's mini spoiler too. The front spoiler draws little attention to itself, it doesn't really impact the appearance of the vehicle, and it reduces front lift at elevated speeds; something desperately needed by all mid-engine cars. The front end is light due to the weight distribution, and a lighter front end is lifted more easily by air flowing beneath the nose of the car.
I painted the mini-bumpers and the spoiler black. Afterwards there was too much black up front, so I repainted the grill to match the body. Since then I've seen other owners who've painted the Amerisport bumpers body color, and I like that much better. Perhaps someday in the future I'll do that too.

Notice that I relocated the nose badge to the front hood, it was originally installed on the big black bumper. 

6018 front left

Attachments

Images (1)
  • 6018 front left
Last edited by George P

The next changes were performed in the spring of 2007, when I added new wheels and tires, and removed the rear L bumper.

I liked the appearance of the Etoile wheels very much, but I was unhappy with certain other aspects. I wanted to experiment with rear wheels that were 2 inches larger in diameter than the front wheels, I wanted rear tires closer to 27 inches diameter, AND I wanted to eliminate the exposed bolts which held the wheels together. There was 40 of them per wheel, and the space between the bolts needed to be cleaned and polished from time to time. It was a tedious chore. 

I could have selected a wheel/tire set that were 17" front and 19" rear, but I decided on 18" front and 20" rear. This is the outcome. 

new wheels EDITED

Ford reduced the amount of front caster by half. This was accomplished by moving the upper ball joints forward by about 5/8 inch (15mm). The side view above reveals how the front tire is off-center in the fender opening. Increasing front caster is on my list of things to do … if for no other reason than to improve the appearance (there ARE other benefits  ).
 
Front
Wheels - 18" x 9" HRE model 898R, 25 mm off-set
Tires - 245/35ZR18 Michelin Pilot Sport PS2
Rear
Wheels - 20" x 12" HRE model 898R, 12 mm off-set
Tires - 325/25ZR20 Michelin Pilot Sport PS2

new wheels IV Large

De Tomaso Pantera rear

Attachments

Images (3)
  • new wheels EDITED
  • new wheels IV Large
  • De Tomaso Pantera rear
Last edited by George P

Ford corrected one cooling system problem in 1971 by re-engineering the radiator core. The cross sections of the tubes in the original radiator core were so small that the core trapped air, and the trapped air would then restrict coolant flow. So Ford specified a replacement radiator core with larger tubes.

Ford also revised the coolant pump inlet plumbing to clear the shift linkage, but by doing so they also eliminated a coolant hose that had a proclivity for collapsing at low rpm. This was the second cooling system improvement.

Finally Ford revised the radiator baffle circa April 1973. They replaced the  original vertical baffle with a horizontal baffle because the vertical baffle allowed coolant to bypass the radiator.

Equipped with these 3 improvements my 1974 Pantera could idle with the air conditioning running on a summer day without over heating. But the cooling system was still "fragile". It would overheat in certain stop and go situations, such as freeway driving in afternoon commuter traffic on hot summer afternoons.

Ford had resolved three big problems by 1973, but what remained were two cooling system issues stemming from the cooling system’s basic lay-out and execution. The two problems are insufficient flow at low rpm and air collecting in the radiator. There is a third problem,  the electric radiator fan control circuit is dysfunctional as designed … the fans run all the time … and they cause the engine to "run-on" when you try to turn it off.

There are four steps I took to improve coolant flow in #6018.

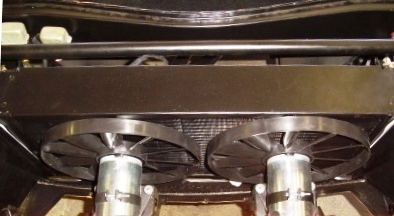
(1) I utilized a radiator with a low-restriction core design. I chose the Hall "Phoenix" radiator (copper). The Hall radiator has a horizontal baffle.
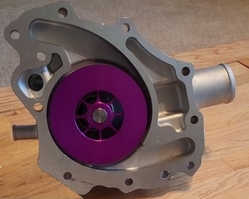
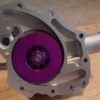
(2) I utilized the coolant pump sold by Flow Kooler (p.n. 1648) which has a billet impeller designed specifically to improve low rpm coolant flow.
(3A) I made sure there were no sections of radiator hose between the radiator outlet and the coolant pump inlet that could collapse due to vacuum. Gates green stripe hose, wire wrapped, (vacuum rated for 25” Hg) was employed. Part number 24922 (1-3/8 inch - 35mm - ID hose) for most sections, and part number 24928 (1-3/4 inch - 44mm - ID hose) for the connection to the coolant pump.
(3B) Gates 2 ply green stripe hose (not vacuum rated) is good for all other applications between the engine coolant outlet and the radiator inlet. Part number 24222 (1-3/8 inch - 35mm - ID hose).
(4) I installed a 10% over-drive coolant pump pulley available from IPSCO (# IPS260-OD).

Meriah

Having the Hall radiator installed in an upright position, and having the Miriah fans installed in the OEM brackets, helps to maintain the OEM appearance of the car.
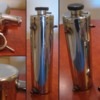
5.3-Flow KoolerDSC02871 x800

The issue of air collecting in the Pantera radiator can be resolved in one of two ways.

  1. The simplest way is to install a manual bleed valve (drain petcock) in the top of one of the radiator tanks and develop the habit of regularly bleeding the air from the tank manually.
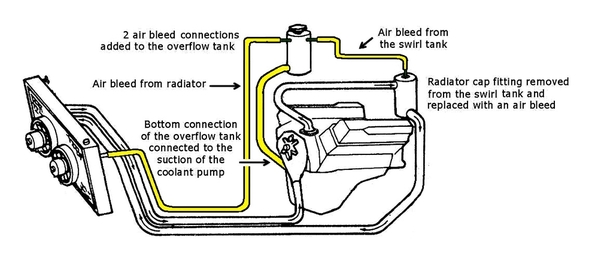
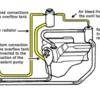
  2. The better way is to revise the coolant recovery tank to perform as a head tank, thus providing a functional place to plumb the radiator vent within the cooling system (radiator venting can then take place automatically).

I chose the second method.

Head Tank

Tank Montage

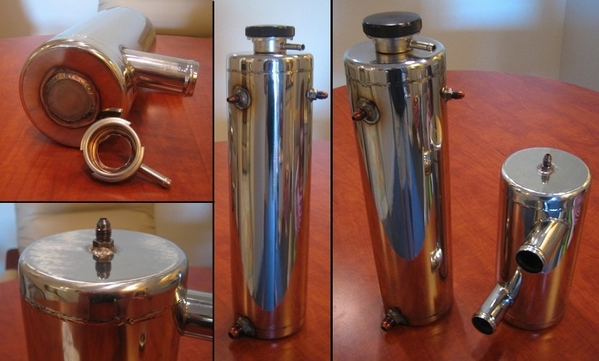
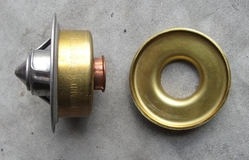
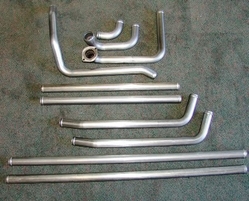
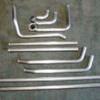
I also installed new stainless steels tubes, Hall Miriah fans, and Hall stainless steel  tanks. The recovery tank had 3 tube fittings added which turned it into a head tank. The radiator cap neck was removed from the system tank and a tube fitting was added to the flip side, which turned it into a functional swirl tank.  I installed the correct thermostat in the 351C, and I revised the fan control circuit.

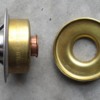
Cleveland thermostatHall tubing kit

Pantera fan wiring revision


duz185 posted:

Very nice George. How about some interior and engine bay shots?

BTW, that video is an absolute "Vulgar Display of Power". ;-)

Regards,

-William


William, excuse my vulgarity.

With the exception of a Momo steering wheel, the interior is mostly stock. I added spacers to the front seat mounts which reclined the seats. That made a big difference in comfort, head room, and leg room.

I am considering improved seating, a bulkhead reduction kit, and sound deadening material on the bulkhead as future projects. I just want 6018 to be comfortable to drive long distances … however, I prefer to avoid going overboard with alterations. I may go the opposite direction and make the interior stock (except for the seat spacers).

The engine compartment is stock looking. The only visible engine mod is a Ford Motorsport air cleaner and a Hall GTS exhaust system (with the exhaust tips pointed upward so it looks right with the rear bumper removed).  The rear wheel housings are still coated with the factory under-coating ... and I don't plan to remove it.

Attachments

Images (8)
  • Meriah
  • 5.3-Flow Kooler
  • DSC02871 x800
  • Tank Montage
  • Cleveland thermostat
  • Head Tank
  • Pantera fan wiring revision
  • Hall tubing kit
Last edited by George P
Hi George, just saw the pics of your car. Really nice. One of the first cars I saw at Gary Hall's was silver and I really think it is the best overall colors. I bought one of the first 4 sets of Kirk's new mini bumpers too. Your install looks perfect. Any tips would be much appreciated. Crank and rods finally arrived. Still waiting on pistons. Happy New Year.
Dave Ferrato
George P posted:

The issue of air collecting in the Pantera radiator can be resolved in one of two ways.

  1. The simplest way is to install a manual bleed valve (drain petcock) in the top of one of the radiator tanks and develop the habit of regularly bleeding the air from the tank manually.
  2. The better way is to revise the coolant recovery tank to perform as a head tank, thus providing a functional place to plumb the radiator vent within the cooling system (radiator venting can then take place automatically).

I chose the second method.

Head Tank

Tank Montage


Where can I send my tanks to be fitted with the air bleeds, what hose’s did you use. Great Job 

Thanks’ Rick

Last edited by George P

Hi Rick

I purchased a set of stainless tanks from Hall Pantera.

I removed the neck from the swirl tank and fabricated a round "blank" to fill the hole where the neck had been.

I acquired stainless AN style male fittings. As best I can remember I purchased them via McMaster-Carr. Then I drilled holes in the tanks where I planned for installation of the fittings.

Then I had a local welder do the welding for me, he welded both the fittings and the "blank".

The hoses and associated AN fittings were acquired via eBay.

The tanks were painted black to look "OEM". Bling is not my thing.

Last edited by George P

Add Reply

Post
×
×
×
×
Link copied to your clipboard.
×