Replies sorted oldest to newest
🎉🎉‼️👍👍
Congratulations‼️
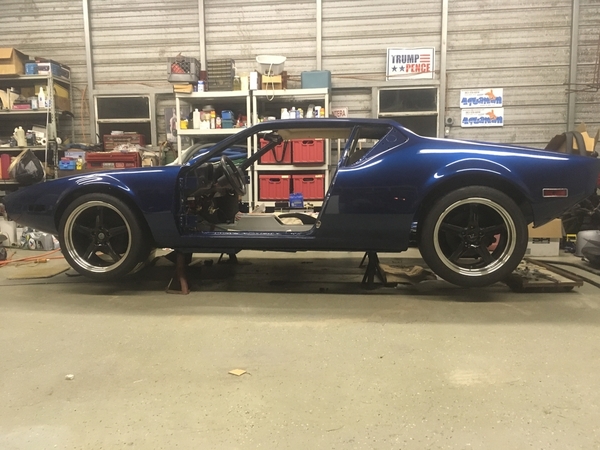
2511 arrived home late last April and I am just now ready to drop in the drive train. It has been a long journey made even longer by all of the changes and upgrades I took the opportunity to incorporate.
Should you have questions on your reassembly please feel free to reach out to me directly and I will maybe help you out and steer you away from repeating my mistakes. 😉
Larry
All that fine metalwork and bondo removal has paid off!
Congrats!
Is the interior just in primer?
Excellent color! Looks great!
Ron
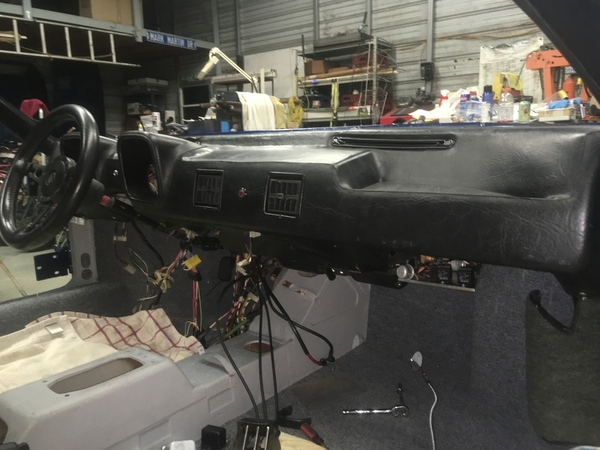
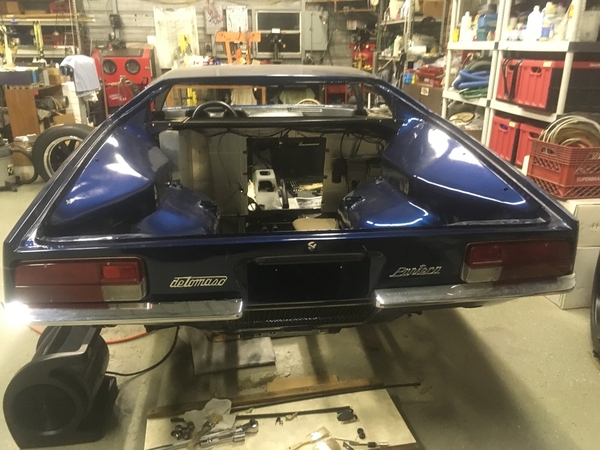
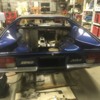
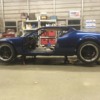
Thanks all! My wife loved JT's color, and urged me to use it. This one is called Kyanite Blue, a Jaguar color. The non-cosmetic parts are epoxy primer; black underneath and grey elsewhere.
Gorgeous! I love the color! We need more pics from different angles and of different areas of the car.
Awesome! I've been watching your rebuild since before I bought my car. Love the color and looking forward to seeing it finished.
Nice garage, too!
PS... I like how you are hiding the brake lines through the driver’s side fender!
I think putting them back together is the FUN part. Nice blue!
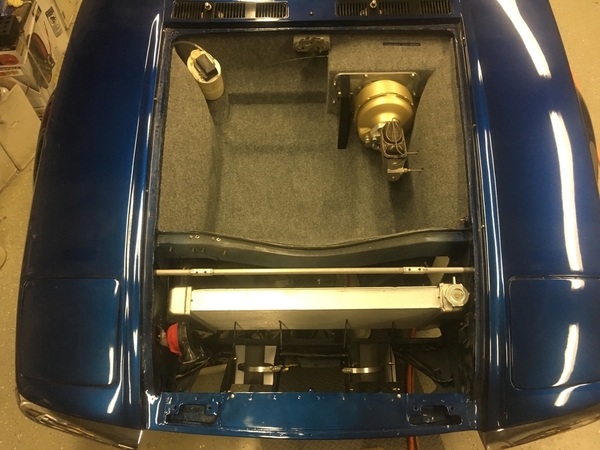
What is going on where the clutch master cylinder is supposed to be?
Love that color... man, it works really well on the car. The charcoal carpet is such a great contrast, and I can't say when I've ever noticed it vs other colors.
Great color, congrats!...
Thanks all! The color is Kyanite Blue, an older Jaguar color. It doesn't photograph all that well; looks lighter and brighter outdoors in person. I put the flux capacitor where the clutch master used to be.
Looks great!
Did you get the flux capacitor from great Scott?
UFO - it looks great - any chance of posting a couple of pictures of what you have done with the fan mounting pads - looks like they are taking Mariah fan bodies?
Also really like the relocated position of the washer bottle. It is rubbish is the bottom rhs corner.
Can you show us where the battery is accessed from?
I am going out of town for a few days; will reply when I get back. Merry Christmas to all!
OK, I'm back.... about the fan mounts. I copied the basic shape of the originals, but simplified them. Each one is 3 pieces; two uprights and a horizontal support for the fan. They are screwed together, and held to the chassis with screws, not welded. I use those "riv-nuts", like a pop rivet with threads inside, works great on thin sheet metal. The horizontal piece just has a strip of dense foam glued to it for the motor to rest on, and two holes large enough to get the hose clamp band through. Simple, adjustable, and you would have to look closely to see they're not original. I just have to finish balancing the fans to wrap this up.
Attachments
Thanks for the photos. Its given me some ideas on how to best remount the fans on 6997 as the original brackets are gone so I am in the process of making new mounts.
Thanks Marlin, I will. I've got the fans balanced so I can hold one in my hand and barely feel it running. Of course, that does nothing for the jarring they get from the road. If the clamps prove inadequate I'll come up with something better.
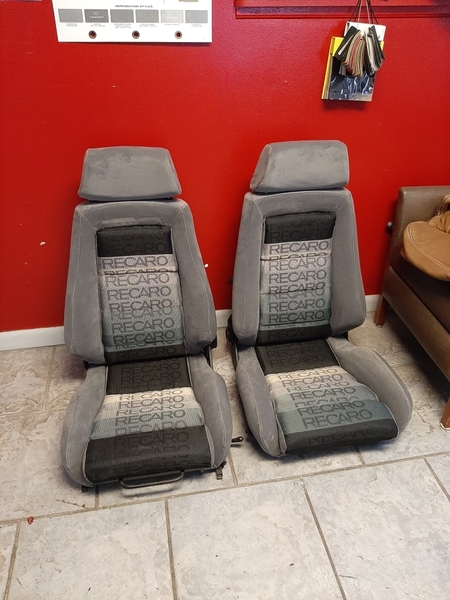
Brief update - went to the upholstery shop today to check on my seats. The shop owner wanted to get my OK on the work before he continues. The base of the passenger seat with new upholstery on the left, next to the "original" driver's seat on the right. The goal is to lighten up the interior, in keeping with the blue / black / silver / grey color theme. I like it - should look good in the car.
Attachments
For some reason the photos did not seem to upload. Can you edit your post and add the photo attachments again❓❓
Larry
I got an alert saying this is not a safe site when I clicked on it. It let me continue but! the link to the pics where gone.
Hmmm - never had that happen before. Same pics worked fine on FB. I'll try again.
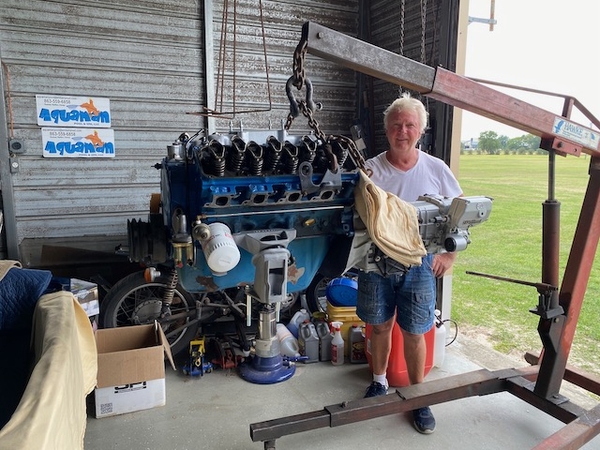
I'm the silver hair & white shirt guy
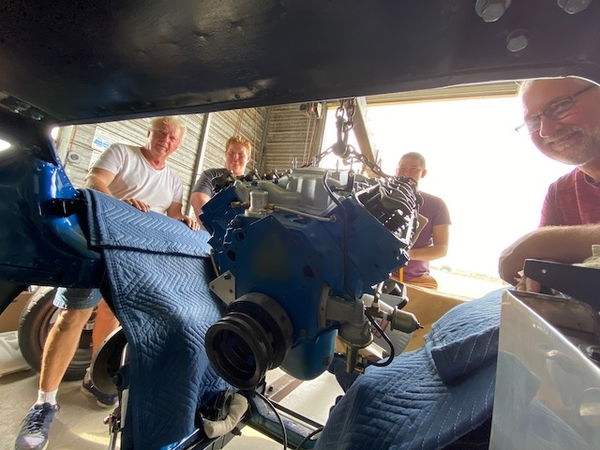
My helpers .. Darrell on the right, and two of his sons Trevor & Geoffery in between. Good friends from our homeschool group. My nephew Andrew was behind the camera; he helped a lot too.
The fruit of our labors......
Attachments
Congratulations! I know it’s a big day when you get the engine back in!
You will soon be driving it!
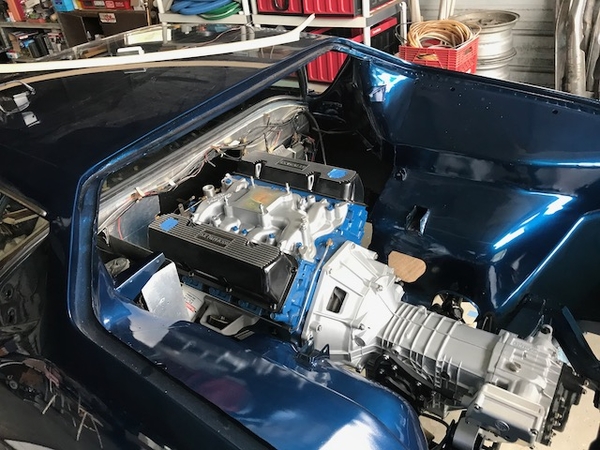
Looks like you are running a “Hank the Crank” type oiling mod, and taking high pressure oil from the port beside the filter? Any other oiling changes?
I like the frontal head bleeds to the thermostat housing. Nice and short.
Rocky
Long story short; this is not the original engine. I have it, but it suffered a broken pushrod the last time I drove it, so it needs some work. This motor is a 2 bolt, 2 barrel Cleveland I built maybe 30 years ago. It pulled my E150 van around for several years, then was replaced by a stock built 351W when Florida brought back the emissions inspections. This one is mildly built - cc'd 9:1 compression, light exhaust port work, good valves, cobra jet cam, dual plane intake. I didn't know about the lifter bushings mod back then. My oil mod is a simple bypass tube from front to back; maybe helps, can't hurt. I put the air vents in front just so they would not be seen, then realized that plumbing them into the thermostat housing was the most direct solution.
That's awesome! Won't be long before your back on the road! I like the ZF finish. What did you have done on it?
12 years. Wow.
you must be in seventh heaven and totally overjoyed.
as one who is just starting to do shakedown driving with 2511 six years after the accident, I totally understand your smile
Congratulations‼️
Larry


