Has anyone seen this?
It seems that my original shifter is wearing from rubbing on the shifter plate!
Has anyone seen this?
It seems that my original shifter is wearing from rubbing on the shifter plate!
Replies sorted oldest to newest
Looks just like mine with only 160k miles on it.
John
Is there a fix?
Looks like 40% been chewed up!
Yep, that is a pretty common wear pattern.
and more often than not you will see shift gates that have been worn down over the years, also
if you feel you want to replace it with a piece from a vendor, see if you can find an OEM piece. I’ve seen one reproduction, still in its little plastic bag, that looked like it missed the final sanding-polishing process prior to being chrome plated. Some serious scratches had just been covered with the chrome - looked terrible
YMMV
Larry
What you think of adding material where it's worn down to add substance to it?
Maybe a J-B Weld product for example
In order to fix that you would need to have the divot welded and then file and smooth everything prior to delivering to a chrome shop for replating. 😕😕
you could certainly fill that with JB Weld or something similar. But it won’t do very much to restore actual strength and will obviously not match the rest of the chromed lever
Larry
Am I in jeopardy of this handle snapping in half?
Not likely it would fail, unless you shift your car like a gorilla on steroids
Larry
Hi, Same as my gear lever, I made a new gate in aluminium sheet, now it is the gate that wears.
I made a few on my CNC mill and replace it when it looks horrible.
If anybody wants the CNC program in standard G code I will email it free of charge.
Tip , polish the plate before machining.
Yes would like to see how you made the aluminum shifter plate
Thanks gentlemen for the comments!
I believe all of our vendors sell a polished aluminum shifter gate that’s an exact replica of the OEM steel gate. Before you put a ton of work into fixing your shift lever, check the cost of a new one. Wilkinson put them on sale a few years ago, so I bought one as a spare because it was so cheap.
edit: $112.76 at Wilkinson’s for a new shift lever.
I was thinking of having the groove in mine filled with silicon bronze via a tig weld. It is easier to file than steel and chrome plates nicely. After it is filled new chrome might not be needed.
Good thought. Is handle is to remove and replace!?
This is what Dave is talking about
Another approach is to remove the three forward gear fingers.
I am somewhat in agreement with purists that the gated shifter is a classic part of early sports cars and should not be butchered. I share similar thoughts that a Pantera is meant to always have a carbureted Cleveland. 😉
2511 had this shift plate when purchased so I’ve never known any different. Another deviation from stock is the shortened and slightly bent shift lever. This was also on 2511 when purchased; it is a modification done by Dennis Quella on many of his restorations.
I don’t know if modifications like this are in keeping with your image of your car but since you’re going to be doing at least some sort of project I thought I’d Include them for your consideration.
Larry
I think it might be possible to replace the shift lever with a minimal amount of work. I don’t believe total removal of the shifter cage is required.
In this photo you will see the nut and bolt that attach the shift lever to the linkage piston which is in turn attached to the first U joint.
at the bottom of the shift lever is a ball which glides between two grooved pieces of hardened steel. Please excuse the old, dirty grease.
I think once the nut and bolt are removed you should move the piston rearward. Then, sliding the lever forward should probably provide enough free movement to slide the ball out of the grooved pieces.
Be cautious doing this as the hardened steel pieces are a non-mechanical, loose press-fit into the aluminum housing. Without the ball in place those pieces have the potential to fall out
I would tape thin cardboard, tape or take appropriate steps to prevent losing the nut or bolt should one get away from you in the removal process.
this is not something I’ve done but I’ve played around reassembling the cage and linkage and I think this approach is at least valid for a first, and hopefully successful, approach.
Larry
Good info!
Thanks Larry. I too have a fully restored Dennis Quella car and he left the shift plate and Lever fully original 😀
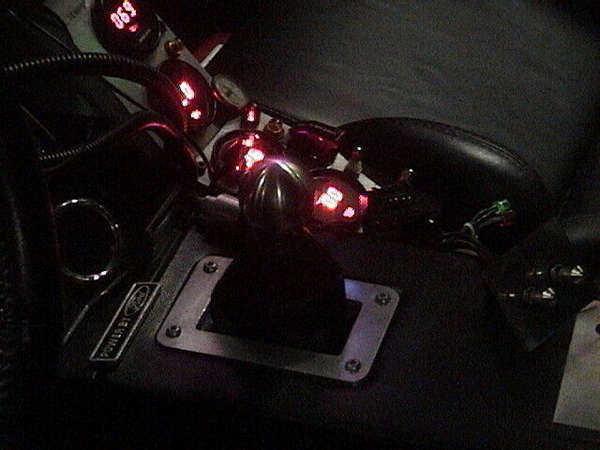
...I CNC'd a plate, No need for a Reverse 'Protector', I do NOT 'Slam' Gears 1st to Second. And 2nd gear is Straight-Up the Center. The Stalk was cut-down 1.0" and rethreaded for the Extra Large Stainless Ball with Leather Boot. Gauges are Red Led Digital. I wrote the Program to CNC this Sphere, it was 5 Lines of Code. The Original Steel Plate with the Fingers, Came-Off the First Day! 
MJ