If you are looking for a nice fitting, reasonable front trunk seal, try this:

Metro Moulded TK 10-M SUPERsoft Trunk Lid Seal

I just got mine at Amazon for $15, but now Amazon shows "out of stock" and a price of $40?

($40 is what Hall Pantera charges for their front trunk seal)

Anyway - it fits good and looks good.  Maybe not exactly what you want for your 100% original, concourse car, but that's a choice you have to make.

image0image1

Attachments

Images (2)
  • image0
  • image1

Hello, All...

I am swapping out a Ford SVO master (or one from a small ranger pick-up - I've never been able to get the straight answer on it) to a Wilwood master and proportioning valve / distribution block from SACC.

I have a couple of questions for this august body of grey-bearded sliverbacks (as it were).

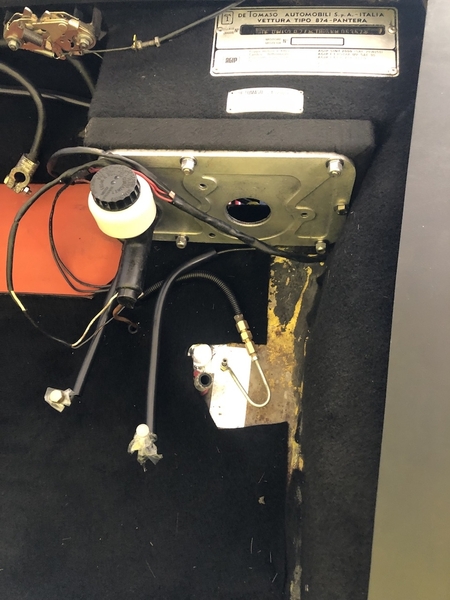
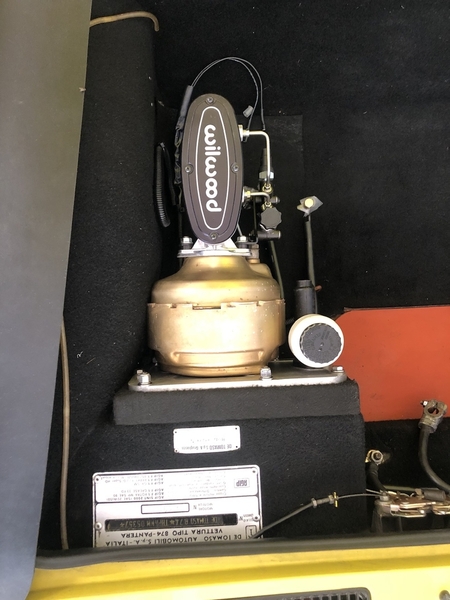
In Picture 1 - Has anyone seen this booster modification to adapt the booster to the two bolt American brake MC?  Most everyone else uses an adapter block.  This looks like it was done by welding two bolts directly into the booster body, and plugging the original holes.  I am just curious if any of the vendors were doing this in the post-1985 timeframe?  This came on my car from the PO, but I never got the opportunity to ask him about it.

IMG_6214 [Large)

I am wondering if the actuating rod can be pulled out of the booster without damage?  it slides forward, but seems to have a stop up against the booster diaphragm.  I am not sure that I really need to remove it.

The threaded part with the acorn nut on the pushrod...  how far will that unscrew?  It looks like I might need another 1/2" just based on measurements of the two masters.  I am wondering if I will have to fabricate a longer one.

IMG_6217 [Large)

In the picture below....  the rear brake pipe connection which previously came out out of the distribution block....  That sure doesn't look like a "bubble flare" to me.  It's a 1/2" nut...  Looks like a good old USA flare to me....  but that's not supposed to be stock, is it?

IMG_6218 [Large)

Comments and advice appreciated.

Rocky


PS>  Scott's setup of the Master / Proportioning Valve / Distribution Manifold looks really nice to me (some might call it "AMAZING"!)

It all integrates the manifold / valve together, it comes with bracketry/pre-bent tubing to mount to the MC, and gives you a brake light switch.  You loose the shuttle valve function (and sensor for the dash light), but you don't need it.

I am running stock Girlings up front (with Porterfield R4-S pads) on vented rotors, and SACC / Wilwood rear calipers on the stock rear calipers.

I'll post up more pictures when I'm finished.

IMG_6216 [Large)

Attachments

Images (4)
  • IMG_6214 (Large)
  • IMG_6216 (Large)
  • IMG_6217 (Large)
  • IMG_6218 (Large)
Last edited by rocky

"I am wondering if the actuating rod can be pulled out of the booster without damage?  it slides forward, but seems to have a stop up against the booster diaphragm.  I am not sure that I really need to remove it"

Chuck,

the actuating rod can be taken out. It looks like a "Valve". You might want to take it out in order to make length adjustments per the top crew in oder to optimize the gap between the main cylinder piston. The gap should be minimal, as it translates to the pedal play.

Only question I have ..how do you bleed the bath tube brake fluide reservoir ? I prefer the original model with the plastic container on top of the cylinder on which there are srew in adapters for a "automatic" bleeder container.

My main is by the way from a BMW 2002 got it from Mr Jäckel.

Matthias

Thanks, Matthias...

Yes..  I agree with your comment on the need to eliminate the space...  I probably have about 1/2" (12-15mm) distance difference between the two MCs, with the Wilwood being longer.  So I have to do something there.

I am just not sure how much I can screw the adjuster out of the rod.  I guess I should first mark it with nail polish (my wife and daughters always wonder where their bright colors go to), and then just try and unscrew it.

The Wilwood MC comes with a "Bench Bleeder Kit" that allows you to cycle the fluid through the pump and back into the reservoir before you hook up the lines.

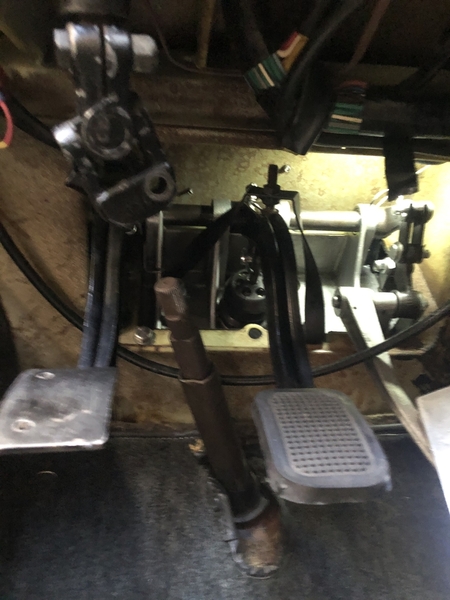
I've got some other things to do first (before I install the MC & fill with fluid), like sort out my plumbing, plan my routing, and decide which lines I will keep, and which lines I will replace.  Also have to fix the carpet / felt under the old MC & distribution block.

Thanks for the tips!

Chuck

Last edited by rocky

Chuck nail polish is a key "tool", did use it here as well, ok the color variety in my houshold is humangous..

No, I used the nail polis on the tip of the rod to finalize minimal gap, as measuring the gap is hard to do as no real ref. point. Several attempts in/out until binding then 1/4 to 1/2 half turn back of the booster push rod.

KEY is a good seal as well, the seal between the bake booster and the push rod (in my case the push rod part of the main). I had sever issue here as I lost vacuum, resulting in missfire of the engine in push mode. I added 2 rubber seals from the plumbing industry/forcet stuff, as there was a decent gap on the main side to accomodate this set up. Top result!

Matthias

Need some help...


Does anyone know where I can find either an adapter, or a reducing union for the rear brake line? 

I need a female - female union:

One side 1/2"-20 for 3-16" line

One side 3/8" for 3-16" line.

I don't want to try and reflare the line in the car (under the brake booster). 


OR:  Maybe a 1/2"-20 (Female) - 12"-20 (Female) union.


Thanks -


Rocky

Good suggestion Mike.

I am at Merle’s Auto Parts now, and it’s a little more complicated.

They don’t make a reducer that jumps from 1/2-20 directly to 3/8-24, you have to go to a quarter inch first. But that string of three fittings (two reducers, and a union) is a lot better solution than what I was considering, which was far from ideal, as the brass coupler was pipe threads (tapered) and would have left a huge air pocket that would have been very hard to bleed.

Here's the solution I am going with.

Fitting

I also heard from a friend (Thanks, Larry!) who suggested that reducer fittings are found on Ford Master Cylinders.  I had not turned any of these up, but if anyone has a part number, this could be a single jump to a 3/8-24 union.

".......if you were looking for a fitting that would reduce the 1/2-20 flare nuts to the 3/8-24 ‘normal’ sized ones, the smaller of the two brass adapters installed into the various Ford iron master cylinders will do the job."

Larry_W_Recommendation [01)

Larry_W_Recommendation [02)


Rocky

Attachments

Images (3)
  • Fitting
  • Larry_W_Recommendation (01)
  • Larry_W_Recommendation (02)
Last edited by rocky

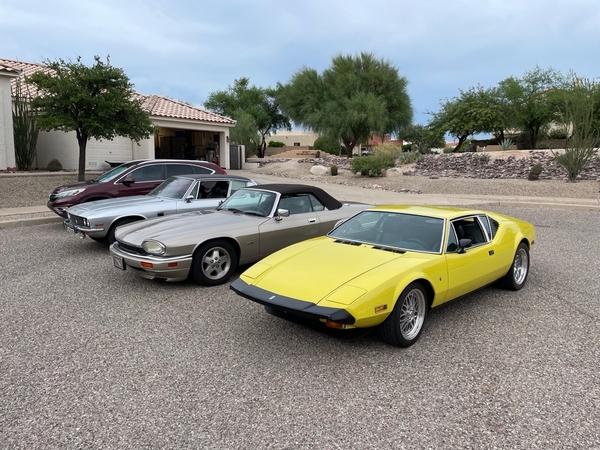
Had a fun day out with our newest Pantera owner (Stuart), who has brought Jack Furrier’s push button Pantera back to Tucson, Arizona!

214C2984-00D0-4454-AF07-F4688AD38543E1A4413B-6320-47E0-A8D0-7B0D5DAD43D4418A00B2-01E8-4505-99A7-0A8E23AD2F68

It’s a very early car, with single slot wheels!

Rick P. from Green Valley came up, as did Jim & Jacki Fusco from Wilcox in their super awesome Mustang. It was great fun,  and a super good breakfast!

Thanks to everyone for making the effort  to come out!

Rocky

Attachments

Images (3)
  • 214C2984-00D0-4454-AF07-F4688AD38543
  • E1A4413B-6320-47E0-A8D0-7B0D5DAD43D4
  • 418A00B2-01E8-4505-99A7-0A8E23AD2F68
Last edited by rocky

WOW Rocky !

After your prompt on the cross member, its taken me most of the afternoon to read though 5357s continuous thread - some of which I had seen, most of which I had missed.

I think I am only 65% of the way on 6997 on the various improvement as compared to where you have got to. Well done on documenting on what are some monumental tasks. The good news 6997 is in one piece at the moment running load and strong and straight as a benchrest rifle ! First time in a few months as I have been rebuilding the cooling system, another part of your posts that were very interesting to me.

All I can say is I still have a bit of a way to go but am going to finish this beast!


6997 - back together !

Attachments

Images (1)
  • 6997 - back together !

You do great work!

That mod was inspired by one of our AZ Pantera owners who had an electronics fail, and his starter started cranking (without him in it).  The car went forward, jumped the curb, and rolled into a wall, stopping forward motion.  The starter was still going, slipping the clutch.

He was able to reach in and shut things off instantly.

It was at that time I realized what a valuable mod a battery disconnect could be.  I use mine all the time.

Obviously, all the Race Cars have them, so it may even add 5-10 horsepower!

Rocky

Last edited by rocky

62B83F76-3591-4387-A016-209240257426Completed my three-point seatbelt upgrade.  My stock buckle cover was in the process of disintegrating, and since we have a track day at the end of the month...

I got the FJ-40 Toyota Seat Belt kit.  It all went together very smoothly...  The main challenge was the retractor mounting on the sill, bending the attachment bracket to a precise 20* angle (so the retractor is vertical), and the fiddly upholstery work to my bulkhead cover.

I think it came out pretty nicely.

The lower mount was made more challenging because my car (5357) didn’t come stock with a bulkhead mounted 3-point belt.  If that were the case, this would really be a straightforward install.

Pantera_Seatbelt_Project_April_2023 [12) (Large)Pantera_Seatbelt_Project_April_2023 [13) (Large)Pantera_Seatbelt_Project_April_2023 [14) (Large)Pantera_Seatbelt_Project_April_2023 [19) (Large)

Attachments

Images (5)
  • Pantera_Seatbelt_Project_April_2023 (12) (Large)
  • Pantera_Seatbelt_Project_April_2023 (13) (Large)
  • Pantera_Seatbelt_Project_April_2023 (14) (Large)
  • Pantera_Seatbelt_Project_April_2023 (19) (Large)
  • 62B83F76-3591-4387-A016-209240257426
Last edited by rocky

Also worked the carburetor (a 735 CFM Holley 4150).

The carb setup had been dyno’ed, and all the parameters had been optimized for my car.

But it had recently been running rich…. something had changed. It also had a slight bog on acceleration.

I was planning on replacing the power valve, and the accelerator pump diaphragm.

But what I found was that the bowl attachment screws on the primary fuel bowl had worked (slightly) loose.  This was allowing fuel to bypass the metering in the metering block, and causing the rich condition.

Happy to get that issue worked out, a no-cost solution!

Rocky

Last edited by rocky

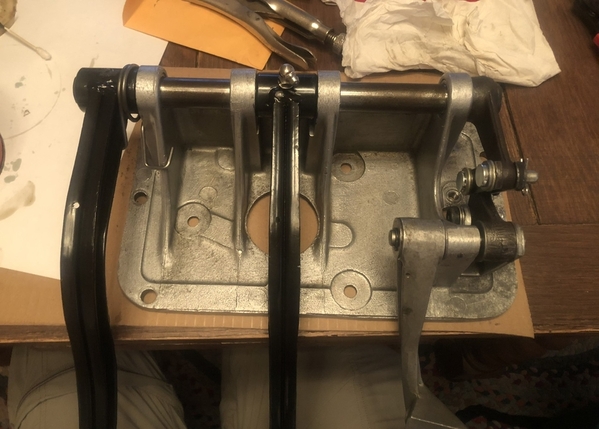
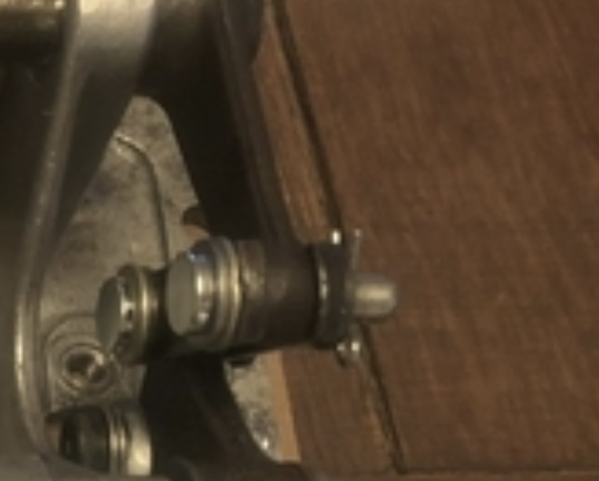
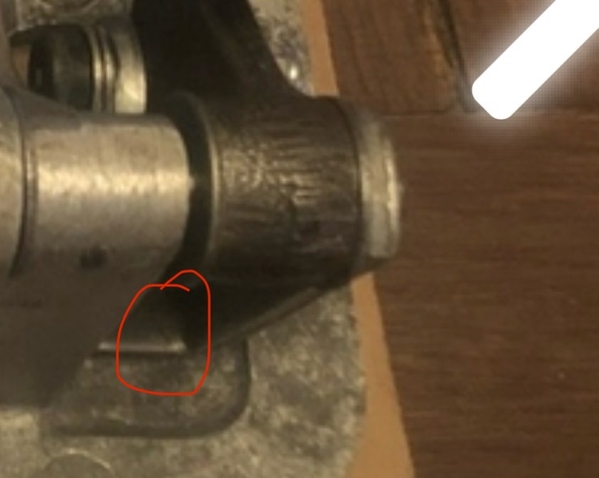
Another source of annoying noise - FOUND!

I had been struggling with a rattling noise that I was convinced was my shocks / springs losing preload as I went over bumps (because it happened shortly after I first installed them…)

But…. I kept checking them, and they were secure.

Then I found this….

I am pretty sure it’s the culprit, the two halves were loose in the caliper, and I could make them rattle by just touching it….

I’ll let you know (or delete this post) if replacement of the brake pad retained doesn’t solve my noise problem!

Rocky21C6F6AA-3368-4CBC-BAA5-22469F0CFF01

Attachments

Images (1)
  • 21C6F6AA-3368-4CBC-BAA5-22469F0CFF01
Last edited by rocky

Hey Ken – if you scroll up the page, I’ve got my install documented. I used the Cool Cruisers of Texas (Taiwan) Toyota FJ-40 three point harness kit.

The lower mounting point just bolts inside the plate on the rocker.

I drilled through the lower box structure on the rear bulkhead to mount the reel.  I put a doubler plate on the back of the box structure.

The CCOT kit comes with all the hardware you need, bolts and brackets. I don’t know if that’s the only place you can find it, but it was very convenient to order.

I think there’s a couple other people here that have used that same kit. Some of the later model cars (‘74s?) that originally had three point belts probably have an easier install.

My ‘73 had the reel inside the rocker, but the non-retractable belt hanging on the bulkhead.  My wife always had a terrible time, trying to hook the shoulder belt, and then stab the tongue, while holding all the pieces together…. This is way better than that.

You have to build an angled spacer, or bend the mounting strap, so that the reel is in a vertical position. If not, the reel locks up when you try to pull the belt out.

Good Luck

Chuck

P.S. I think the kit was just shy of $200.

Add Reply

Post
×
×
×
×
Link copied to your clipboard.
×