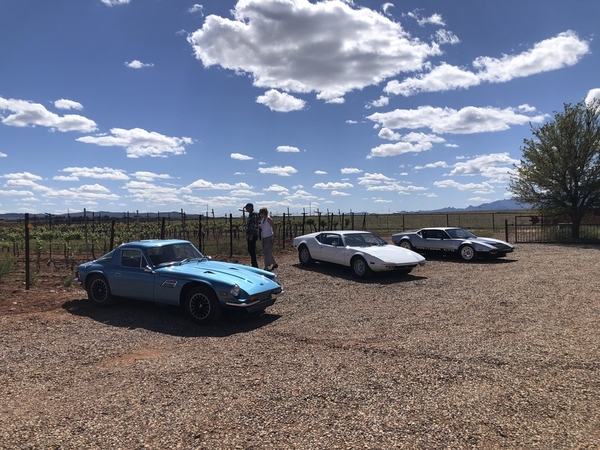
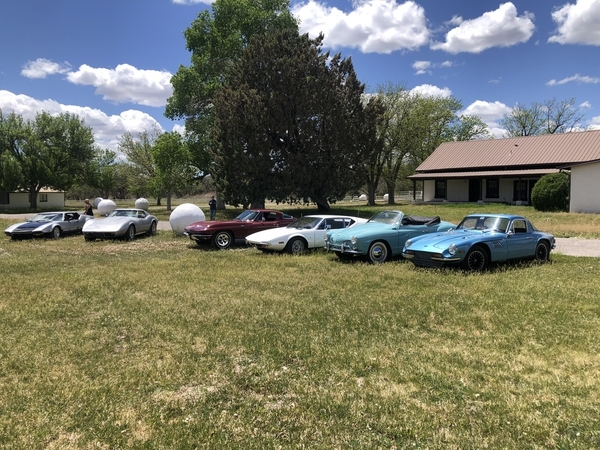
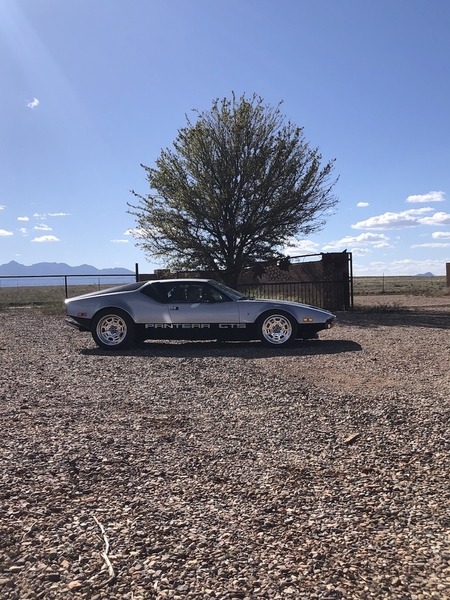
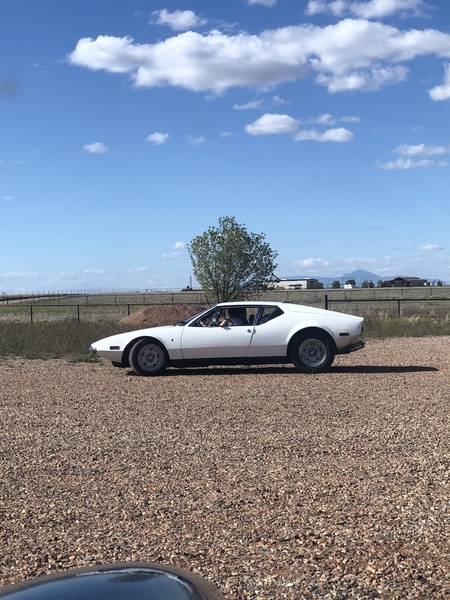
Thanks for sharing. First pictures I have seen. In So. Calif didn't see a thing.
Attachments
Did you drive the TVR…??
I did…. Primarily because our host knew the Russian Oligarch who bought the TVR Engineering Corporation after Peter Wheeler sold it in the 1990’s…
But make no mistake…. This was a Southern Arizona Pantera Club event!
It was a great trip!
The TVR could always be next to my Pantera! And the Jensen too! What a great combo!👍👍👍
let's see more pics of that TVR. Please.
Nice…. More TVR fans here…!!!!!! 👍👍👍
Le dim. 28 avr. 2024, 17:44, The De Tomaso Forums <alerts@crowdstack.com> a
écrit :
nice looking car!
Sweet…🍒🍭🍩
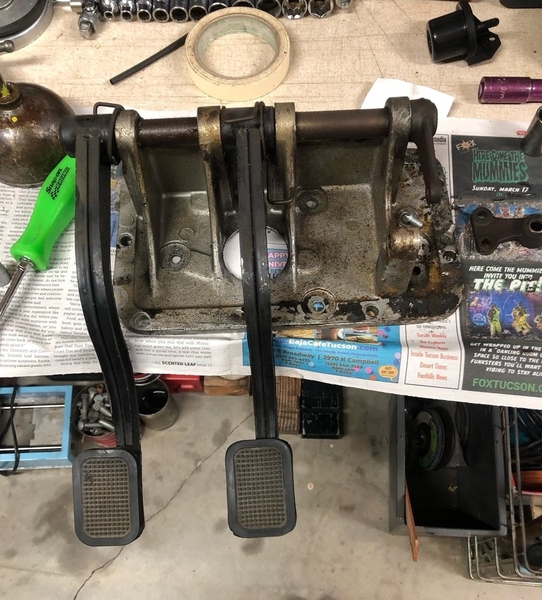
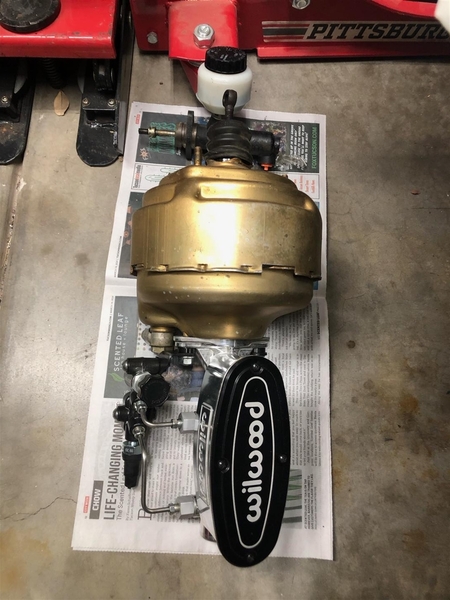
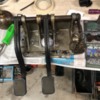
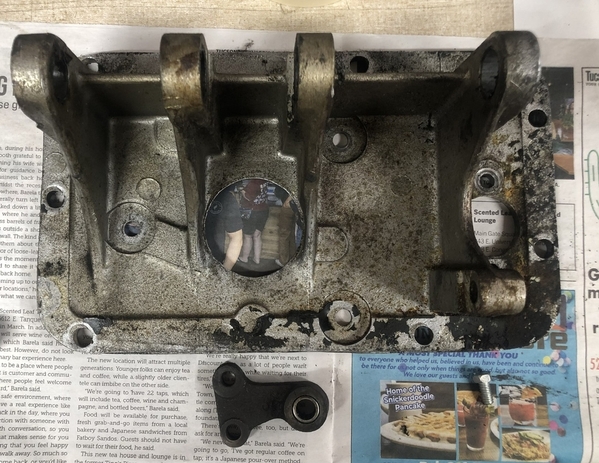
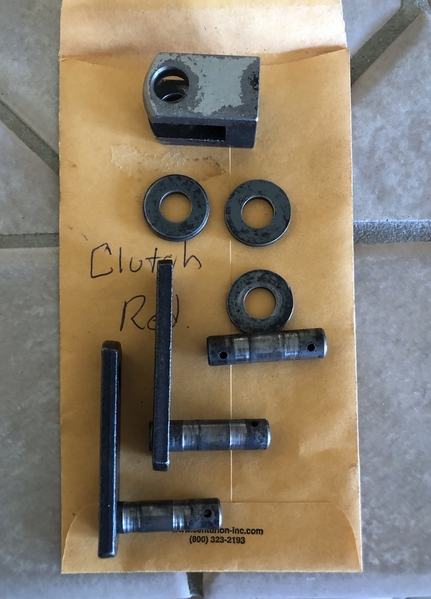
So Mr. LeMans850i is making me feel bad with his unrelenting progress, therefore I had to jump into another "upgrade". I decided to install a Pedal Extender (Amerisport) and while I was at it, machine my pedal assembly for needle bearings installation on the main shaft (4x), clutch effort reduction assembly (3x) and accelerator pedal (2x).
I got all the needle bearing specs from Rene4406, and tips on how to implement it.
I will be using the mills at Pima Community College as an "Independent Project" (MAC296) to do the machining.
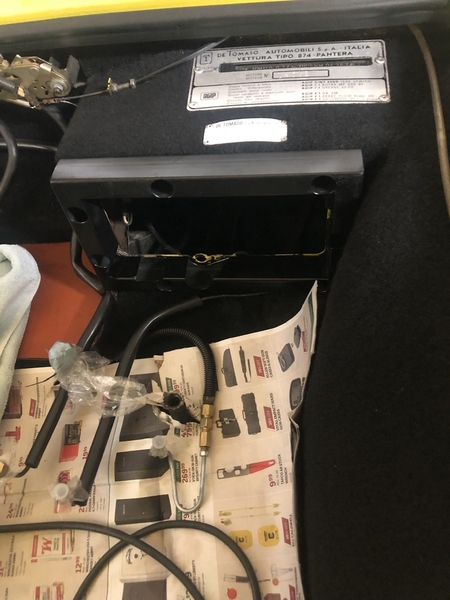
I got the pedal box removed and disassembled today.
Attachments
Couple of Tricks for Disassembly:
(NOTE: The pedal box CAN be removed with the clutch linkage connected without cutting a notch in the pedal box...)
1. Get in the car, take out the front driver's seat, and take off / loosen everything you can from underneath first. Getting rid of all the braces, accelerator pedal, etc. gives you more access.
2. (Lemans850 Tip) Use a zip tie to compress / restrain the coil springs so the pedals don't keep flying forward.
3. Lots of 2-Man jobs on this one. Thanks to Mrs. Rocky for not complaining about unscrewing nuts while I cursed and held wrenches under the steering wheel.
4. The real secret to the removal of the pedal assembly is to have the clutch pedal and associated linkage in the position it would be if the clutch was fully depressed. That brings it into a compact state and gives you the 0.5mm you need to slip the assembly out of the pedal box.
Rocky
PS> Another note.... the need for this is kind of a crapshoot, because you can't really be sure the needle bearing upgrade is needed from a casual observation. Of course I was worried about my linkage being "wallowed out", as I have seen reported by others. But when I took my linkage apart, everything was fairly greasy, and the linkage was in good shape. But if you are "in for a dime, you are in for a dollar"*!
* From Marlin's thread....
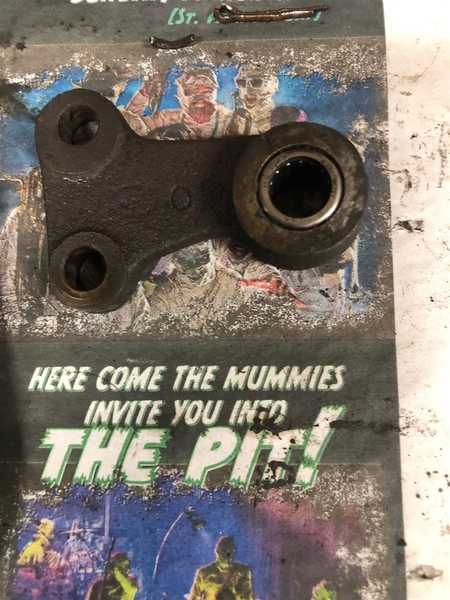
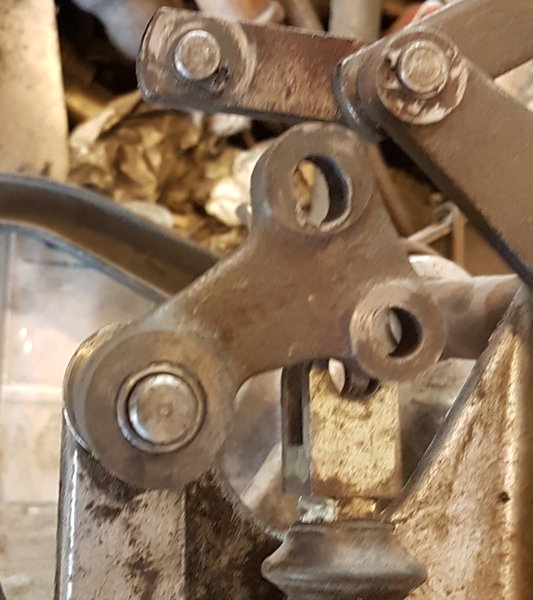
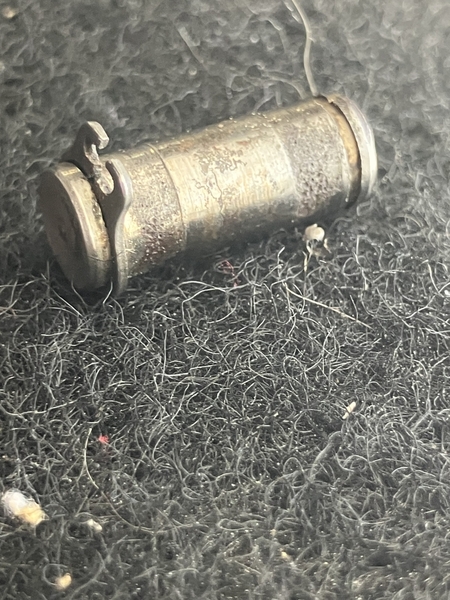
Here's a picture I saw of an effort reduction piece that needs help - and wear in this area reduces the throw on your clutch slave cylinder!
Attachments
@rocky posted:Couple of Tricks for Disassembly:
(NOTE: The pedal box CAN be removed with the clutch linkage connected without cutting a notch in the pedal box...)
1. Get in the car, take out the front driver's seat, and take off / loosen everything you can from underneath first. Getting rid of all the braces, accelerator pedal, etc. gives you more access.
2. (Lemans850 Tip) use a zip tie to compress / restrain the coil springs so the pedals don't keep flying forward.
3. Lots of 2-Man jobs on this one. Thanks to Mrs. Rocky for not complaining about unscrewing nuts while I cursed and held wrenches under the steering wheel.
4. The real secret to the removal of the pedal assembly is to have the clutch pedal and associated linkage in the position it would be if the clutch was fully depressed. That brings it into a compact state and gives you the 0.5mm you need to slip the assembly out of the pedal box.
Rocky
Very very good!!!👍 Bring on the pictures!
My wife always says I have a bad influence!!! 😜
By far, not as bad as yours, but I got one of those too…
but with return springs zip tight, linkage, relaxed, and turning the pin 90° it came out!
The new Fork on the clutch master cylinder is just a pressed steel part while the original one was a machined part… I couldn’t save the Machined part - sadly!


