Following of:
http://pantera.infopop.cc/eve/...225/m/5341042166/p/2
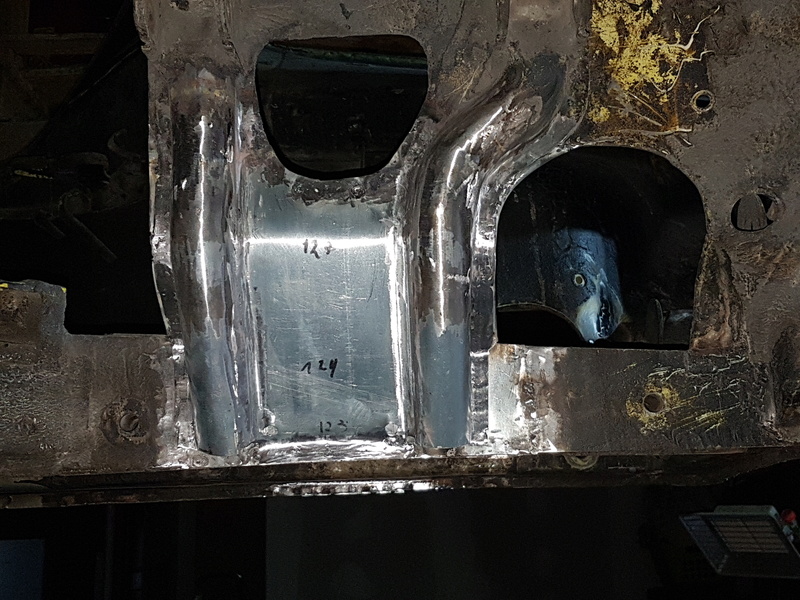
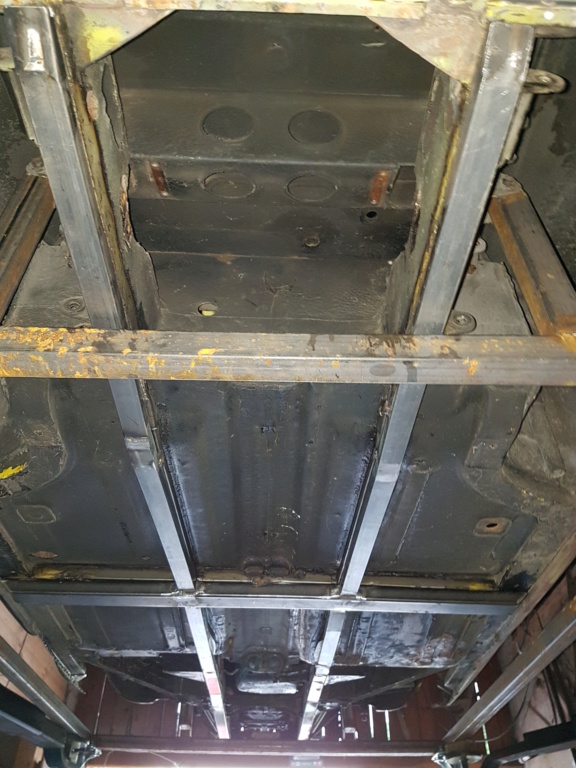
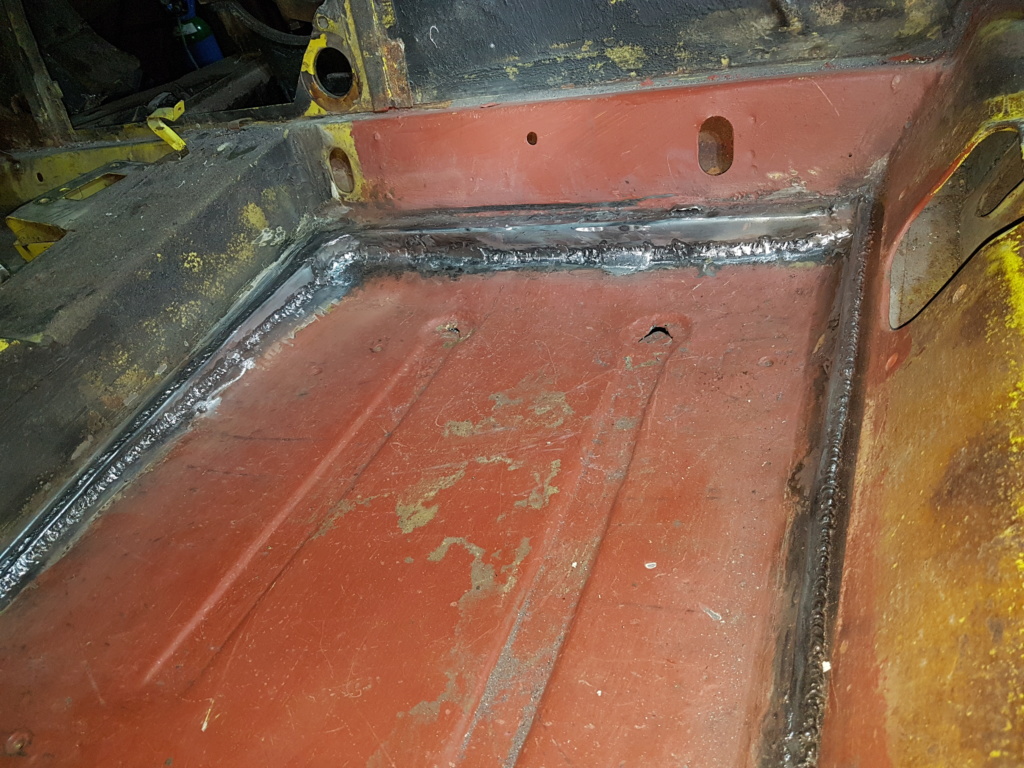
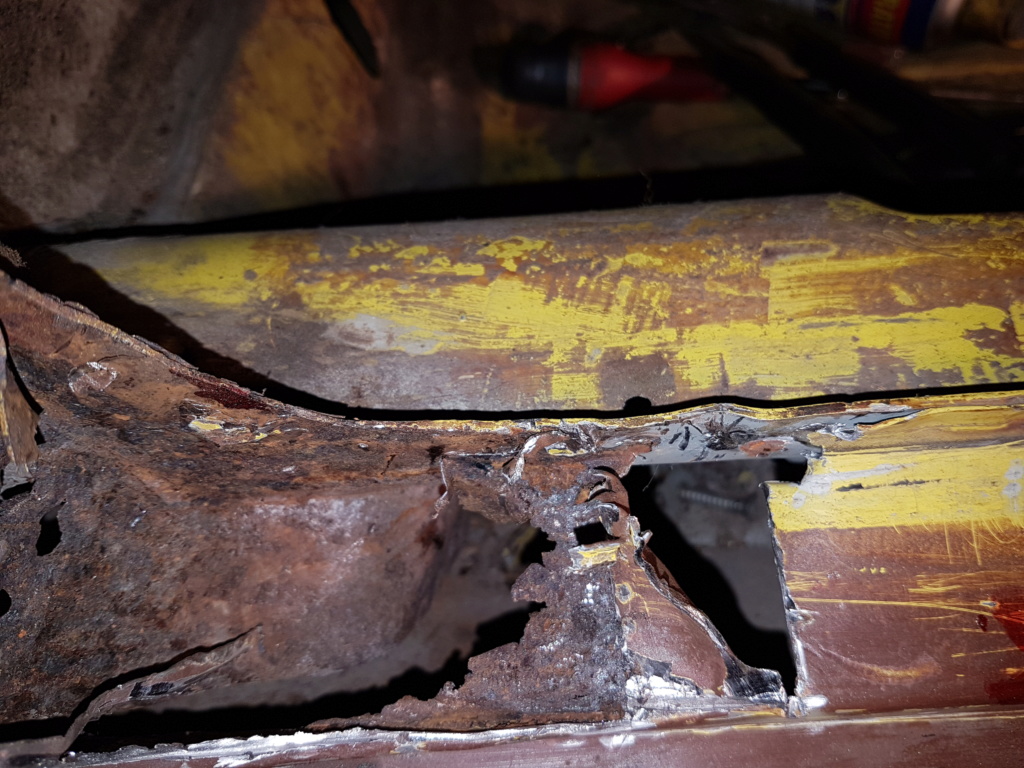
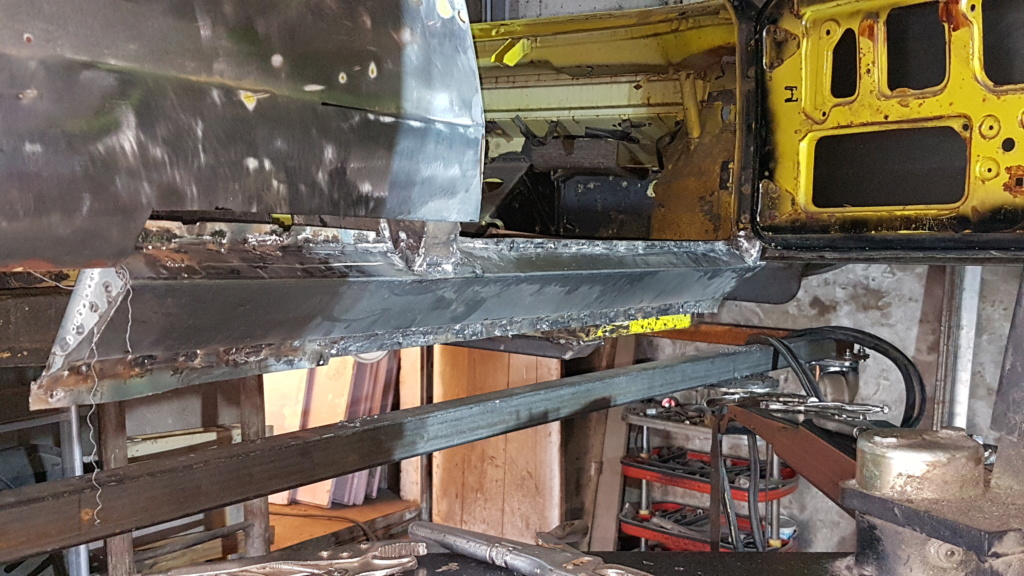
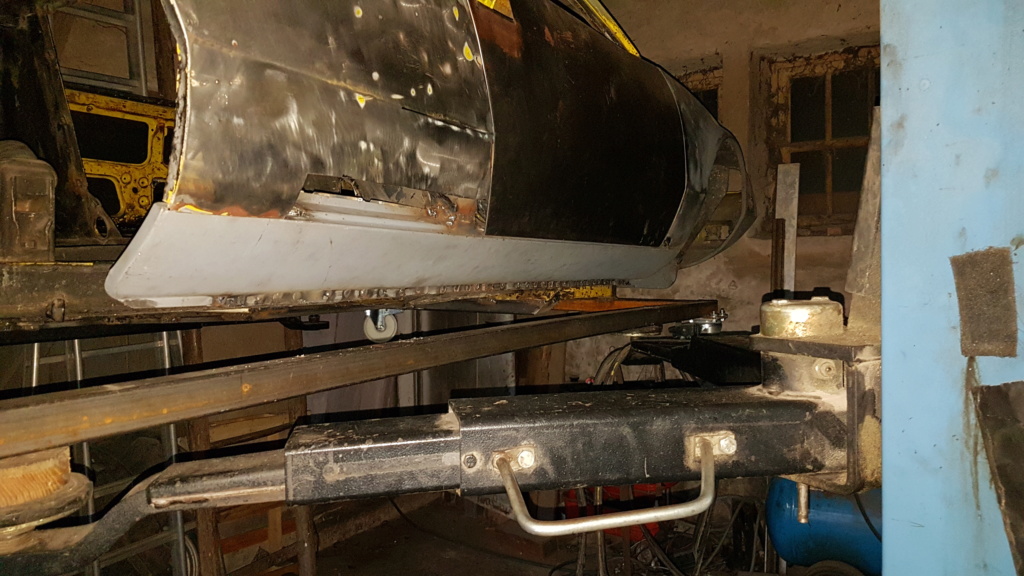
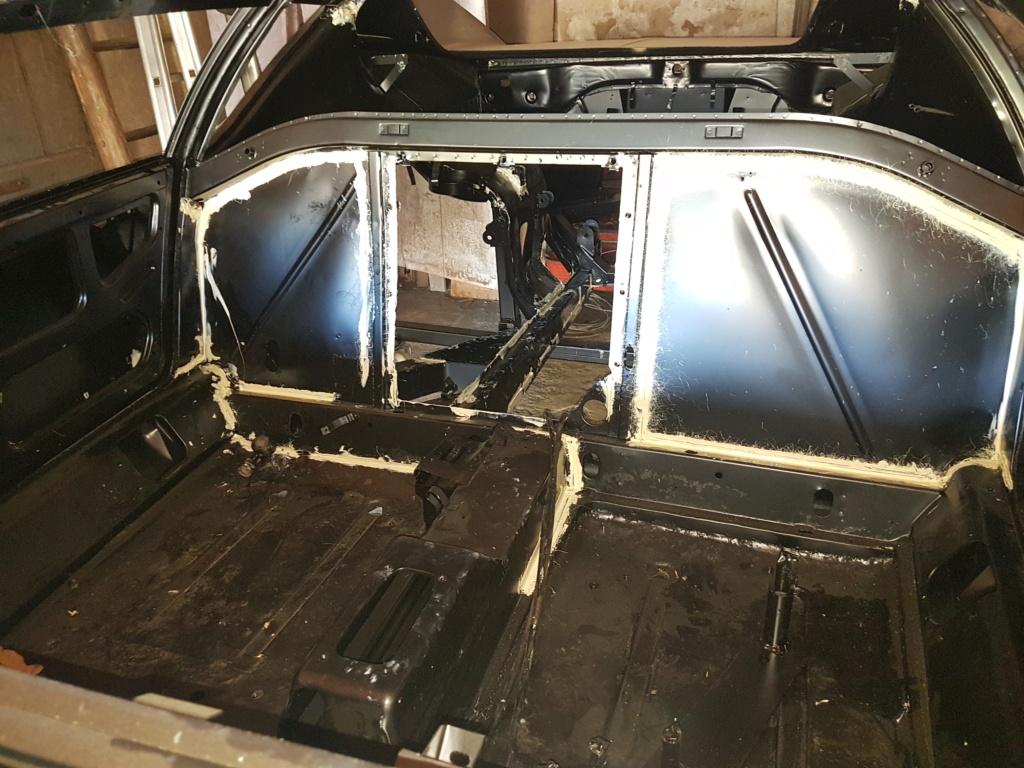
I started repairing the inner rear wheelhousing:
The initial status, that it is a repair !!!!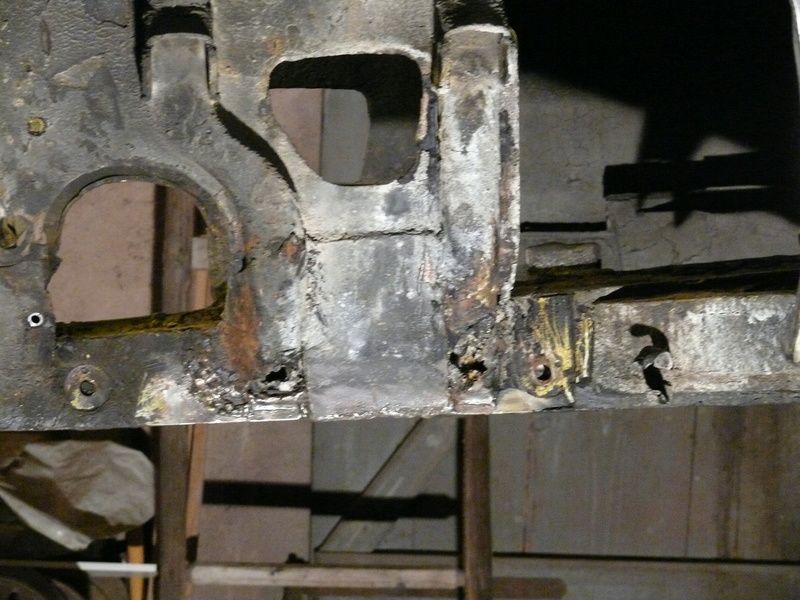
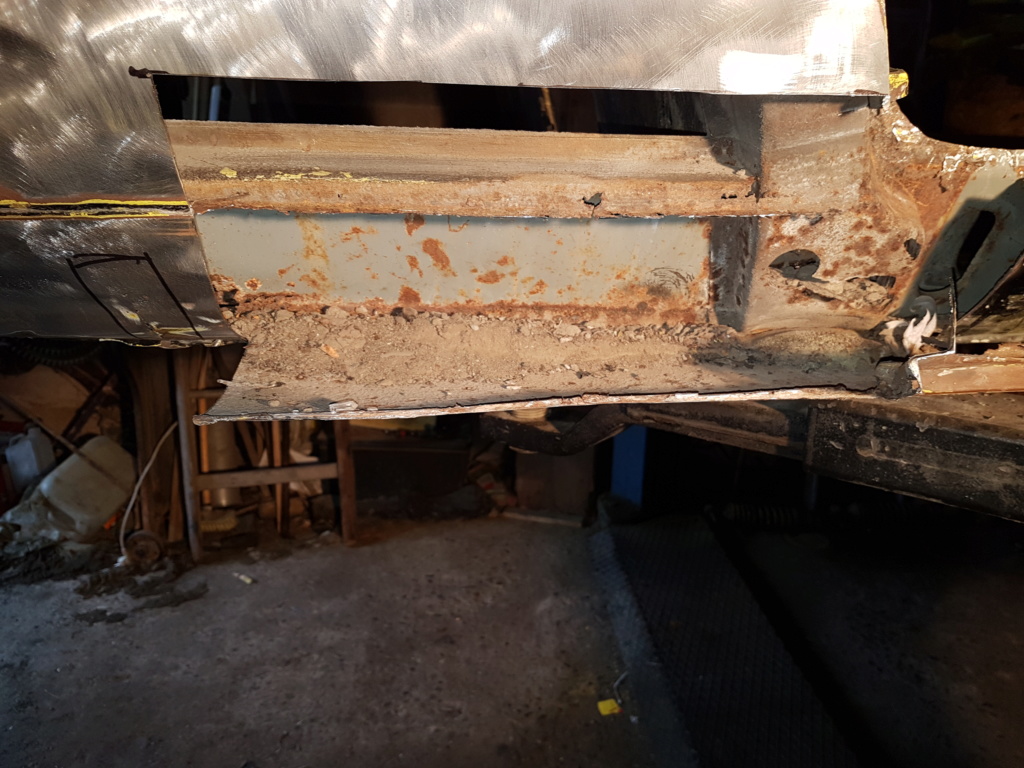
I cut out everything that was rotten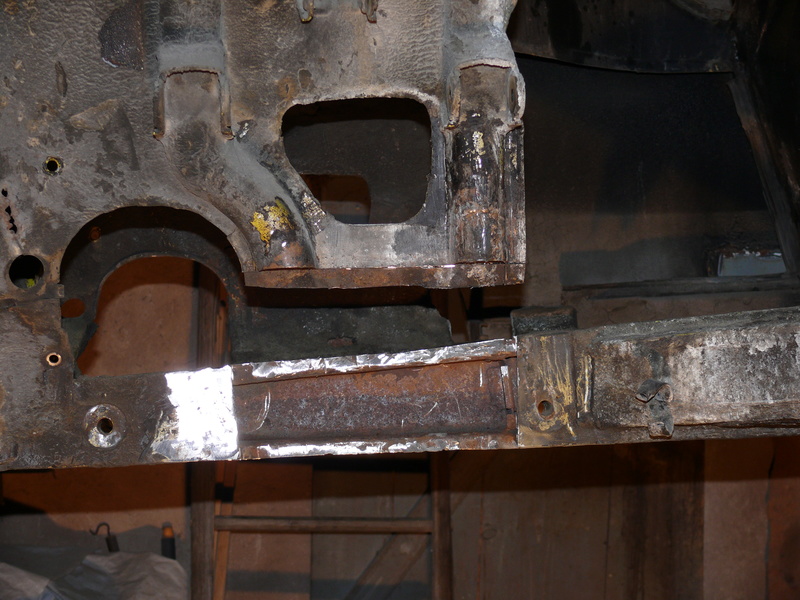
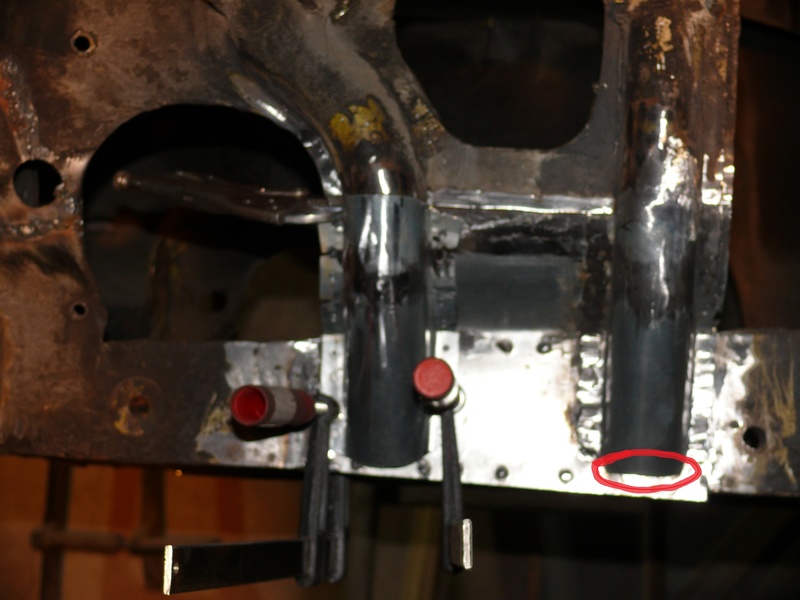
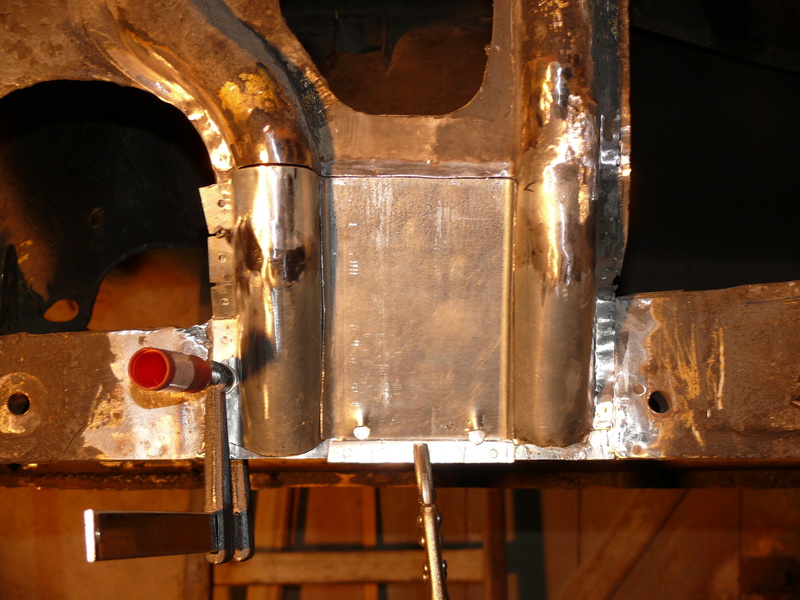
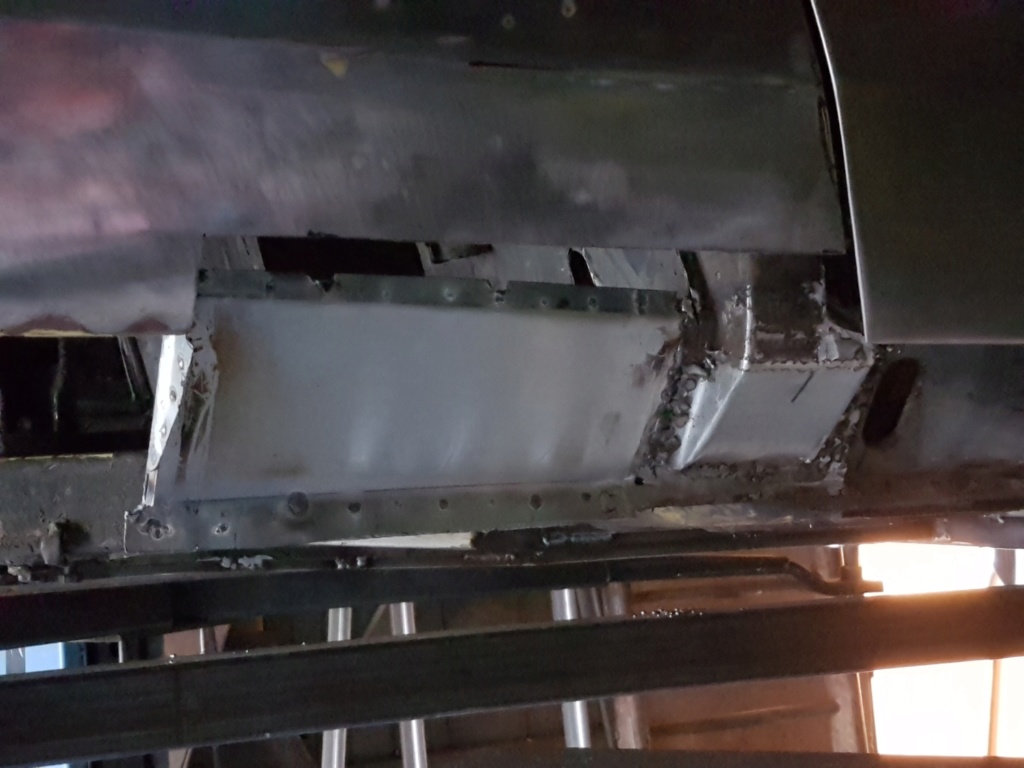
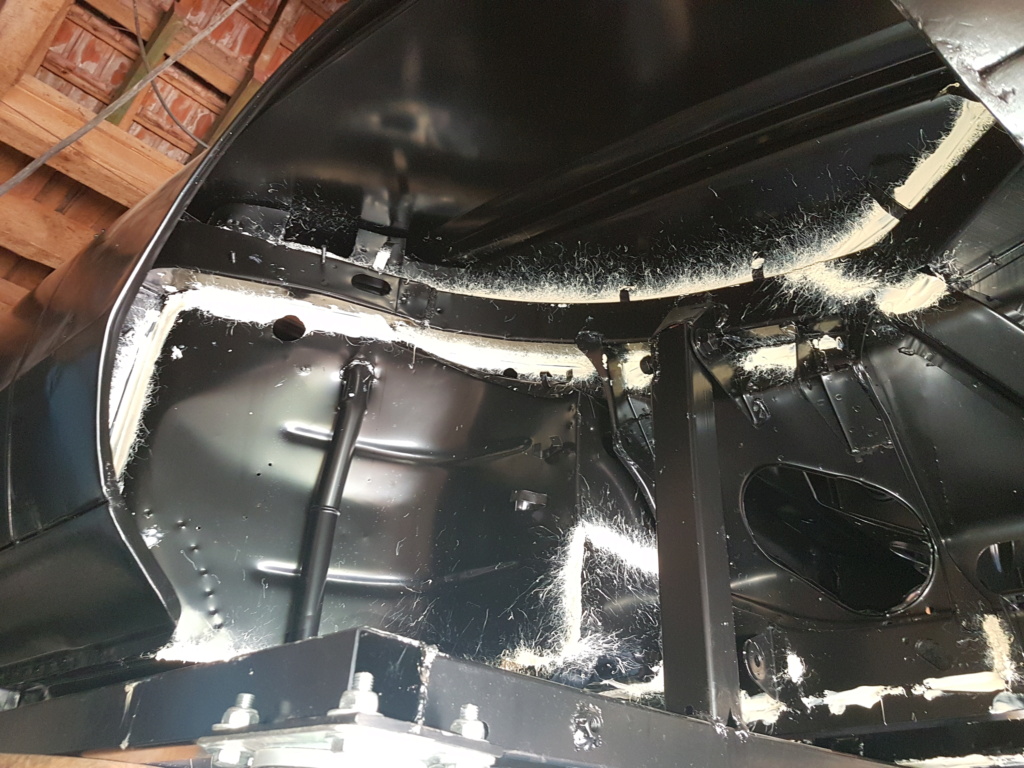
Current status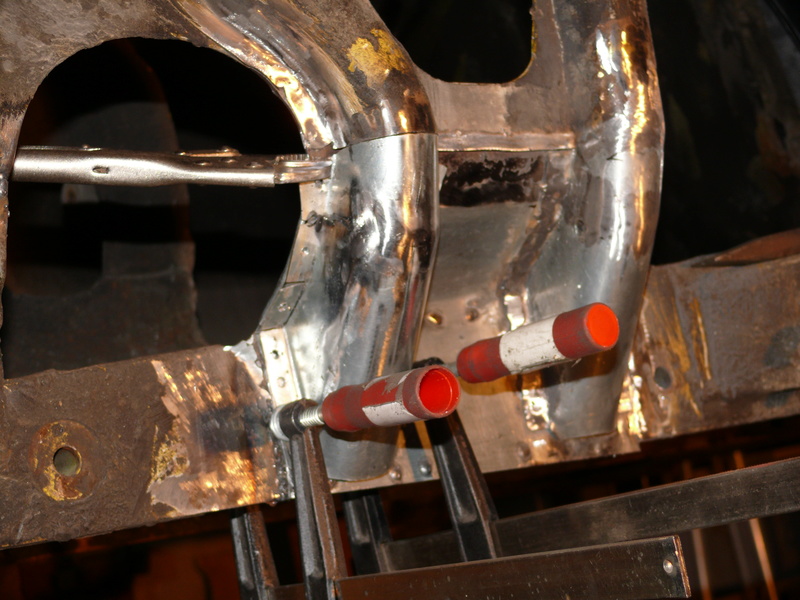
Original Post


Following of:
http://pantera.infopop.cc/eve/...225/m/5341042166/p/2
I started repairing the inner rear wheelhousing:
The initial status, that it is a repair !!!!
I cut out everything that was rotten
Current status
Replies sorted oldest to newest
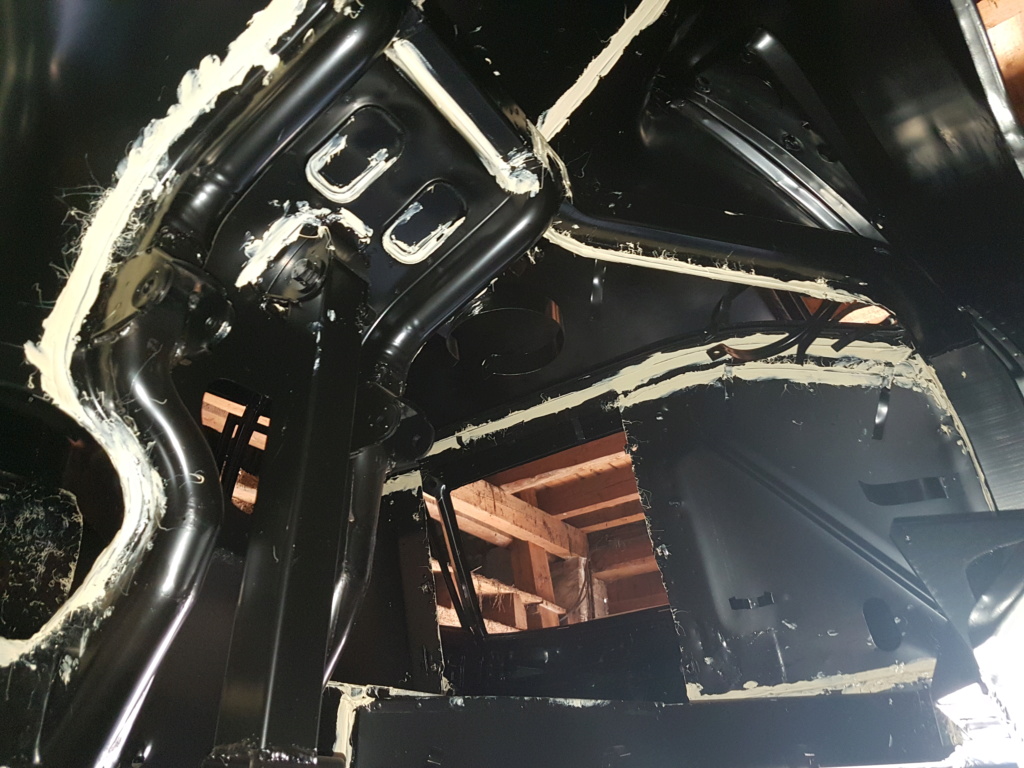
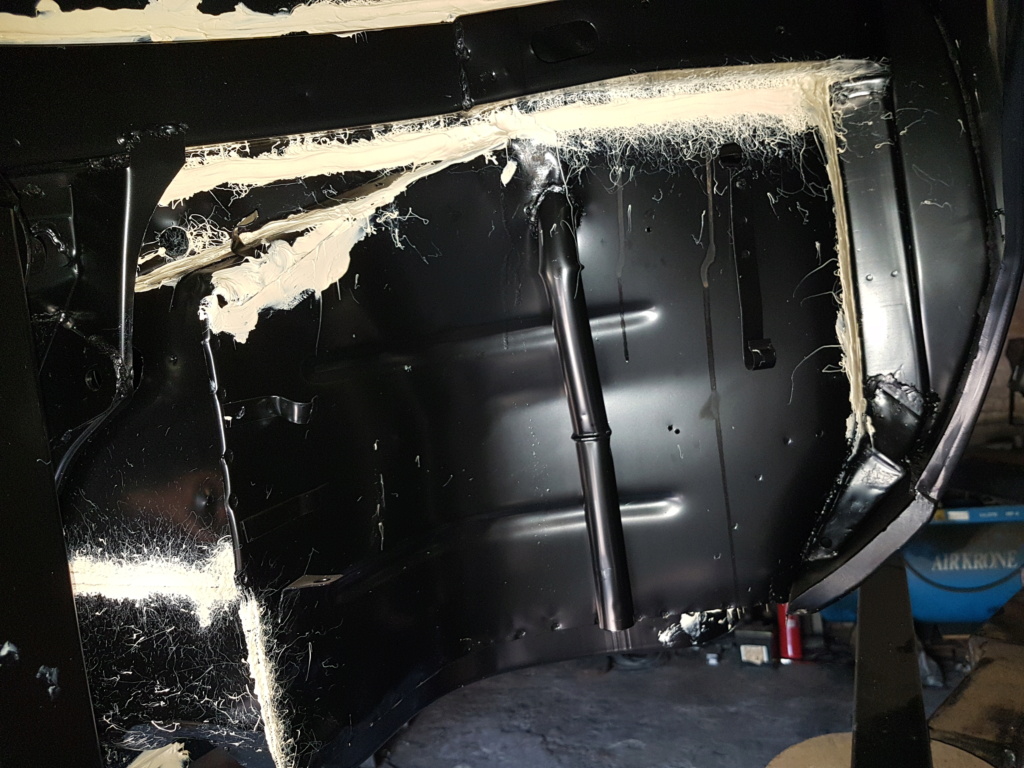
Nice work Rene. Remember this area decays by dust dropping in to the lower cavity from the upper structure openings/holes. Moisture gets into the dust, sits there and rots the wheel well bottom. I open them up probably more that is needed for a restored car that will no longer be in the elements but I have never had an issue with strength or future corrosion. Here is a shot of large drain holes on a repair very similar to yours.
")
")

Awesome work Rene!
Really big job ![]()
you show us the evolution ?
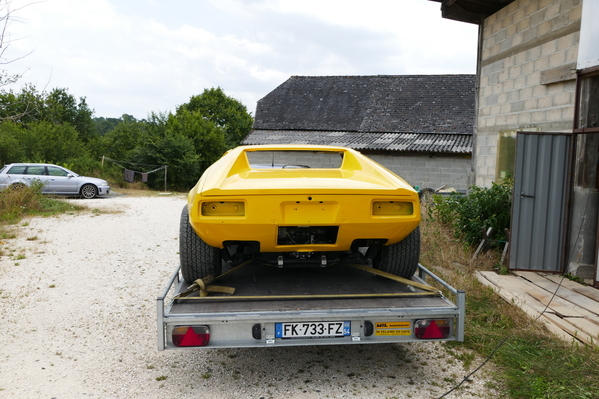
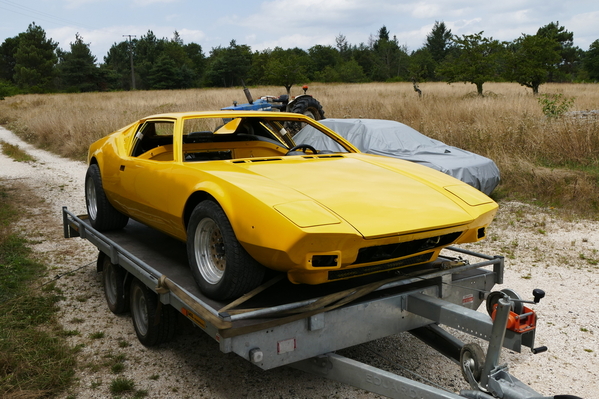
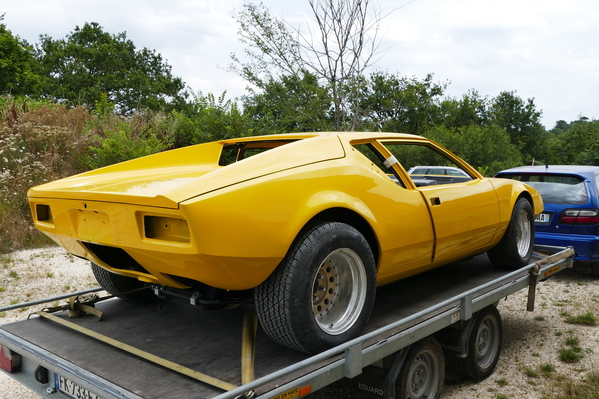
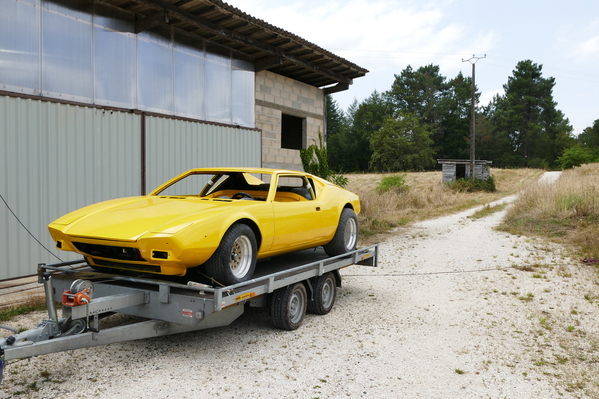
Always yellow like Elvis ?
I haven't updated this post for a very long time, here are some pictures
At the treatment plant after stripping and before anti-rust painting


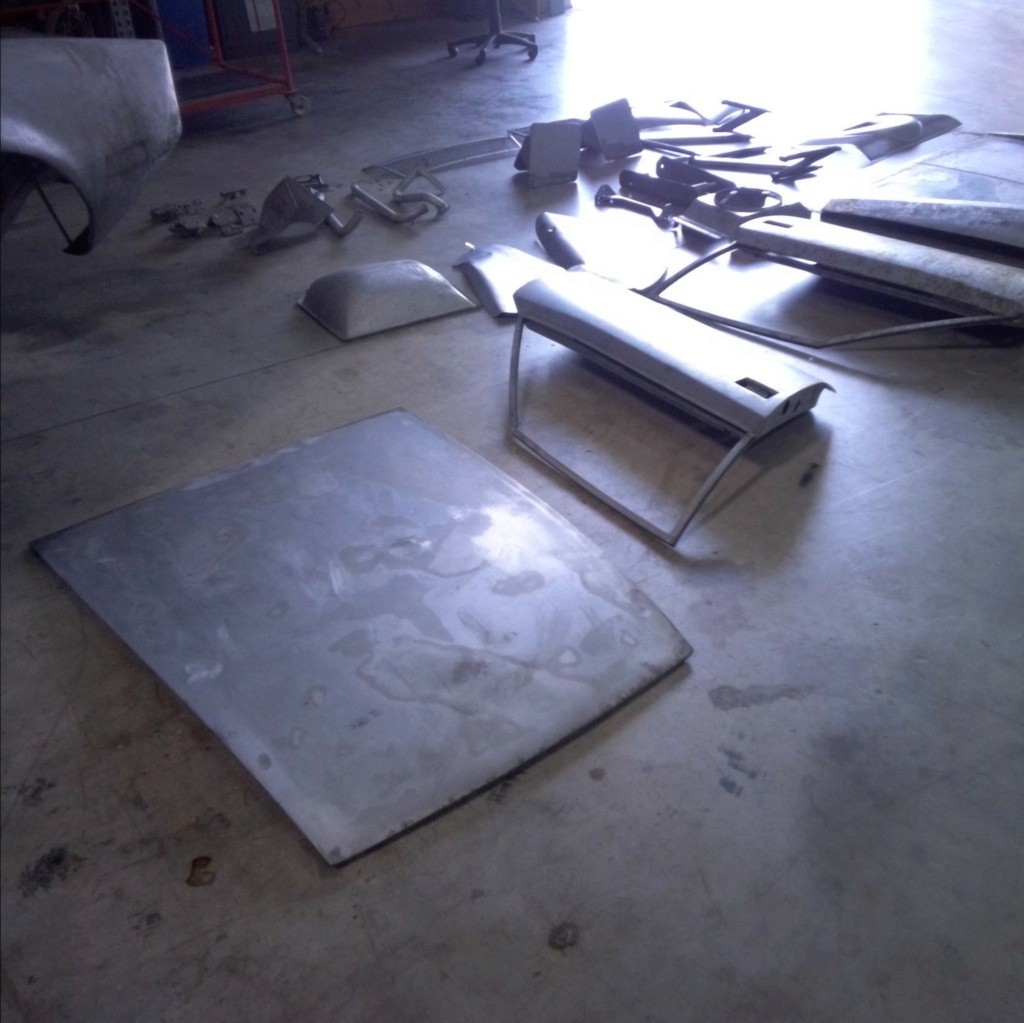

And after anti-rust paint applied by electrophoresis

Protection of all joints between sheets by applying a special mastic
To be continued.......
better than new !
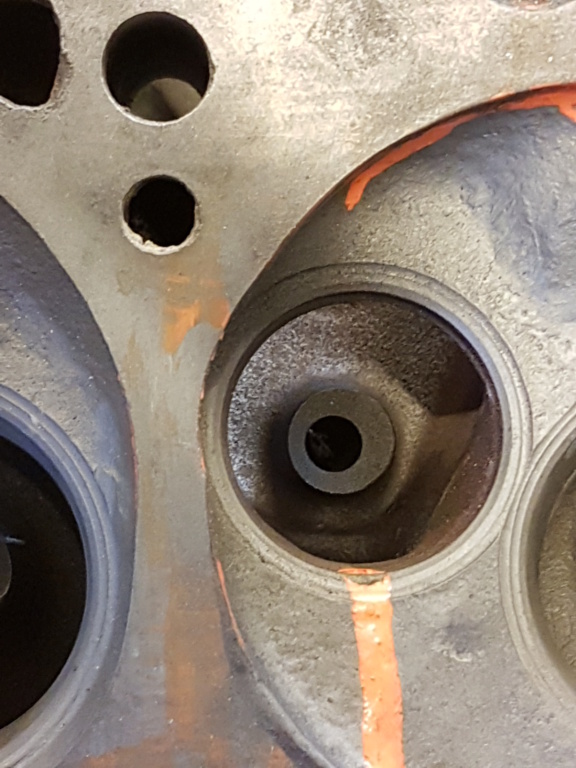
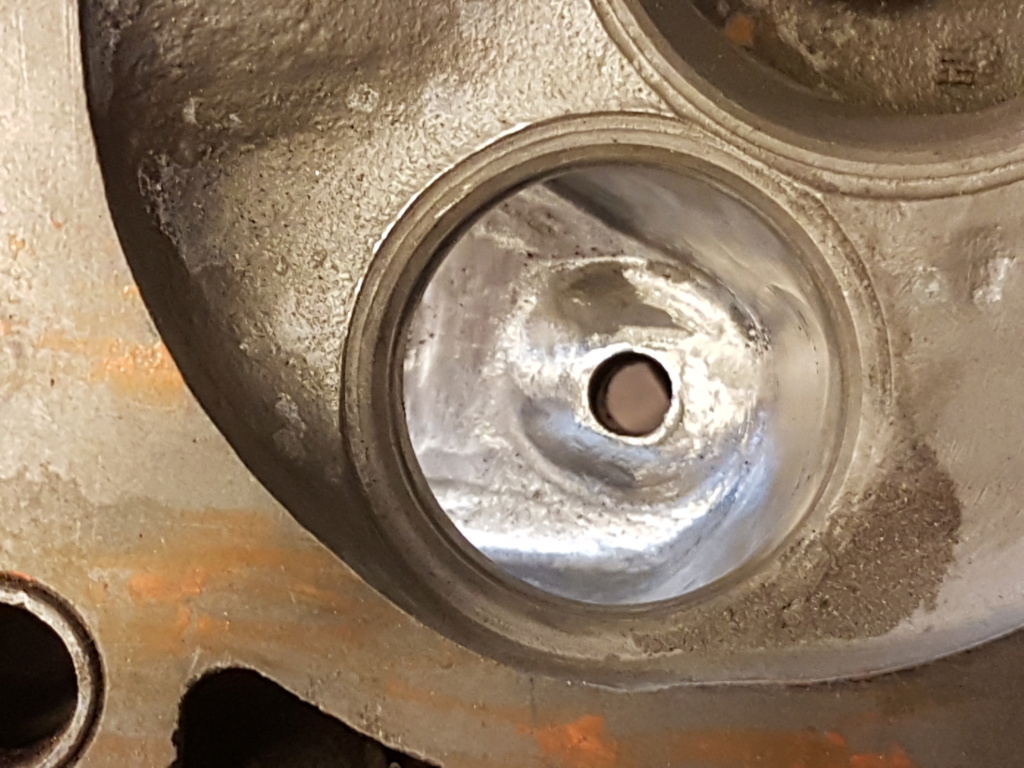
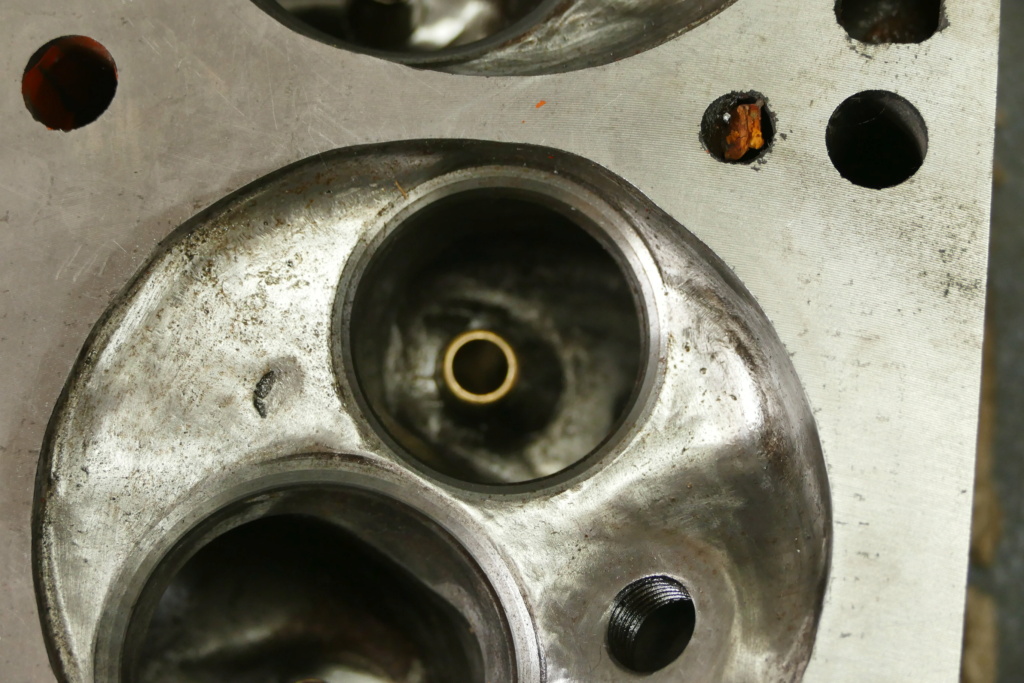
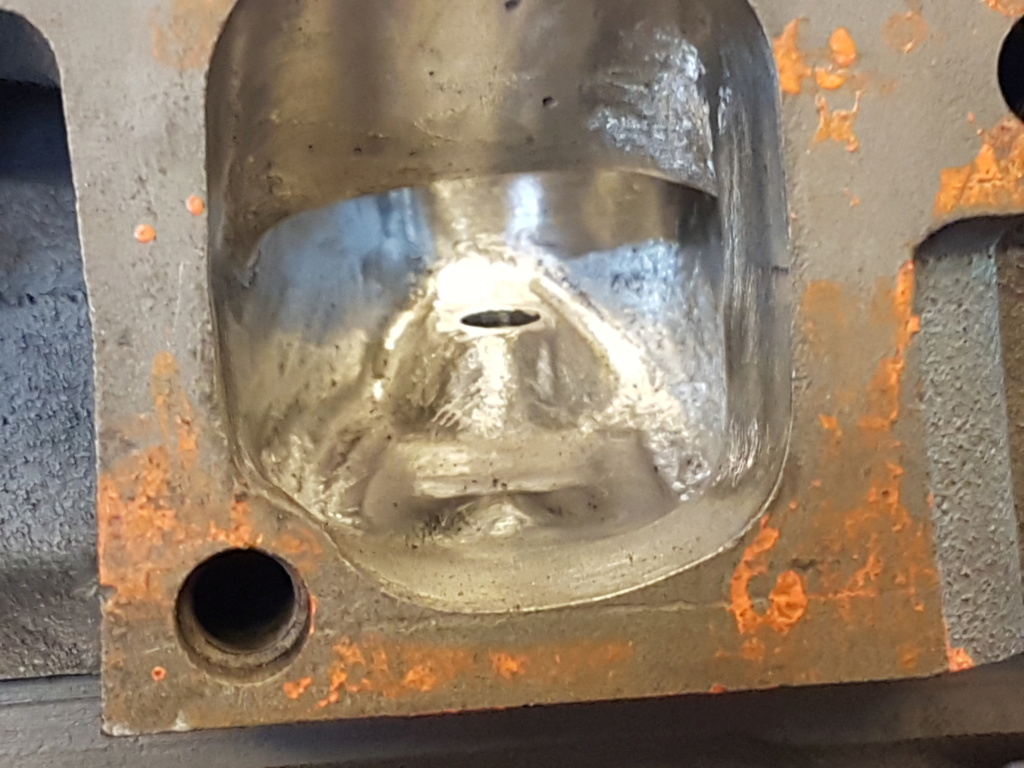
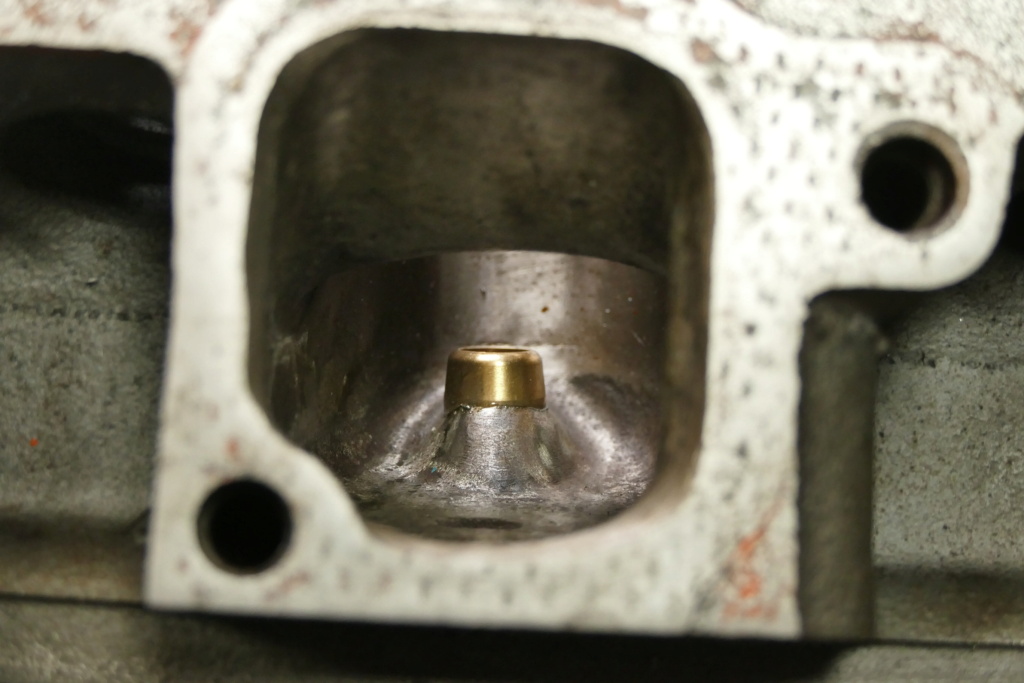
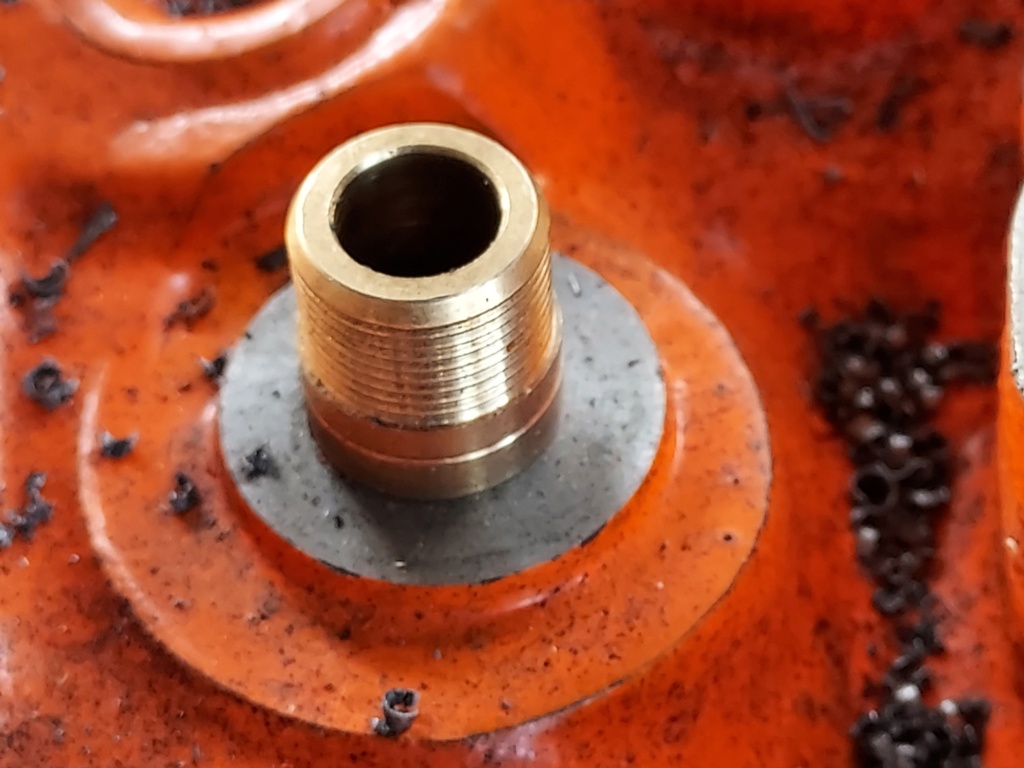
Work on cylinder heads, before / after and with the bronze guides
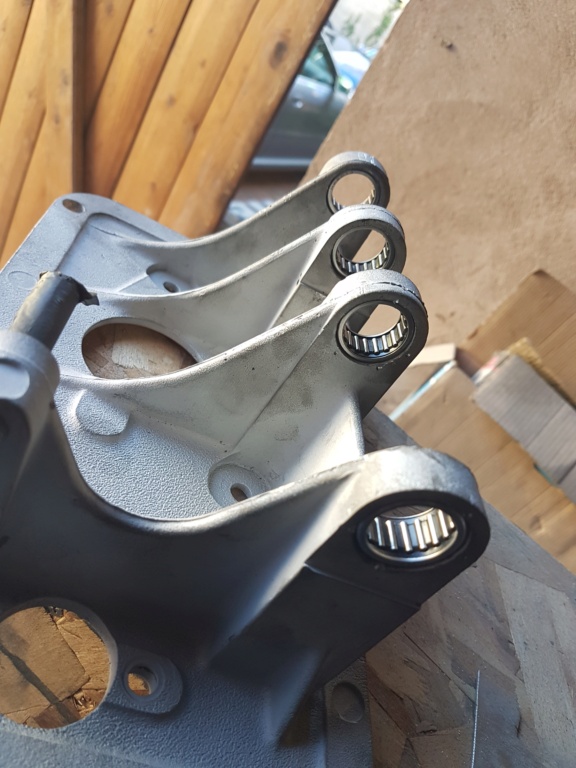
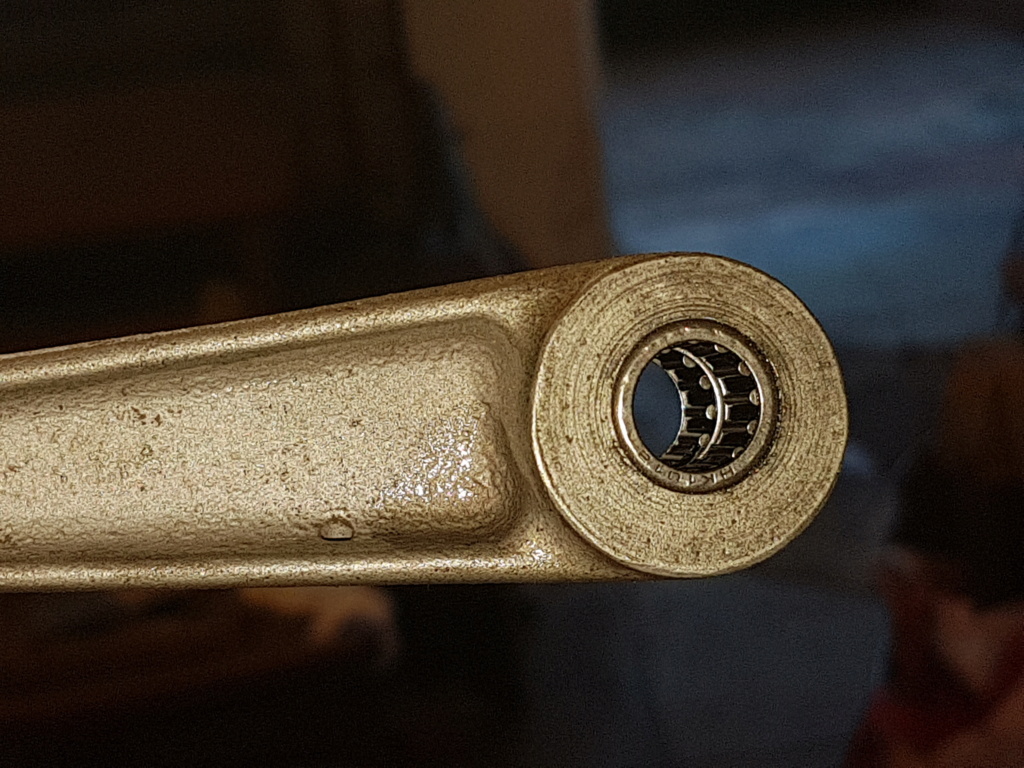
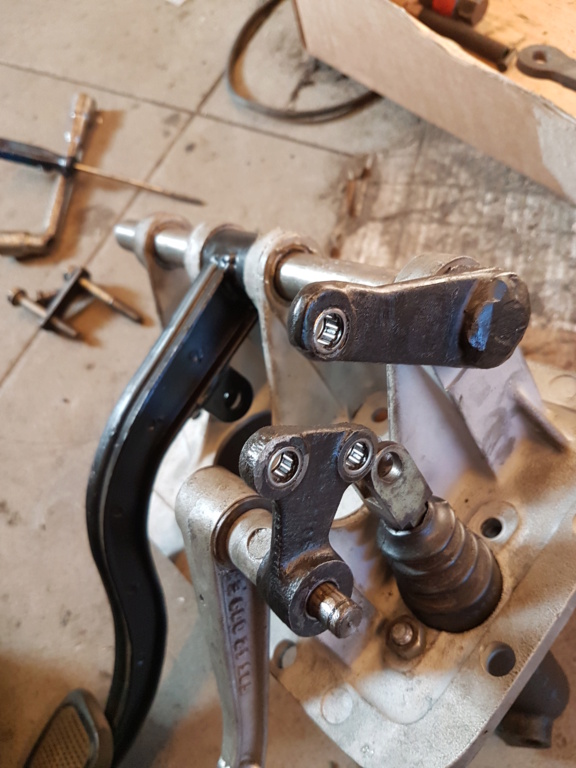
Fully assembled pedal box with needle bearings
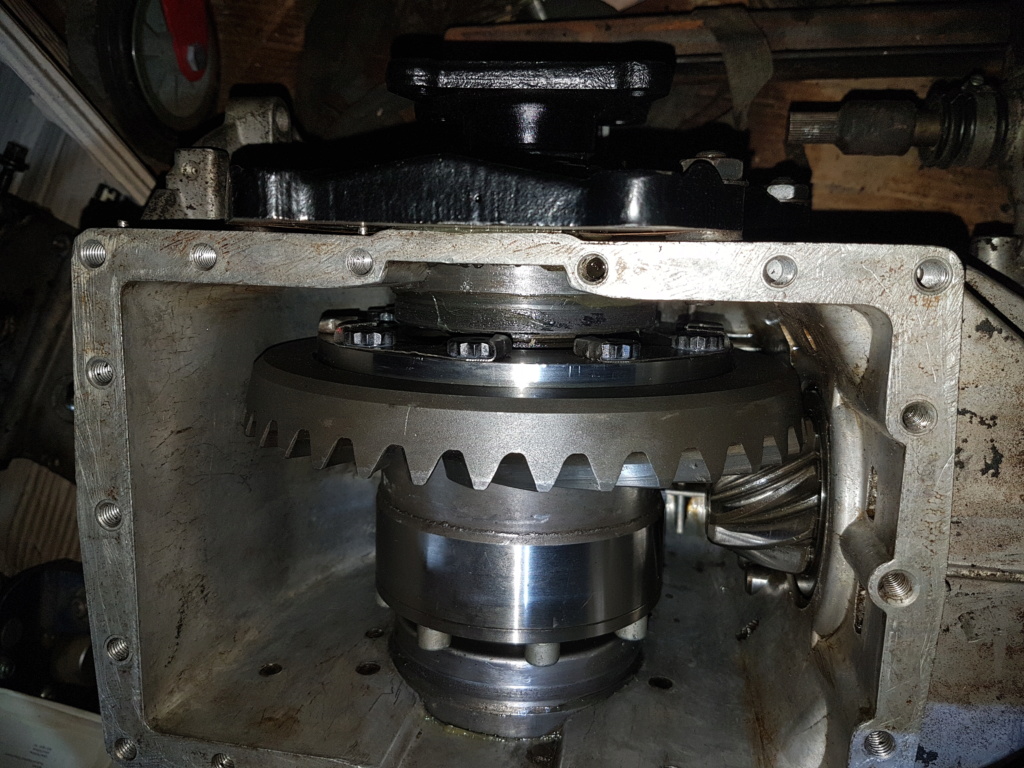
ARP differential crown screw secured by folded metal sheets.

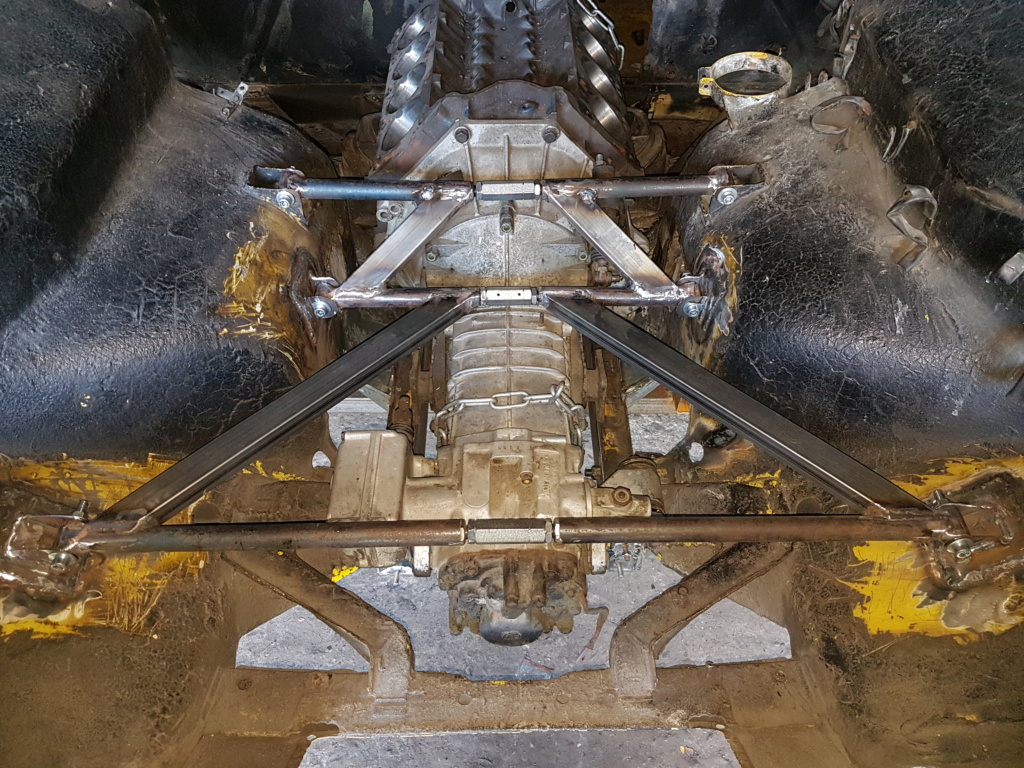
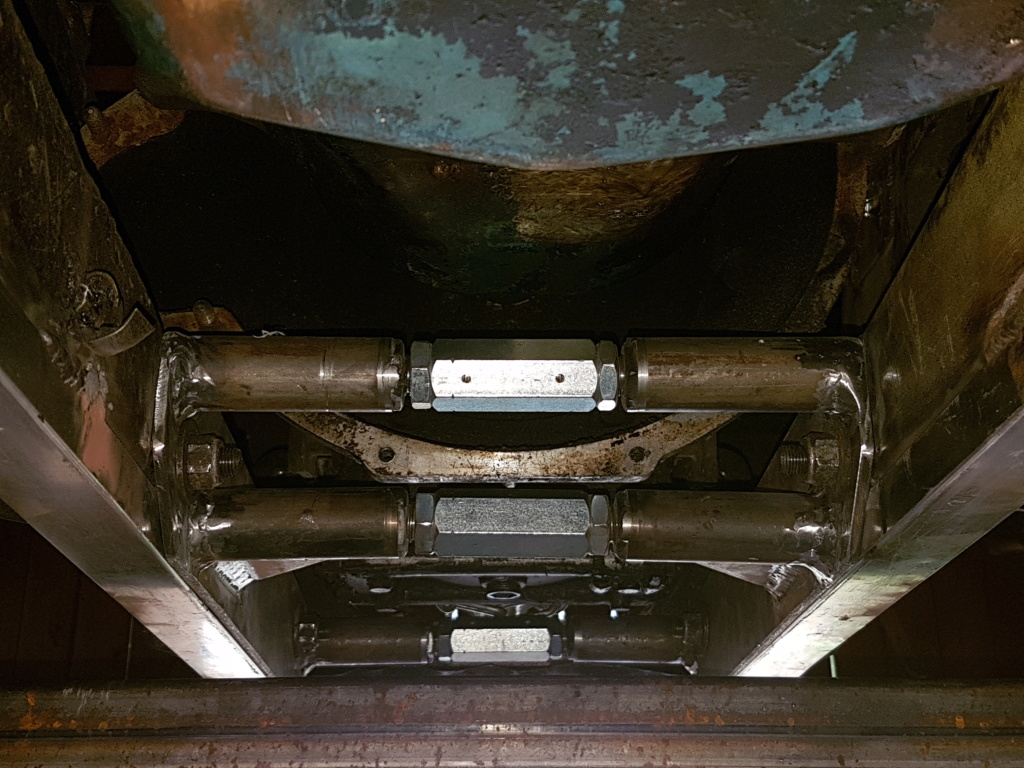
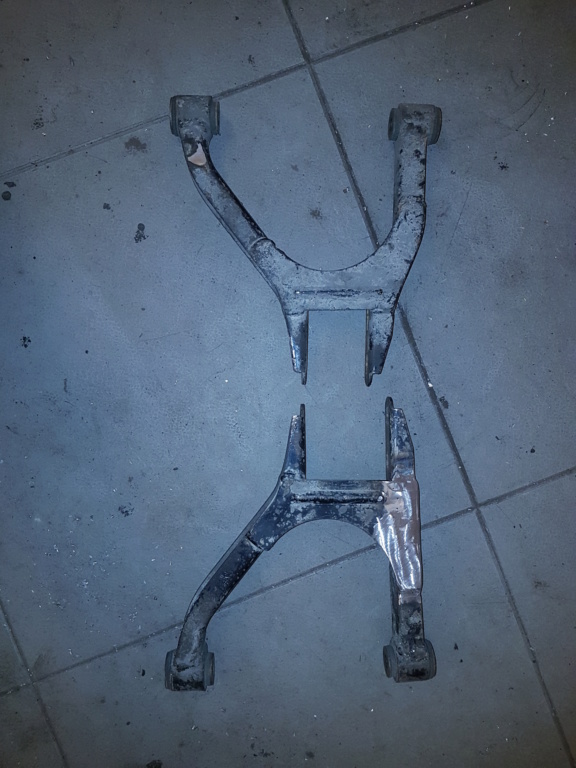
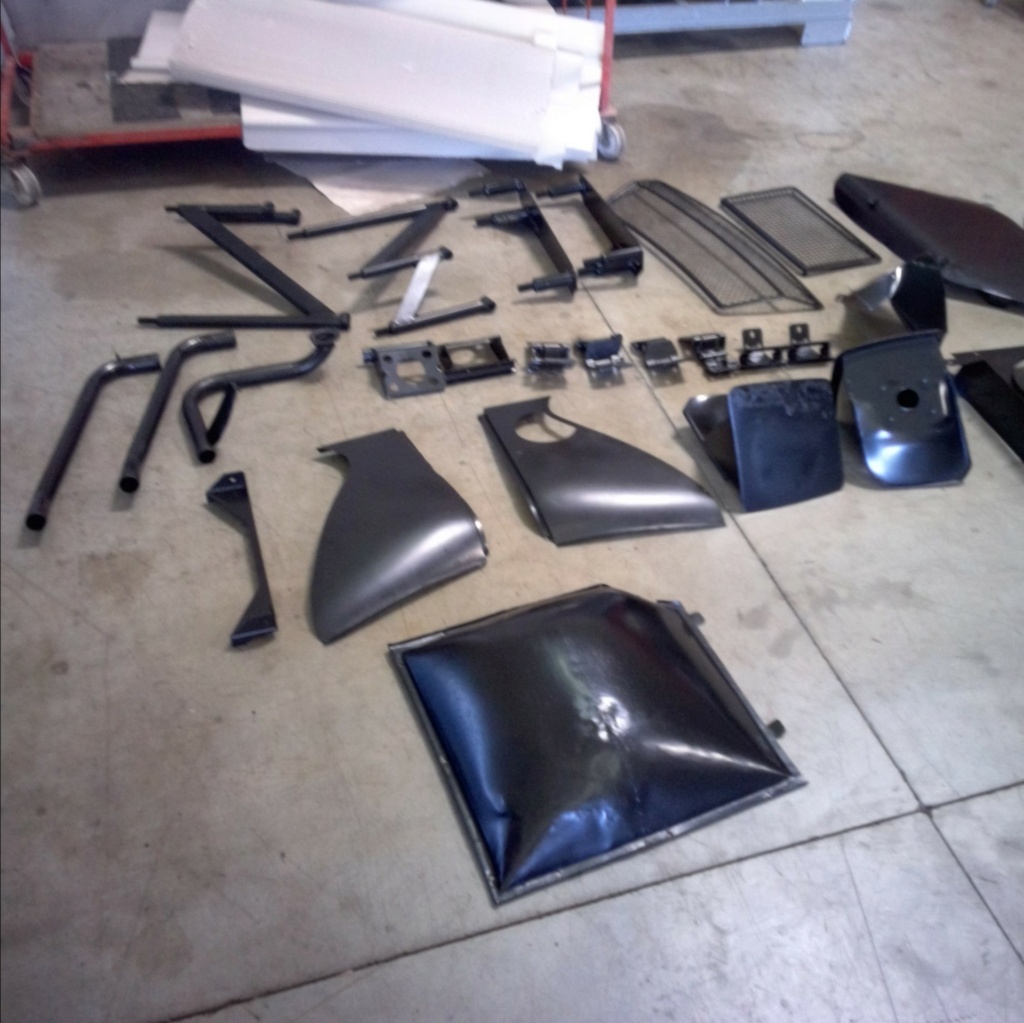
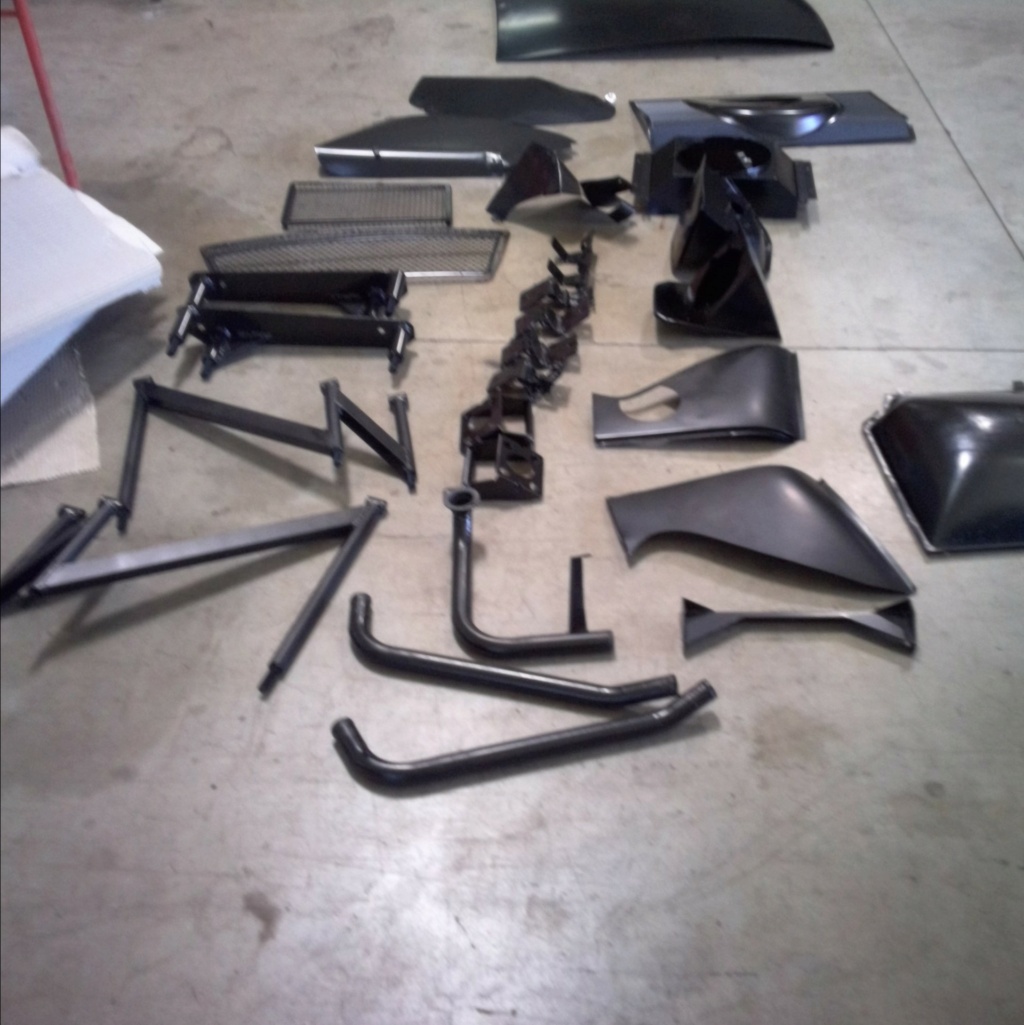
After protection of the wheel arches by "blackson", assembly of the suspension elements which have been sandblasted, phosphated and powder coated (powder paint applied with an electrostatic gun and fired in the oven of an old electric stove)
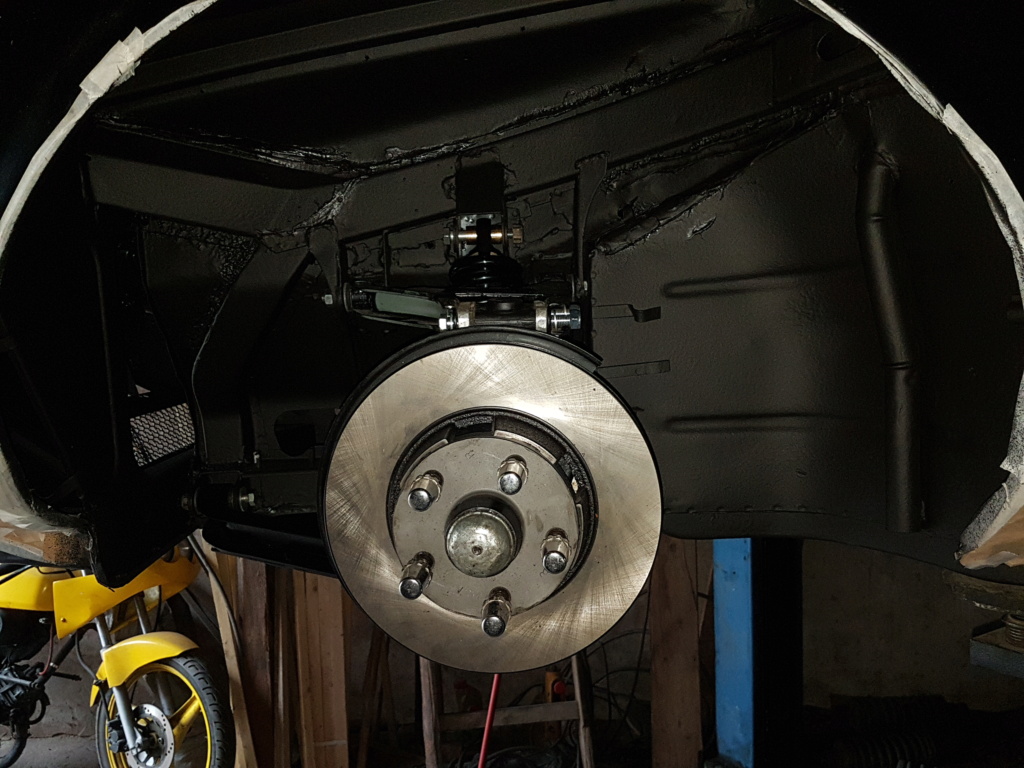
Notice the upper triangles modified to increase the caster angle adjustment range
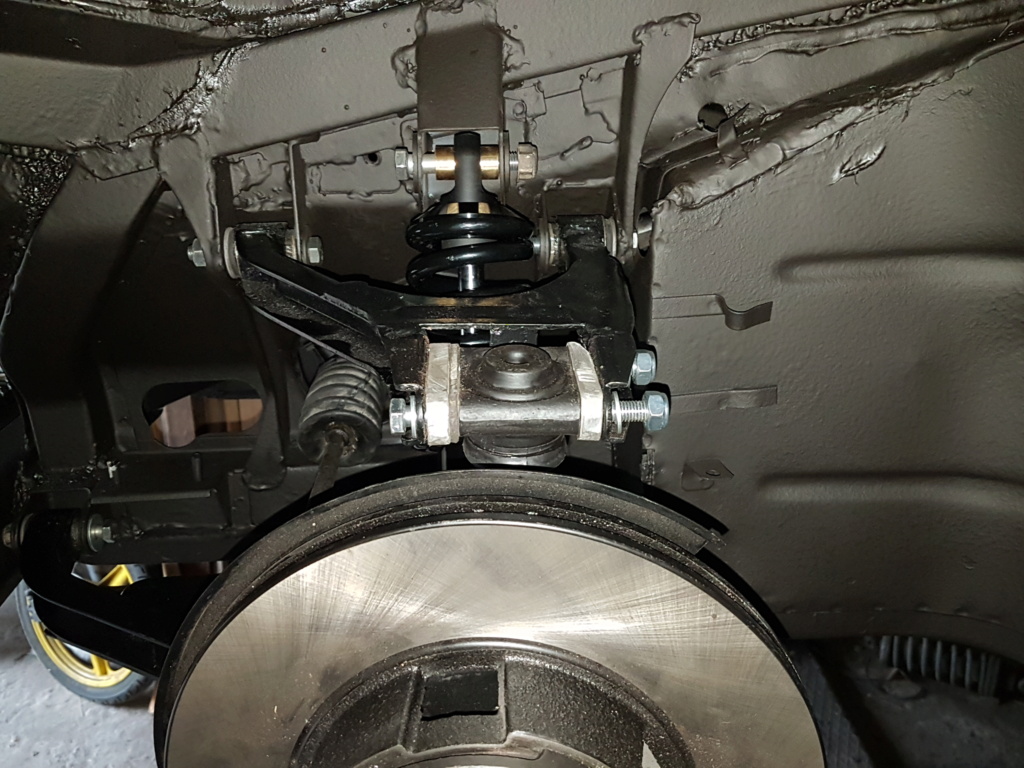
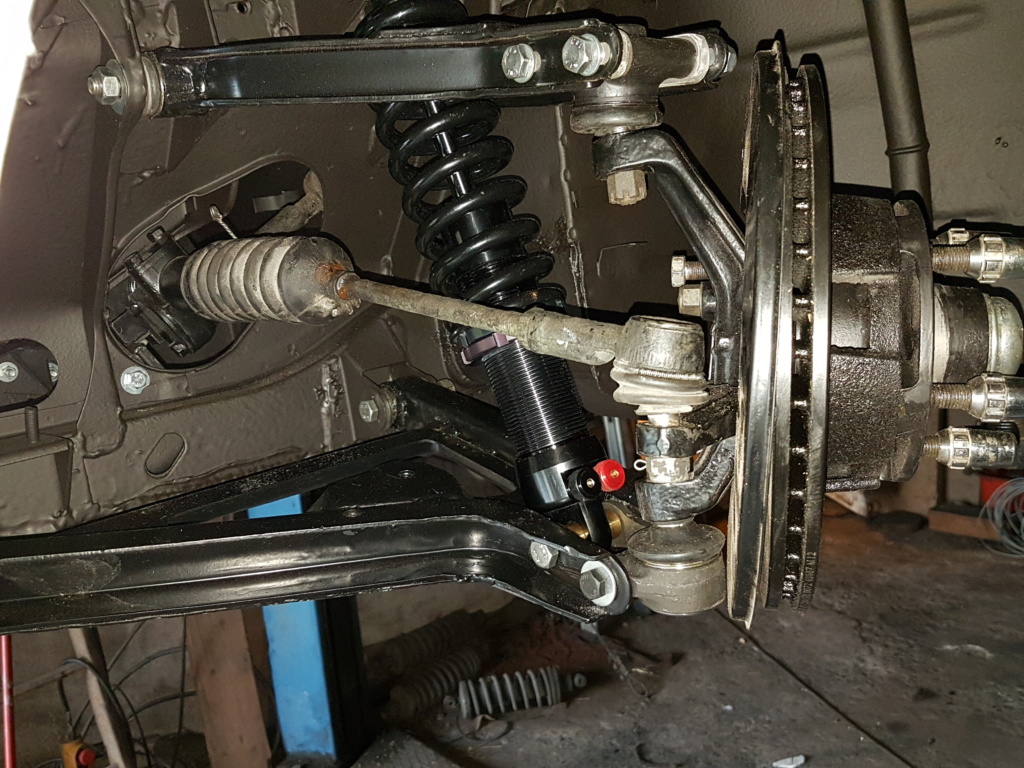
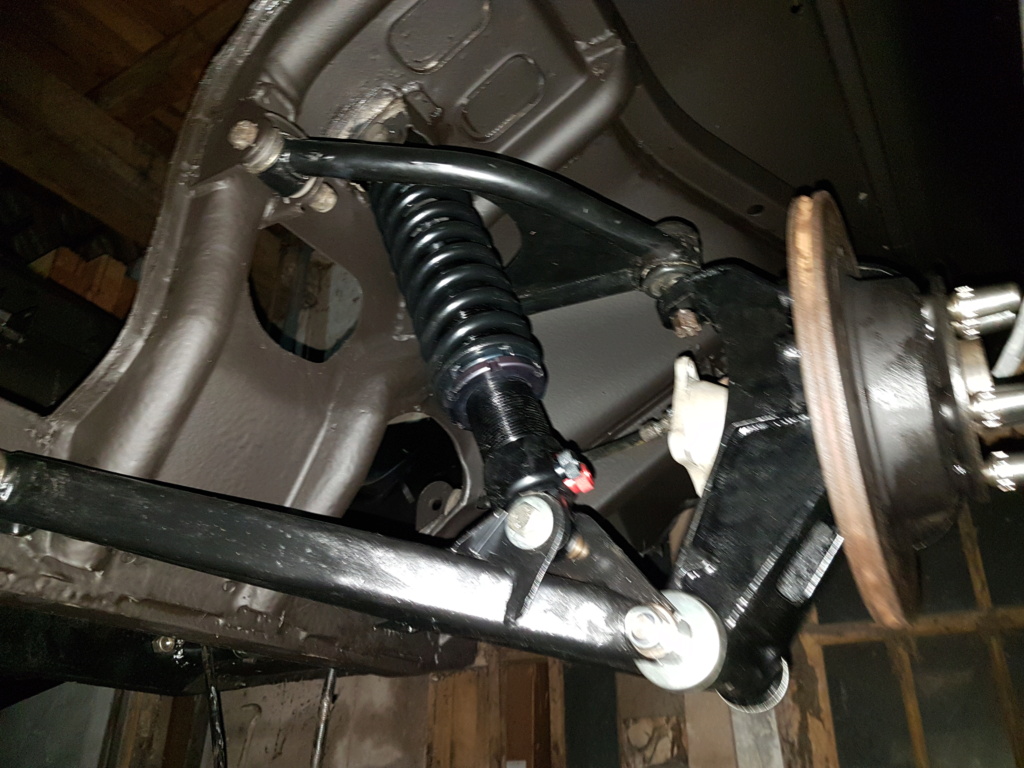

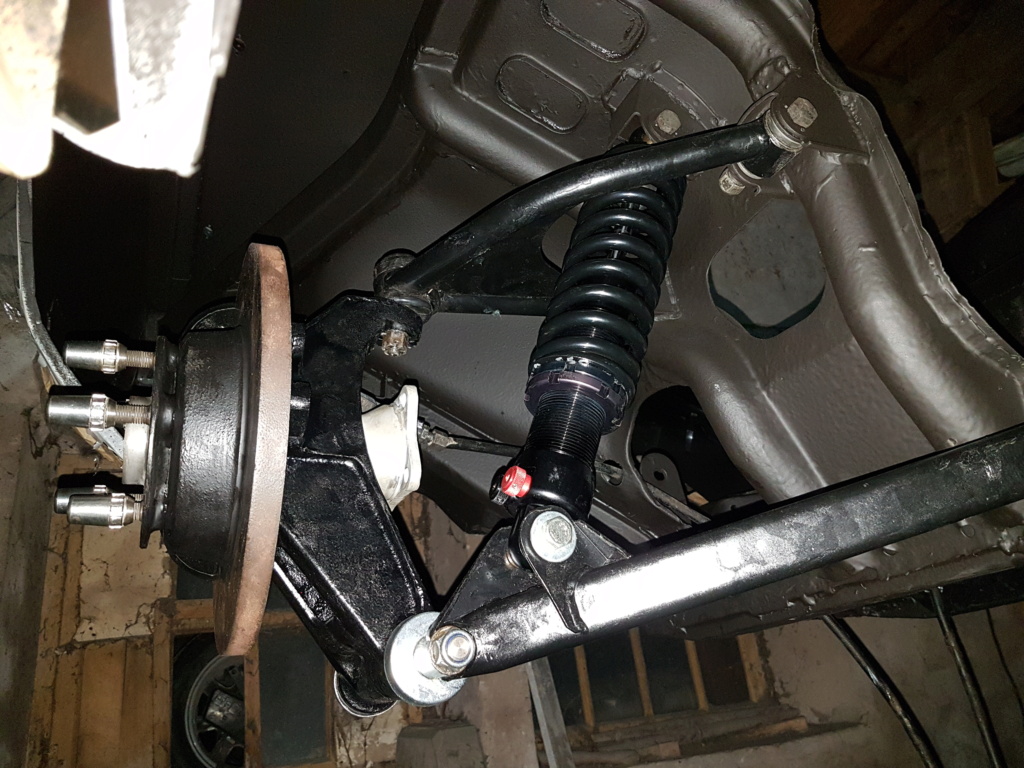
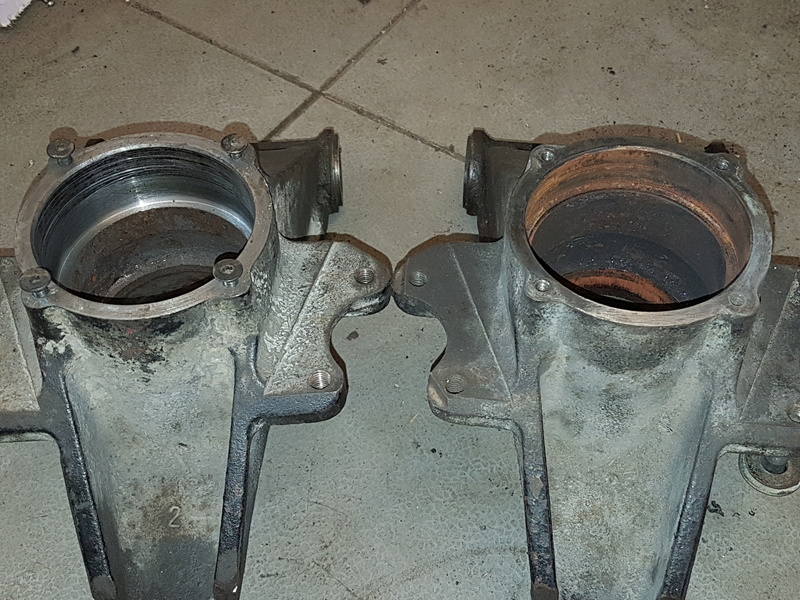
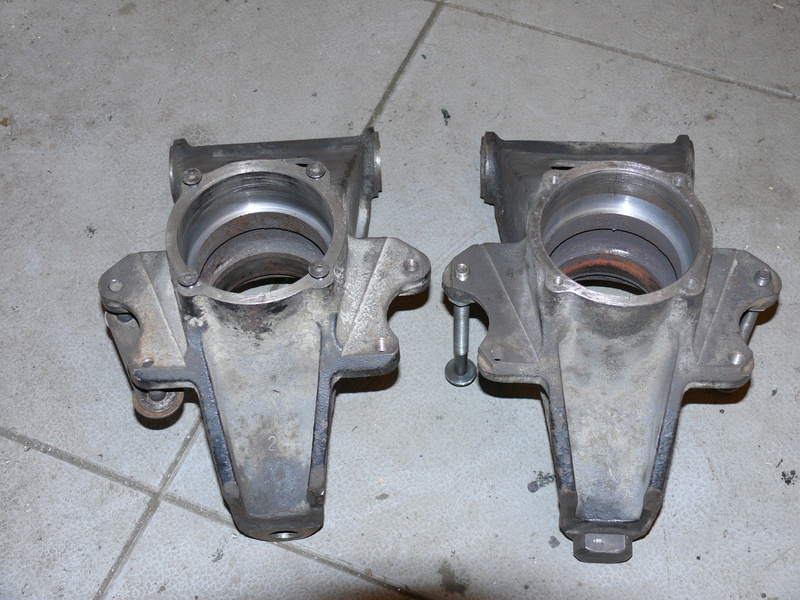
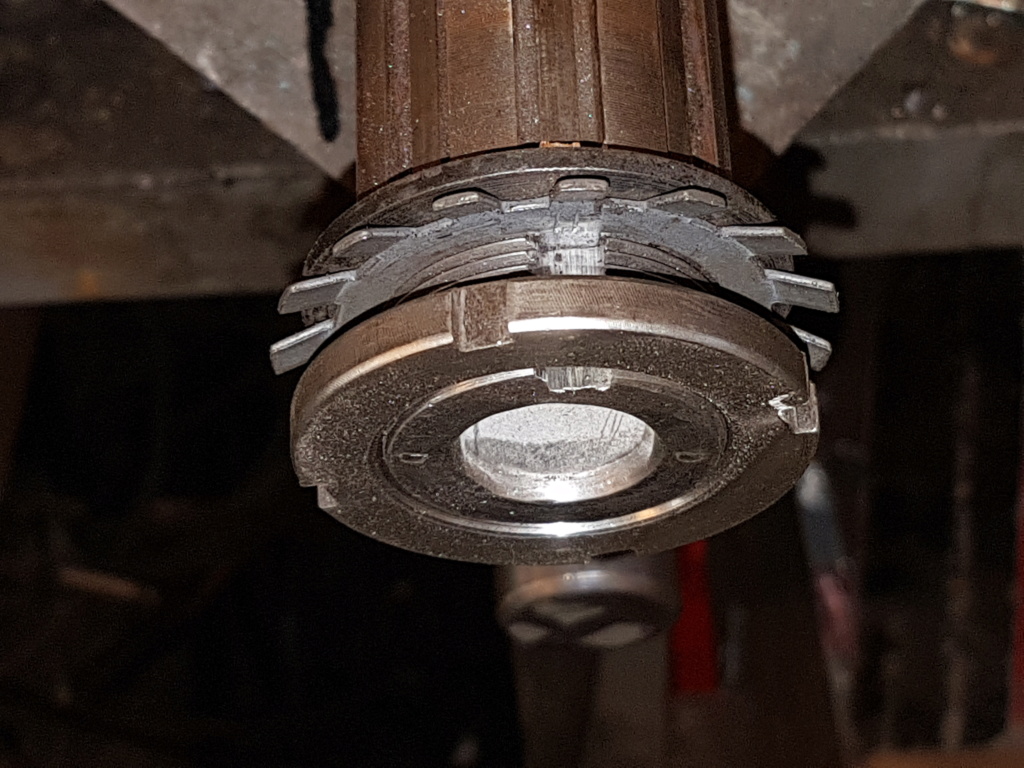
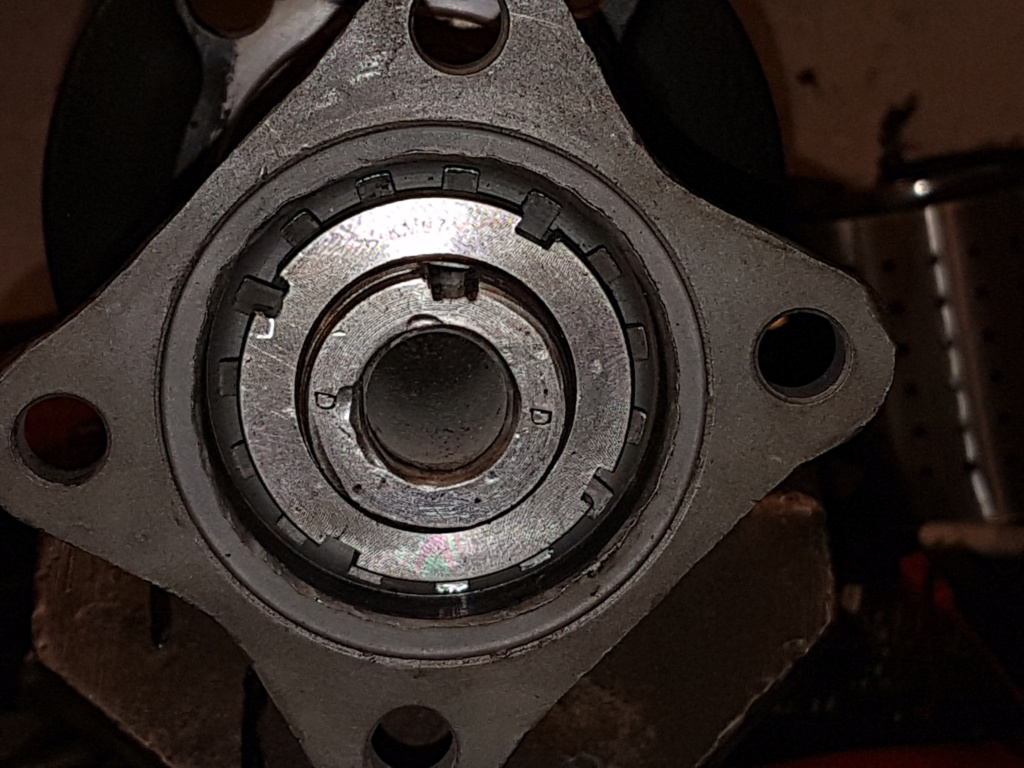
The rear hubs have been modified to fit double row ball bearings on the EXTERIOR
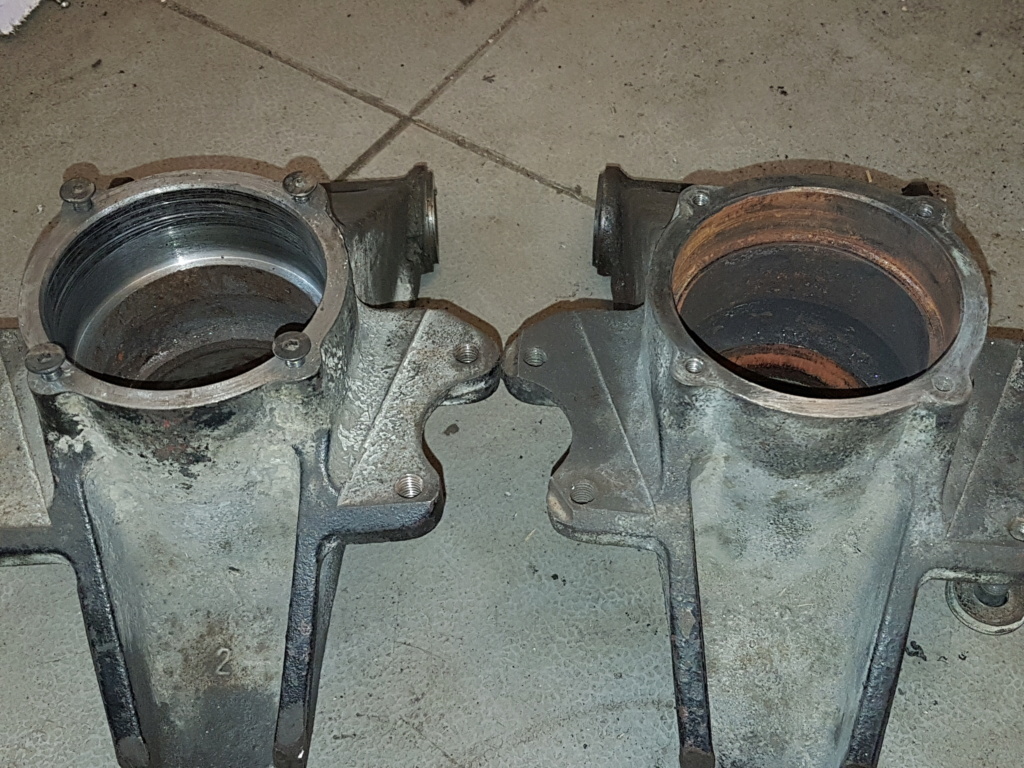
locking the rear hub nuts with toothed washers
Great Work!
Thanks for posting the pictures!
Rocky
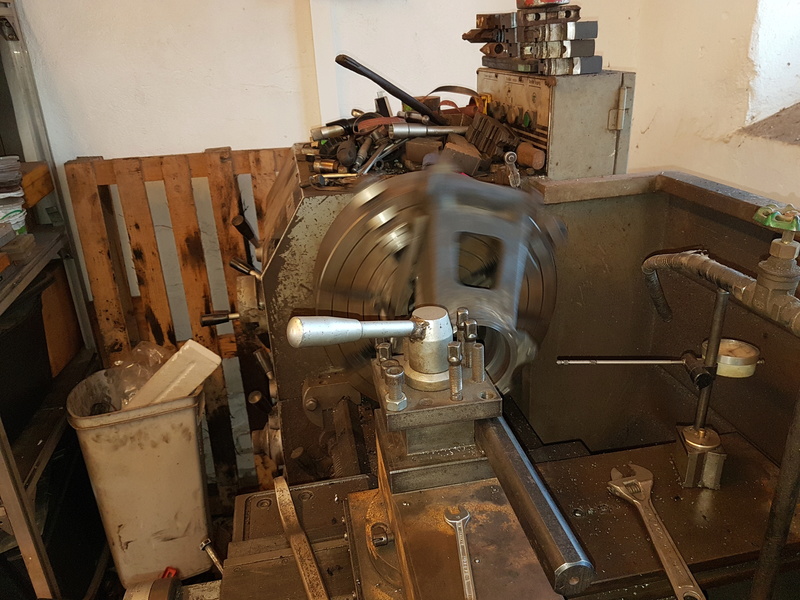
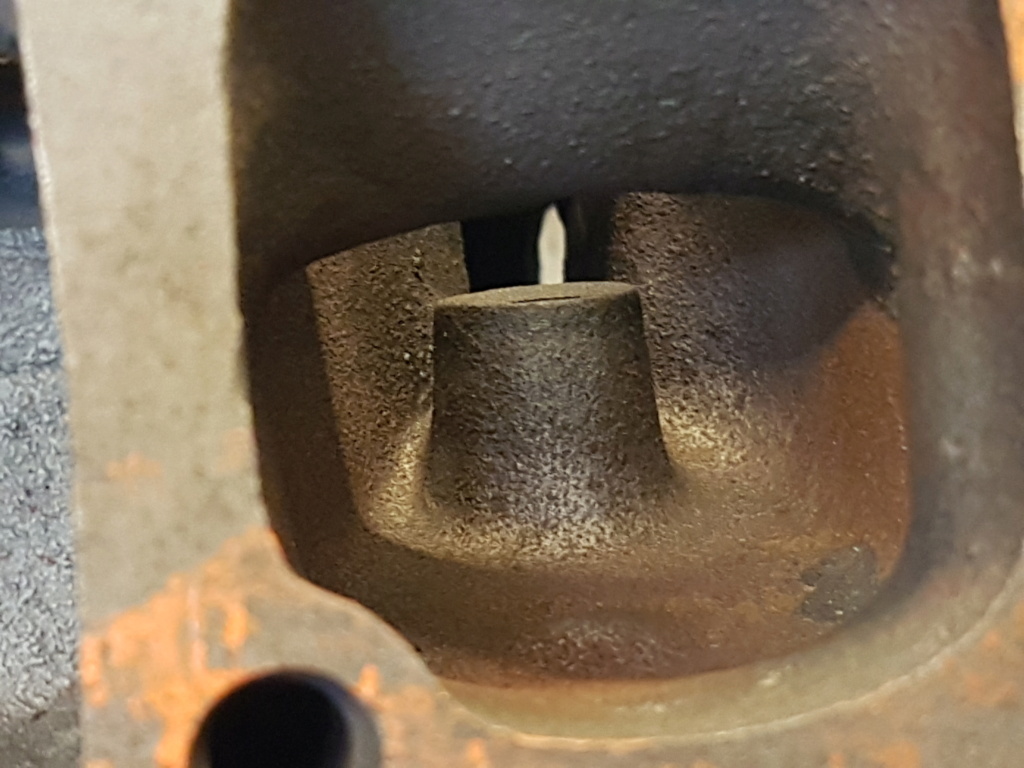
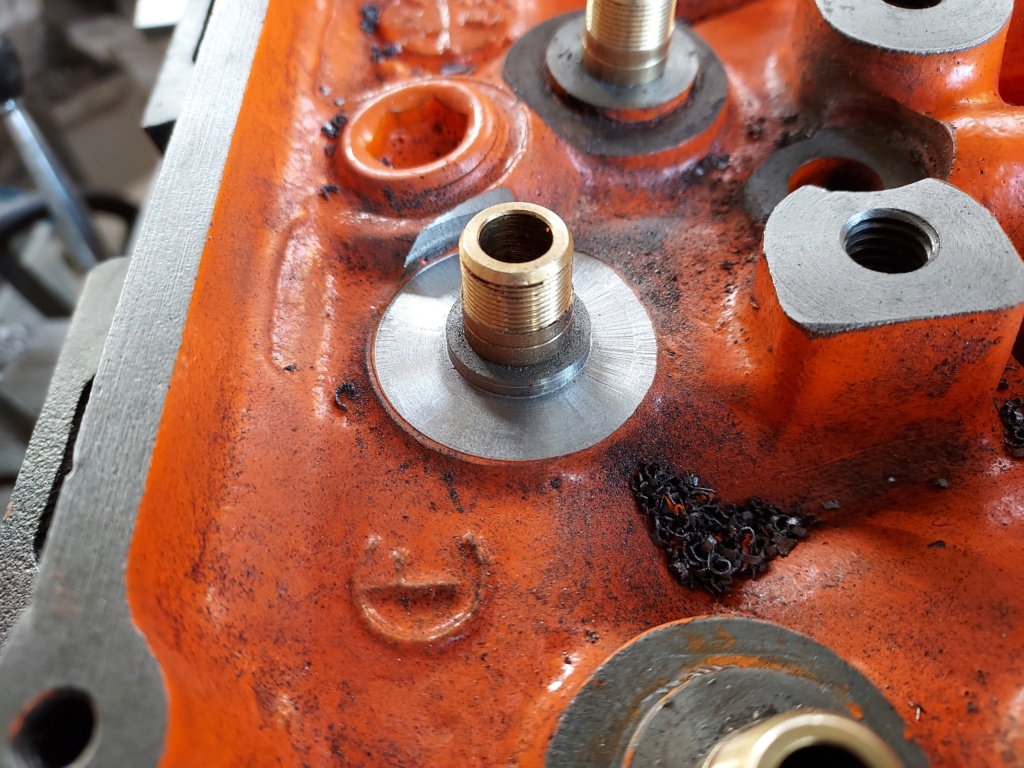
Spring seat.
Before:
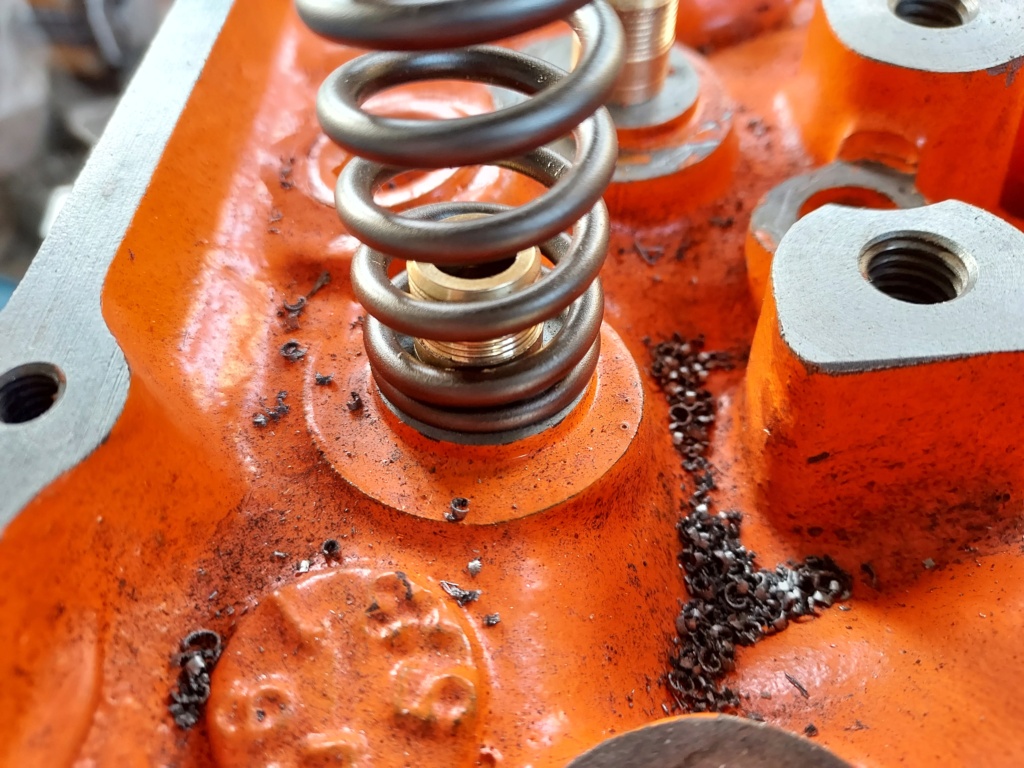
Machining on my milling machine:
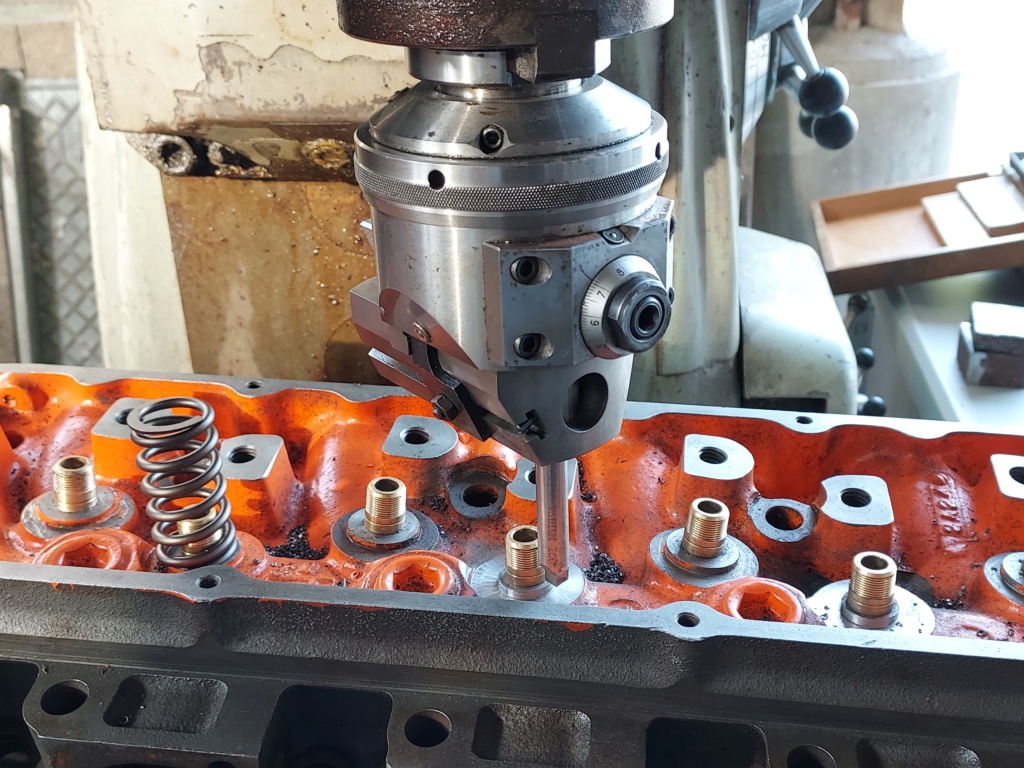
After:

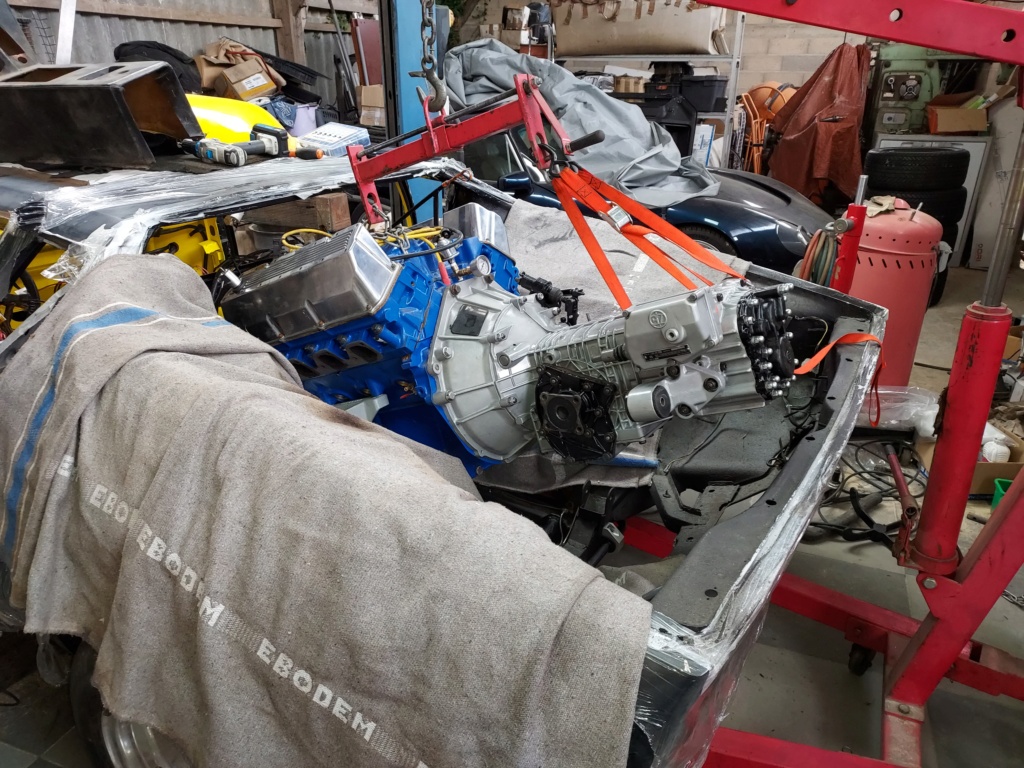
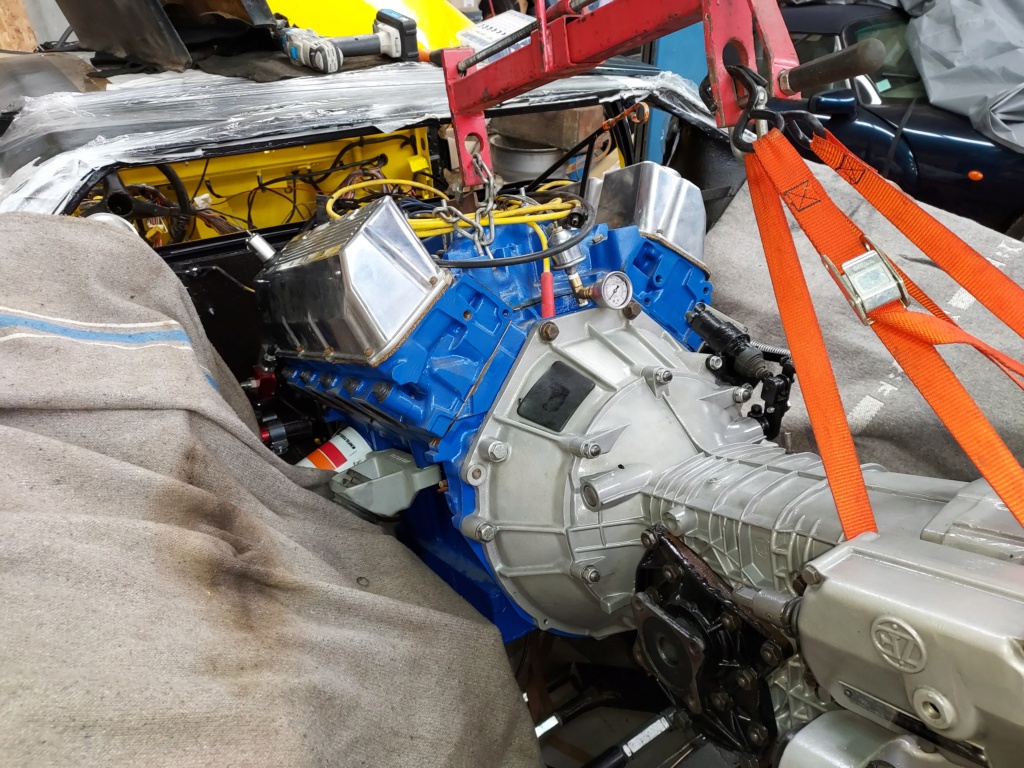
Some pictures of the motor assembly:
[url=https://servimg.com/view/18111406/1532][img]https://i.servimg.com/u/f94/18/11/14/06/p1990410.jpg[/img][/url]
[url=https://servimg.com/view/18111406/1537][img]https://i.servimg.com/u/f94/18/11/14/06/p1990414.jpg[/img][/url]
[url=https://servimg.com/view/18111406/1536][img]https://i.servimg.com/u/f94/18/11/14/06/p1990413.jpg[/img][/url]
[url=https://servimg.com/view/18111406/1535][img]https://i.servimg.com/u/f94/18/11/14/06/p1990412.jpg[/img][/url]
[url=https://servimg.com/view/18111406/1534][img]https://i.servimg.com/u/f94/18/11/14/06/p1990516.jpg[/img][/url]
[url=https://servimg.com/view/18111406/1531][img]https://i.servimg.com/u/f94/18/11/14/06/p1990515.jpg[/img][/url]
[url=https://servimg.com/view/18111406/1539][img]https://i.servimg.com/u/f94/18/11/14/06/20210911.jpg[/img][/url]
[url=https://servimg.com/view/18111406/1529][img]https://i.servimg.com/u/f94/18/11/14/06/p1990513.jpg[/img][/url]
[url=https://servimg.com/view/18111406/1530][img]https://i.servimg.com/u/f94/18/11/14/06/p1990514.jpg[/img][/url]
With the old stock exhaust manifolds to make a little less noise, but the brand new GTS type waits wisely in their packaging
[url=https://servimg.co m/view/18111406/1538][img]https://i.servimg.com/u/f94/18/11/14/06/20210910.jpg[/img][/url]
[url=https://servimg.com/view/18111406/1540][img]https://i.servimg.com/u/f94/18/11/14/06/20210912.jpg[/img][/url]
The engine looks great!
Did you use one of George’s Bullet cam recommendations? I noticed the lifters….
Congratulations!
Rocky
Yes, I bought a camshaft from Bullet as recommended by George
intake 285 °, exhaust 291 °, lobes separation 114 °, lift 0.63'' with rocker arm ratio of 1.73
I’m pretty sure that’s the same cam I am running, based on a similar recommendation. I think my engine runs great with that setup!
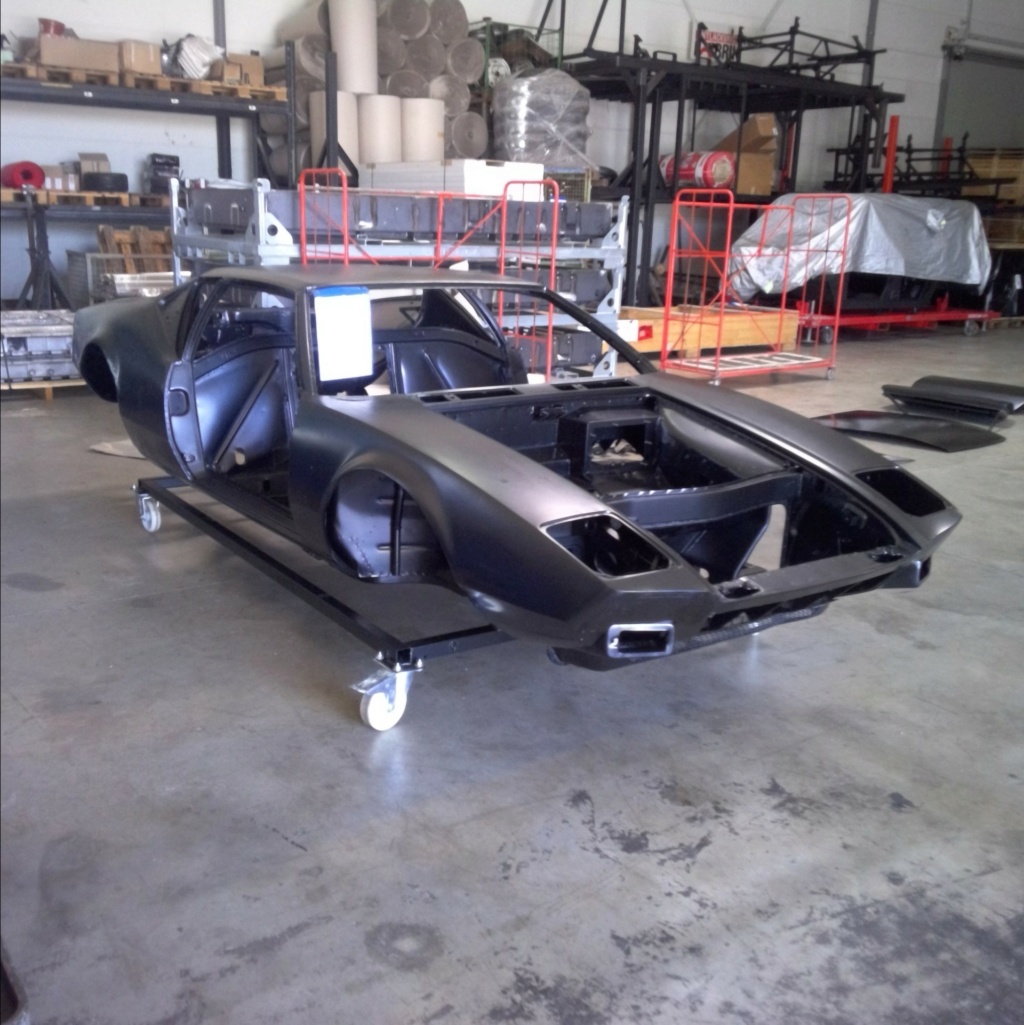
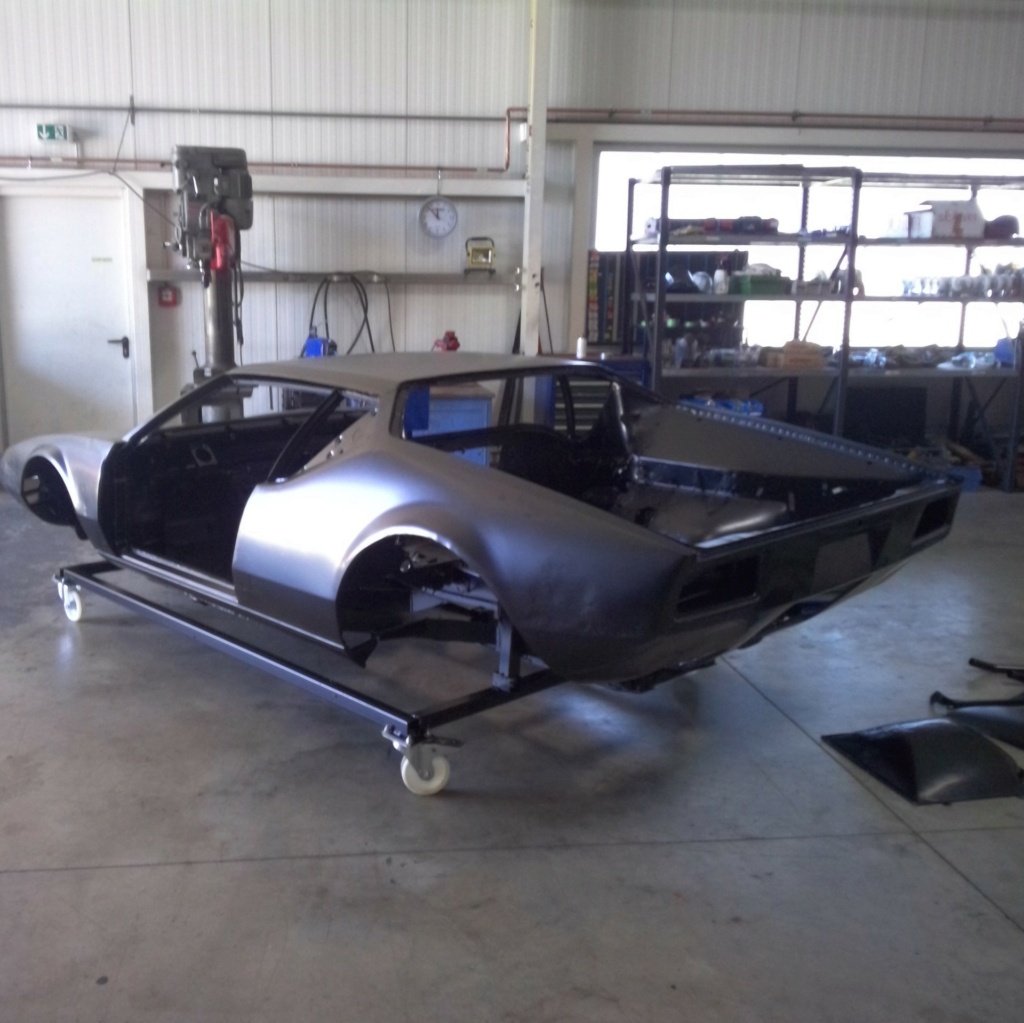
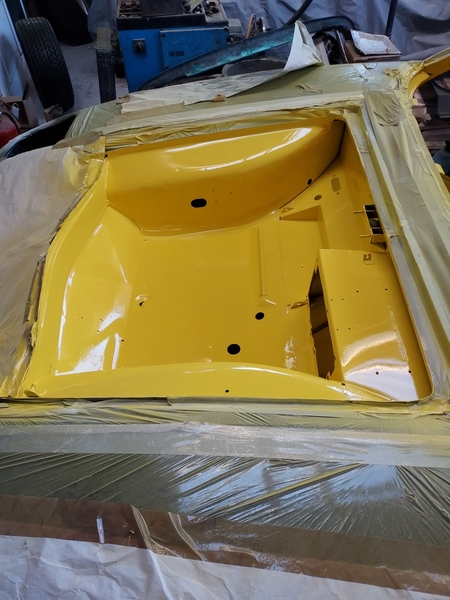
The reassembly period has finally begun. I painted the interiors and I'm going to reassemble as many things as possible before entrusting it to a body painter for the exterior. I chose this method to have as little work as possible on a freshly painted car.


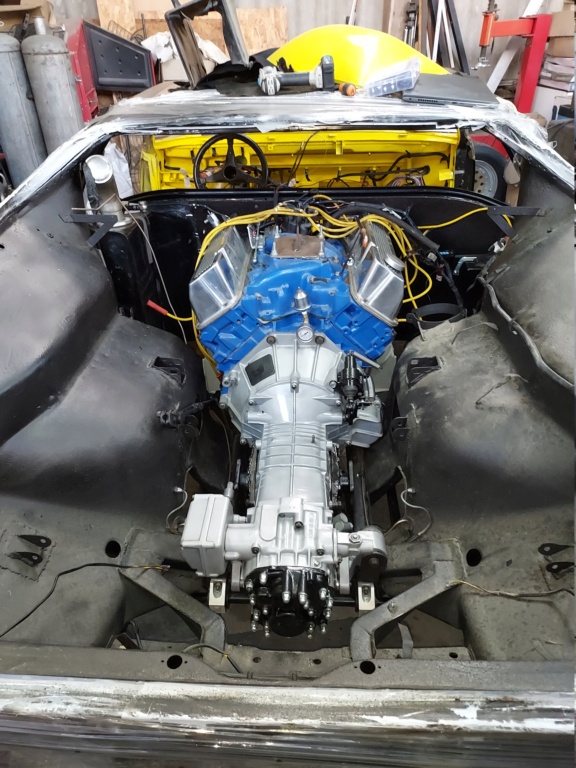
Today is a big day for #4406, after more than 5 years it has regained hits engine
It’s looking great! Keep up the good work!
Rocky
I really liked the antirust paint color!
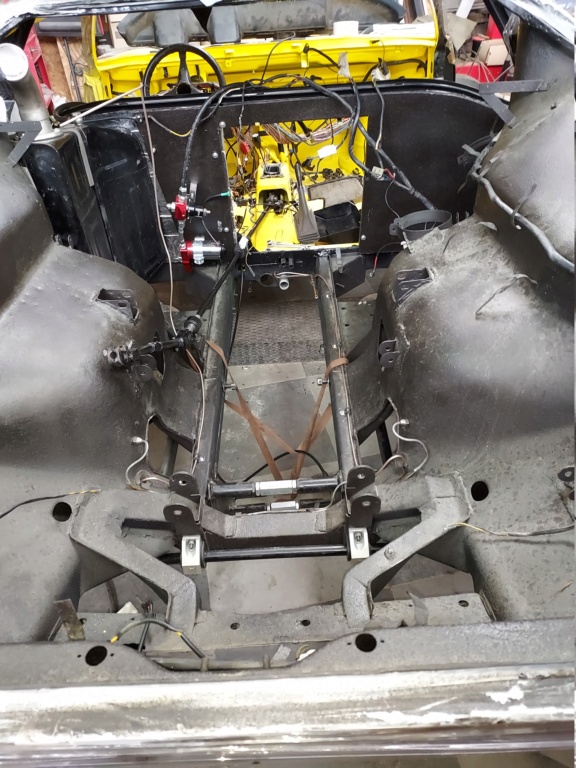
I like the pedal assy. spacer in the interior shot. You’ll find it makes a big difference. Just be very careful the first time you close the hood as it reduces clearance to the top of the brake M/C.
@davidnunn posted:I like the pedal assy. spacer in the interior shot. You’ll find it makes a big difference. Just be very careful the first time you close the hood as it reduces clearance to the top of the brake M/C.
Thank you very much for the advice, I hadn't thought of that.
I looked and it is true that there is very little space, I may be going to put washers on the fixings at the top of the mastervac to tilt it very slightly and gain a few millimeters in the height of the brake M/C.
Mine is spaced out a full 1-1/2" (38.1mm). I am using Halls master cylinder kit (Ford Mustang/SVO) and it has no issues with clearances.
For me, the pedal relocation took "my knees out of my mouth" and in combination with 2" lowered floor pans and a Taurus power seat track put me right in the correct position and gives me the ability to alter that on long trips for comfort.
At some point I measure the clearance between the inner portion of the front deck and the Master cylinder with a rigid foam board and it was in the vicinity of 1/2" to 5/8" clearance. All clearances in this car are tight and this is no exception.
That change, i.e., spacing out the pedal plate mounting, was a Ford "suggested modification". It works effectively for taller drivers.
I have found that in the case of the Pantera, sometimes what appears to be a very simple change requires a series of modifications for it to work as expected. This in my view is one of those scenarios.
Looks great! And, the best possible color for a Pantera to boot! Now just get a Do-It-Yourself bedliner spray kit for truck beds and spray your engine compartment before you start connecting everything back to the engine. It will approximate the original look, but be much more durable! I used a POR15 bedliner kit on mine and sprayed it at 90 psi for finer pebbling of the finish.
Here are a couple of pics of 6422's engine bay which is refinished similar to mine (I don't have a pic on mine on this computer). Note that the bedliner coating hides all the spot-weld dimples and imperfections in the engine bay.

WOW! Sure looks WAY better than it did when I owned it!!
Nice work!
Ron
René superb..
Matthias
Bad news, the paint and varnish reacted badly, it shines less and less and the bodybuilder will have to completely repaint it. But you have to wait for the products to be very hard and for them to no longer react with each other, i.e. wait until September, that doesn't prevent me from continuing to bring up a lot of things but it won't be rolling this Summer as I hoped, maybe this autumn before it rains too much.
Consolation, my bodybuilder recognizes that this is not normal and will redo the painting for free.