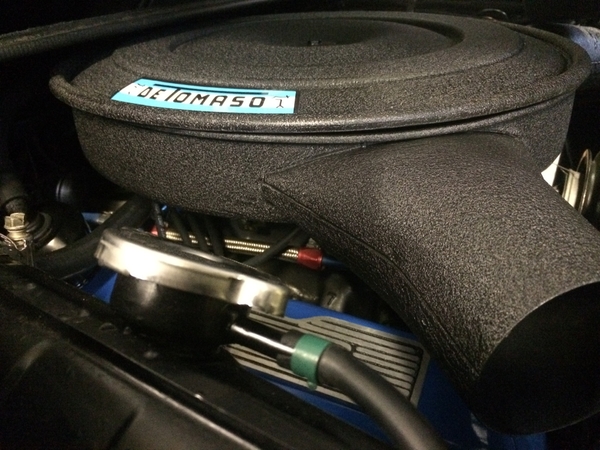
Following are some photos and explanation of how I built a replica of the original air cleaner that was missing from my car. There were two different designs used by DeTomaso, this is referred to as the oval snout by most people.
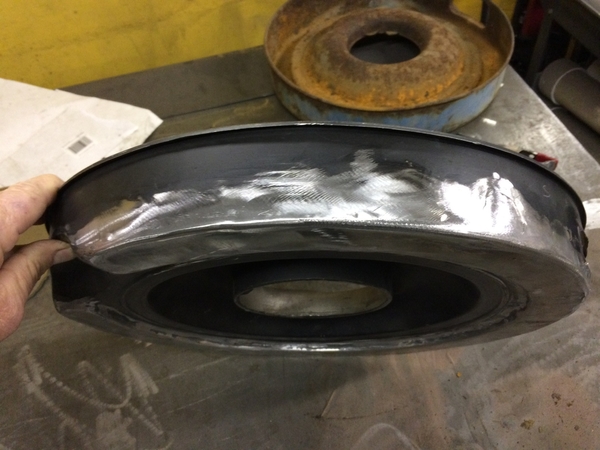
I started with a stock 302 air cleaner that I think was on a ford ranchero originally. The 2 barrel version works best and still fits the 4 barrel carb. I cut off the gutter area at the bottom of the housing and replaced it with a flat piece of sheet metal to replicate the original dimensions
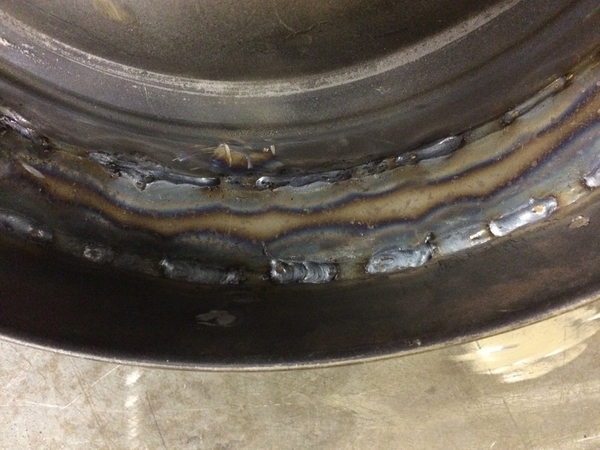
The welds were stitched to prevent warping and welded only on the inside, but built up rather thick to allow for shaping from the outside later.
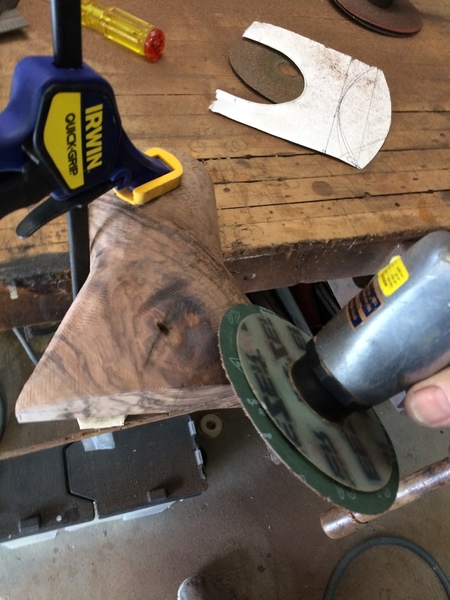
To get the proper radius on the bottom of the housing, I ground the welds down from the outside :
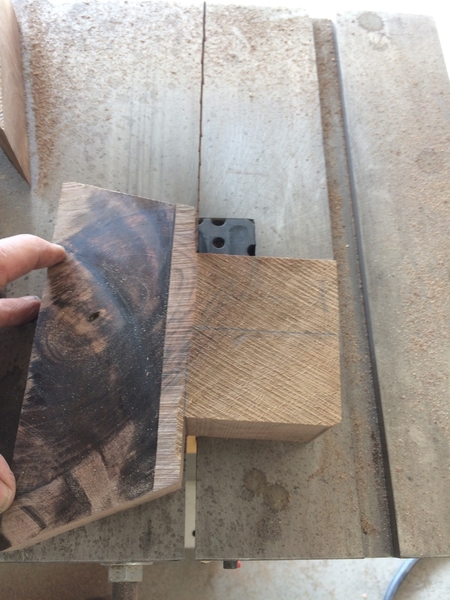
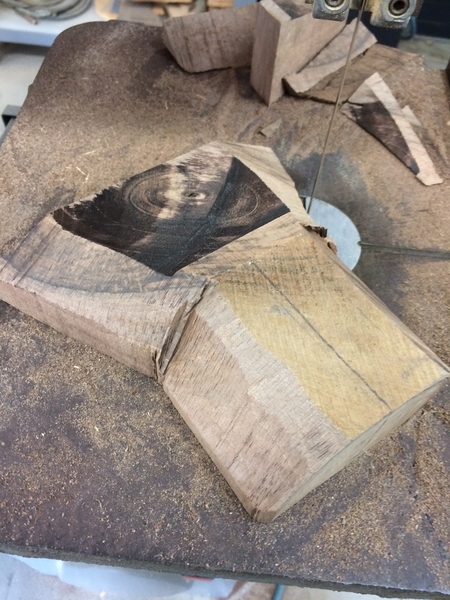
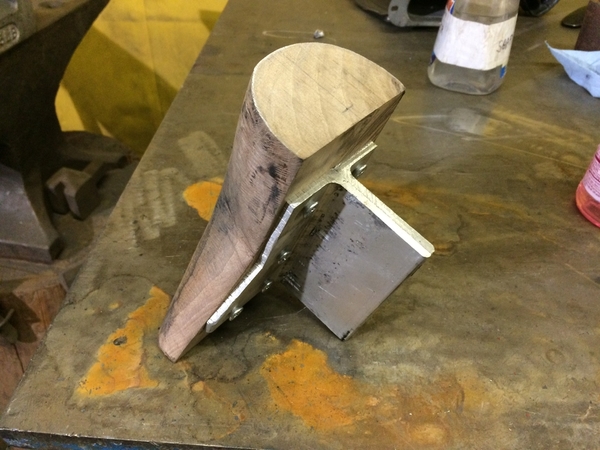
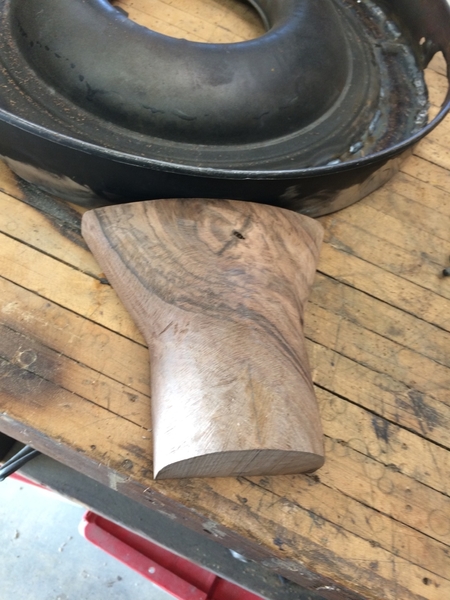
I then made a buck for shaping the the spouts from a block of hardwood (walnut):
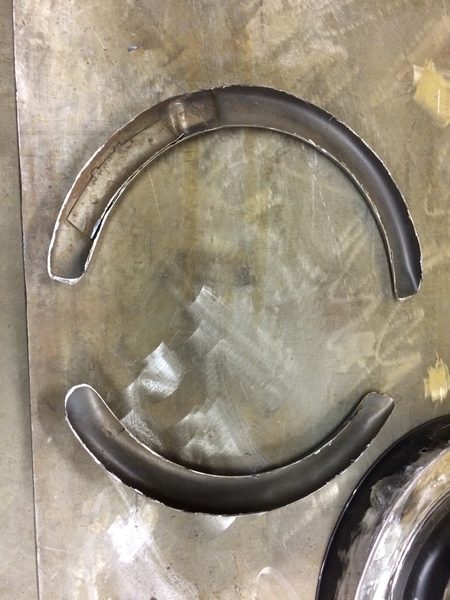
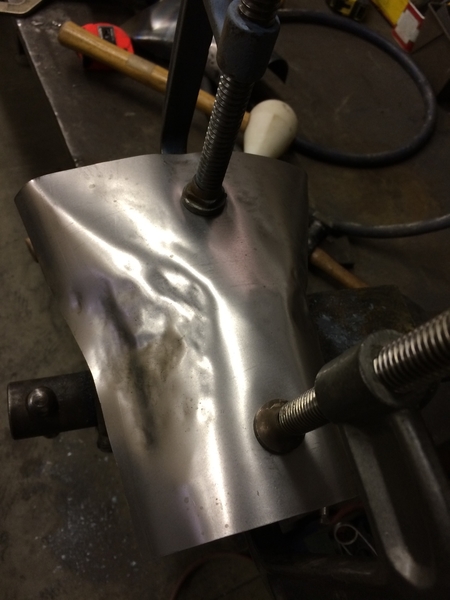
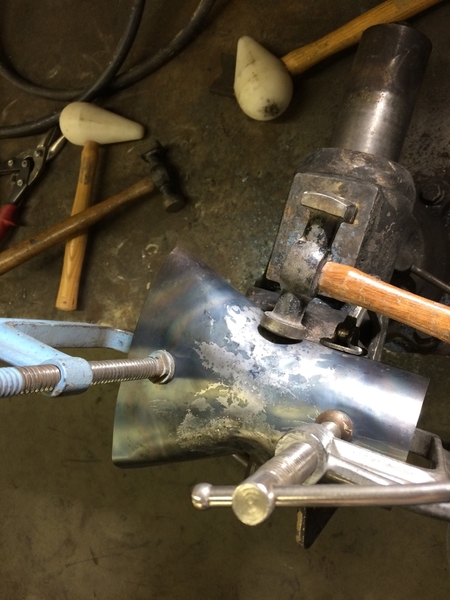
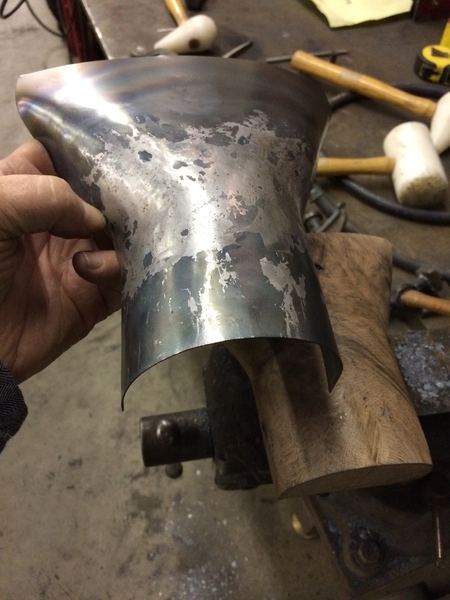
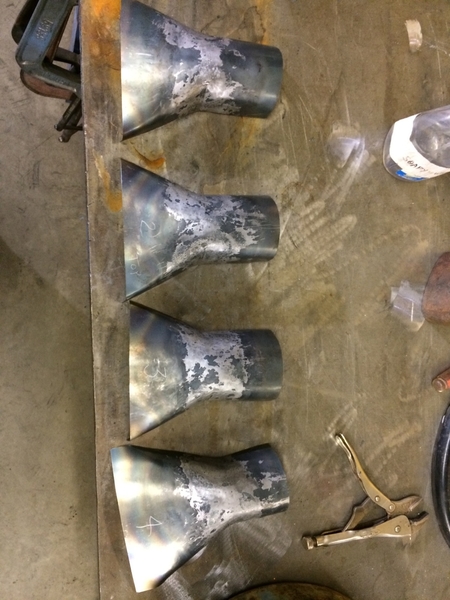
DeTomaso made the snouts as two piece pressed units that were spot welded together. Rather than take the time and money to make a die to press the metal into shape, I hammer formed the metal over the buck, stopping to occasionally anneal and shrink the metal:
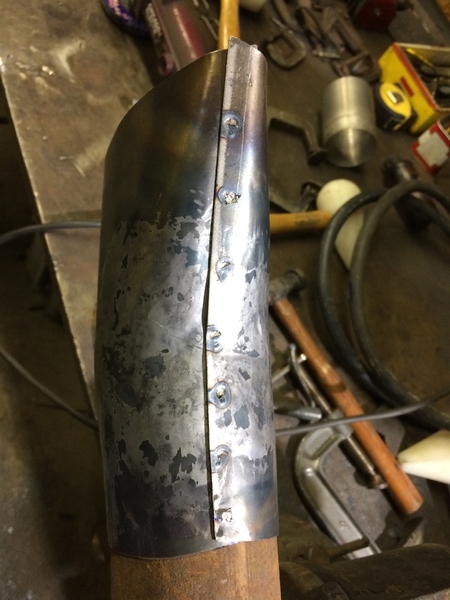
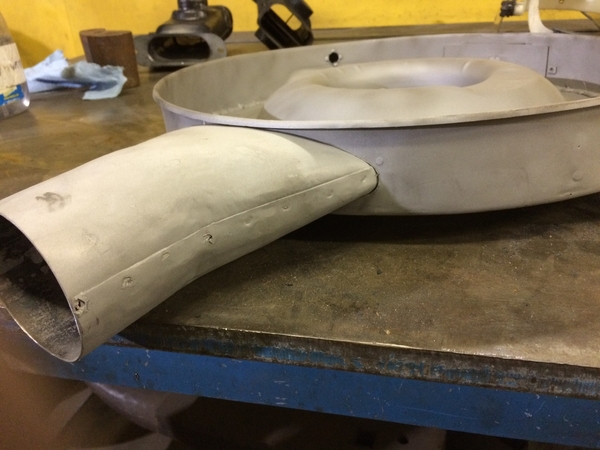
The four halves were then trimmed to fit and overlapped for spot welding:
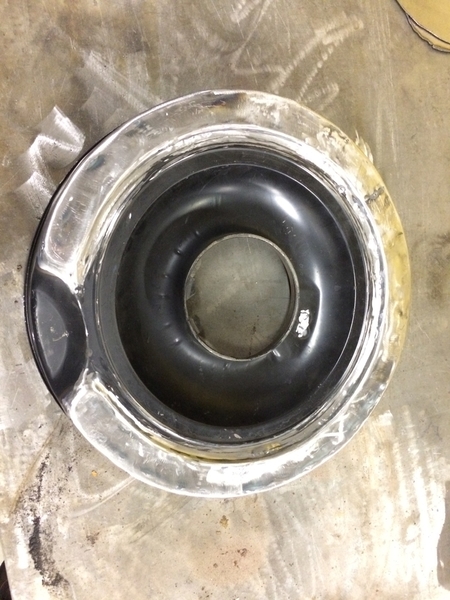
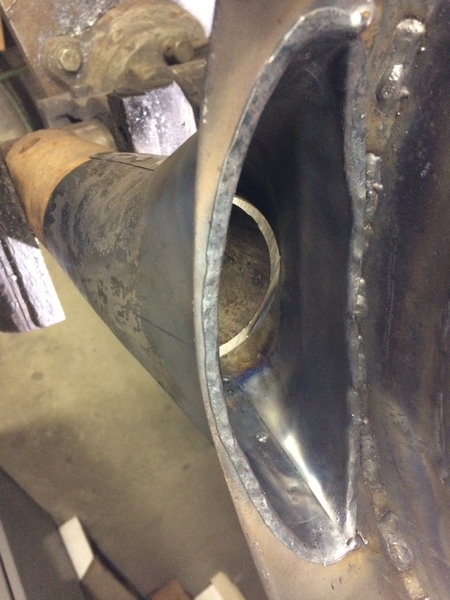
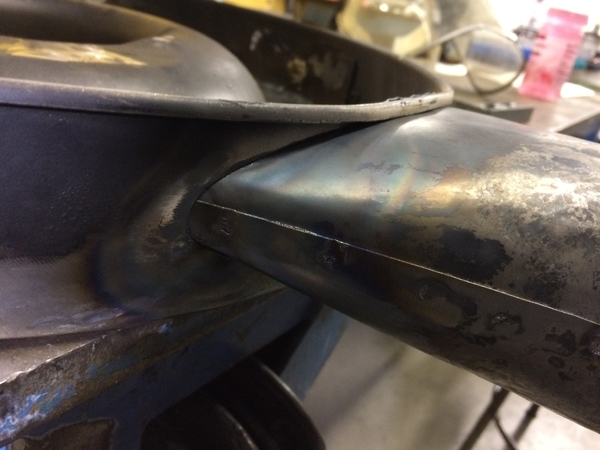
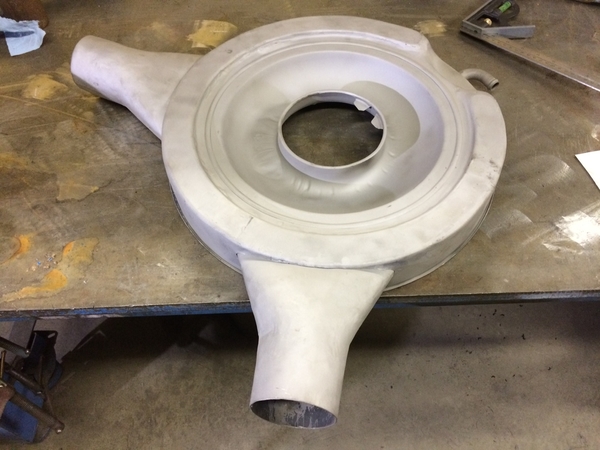
The snouts were then installed in the housing and the edges flared for welding from the inside only:
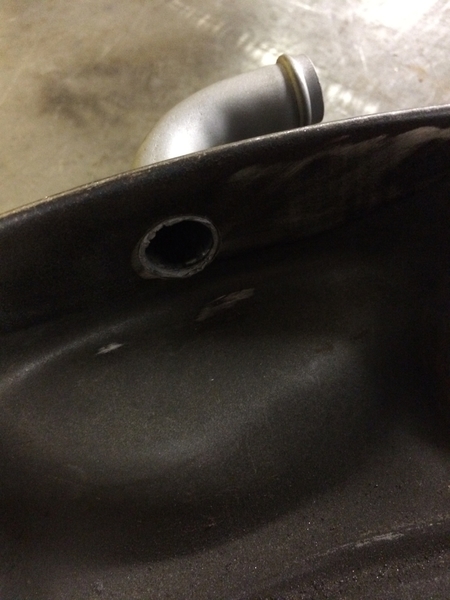
The hose fitting was carefully removed and repositioned to the front of the housing for welding:
The finished product was bead blasted in preparation for painting:
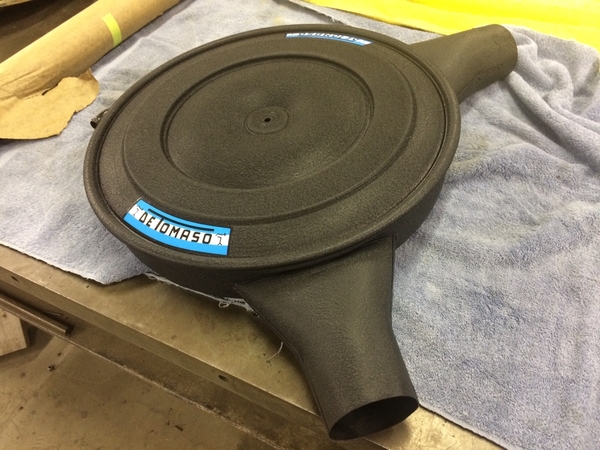
With the addition of a little filler and some wrinkle finish paint, it looks like this:
With a proper sized air cleaner element, the lid fits properly, unlike the photo above.
It turned out to be a much bigger job than I thought, but other than the lid, which is slightly different shape than the original, it looks correct to me. What do you think?


