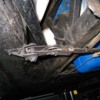
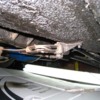
Replacement window motor in and working great, replacement speedo cable should be ready tomorrow...  in hopes of keeping the ball rolling I decided to address the loose emergency brake cable.

The only adjustment I see is at the rear where the cable attaches to the leverage arm/pulley.    I need to take about two more inches out of the cable.  I don't see how it attaches on the handle end.

The cable looks new and It appears that the previous owner replaced the cable, but didn't take all the slack out.   Has anyone addressed this before?

Thanks,

MH

Original Post

Replies sorted oldest to newest

There is no adjustment in the center, only at the two ends.

The center is just a pulley that moves forward and back when the brake handle is pulled.

You should have two jamb nuts (#3 on the diagram) on the threaded end fittings at each of the rear calipers.  To take the slack out, you would have to push the metal threaded sleeves (#4) away from the calipers, and then tighten the sleeve (#4 & #6) with the jamb nuts.

There might be a way to shorten and recrimp the cable, but I wouldn't want to do that, and you probably don't need to anyway.


Hand_Brake_Diagram


Attachments

Images (1)
  • Hand_Brake_Diagram

Hi M!ke!  I agree with Lee that at the least the handle end has the lead sinker, always been curious about the other end because my car had an obviously non-stock cable clamp there.   I wouldn't be too surprised if that front cable was totally non-adjustable (i.e., lead sinkers at both ends) because the main lever arm in the system - down near the oil pan - operates over a fairly broad range of positions.  System leverage is maximized over a narrow range, of course, but overall it seems like a fairly accommodating setup. 

Curious what you find!

Last edited by nate

Sorry folks, I just deleted some of that last post, bottom line is my dash is not currently installed so the handle assembly is not supported well.  Thought I had a strange cable tension problem too but now realize it will be fixed once the dash is back in.  

I need more easy 'phantom' resto problems like this and fewer of the real, cantankerous type, for sure!! 

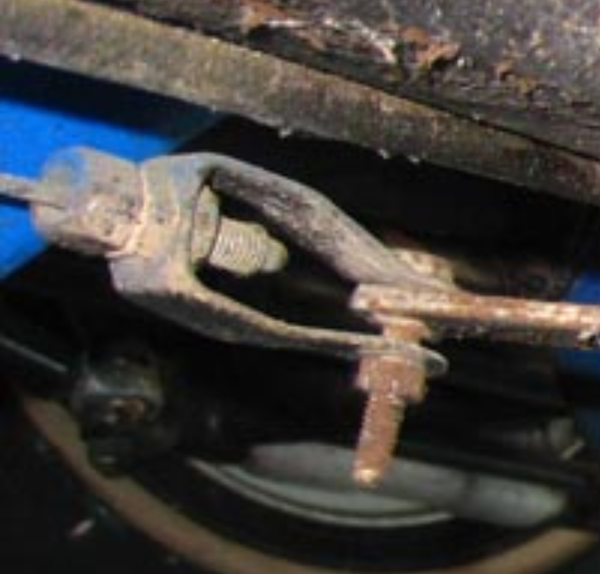
Lee's first pic is the rear of the cable, which is where I was able to remove the slack.  Turns out the rear end of the cable goes through a hollow bolt and through a clevis kind of arrangement.  There is a small lead ball on the end, but that seems to be there soley to keep the strands from fraying.  There is also a small sleeve with a set screw near the end.  This is where the main adjustment takes place.  Slide the sleeve up to the bolt and tighten the set screw.  Once it's snug the hollow bolt can be used to tighten it to the desired degree.

Attached is a copy of Lee's image cropped to the clevis like assembly in question .  Cable comes in from the left edge, through the hollow bolt, clevis thing, lock nut, sleeve with set screw ending with lead ball on end.

MHScreenshot_2019-11-03-19-19-34


Attachments

Images (1)
  • Screenshot_2019-11-03-19-19-34

Add Reply

Post
×
×
×
×
Link copied to your clipboard.
×