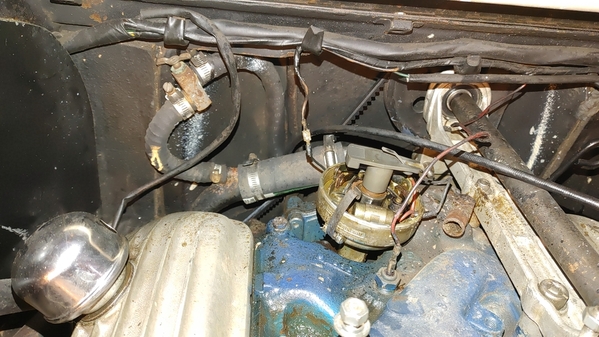
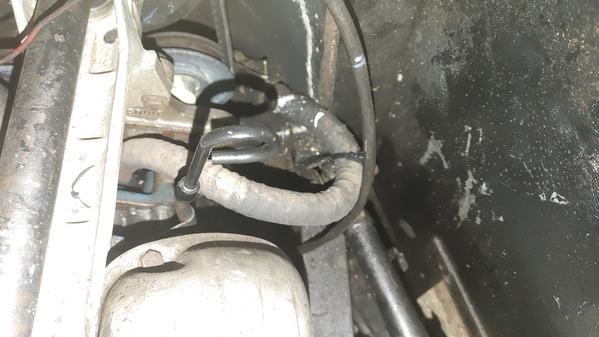
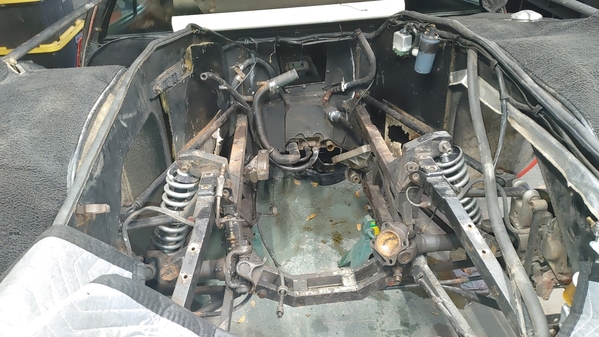
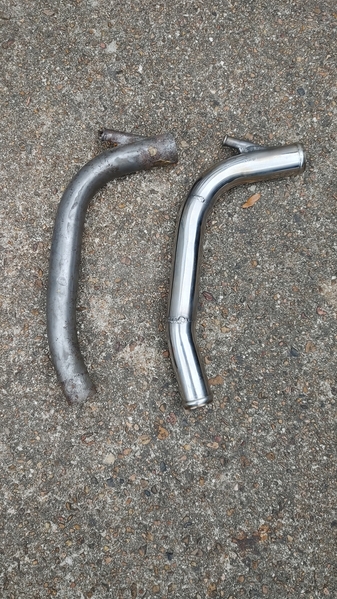
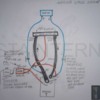
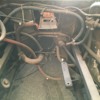
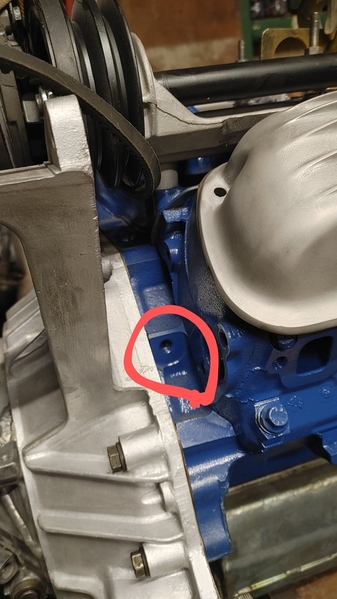
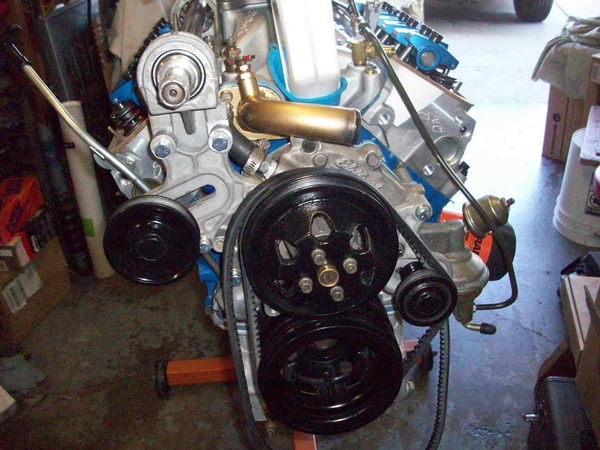
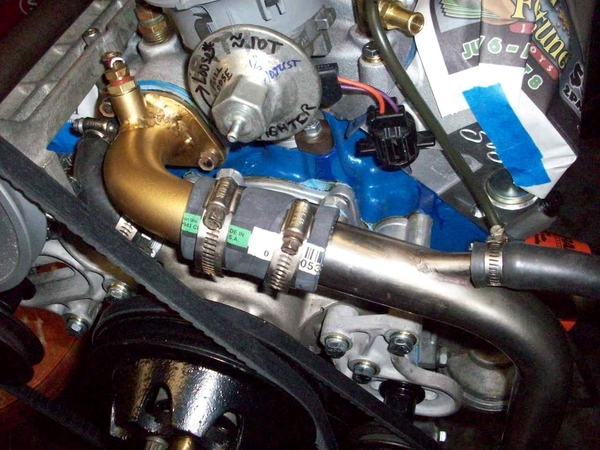
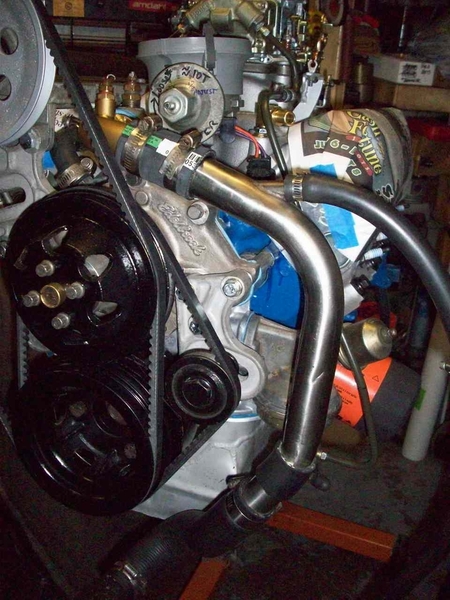
My old coolant tube that wraps around the front of the engine was in sad shape, so I had a new  one made in SS (if anyone needs one, I can refer you to the shop that did mine $218).  My question is mostly about the smaller heater hoses. 898 doesn't have any "Y" pieces that I have seen on others, just a pair of shut off valves going to the heater core.  Is that a design evolution or an improper modification in years past?  If that is the case, is it causing a restriction or problem if the heater valves are closed?

I've read the "proper" valves are shared with an Alfa, anyone know that model or part #?

Here are pics of the new downpipe and 898's arrangement for reference

20220305_17150220220307_11062020220312_11514620221222_130336_HDR

Attachments

Images (4)
  • 20220305_171502
  • 20220307_110620
  • 20220312_115146
  • 20221222_130336_HDR
Original Post

Replies sorted oldest to newest

Hi Mike, new tube unit looks great! I had a similar one made years ago for more $ iirc.  As for the heater valve, I think the original part is designated WA019, which Classic Alfa appears to have for ~$50 ea.  My car is at the paint shop finally so I can't confirm suitability of this part 100%, but looks right imo...

Got a bad feeling your old valves were tossed by a previous owner, along with the "Y" fittings.  They would not be that hard to make, same for the two steel brackets that they mount on, although they have some strange angles & shapes.  If you're not in a rush I can make some drawings once 1010 is back in the garage

Last edited by nate
@nate posted:
Got a bad feeling your old valves were tossed by a previous owner, along with the "Y" fittings.  They would not be that hard to make, same for the two steel brackets that they mount on, although they have some strange angles & shapes.  If you're not in a rush I can make some drawings once 1010 is back in the garage

Are they brackets for the valves or "Y" fittings?  or both?   How many "Y" fittings are there?   If the alfa valve is a 3 way valve then I can see how it could all work as a bypass for the heater...  But 898 seemed to be fine w/o the bypass...  Just shut the valve...   

To paraphrase George Costanza "is that a bad thing?  Should they not have done that?"

Thanks,

MH


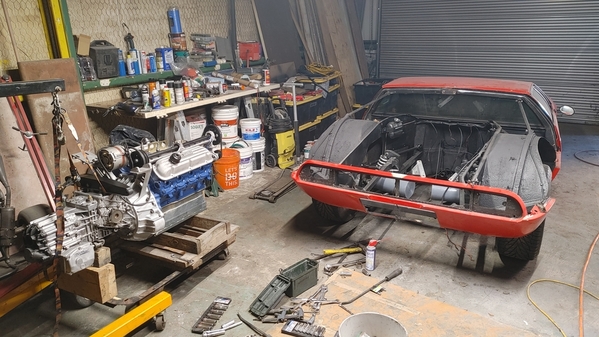
Oh...  Here is a pic from this afternoon...  She's almost ready to go back inMessage_1672441575459

Attachments

Images (1)
  • Message_1672441575459

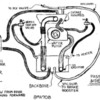
Mike, here is the other Y... The heater valves from Alfa Giulia are easy to find https://www.ebay.com/itm/20255...tkp%3ABk9SR6S3uvSsYQ . The brackets are not perfectly symmetrical--and really, it makes more sense that the left and right are reversed (since it really doesn't make sense that the outlet on the side moves the hose towards the rear of the car...but there we are...). Attaching also earlier postings on the water flow. Lastly, a real car   in X-ray view...

  For some reason, I think that the splice hose on the Y changes diameter--and finding a short hose that changed diameter was a trial and error pain...

  Nice job on the bead around the water pipe...Lee

Attachments

Images (5)
  • Y branch on right
  • bracket on right
  • water-flow-diagram
  • 7870084015_Water_-_Vacuum_Hose_Connections
  • 70 in the uk3
Last edited by leea

Mike,

If memory serves me correctly that hole in the block is "for nada".   For nada thing!  I think it's a blind hole and doesn't go thru to anything.

As for the "Y"s, their purpose it to be in the system such that when both valves are closed, water still circulates thru the water pump---intake manifold so that air bubbles do not form and cause catastrophic cavitation!  Don't ask how I know this.......

Not a terribly graceful design, more water than actually needed to do the job.....but even with the larger diameter, when the valves are open, enough water does circulate thru the heater core to get the job done!  After all, the cabin is so small you can heat it with a cup of coffee!!!

It is good to see that the valves are back in production!  When I wanted them.....not the case!  So I put mine all back together with "T"s that allowed for a 3/8" cross couple hose (for the cavitation issue) and put 1/4 turn ball shut off valves up on top of the center spine behind the dash.   Left the RH valve open just a crack, and put the other one on the LH side where I could just reach it to turn it on/off while in the driver's seat!   It didn't take much flow to work very well, and the small 3/8" bypass hose did it's job also.  NEVER had another cooling problem after that was all sorted out!

Cheers!
Steve

@mangusta posted:

If memory serves me correctly that hole in the block is "for nada".   For nada thing!  I think it's a blind hole and doesn't go thru to anything.

As for the "Y"s, their purpose it to be in the system such that when both valves are closed, water still circulates thru the water pump---intake manifold so that air bubbles do not form and cause catastrophic cavitation!  Don't ask how I know this.......

Thanks Steve...  I was fairly sure it was an unused mounting point, but always good to have confirmation.

I also appreciate the advice on the cavitation issue, I will keep it in mind.

The plan is for the engine to go back in on the 21st, so there should be updates to my main rebuild thread soon.

MH

Mike,

I wanna say that somewhere under or around 2 gallons of antifreeze does the trick.....mixed from 33-50% with water for conditions..... if not enuf, then simply add more water. Should put you darn near there......hoses, tubing, overflow tank, which radiator....engine doesn't hold all that much in the big picture.....

I think the whole system used right about 2 gallons of fluids....was surprised at how much it didn't take!

If  or when I had too much mixed up, it just goes on the shelf with a tag that says MIXED @ xx%.  Generally used the same coolant in another vehicle(s) so came in handy!

If you predrilled your t-stat with a little 1/8" hole at the top somewhere, you can fill the car level and the engine will self bleed!   Depending on radiator you may have bleed caps to pull/remove, or a valve....    I also had a bleed screw on a fitting on my small 90 degree pipe that went to the lower tube.

Easier to use bleed screws in the necessary places than go jacking up the car here and there.......to try and get air bubbles out of the engine!

Since you mentioned the T-stat thing......slightly related notes.....

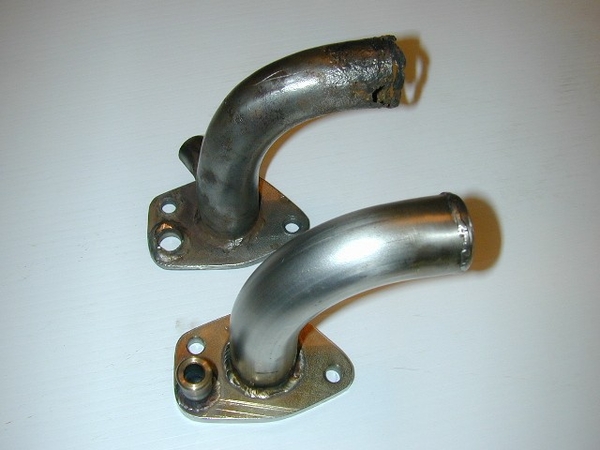
There were two versions of the 90 degree intake water pipe.   Early cars had no threaded provision for what I believe could have been a vacuum 3-port temp operated switch/valve, which connected to the full vacuum at the intake, ported vacuum at the carb, and the third went to the distributor vacuum port!   Was a feature for AC cars........   (pic of new #898 stainless fab'd piece (no port) on bottom, orig ported on top!)Coolant_Outlet_Old___New898
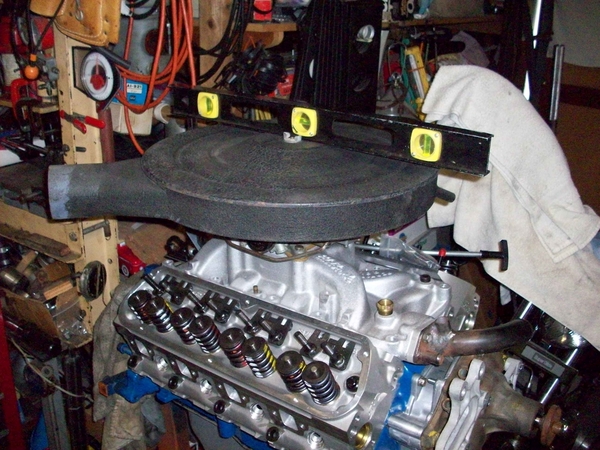
You can see port in intake here, with brass reducer/adapter for bleeder valve.  Port on 90degree pipe just to the right.100_0596
Front view of bleeder valve installed on pipe after some paint!  #878
100_2913The later cars got the ported pipes!  As you can see in the above 3rd pic and below,  that I didn't run this vacuum switch in my car but rather a bleed valve......there was a port on the intake, just to the aft of the bleed valve,  for the temp sender, as I did not use the vacuum advance but rather ran it as a mechanical only advance distributor with a whole lot of initial advance... with the DuraSpark II ignition system.

Tubes and hoses connected.
100_2924

Front view of Y-pipe & various connections.   Short 2" or so piece of black hose near the bottom of the Y-pipe was for a vibration potential with something that I do not recall!
100_2923

Note that the long oil sender extension used to put oil sender where it is sitting in above pic,  was not stock to DeTomaso, but rather to Mustang/Cougar and most all other Fords of the time!  This long one didn't fit properly...oil sender hit the frame(!) and I don't know where the original short one went......! It was a cut down long one....likely by DeT production folks!     I ended up installing a "Boss 302 oil sender relocation kit"  Pricey, but worked perfectly!

That was a long answer to your question!
Cheers!
Steve

Attachments

Images (5)
  • Coolant_Outlet_Old___New898
  • 878 Carb levelling
  • 878 Front
  • 100_2924
  • 100_2923

Wow, thanks for the details...   Perhaps an epiphany, perhaps not...   But would it help to remove the water temp sender from the intake to bleed the system?  It appears to be just on the engine side of the thermostat snout... 

I will have to check if the thermostat has the 1/8" hole...  If not is there a specific place I should drill one?

Thanks again !!!


MH

Mike,

Depending on which intake you have, you may be able to find another port to the water jacket that is not in use....

If you are using the stock cast iron intake, choices could be limited....  But, yes, to your question about removing the water temp sender, that would work!   Just more awkward. Probably only needed when first filling the system after big maintenance operations.

Drilling the hole in the t-stat would make it less necessary and the system would self bleed in a sense. Water would push air up and displace air thru the hole while it sits.....

The hole can go in the flange section of the t-stat, but away from the gasket area just enough to not be covered by the gasket.  Then install with the hole at roughly the 12:00 position for best operation.

The newest t-stats by Ford or build for Ford actually have a small one way pintle valve to do this operation!  However, the hole is so small that any water passed thru when the t-stat is closed that it's not an issue..... The engine will warm up much more quickly than without the t-stat!

Cheers!!!
Steve

Add Reply

Post
×
×
×
×
Link copied to your clipboard.
×