Ok.. I give up... How do you mount the throttle pedal stop ? Picture maybe?? The only mountng position has the pedal way too far back... Help??
Replies sorted oldest to newest
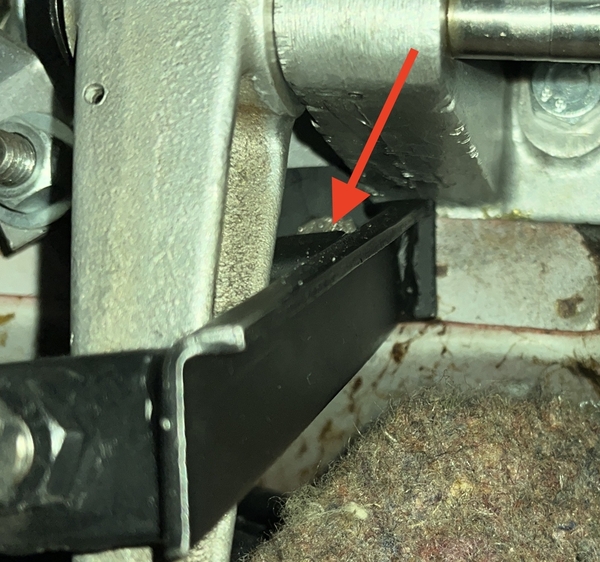
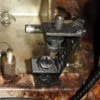
The throttle stop has a bolt that is part of the unit. It is kind of loose and kind of dangling. It goes through the pedal box and into the front trunk and then is secured with a nut on that side. The red arrow points to it in the photo below. The bolt is barely visible in the photo.
Attachments
In my case, because of the way the throttle cable and connection needs to be modified using Wber 48ida carbs, that bracket needed to be eliminated.
Thinking about it, in fact, I do not see the need or purpose for it running a single 4v carb either.
It kind of works backwards in that keeping the height of the pedal artificially low, it restricts the total travel possible for the carb throttle. That does not work for me.
Thank you for the pictures of the throttle mount stop. Makes sense now how it mounts... I still think that the pedal will be set up too far but I need to get the seats in first to determine the exact location.
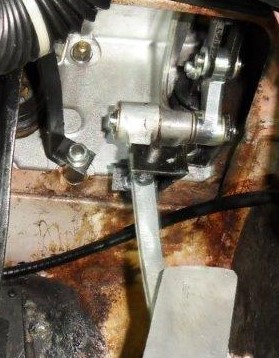
I did notice on one of the pictures from rlee that there are spacers behind the brake pedal stop allowig the brake pedal to come up higher. I like this idea. Was this how they did it originally or a change made later on??
The car did come with a new Hall Pantera downdraft manifold and new downdraft Webers.... but I opted for a stock carb for now and will sort things out on the car with that before deciding what to do with the Webers....
Thanks again!!
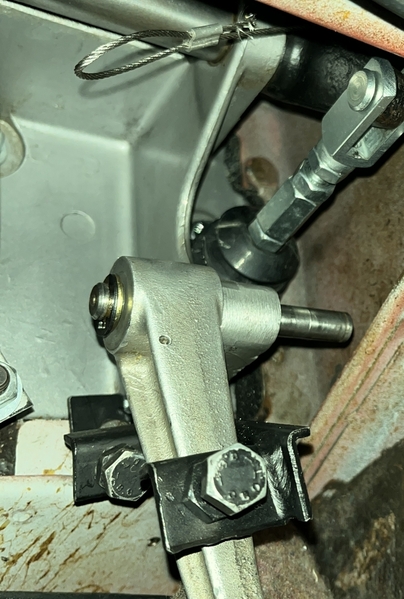
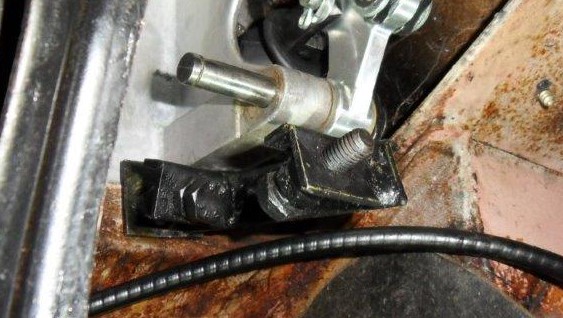
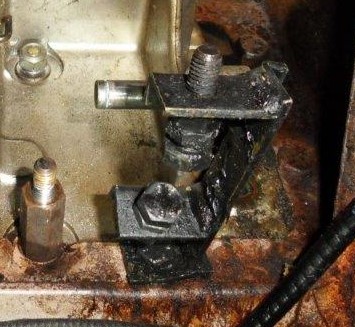
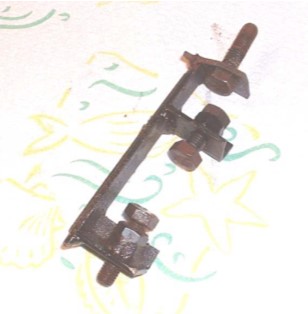
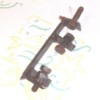
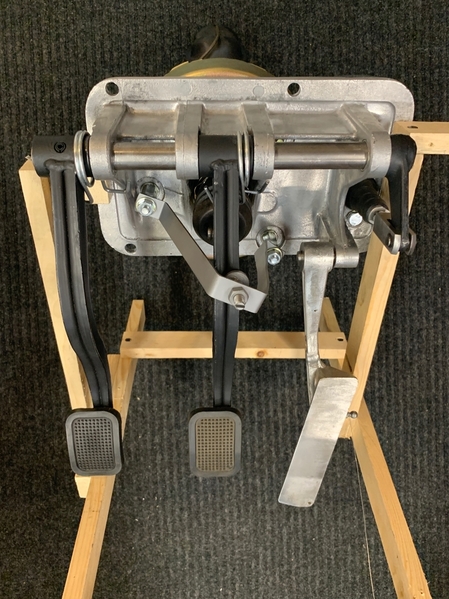
No spacer. What I think you see is the integrated mounting bolt that Steve pointed out in his photo. Then there are two adjustable stop bolts to adjust position of the throttle pedal for idle and for wide-open throttle. Here's a better perspective view photo from a long time ago and a photo on the bench. The bracket always looked to me like something I could fabricate with my eyes closed...![]()
Attachments
@Greg Wold posted:I did notice on one of the pictures from rlee that there are spacers behind the brake pedal stop allowig the brake pedal to come up higher. I like this idea. Was this how they did it originally or a change made later on??
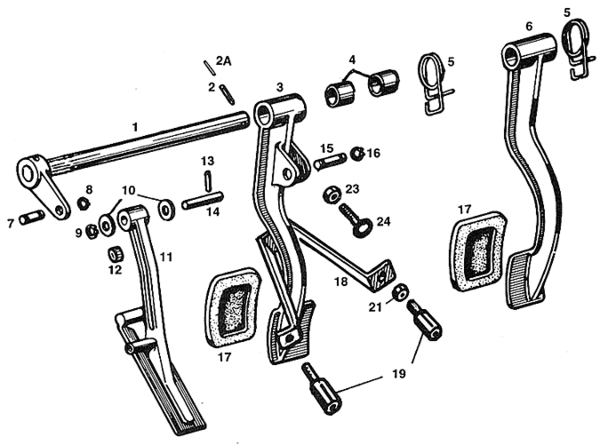
All Panteras came with the spacers for the brake pedal stop. They are part number 19 in the diagram below. They were missing on one of my cars and I made them with coupling nuts as you can see in the second photo.
Attachments
Ok... That is what those spacer blocks were for in my left over parts pile..... Now I know that they go behind the brake stop. I knew that the stop was too far down but could't figure out why but now I understand!! Thanks so much for the help!!! Puzzle solved. Now back under the dash for the umteenth time...
Ah. Brake pedal spacers. I was still on the throttle stop bandwagon...
Good idea. I'll do this too. Thanks!
Why would it? It’s adjusted with the pedal to the floor so the tension is the same when adjusted properly to insure the throttle plate does not go over center.


