Thanks for the "experiances" lessons learned !
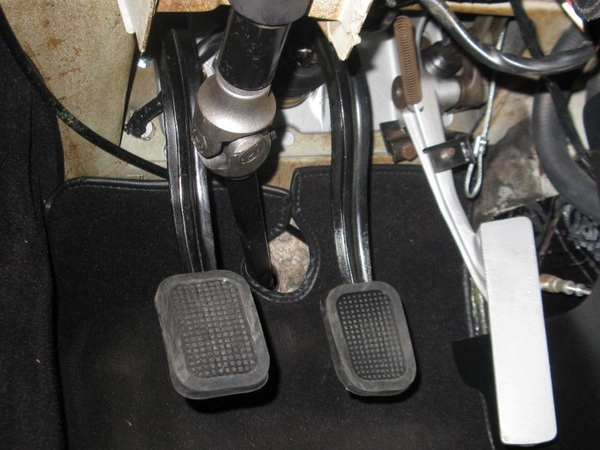
the driving tecnique and muscle memory going from one car to another got me. I hopped in the TR6 to run to town for gas (and keep battery up) and almost wrecked aproaching stop sign, all THREE pedals responded different.
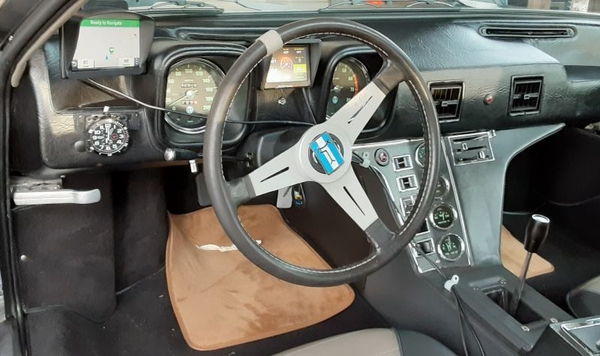
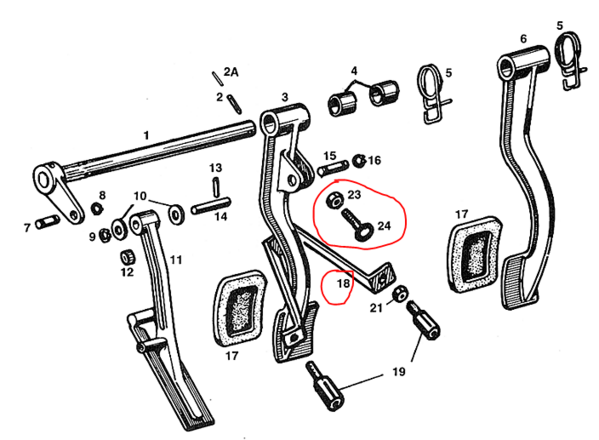
as for brake pedal, the fact that it was lower than throttle. (opposite on TR6). I think I have a tecnique that will work good as I continue to use it, that is keep the right heel on floor and "turn" foot from throttle to the lower brake, using between toes and ball.
sort of same thing with clutch, keep the heel on floor (inline with clutch) then raise slightly to use between toes and ball, instead of arch.
both of those have me thinking about a "heel rest". shaped something like wall mounted bottle opener!
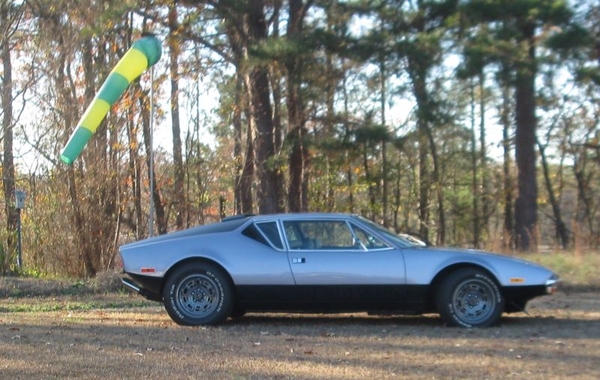
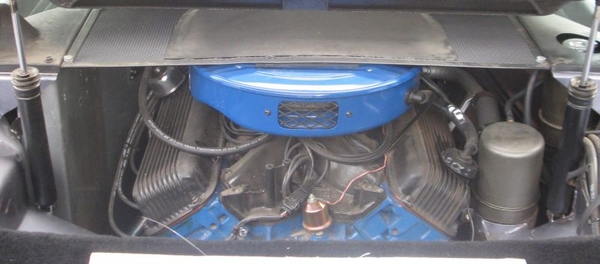
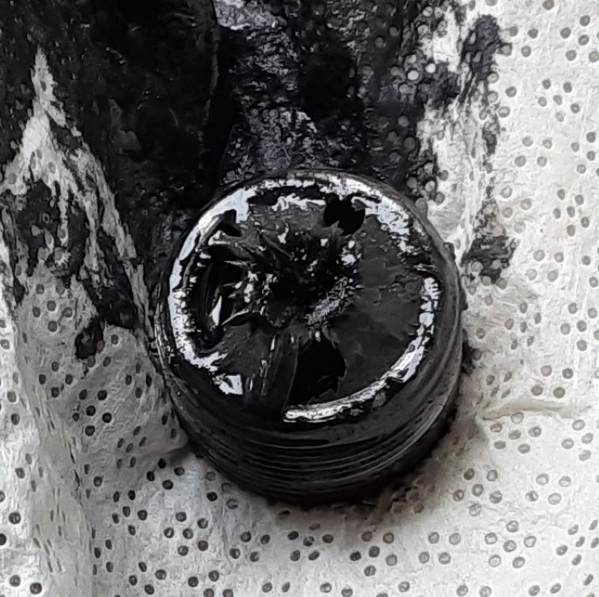
I have not removed tube to even look at the AC condensor and its sealing for air flow. (I had wanted the "L" trunk profile made like earlier car for more air exit flow, but didn't want to delay in driving)
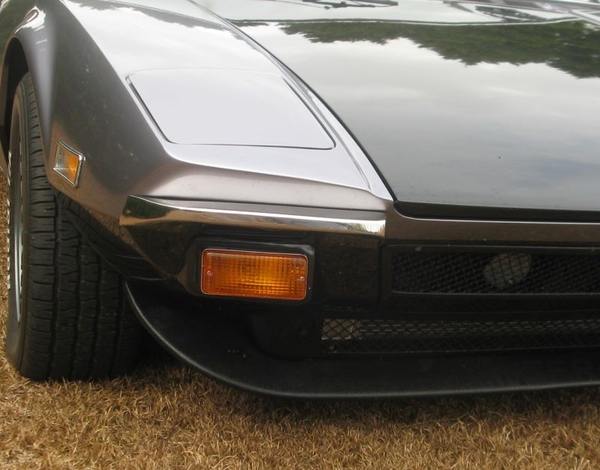
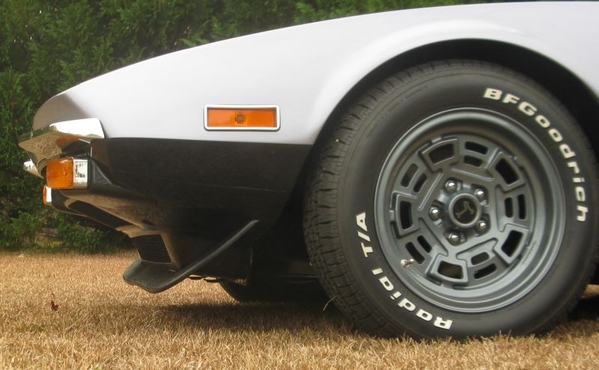
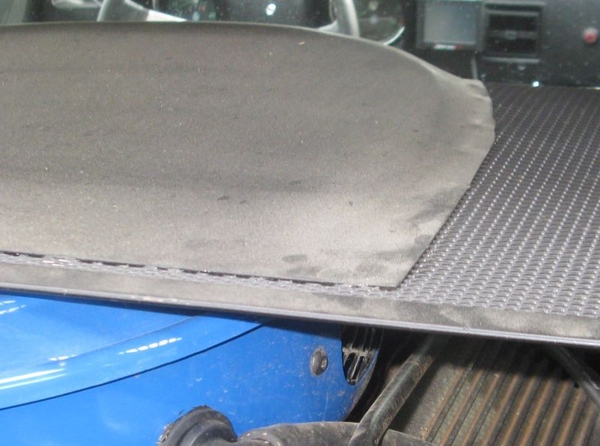
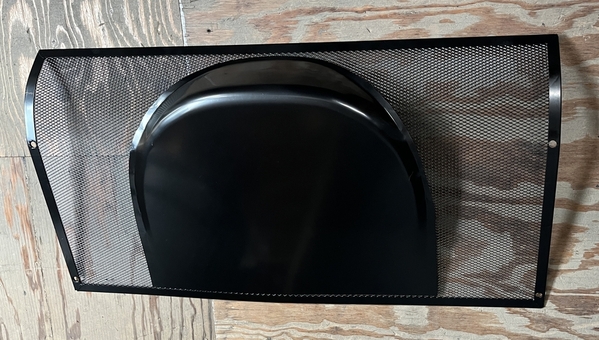
"I" think the side shields are needed but didn't want to be more "picky" for taking care of any items noted during my driving.
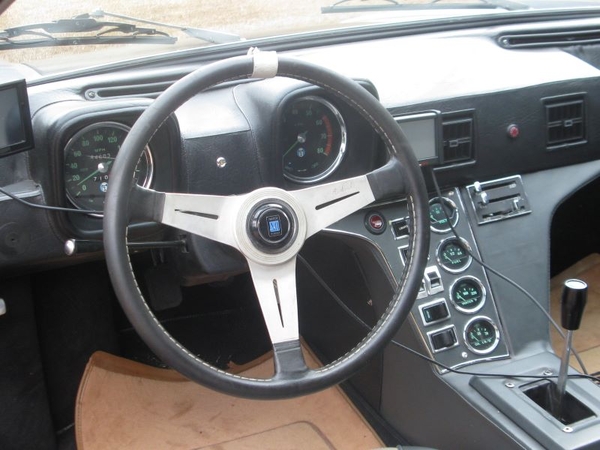
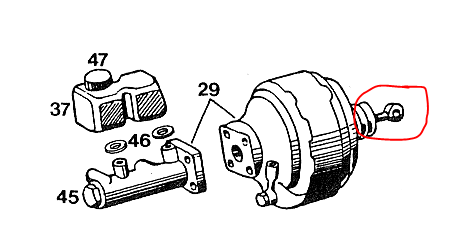
With the car moving, I did have one segment where I "thought" the radiator temp was not dropping and the fans stayed on. that was based on battery voltage stayed low at speed. I have three points in coolant system for measuring temp. the Holley Sniper sensor and display are at the block position, the console gauge and its sensor in the water pump inlet (radiator return) and the idiot light switch in swirl tank (can't recall its setting) and the coolant fan swith in the radiator exit upper side tank (i also don't know its setting but think I reqest about 160"
Most times at road speed sniper temp is 185 to 190 with console gauge abot 170 (just right of 160 mark). I have very little time in stop and go traffic, temps do go up. have not been there to see if temps level out above 200F. (currently running 7psi cap (on pump suction). Shutting down HOT after slow roll down drive, there has not had gurggling as coolant temp rises during heat soak.
another question. . .
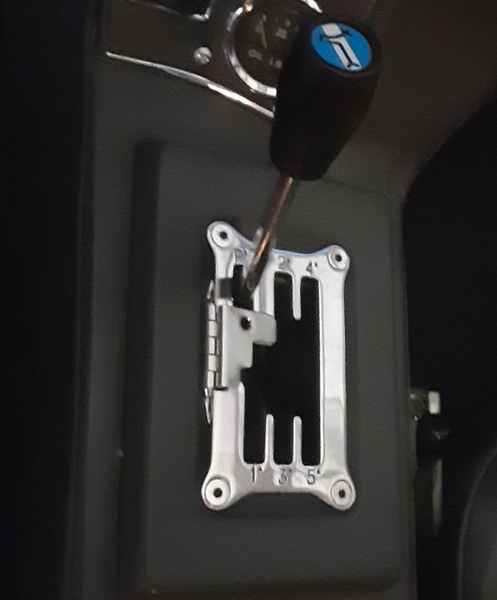
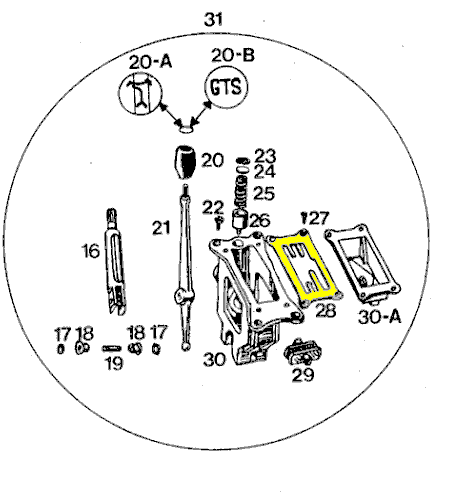
When tighten shift linkage lock nuts, holding Gate in center L/R in 2 / 3 path is done, BUT how do one hold the trans shifter shaft? ( In my long ago thinking bouts, I drew up a radial fine adjustment "clutch")


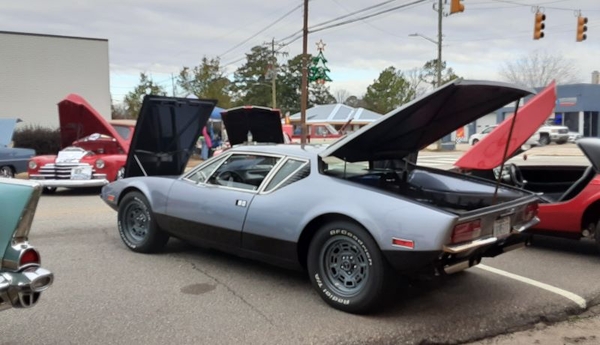
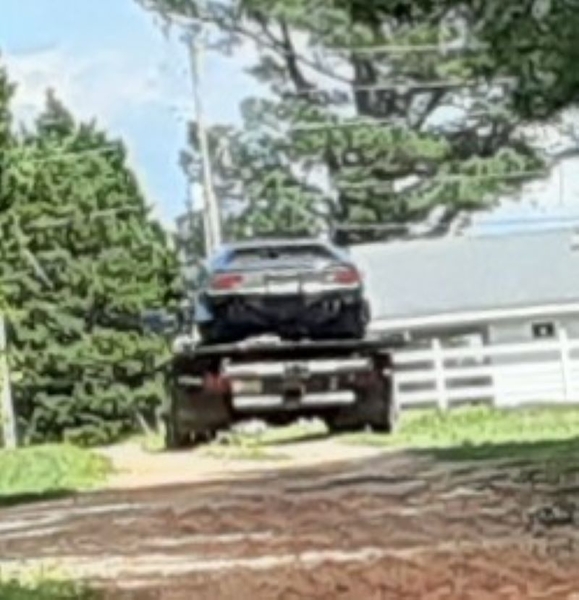
 open the rollup and fire it up, walk the exit to ensure it is clear
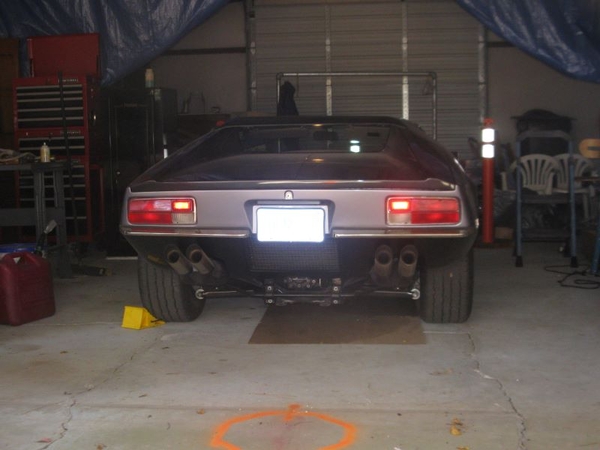 back off the concrete pad and into the yard. did show, but I have to angle due to transition and spoiler draggging.
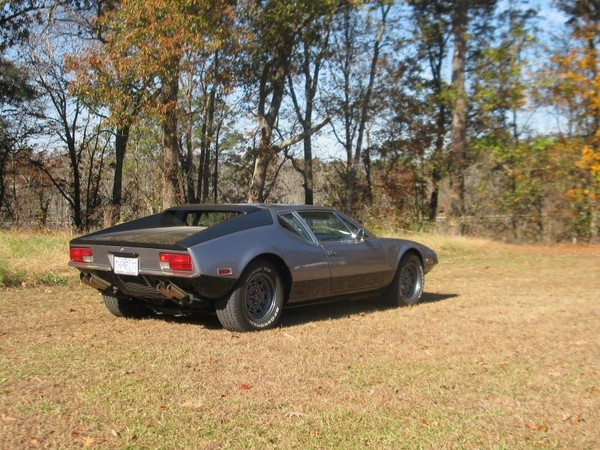
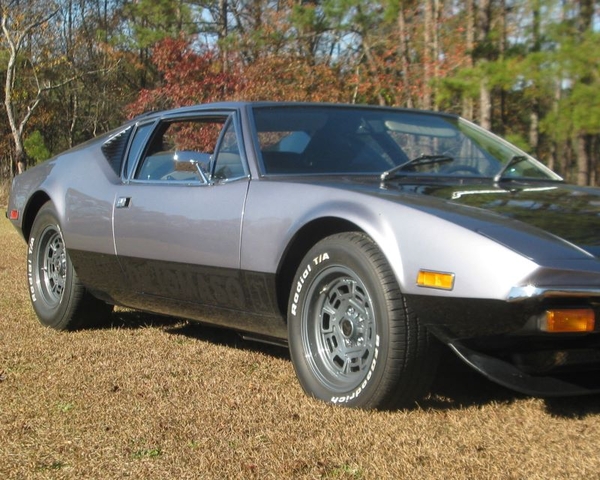
 went for about an hour just cruising the back roads. the engine seems to like ~2200 rpms, giving me ~55 mph in fifth. I found listen to the tone makes an excellent "cruise control". Having to down shift as approach a stop is a little strange, but not engine braking but just keeping rpms up without just coasting.


")
")