
I never needed the fingers. Just get in the way. If one needs 'fingers' to find the Gears...You Have:

1. Not driven a Stick shift since you were 15.

2. Do not know where the gear is.

3. Have Not Practiced 'Shifting' Enough.

Clutch ALL THE WAY TO THE FLOOR!

The first 2 photos were 'In Neutral'. 1st Gear, Is In 'Your Pocket'. Reverse is 'Left and Up'.

Other photos Reverse, 1, 2, 3, 4, 5 In That Order. reverse1 st gear2nd gear3rd gear4th gearkat 5th fifth gearThe Plate Opening is 2.100" Wide X 3.860" Long.

Attachments

Images (6)
  • reverse
  • 1 st gear
  • 2nd gear
  • 3rd gear
  • 4th gear
  • kat 5th fifth gear
Last edited by marlinjack

...Remove the Plate! Go Drive! And Practice-Practice-Practice!!!

Most important is that Neutral is STRAIGHT UP and CENTERED, If it is NOT, then Make it So, AFTER you have removed the forward detent!! If the Detent in the ZF does NOT Hold the shifter Upright, the Spring is Broken in the ZF. If the Shifter is held up, but is Not Straight Vertical, the Shifter Linkage is NOT adjusted Properly.

ALL Gear Shifts Have to Pass Through Neutral, First! Look at the Pictures from Straight up Neutral, HELD Straight-Up AND CENTERED, by the Spring Loaded DETENT IN THE ZF! NOT the forward detent under the shifter.  2nd Gear is a Simple Straight FORWARD. 3rd Gear is Straight BACK! 1st...4th...and 5th Gears are ALL in 'Their' CORNERS! When (I) 'Come Out' of a Gear...the First thing I 'Feel' For, is the Neutral Position. I give it a short wiggle Sideways, to be sure I have found it. 'Slamming' Gears...'Speed Shifting'?? NOT in My Kat!! I give the Syncros All the Time They Need to 'Kiss and Make-Up'.

Last...If the 'Fingers' were so Accurate and Helpful, ask why some owners have found it necessary to File the Sides for Clearance??  Because, in my view, it is near impossible to get a Perfect Alignment of all entities. If The Measurements on the Plate I posted were cut any Smaller, the Shifter 'Rod' would Hit and Vibrate against the Edges, and the Gears would never become FULLY Engaged. The photos show a Proper Clearance. Now, Get Rid of The 'Fingered' Plate and that Useless, Forward Detent!!! ALL Detention is IN the ZF!! The Improvement You Experience will Make the 2 Hours of Work, all worth It! You have My Personal Guarantee!!

Look at the Shifter in 2nd Gear...Straight-Up and Straight Forward!! The Fingers, will Not 'Allow' this, AND all other Positions.

MJ

Last edited by marlinjack

My brake pedal is also higher than the accelerator. This is why cutting the corner off the bottom right of the brake pedal helps get your foot off the gas and ON the brake.  I actually think I would prefer the gas pedal to be higher though.

cut brake pedal

There is a restrictor bracket on the accelerator pedal shaft. I am not sure why it is needed but if you remove it you can readjust the gas pedal to be higher.

Clipping the corner on the brake does help for foot room. I did that to mine also.

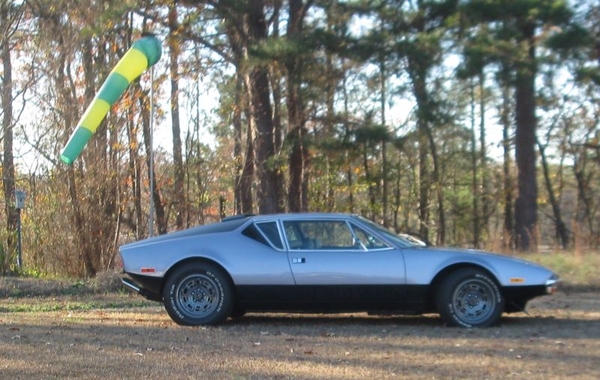
the weather was suppose to be rainy, but just cloudy and misty.   I thought that would be good lighting to take some pics.   (then took an hour drive!)

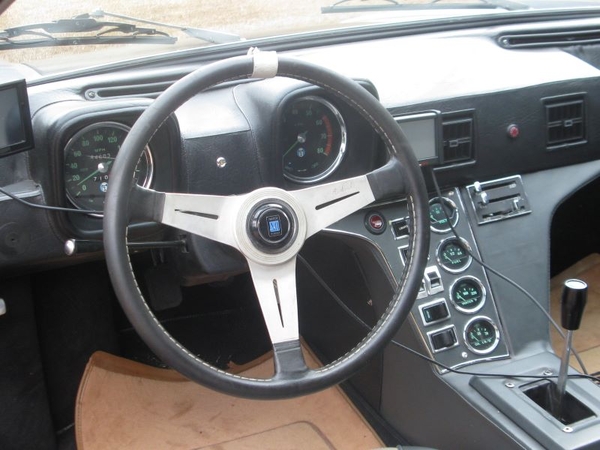
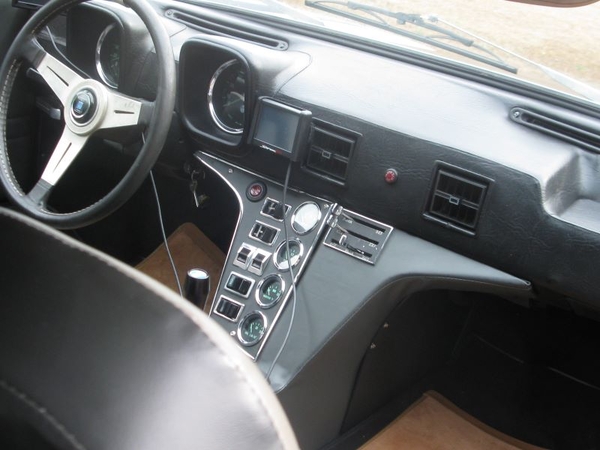
the dash was original covering, but from another since mine got "lost".   the rocker wiper & washer switches were move to gauge console.   the emergancy flasher switch moved to the dash illumination rehost position.  the light between speedo & tach is now a two color LED that provides warning of "low oil press" as blue and "high coolant temp" as red.   the small display on right for the Holley Sniper fuel injetion.   the left is Garmin 55.  steering wheel is Nardi that was when I got car.   the heat / ac controls, the lower lever is conected to double swith, center off, left turns on AC compressor and right opens heater solinoid  valve

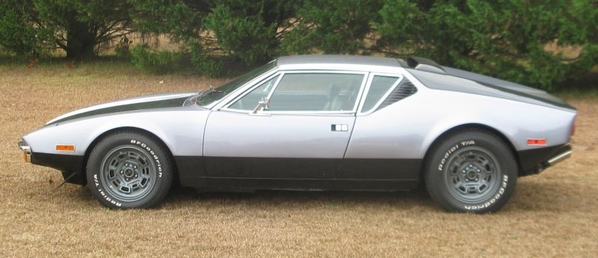
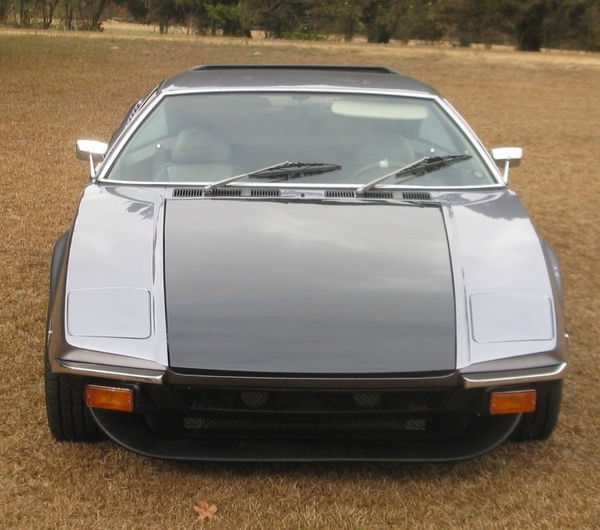
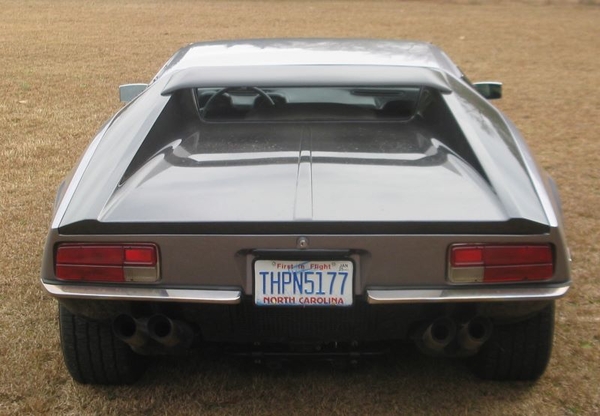
side / front / rear views
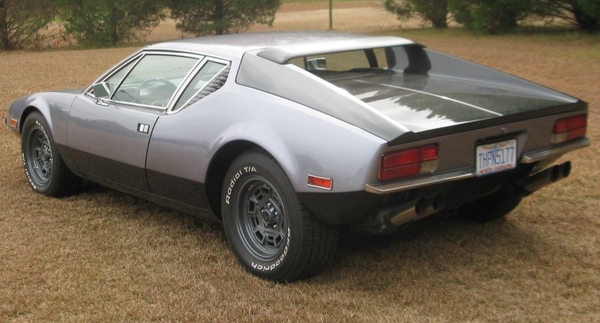
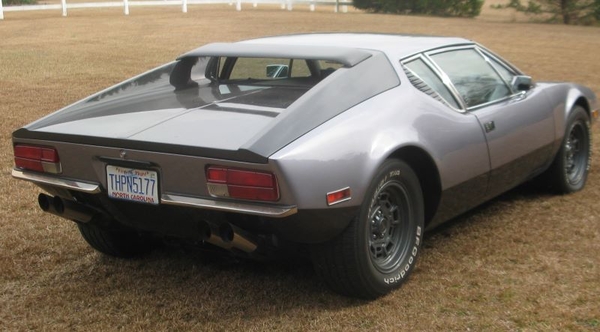
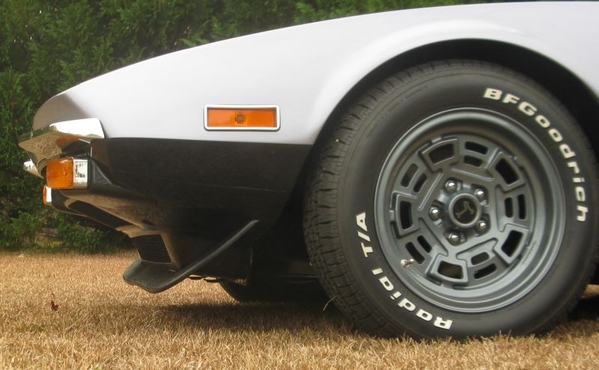
corner views

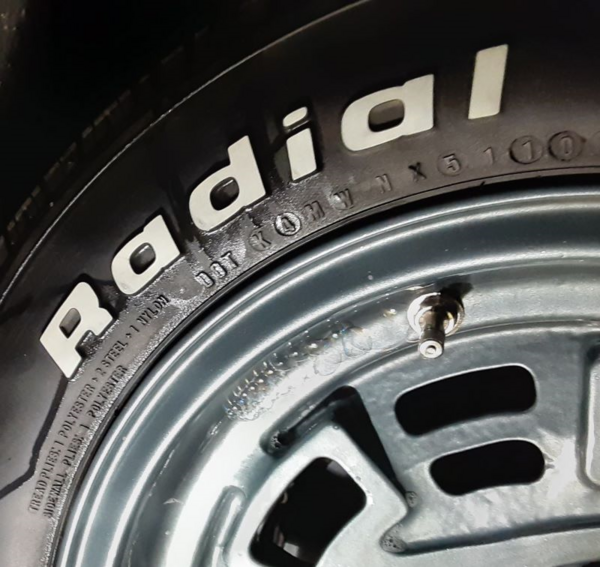
some of the details i wanted

replace the "L" bumpers with bright bumperettes and the alignment of those with the hood gap, 

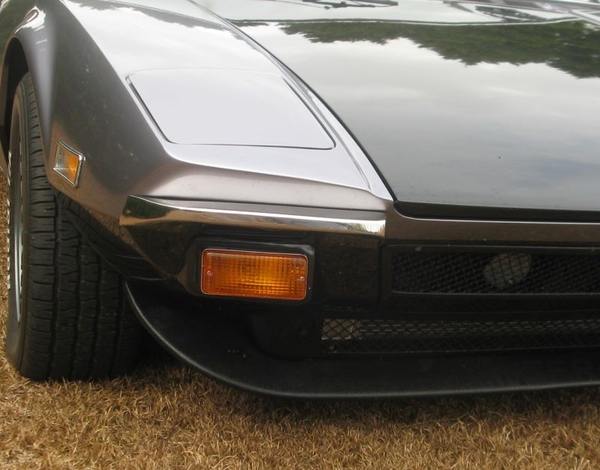
another the fitment and angle of the front spoiler.

(i am thinking . . . putting a wood "skid" under the recovery hooks, 1/2 X 3" oak)  ???

AND the exhaust tips !

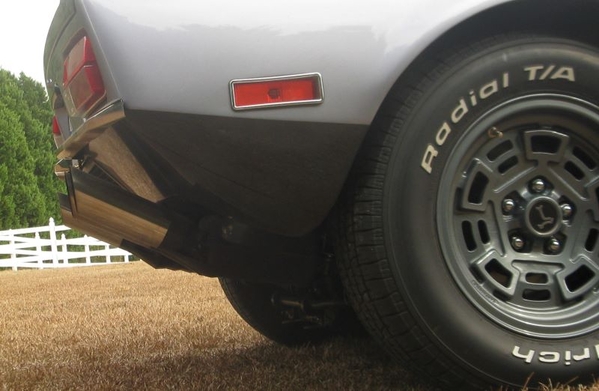
the tire lettering , the valve stems and center logo all were indexed.

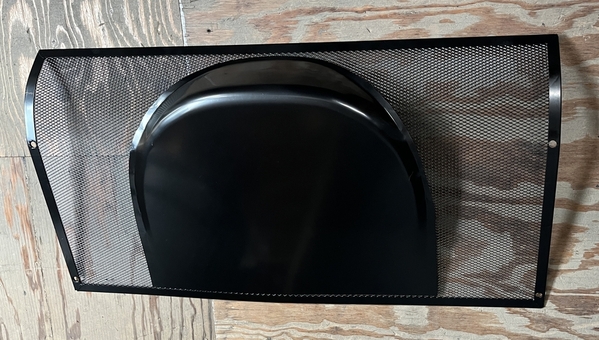
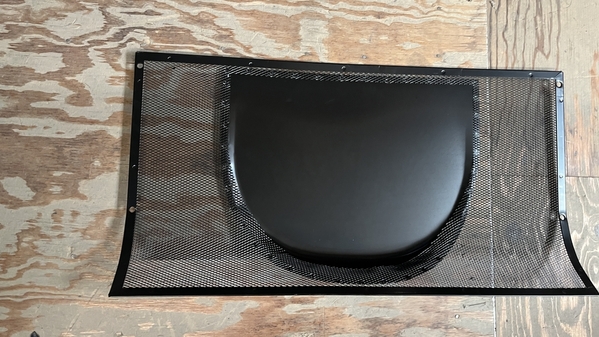
a challange was my desire to have an original air filter housing fit under the engine screen and not tilted.  my fiberglass tube had been shorten (for as purchase turbo installation).   But it gives a good view of engine.

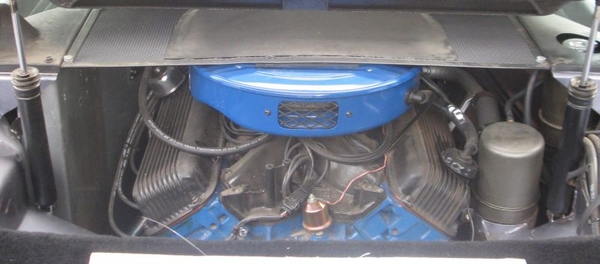
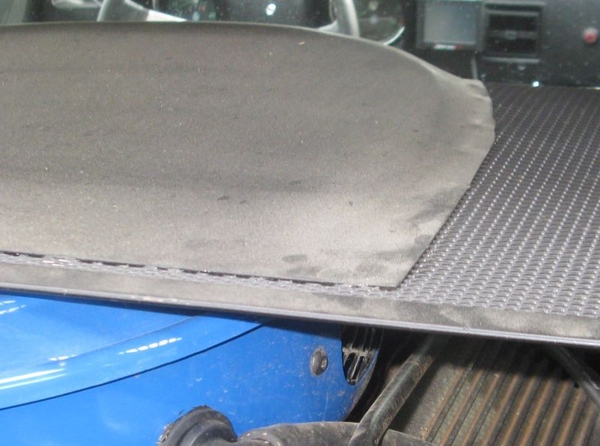
my center engine screen had a little rust on the end strips so They got a New one from one of the vendors.   I don't know which one.   Does this look like something that maybe came on an earlier car.   that is the solid section is just tack welded to the screen !   looks cheap to me, (but it sure wasn't).   the gloss paint has dust stuck to it.

Attachments

Images (14)
  • blobid1
  • blobid1
  • blobid2
  • blobid0
  • blobid2
  • blobid0
  • blobid5
  • blobid8
  • blobid6
  • blobid4
  • blobid7
  • blobid3
  • blobid9
  • blobid10
Last edited by jfb05177

delemma ? question . . .

I have a tire (right/front) with a slow leak, less than 2 psi day.

given I am "aware" now, would you top off pressure daily and drive.   (or bite the bullet and take tire to a shop while car is in the shed). 

drive now and let restoration shop correct when car goes back in Jan/Feb.   (or just let car stay garage till then )

spent long time, from different angles and don't see any thing in thread and the nut for valve stem is tight.

I can't see the details of the transition from screen to solid, however from what I do see, that is made the way one on 5177.

My comment about dust is my path is very dusty and a gently spray of water did not rinse my screen and I was making excuse why mine was not clean.  proably static or maybe residue vapor from new engine.   thinking I will need a "mop" to wash it.

any ideal on a torque value for the valve stems.   I noticed at autozone, the package stated about 30 to 40.   where I think I only went to 15 INCH*lbs.

edit  . . . thoughts on wheel valve stem torque.   the instructions gave tighten value with no air pressure in tire.   I'm thinking air pressure would compress the rubber seal more and thus the stem nut would loosen, so maybe lower torque is expected and should be used?

Last edited by jfb05177

Your fill plug is still good as is.  You can make it nicer by removing the sensor and installing a recessed hex plug.  If you want a new fill plug it is best to go to a Pantera vendor.  

Here is an example hex plug for $4 that could fill the hole where the sensor is.  I am not sure about the size you need but here is 3/8".  You might need smaller.  If you go this route be sure to put sealant on the plug threads.

https://www.autozone.com/fitti...BwE&gclsrc=aw.ds

Last edited by stevebuchanan

Add Reply

Post
×
×
×
×
Link copied to your clipboard.
×