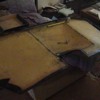
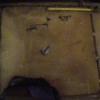
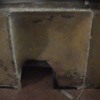
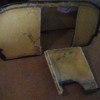
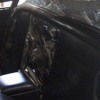
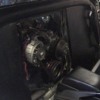
The steel hatch is exactly 19.5 Inches wide. Measure off this amount, for cutting, and add 1/16" to 1/8" for clearance. Yes! Your 'line' will go into the stud holes, don't worry the washers, although smaller, will back-up and hole for the studs. You will need the Washers Small to clear the Steel Hatch for Removal/Install.
Replies sorted oldest to newest
I realize this is an old thread from ‘05, but assume it is a common mod.
Do you have to undo the top studs to remove the bubble vinyl like you do on the sides? Or do you cut the vinyl as close to the top padded roll as possible?
I was looking at the POCA ‘06 newsletter by J.DeRyke on this mod and it seamed a little unclear.
Thanks in advance.
The vinyl is made in two pieces- one for the big panel and a separate piece for the bubble. No need to cut the vinyl, only the thin fiberglas. And a common fine-tooth wood saw works well- no need for a hacksaw. The nuts and stud-strips need to come off and the vinyl pushed away a bit from where you're going to saw.
On cutting the top of the bubble, try to visualize what the bubble will look like after its separated from the main cover. I think I cut as close to the actual bubble-edge as possible while not scraping its vinyl, not close to the padded roll. After you're all done, use a few spots of glue to hold loose vinyl edges wrapped around the new cut edges. Any bare fiberglas edges can be touched up with a black Magic Marker to become invisible.
Thanks, cutting close to the bubble edge and not the flat area by the padding is what I needed. ![]()
...As The Boss Stated...the Vinal is already separate at the TOP, No need for cutting! There Must be Some slack remaining to be Glued around the TOP of the Fiberglass Bubble*.
Yes!! This was one of the best mods I ever did on the Pantera, NOT very Common. It Saves a Lot of Time and Effort, to get to the Engine. As can be seen in the Pics, On Each SIDE, Enough of the Vinal EDGE is left, so it can be Stretched OVER Each Stud/Pin. Don't forget the Washers, must be small size, and You'll reuse the Original Nuts. Working here, a Nut-driver works Best! The Bubble Itself Nicely 'Snaps' Back Into Place, and remains there, Solid. A Black Marker works at hiding anything exposed. A Thin, Smooth piece of 'Sheetmetal' Works Greatest as a 'Spatula' to UN-Snap the Bubble, for Removal...Without Marring.
As far as Securing the Vinal Edge on the Fiberglass Bubble, Itself, I remember Gluing the Edge all around the inside of the fiberglass, using Rubber Cement, Clamped/Weighted and set for Over-Night.
Such a Convenience, I would Not Hesitate to perform this Mod, Again. Now, all You must do, when it's time to Check the Timing, Adjust Belts, or Other Work...is Merely Lean the Seats Forward, pop out the Fiberglass Cover and unscrew 10 (or less) Screws. You'll need a slim 'spatula' to get under and pop things out. I used a Dremel tool with Disk Cutter to do the Sawing, worked great.
Look at the finished Pictures. A great project, done properly, the work will be un-detectable, excepting for those who know it's there. Beautiful!! Convenient...You won't regret it! Take your time, draw up the lines accurately, Measure Twice!
Good-Luck with it, Make it fun!
MJ
* The Vinal is OLD, bending around the Top of the Fiberglass...the sheet vinal WILL Crack, this can be hidden using the Black Marker, after gluing...can use Black adhesive.
P.S. Measure 3 Times from Both Directions and CUT only Once! Know What You are Doing! Last, On mounting the Steel Cover, You might think of changing to a better Fastener. I use Stainless Steel 'Oval Head' Machine Screws with a Flange, 'Flange Screws', Adding a washer is Not Necessary. The Screws are 'Allen Head' Screws, so I can use a 'T' Handle Allen Wrench. Another Convenience!
 ...Back to the Line-Up for those who have Never seen this! Enjoy!!
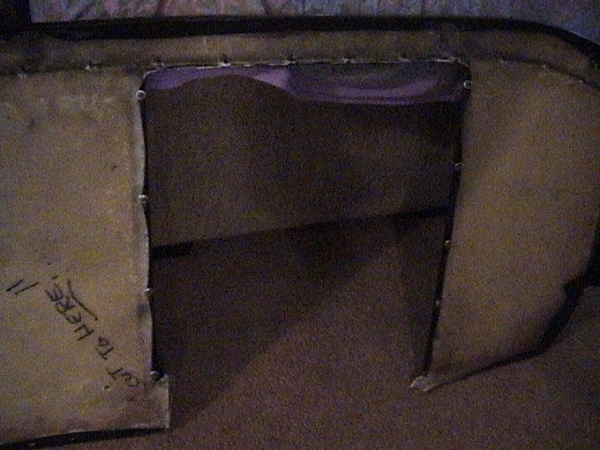
...submitting This photo as most informing! With careful dissection of the Center 'Bubble' fiberglass and then the Vinal itself...you can see here, to carefully separate the sides to MAINTAIN the Stud holes, that are already there! Stretch the vinal around the edge, place over threaded studs, add washers and nuts, snug them up, Done. Also, see in photo, when working with the small nuts I chose to use a 1/4" Drive 'Finger-Rachet', 3" Extension and Socket. Can't remember the size in mm.
The work at the TOP 6 Studs, is pull vinal under stretch, mark for punctures, pierce and stretch the Bubble Vinal around edge, slip over studs add washers and nuts, snug up, Perfect! Taking the bubble cover to completion is Mostly gluing, clamping and weights, Let Set Over-Night. Black Marker. I used Rubber Cement.
This project was accomplished back in 2015. To this day, the F-glass Cover and Vinal, still 'Snap' into place and remain there until removed using a slim Spatula.
The Steel Cover, after all 10 Machine Screws are removed...gets pulled straight out with a similar pryze device, with JUST Enough Clearance! I added a 1/2" thick, sound deadening/thermal Blanket, with total coverage of the Steel. Not Glued! so as to be removable.
Time of Project with all tools present...3-4 Hours. Tools Tape measure, Dremal tool, wood chisel, Nutdriver. Rubber cement. Marker.
This Firewall Cover was taken from a '74L #5723 The Studs and nuts were ALL there.
Thanks for Looking in.
MJ


