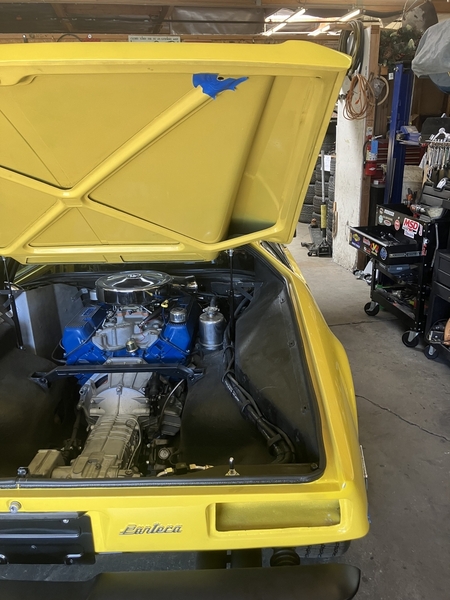
This is going to be short and easy..
Just a modified copy what I saw at the Pantera meeting at PIM… @lousbby has it in his car and I thought that’s the way to go… The only difference is I only have one pin…. Trying to keep the weight down - 🤣
easy, cheap, very effective and well yes you have to drill two holes! The good thing is my pain threshold for drilling holes in the car is not that high anymore after a drilled of 1.5 inch hole in the dashboard for the fresh air supply!
first, shortened the pin to about half its size! (if you leave it long, the result where the hole in the lid should be maybe different because the lid is describing an arc)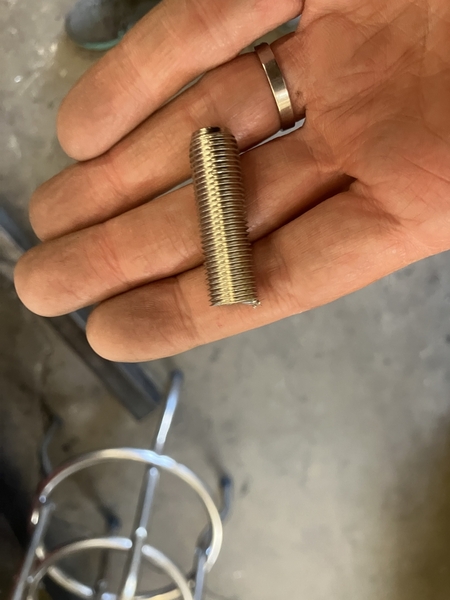 Then put tape on the webbing on that tail lid where I want the hole to be, and it seems to be the strongest point for sideload!
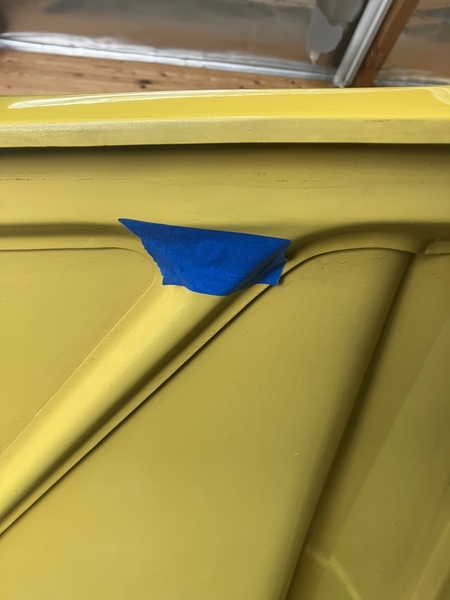
then I used the original round washer that comes in the package with the pins and would be located on the outside of the hood and placed it on the bottom of the frame above the tail light (Which should be taken out obviously) , put the pin in the center, and slowly lower the lid holding the pin until the tip of the pin would be where we want the hole in the lid . Looking from the back and from the side to make sure the pin is straight! Moving the washer with a hole with a pin because it will be our reference where to drill the hole to mount the pin! Everything looks good in square, drill a 12 mm hole For the pin! Then mount pin with additional large area washes that are not supplied in the kit! Now the surface of the sheet metal is not straight per say So we help it a little bit with gentle force!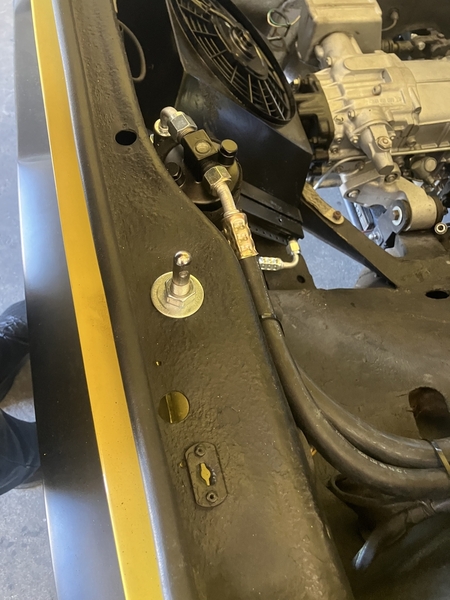
A dip of paint on the tip of the pin, And slowly closing the lid… Adjusting the pin, so it’s almost a closed lid when it touches the tape applied to the bottom of the structure! We choose an 11 mm drill, which made things rather tight.
Next time I would go to 12 mm and call it a day…
to ensure that we do not create a catastrophic failure when drilling that hole in the decklid cut a piece of pipe which left only less than half-inch of drillbit, sticking out on the other end…
small pilot hole drilled with a cork over the drill, exposing only half an inch… And then the “ big boy” !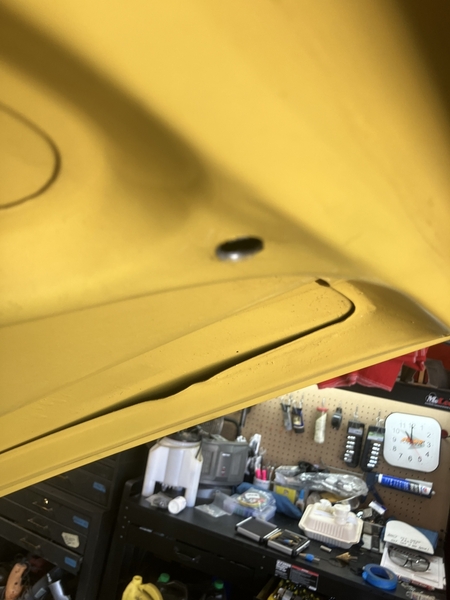 (probably make aluminum plate for the deck lid hole to make it pretty and reinforce it for the side load ….)
Cleaning up the holes, little black paint, assembled everything, taped off the pin halfway and painted it, put some grease on the tip, put clear coat over the area of the hole on the lid because it’s going to get rubbed off anyway, so the clear at least protects the parts that are not touched…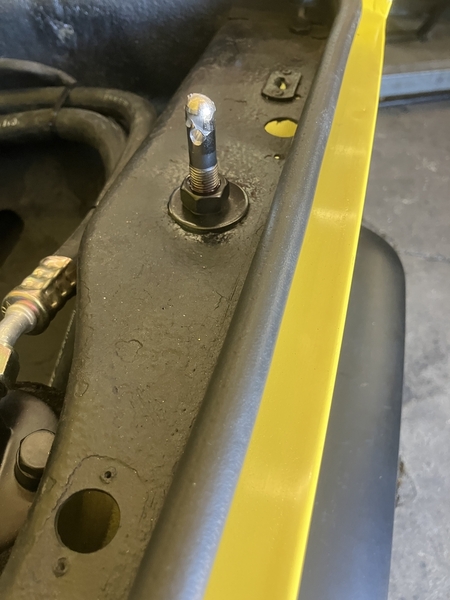 ! Jacking up one corner of the car and it’s good! No more touching!
and now I can fix the annoying paint chips 👍 the trunk insert gets a hole so the nut can protrude and that’s it… under $10 fix… and you have one leftover to do another car lol
thanks Louie 🙏


