
I didn't know "likes" were a thing here Garth...??? LOL... But..I'll take it.. Yeah Baby!

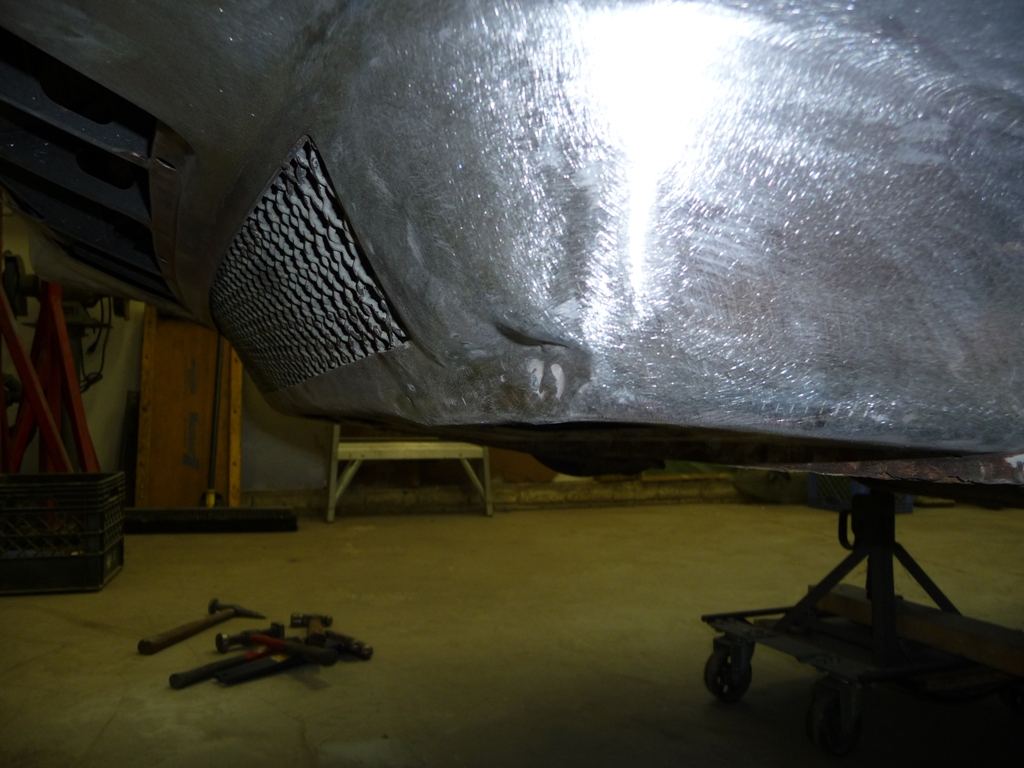
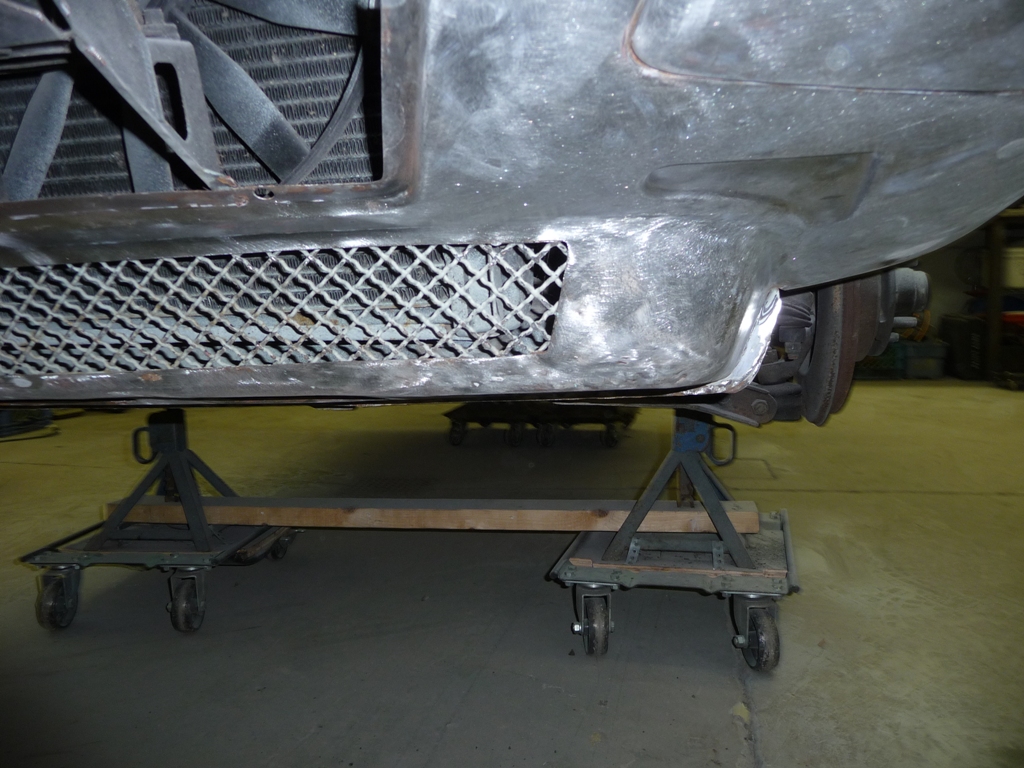
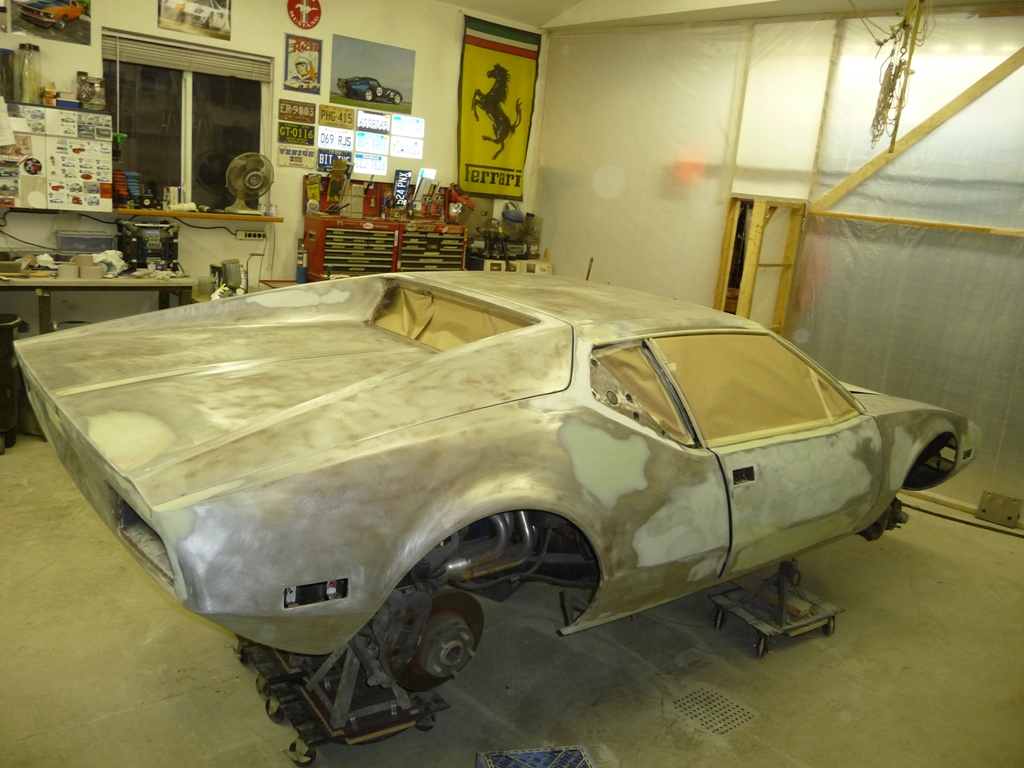
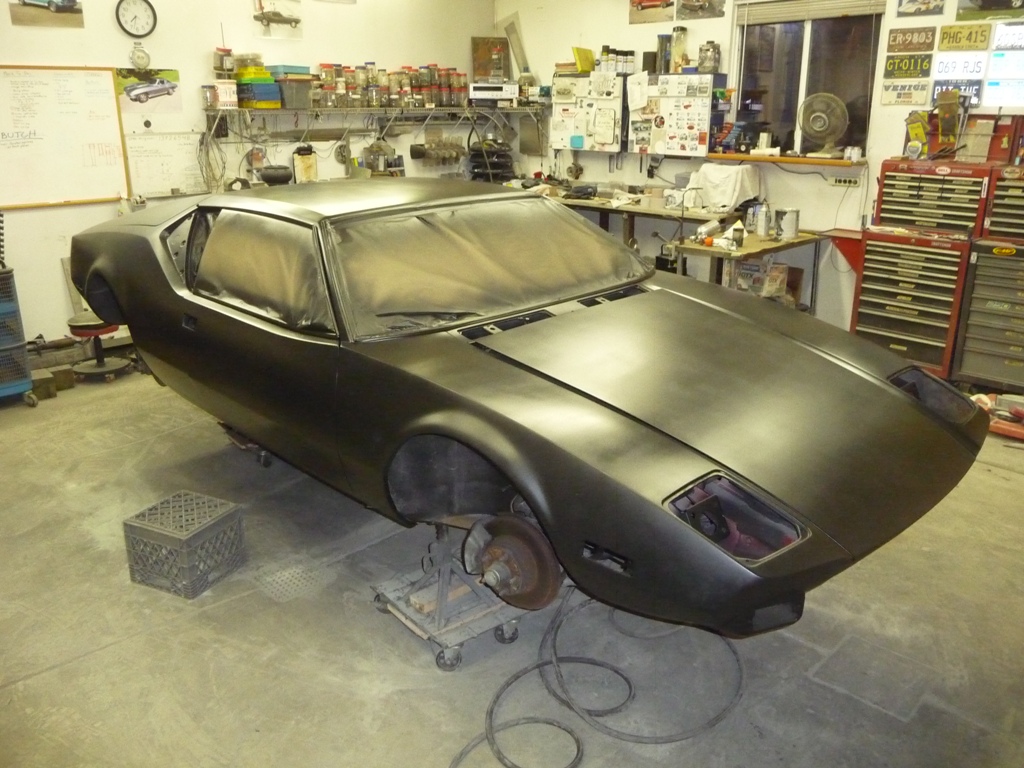
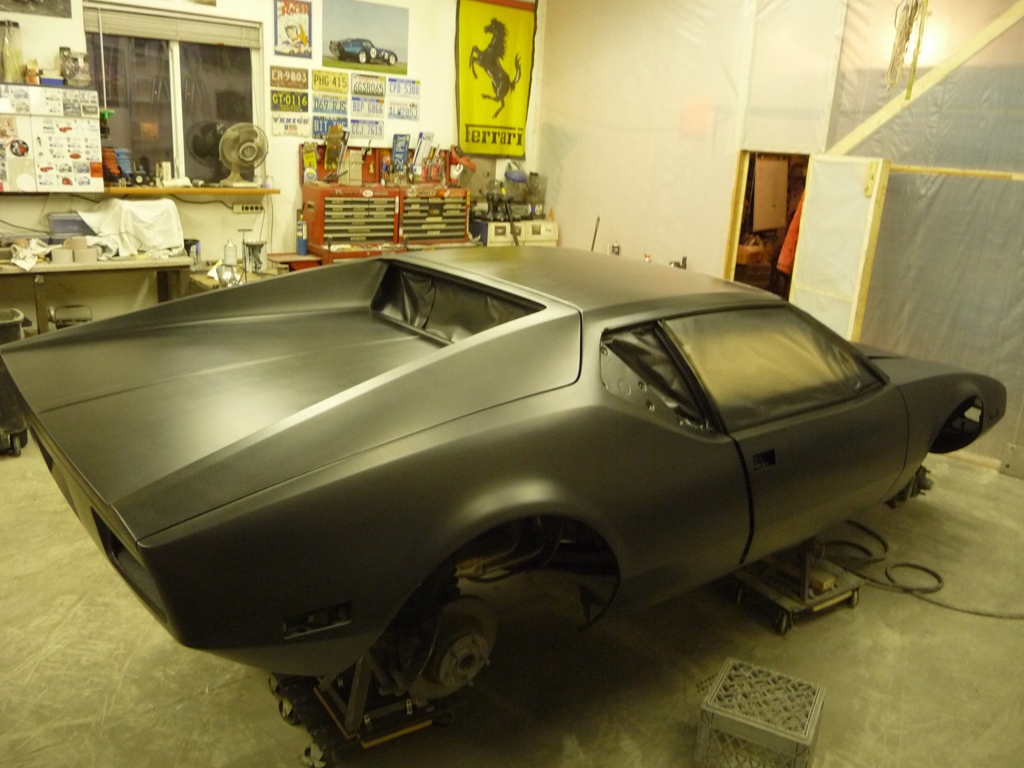
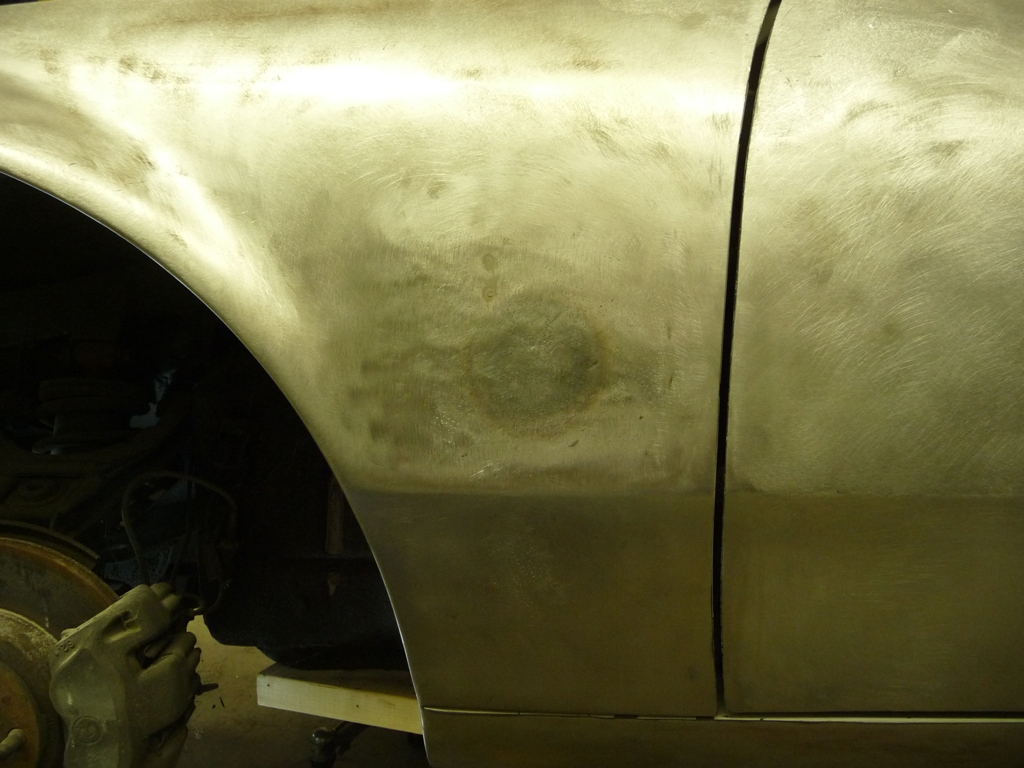
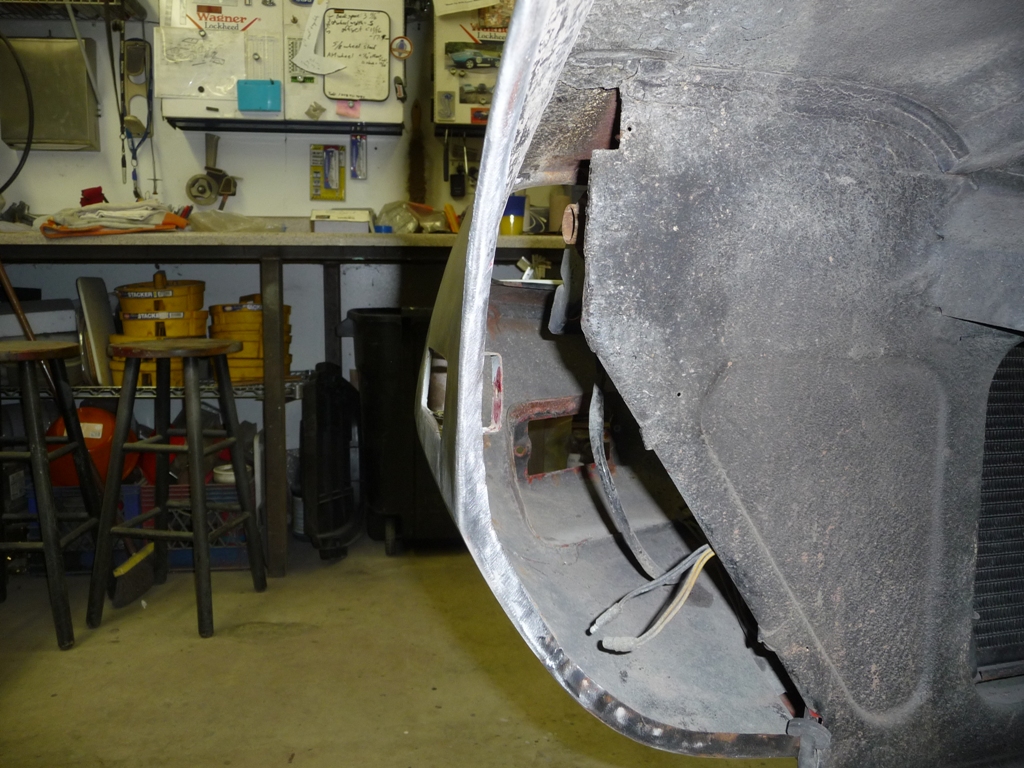
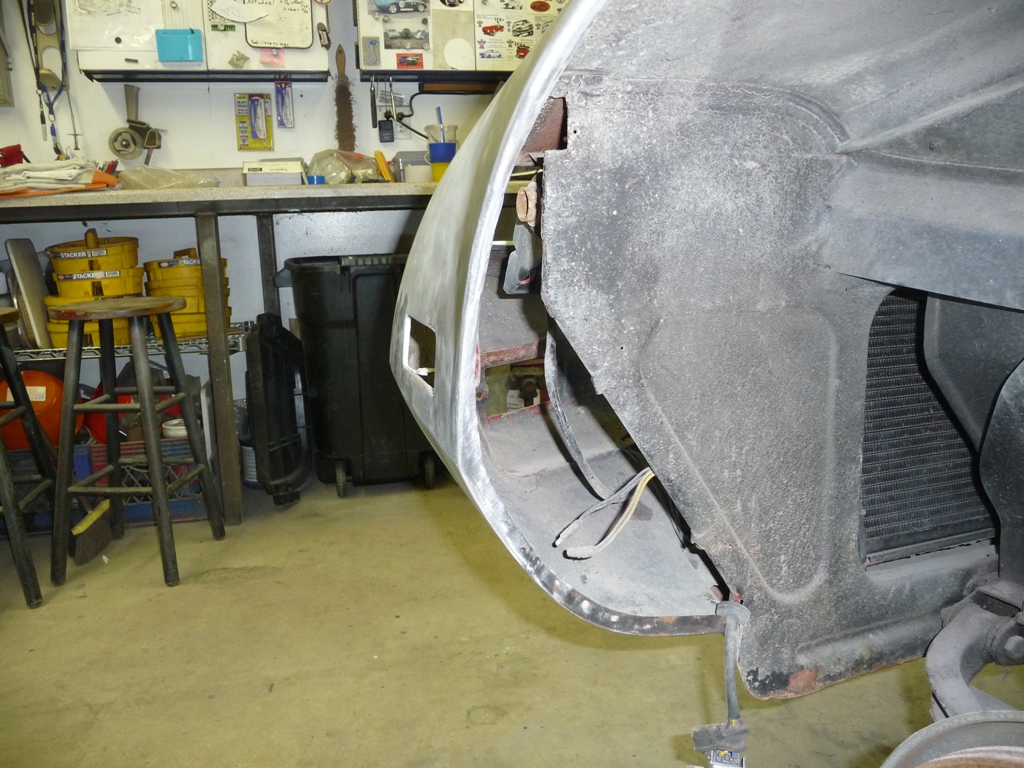
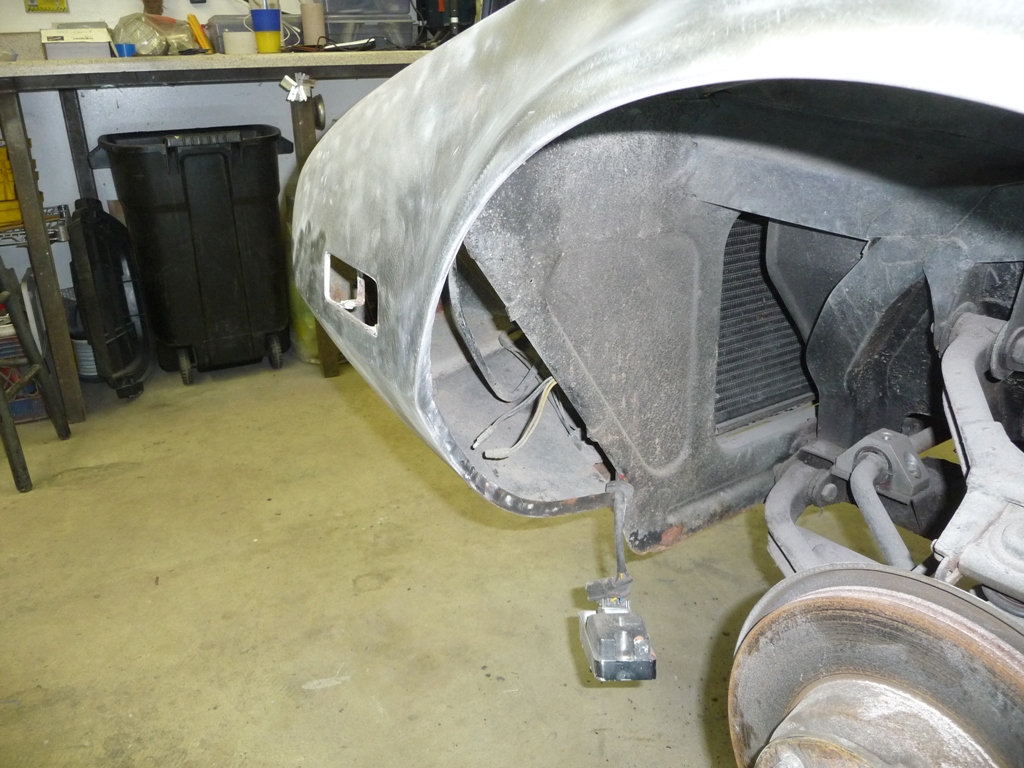
Today I took on the LF fender. There were two areas of concern (aka derby damage ;-). The area where the Ghia badge mounts had been bent badly enough that the metal was stretched out. The previous repair guy simply popped the dent inward and filled it with a half gallon of body filler. The other area was the front side of the wheel arch was cave inward.

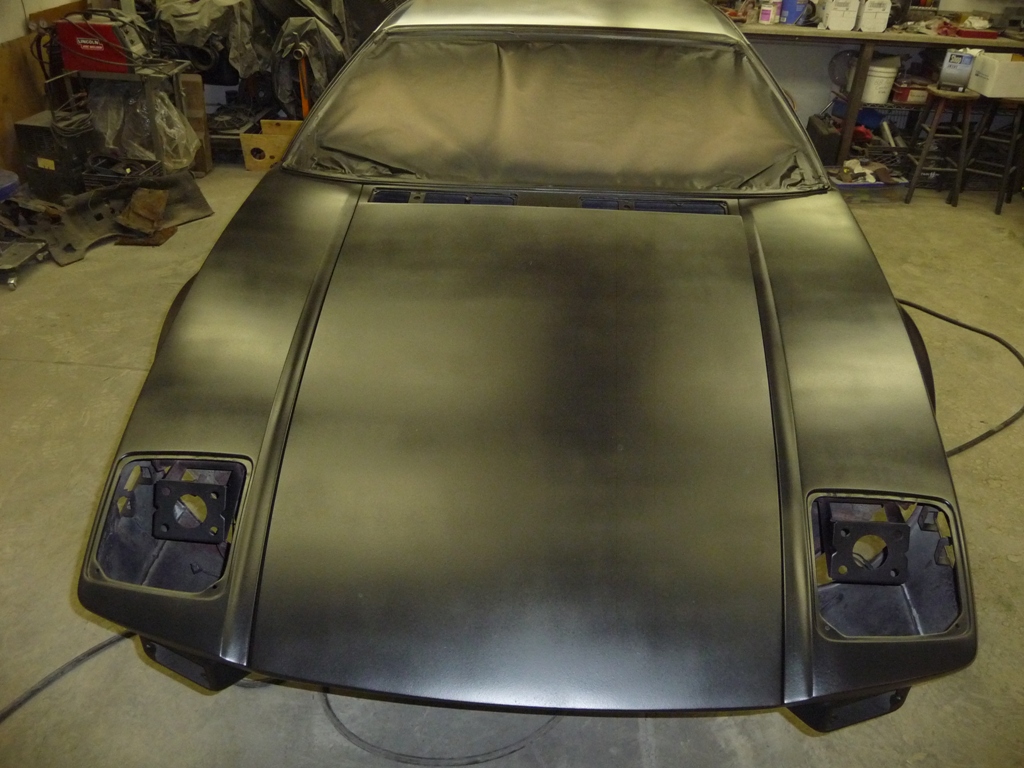
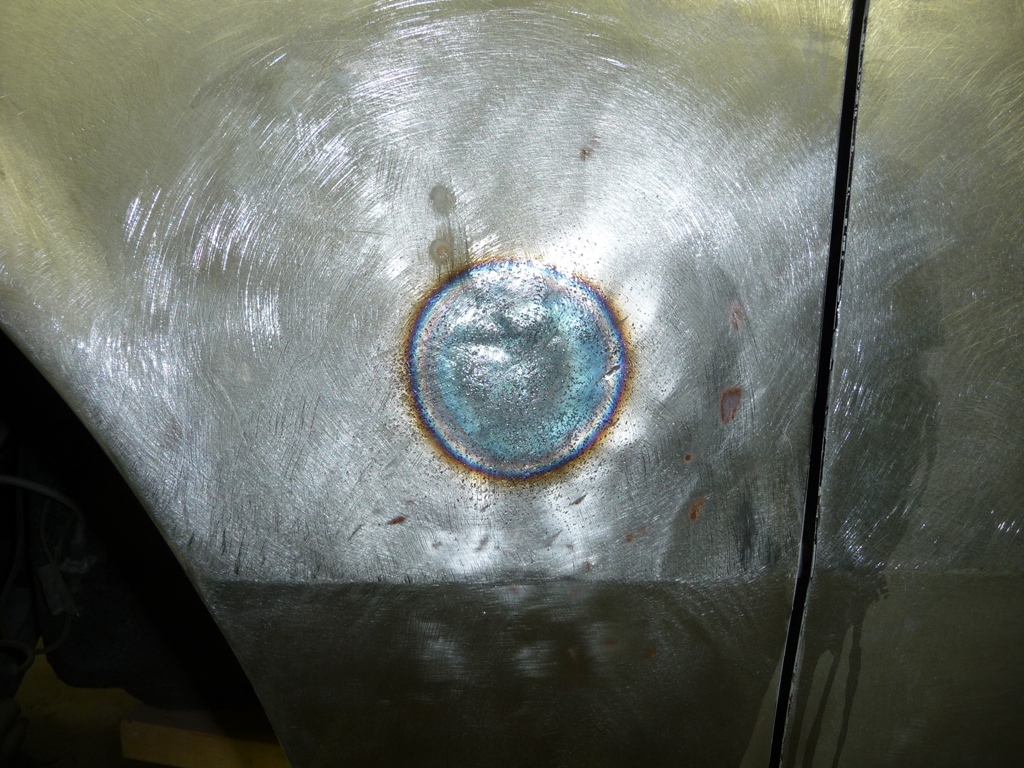
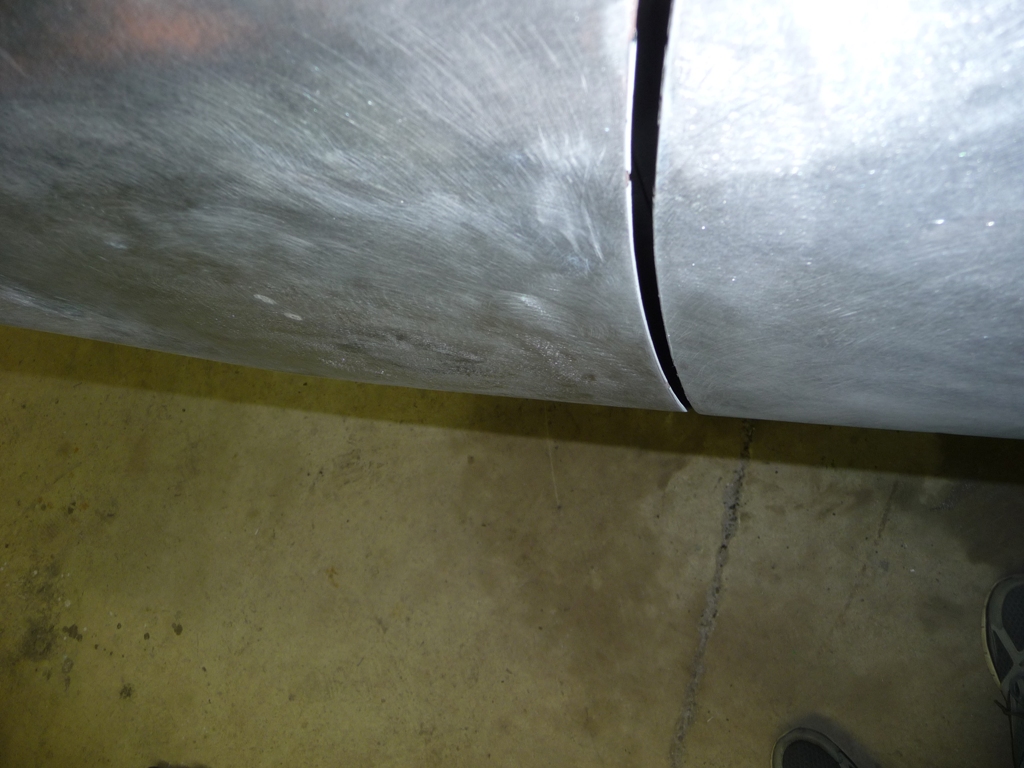
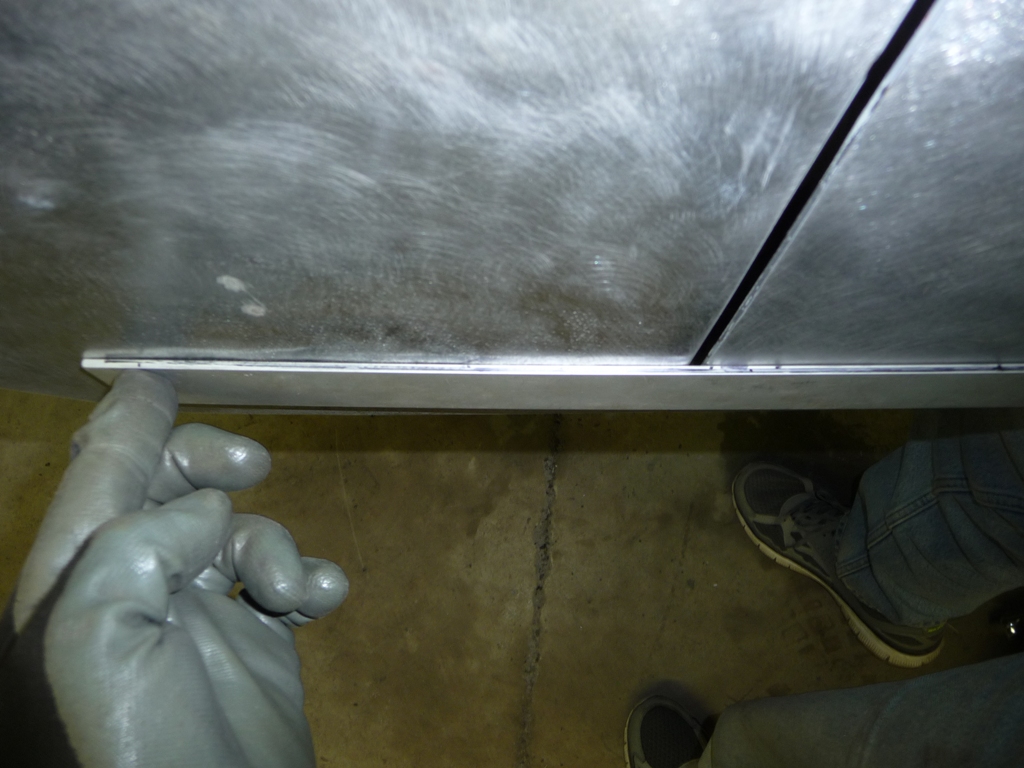
I tried to shrink the metal with a shrinking hammer, while it was much better, it didn't quite get there. It still oil canned badly and was still proud to the needed profile. So I used a quenching trick. I heated up the high spot, quickly hammered the area while dolly backing it, then quenched it with water. Only doing this once achieved the desired result. Then, I was able to hammer work it to the desired profile.

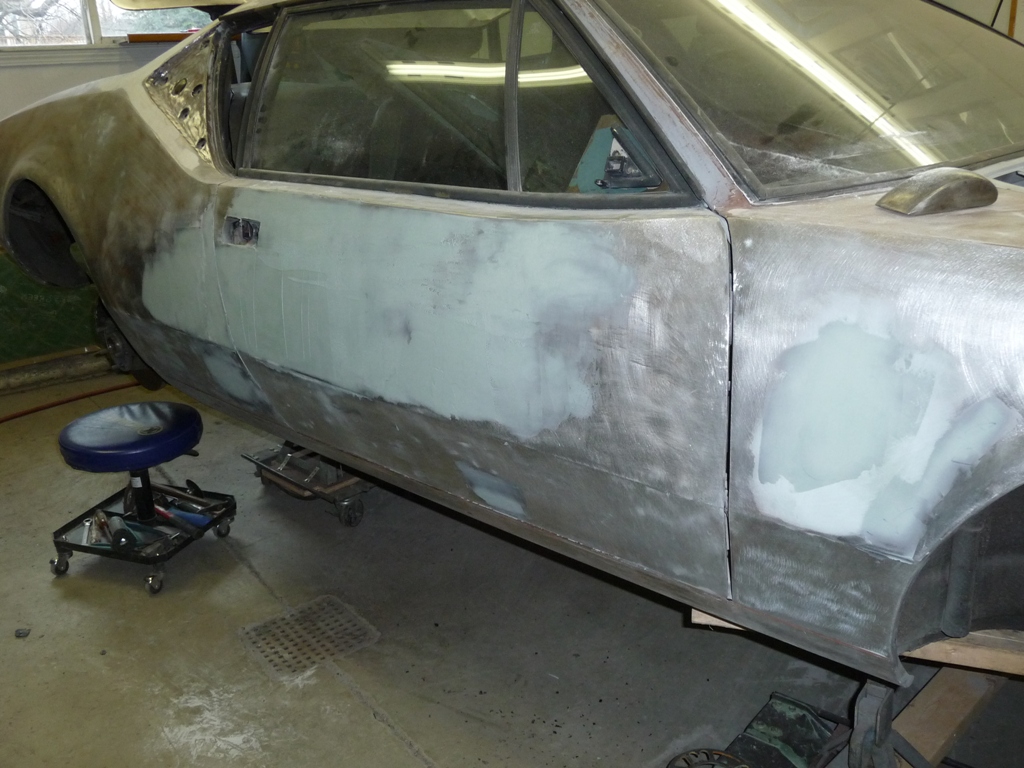
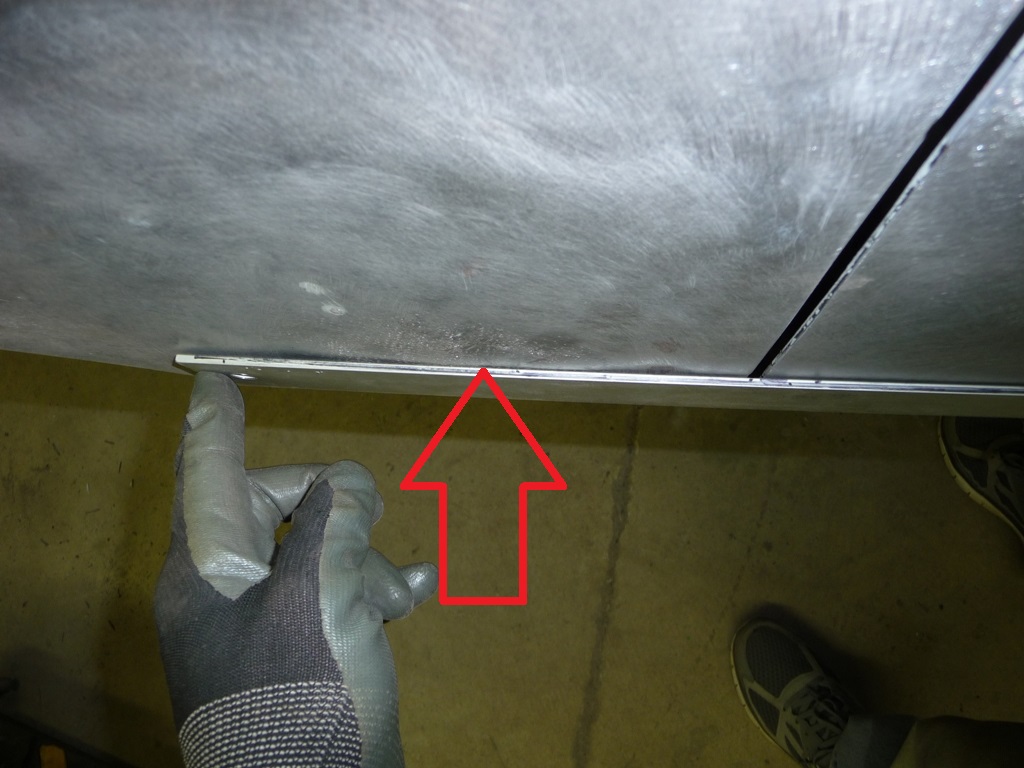
Again, I tried my best to show before/after shots...but it was difficult to capture the true essence of the issue. Hopefully it worked... The arrow shows the high/oil canning spot.


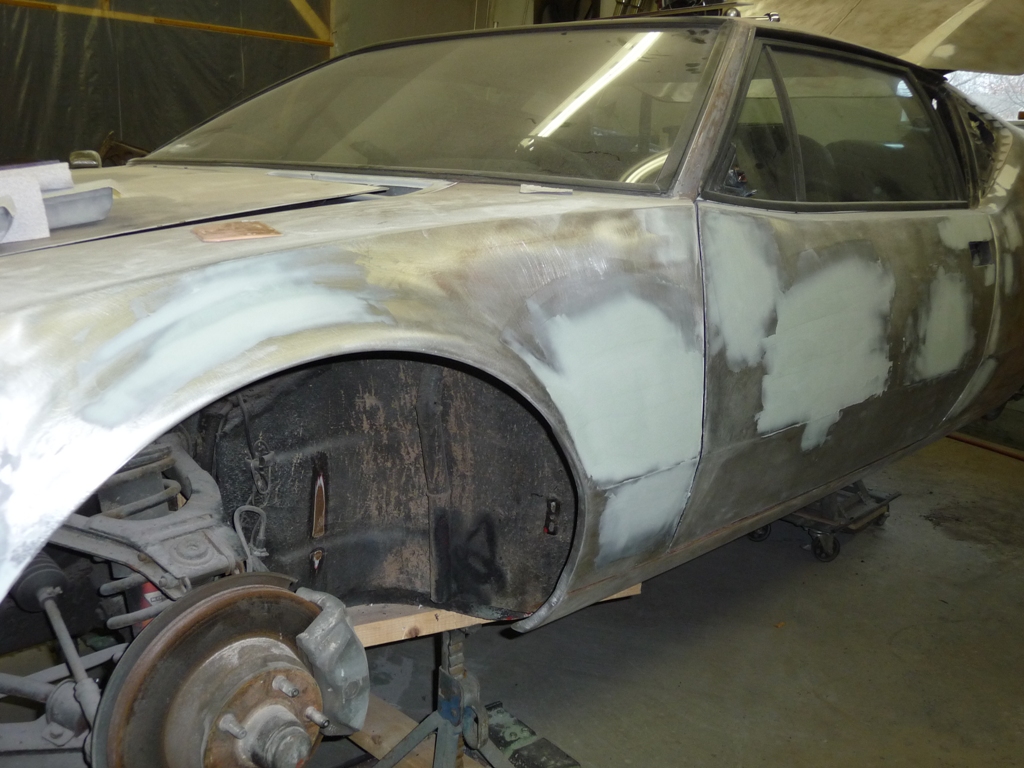
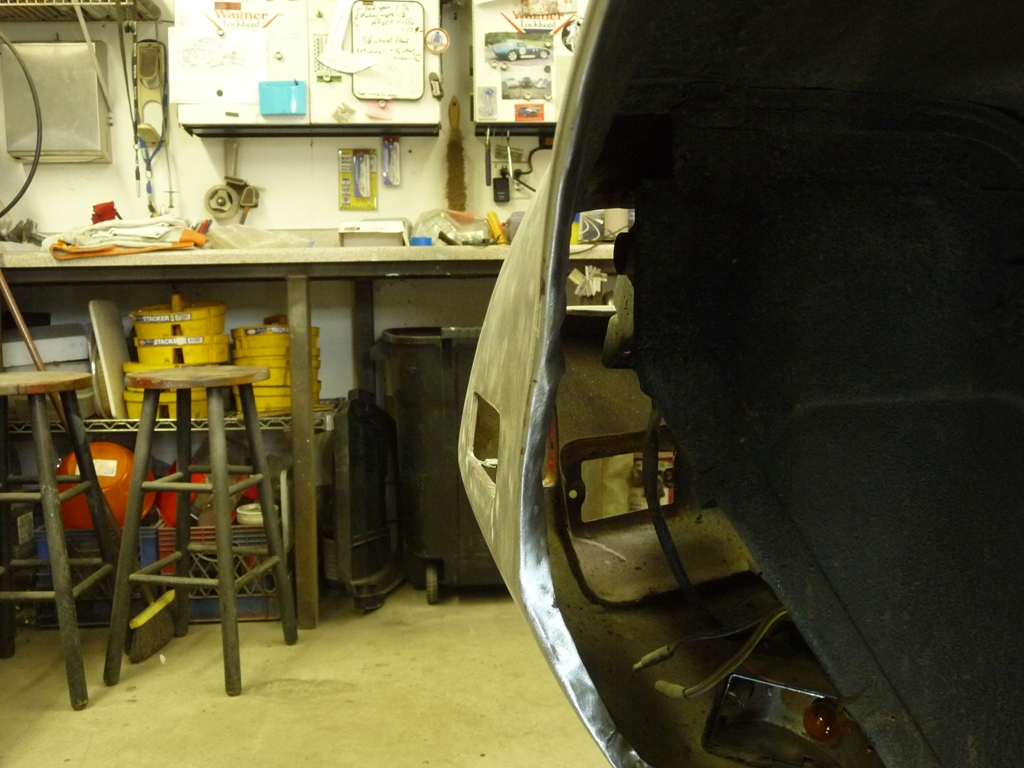
With that addressed, I moved to the wheel opening.


And that'll do it for today....
Thanks Rob for posting the pictures and step-by-step explanation of your progress. I find it all very interesting as I know nothing about body work and this is a great way for me to learn a little something about it Smiler

Plus it's fun to witness progress on a car I almost bought from you last year Wink - I'm happy the car remains in your hands for a proper restoration.

Cheers & Happy Holidays!
Tim, glad you're finding the posts useful. And, especially glad I didn't sell her.. Big Grin

OK, so managed to get a couple days of work in over the holidays...

Found a good size dent under a bit of bondo on the front valence.....


I couldn't manage to swing a hammer inside the valance any way or in any direction I tried.. so ended up using a round tip air chisel to help massage the dent out from the inside.


Skim coat...sand...skim coat sand... Wow...I'm out of shape. Eeker


Fill coats/sanding done on all but the hood. I've lost 3 lbs and gained a bit of muscle tone back from years back Wink


With any luck, I'll have the hood knocked out next weekend. It has some ripples in it due to ...wait for it... accident damage (imagine that!). The filler won't be thick, but I'm going to have to put a skim over a good portion of the hood due to some waves/ripples. Such a large area is a challenge, so I can't rush it. I use a long firm board for sanding to ensure no ripples when done. If I can get it done, then I'll shoot the primer.
so..getting the hood to my liking was admittedly a challenge. I think I put half a gallon a filler on the floor in the form of dust by the time it was all said and done. Very interested to see if I nailed it. Unfortunately, won't really know for sure until it has clear coat on it.

Prepped and ready...


Primer sealer applied...


Not sure if I will wet sand it or leave it as sprayed at the moment. Either way, the plan is for her to wear this "grunge" look until I do the full restoration. At that time, she'll go back to original red.
Hi Michael,
Thanks man.
To be totally honest... black was chosen so I could drive it like this. Big Grin
I've only seen this epoxy primer in gray or black. I had no interest in driving it in gray primer...so black it is. Plus, I used up the old stuff from 4042 before I cracked a new can. I do believe it will give a darker depth to the red once done, but I can't claim that was my primary reason.

Thinking of putting a red hash stripe on the LF fender, wheels in the same black. Going for the sinister look until it gets turned to arrest me red.
Thanks for the info and links Rob! That's perfect.

It'll be a while before we disassemble XXXX to actually finish and prep the body for paint. But I'll need to get her on the road for a while. I can't wait to see what she actually looks like in one color.

I'm assuming I can always go back and grind and fill more after this primer is on, right?
Last edited by George P
My guy stated the same ..about the general concern for moisture. He stated however that this is dependent upon what type of filler you use. Some are more prone to concerns than others. So folks should be aware of what they are buying. Cheaper aint always better.... Since the stuff that I use does not have moisture/corrosion concern to metal, I have always chosen to apply directly to the metal. I have always been concerned about adhesion, and don't really like the "idea" of a layer of paint between the filler and the metal. Who knows which is really better. My guy tells me not to worry either way. I'm using good quality materials and will be fine which ever way I do it. ????
OK, so knocked out the lighting today. Headlight doors and all lights on all corners are now functional. Found quite a bit of white corrosion in the fuse panel. Many of the gremlins may have been tackled simply by taking the panel out, giving it a good cleaning and using dielectric grease at all the contacts on re-assembly. I still have to figure out why the turn signals and hazards aren't working...


Last edited by robborruso
Thanks Tajon.

So...took a break from paint work due to it being bloody cold out. Venting the garage would be a bit painful. So, decided to go through the brakes. I guess I took a break for brakes... sorry..couldn't pass it up... Big Grin The pads/rotors look quite nice, but the calipers drag so badly that the car is almost impossible to roll around the shop (skates were somewhat mandatory ;-). Ran into a bit of a challenge, in that on both front calipers the small pistons were seized in position. I used the traditional air pressure trick, and managed to blow one of the two out on each. But, each still had one totally locked. In the past I have used the vehicle's hydraulic system to push a piston out, by reconnecting it to the brake hose and pumping it out. However, I had these fully disassembled and split. Didn't like the idea of backing up so much to put them back on the car. So, came up with the idea to mount a zerk fitting and use the grease gun. It worked..super smooth. Thought I'd share it..


Need to work a bit more on the bleeding, but brakes are almost off the list....
quote:
Originally posted by Rob Borruso:... came up with the idea to mount a zerk fitting and use the grease gun. It worked..super smooth. Thought I'd share it...


I have a collection of differnt thread zerks I was using for "dust plugs" for my brake connections as I gather pieces up. Good to know it might be useful latter on

Add Reply

Post
×
×
×
×
Link copied to your clipboard.
×