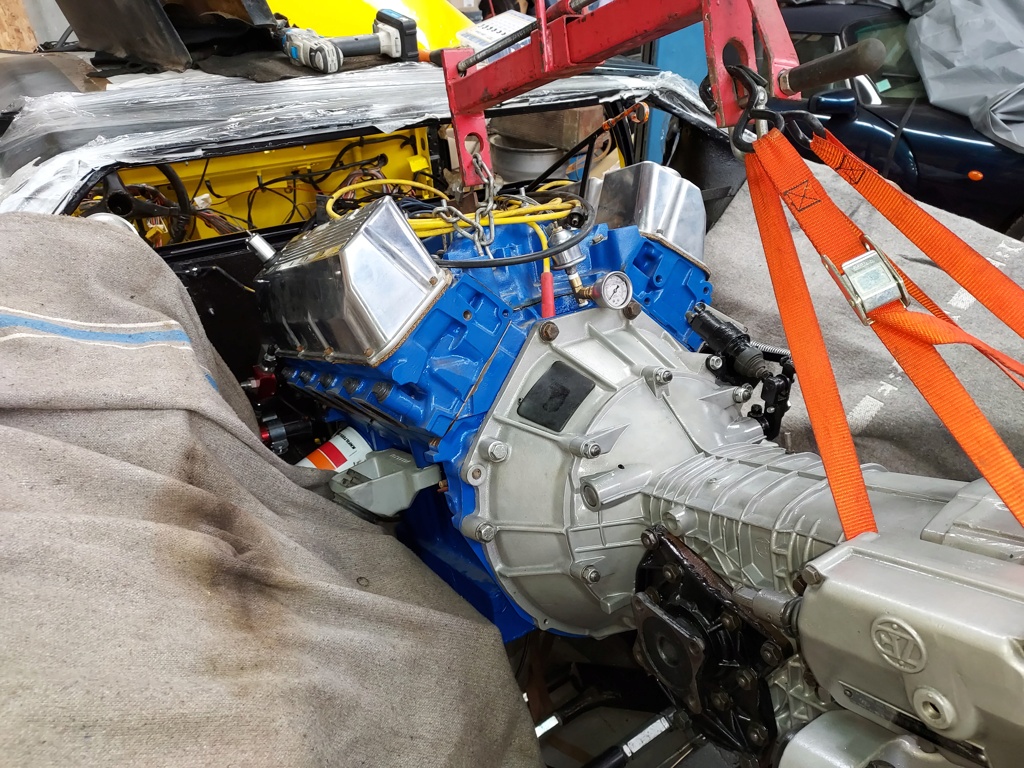
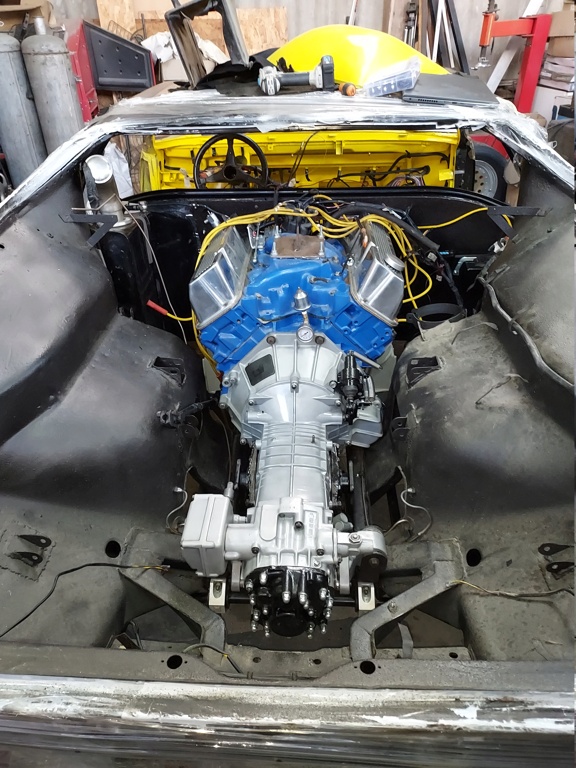
This is the project Pantera that I received in February. I am trial fitting the engine and it looks like it will go in just fine. At first I was thinking I might need to pull the alternator but now it seems unnecessary. Today I am hoping to sort out all of the EFI harness routing and connections to the engine.
Replies sorted oldest to newest
The engine is back on the ground. My take aways are:
1. The EFI harness is fine where it is and I can fine tune its routing once the engine is installed.
2. Handling of the engine will be easier with the oil filter and alternator removed.
3. My second hand engine hoist has a crack in the boom. Based on the corrosion in the crack, it has been that way for a while. I will probably shore it up with a couple of square u-bolts.
Attachments
Steve, Looks good. On the Hoist, I would eventually get it welded up. Talk to you on Monday. Larry
Agreed, I will get some angle iron welded onto the crack. In the interim I added a clamp. I have used the hoist twice before noticing the issue and the clamp should suffice until I get the permanent fix. I also reconfigured the hoist to use the leveler instead of the tied down straps. I struggled with the tie downs today. In the next day or so I will test the leveler for clearance. The leveler also effectively lengthens the boom a couple of inches. During today's trial the hoist's bottle jack was very close to the back of the car.
Attachments
...Listen UP!! You need to Put a Cushion Hanging over the Center of the Tail, Thick Mattress or Blanket, because when you release the Load, the Lift Cylinder will come crashing into the Rearend! And You have No Bumper there to Stop it! Be Aware, You've Been Warned!
Two things with the Pantera.
1) You need to raise the front of the car, the nose, as high as you can get it to reduce the angle of the lift "inserting the engine".
2) I made a solid "t" to fit the end of the lift so that the chains hang straight down to the exhaust ports and do not touch the valve covers. Other wise you can stress out the valve covers.
It also aids in stopping the engine from swinging as you thread the needle with the engine assembly/
It is highly adviseable to remove the carbs or the throttle bodies. Cover the intake ports with duct tape. Remove the distributor cap, rotor and plug wires. In fact, it isn't a bad idea to remove the spark plugs since it is possible to crack them with the hoist chains.
While Marlin's suggestion of putting a pad between the lift and the engine assembly is a reasonable caution, my lift won't come crashing down. I can control the rate of descent by opening the jack valve gradually.
I do know that the jacks can be sometimes tempermental and sometimes act as only completely open or completely closed but I think that on an engine lift if that is happening then it is time to service the jack or replace it. It is not supposed to operate that way. You need complete and reliable control of it.
Also I have found that the larger engine hoists are better for the Pantera since the legs that go under the car are thicker and you can extend them further without risk of them bending. However, it is close under there and part of the thing of raising the nose of the car up is to help clear the top of the engine lift legs to the bottom of the car.
The "technique" of installing the drive train in the Pantera is "just a little bit different" then other vehicles. Go slow. It is a very tight installation.
I honestly don't know how the factory got it in without removing the carb.
You mount the font of the lift arm as close to the engine as you can get it and you use the "equalizer" in the back on the transmission to raise or lower it over the rear sheet metal or maybe more precisely change the angle of the drivetrain as it goes in.
You literally thread the needle with the installation.
Make sure that the casters on the lift roll easily and smoothly with nothing on the floor to obstruct that movement.
Back in the factory days, there was a big “U” shaped engine mount.
The crane/hoist attachment point was actually over the roof of the car.
I don’t know if there was a carb on the engine or not.
There are a few pictures of the setup on this forum somewhere….
Rocky
Obviously, this critical information is not going to help you much with your install, it was just an interesting anecdote…
On my other hand there are hoist fixtures with the lift point near the ZF/engine junction that can move the boom very close to the engine…
Gives you some “room to move”…
Pictures here…
But Steve - you’re on the thread, so you know all this!
...I NEVER said 'Pad Between the Lift and Engine Assembly'!!'
What I did say is...Cushion Draped Over the Tail of the Car!!
The engine is installed, with the Lift functioned as, A little forward, a little down, a little Forward, a Little Down...Repeat until set on the Mounts.
Now What I said is, when the Total Weight is Finally released from the Lift...the Lift will come Crashing FORWARD! With the Lift CYLINDER Slamming Into the Rear Of the Pantera!! That area must be protected! Now, You can do Nothing, and Believe Me Later. I've installed these Engines many times.
Last, You Can NOT use a 'Equalizer', because the Engine Hangs Too Low, Below the 'Hook' and the END of the 'ARM', will NOT CLEAR THE ROOF LINE, no Matter How Low you Lower it!!!* And the Rear of the Car should be as Low as is Possible, the Engine will barely clear the 'Lip' by 1/2", with a 9 Qt. Oil Pan.
It Happened to Me! I had just a 'Towel' at that Center Spot, to protect from 'Scratches'. LOL. The Engine had Just been Set Completely on It's Mounts. When I released the Rest of the Pressure, The Lift came 'Crashing Forward' to Do Great Damage!! The 'L' Bumper was ON at that time and Saved the Rear of the Pantera from a Massive Dent!!
* in that situation, once the Engine has cleared the 'Rear Lip', and is IN the Bay, Jack the Rearend UP.
Now You can 'Take That to the Bank'. And Stop 'Flipping' My Words Around, Misquoting. Doug!!
...I Need to find the Picture of My 16 Year Old Son, installing the Engine and Trans all by Himself, using Two Fingers, to Align the Engine to the Mounts!! (with a Little Help, I'm at the Lift Control)
The Trick is A Lift Chain Bolted Across the Top 2 Open, Rear of the Head, Bolt Holes, on the Hook with shortened Chain of 2 Links, puts the Arm End 'Right There', With a 1 inch ROPE from that Chain forward over the Engine and wrapped Under the Damper Balancer and then, Back. This provides the Perfect Angle Adjustment!
It ALL Works Smoothly!
Thank You!
MJ
Steve,
It's looking good. Lots of options on how to get then engine/trans out and back in. Slow and easy is the best. I use kind of the same setup as you. The Harbor Freight load leveler with the chains bolted to the second from the end manifold bolt and a cable around the back end of the ZF. Next time I need to pull it out I will use a strap on the back of the ZF. Turning the handle on the leveler is a pain!
Ken
Attachments
@haydude posted:Steve,
Next time I need to pull it out I will use a strap on the back of the ZF. Turning the handle on the leveler is a pain!
Ken
That's exactly what I did. Just used a little come-along to make adjustments. I don't think I have a picture of my setup. When I was doing this the general consensus was the load lever posed clearance issues.
Question: is there any reason not to use a lifting plate on the intake? I have heard lots of opinions on why that is fine and those that say why that is "dangerous"? I have not pulled a motor so I am simply asking for thoughts on why this is not a reasonable way to do it versus lifting from the heads? thanks
Four 1/4" bolts in an aluminum manifold is probably not the best way to lift a 600 pound (maybe more) engine and transaxle. Along with that, using the plate alone is far forward of the level balance point. In the photo at the top of this posting you can see how much the engine must be tilted at first. Then you have to gradually level it once it is tucked in. The tilting and leveling is the most challenging part of installing the engine. I have done it at least three different ways and yesterday with a regular tie down along with a ratcheting tie down has been my least favorite and hence I am revisiting the leveler. I used the leveler not long ago to help Larry (Lardog) pull his engine/trans and there was not a clearance issue. But this time around I am going to thoroughly test the leveler before taking the deep dive of installing the engine. I spent a lot of time on the car's engine bay and I will not rush this engine install.
Doug suggested raising the front of the car as much as possible. Thank you Doug. I did not know about that trick. It will reduce the amount of tilting needed initially.
Lee, sorry for the long answer. You could use the plate as the front anchor along with another anchor somewhere back on the transaxle. That is exactly what we did with Lardog's engine and trans. This time I am using the two manifold bolts between #3 & #4 and #7 & #8.
Thanks Steve. I should have clarified my question by saying using the carb plate for the front pick point and a second pick point for the ZF. I am thinking GT40 where the back end of the tub is totally open with no tilting necessary. My belief is that would be fine for 289 SBF and ZF
I have seen engines hoisted by the plate bolted to the carb mounting flange on a single 4v intake. Not on an 8 stack intake or a multiple carb intake.
I felt I had more control by making the t and mounting to the heads at the exhausts. It helped sooth my paranoia.
It did take several tries to get the insertion angle just right.
I'm sure that everyone has their little tricks particularly in a Pantera. I can only pass along mine and have no intention of criticizing other cautions.
The comment of "the Devil is in the details" does apply itself here. Differences in equipment will likely alter the approach to take. Seemingly everything in a Pantera is a little different then what one expects. Even experienced mechanics and engineers?
Certainly the Detomaso factory had their own well engineered approach. You are only doing one, not thousands. Have fun discovering!
Volla!
I just have to add, those pictures really show how the drive train really is shoehorned into this car...and wow, there is a Harbor Freight there in France too!
Sorry but I am very bad at English and I don't understand "Harbor Freight", I assume it is a figurative expression? Do you mean that my garage is very untidy? Which is perfectly true
Rene,
Harbor Freight is a company in the US who sells low priced (mostly made in China) tools and equipment.
Ron
I think that the orange load equalizer is the "giveaway" on that.
I actually have two of them and one of their hoists.
I don't have great faith in the equalizers but do in the engine hoist. The thing is a monster and I only use it for long reaches like for the Pantera.
Not only is it really a "heavy duty industrial" item, it is just plain heavy.
I have a smaller, lighter and more maneuverable hoist to use on "American" front engined cars that gets much more use. It is much easier on my body to set up.
In many ways, Harbor Freight is just a reseller. Many items here now originate from "China", although that has become somewhat of a generic term of unknown origin but suspected "third world" production.
Imported items into the US are no longer required to show "Country of Origin" and/or, there are ways around that such as importing through a third party under an "International trade agreement".
Some are very good, some not so good.
The list of products attributed to "Chinese" production here is very extensive and not only includes tools and industrial items, but pharmaceuticals and even some foods.
This is Chinese tools bought on ebay.
I am not particularly pro-Chinese but I recognize that they have the merit of making accessible to amateurs tools that were previously reserved for professionals because they were very expensive. Of course it is not the same quality but to use it once in a while it is largely sufficient and it makes the work much easier.
If I buy something at Harbor Freight….
If it keeps working… I keep using it.
If it breaks, I throw it away, and get a better version of the same tool… (can’t say the “better” version wasn’t built in China too, though)!
Rocky
In Europe an equivalent might be “MachineMart”?
My tools are a mix of every kind.. from snap-on to Hazet to Harbor Freight to Amazon and craftsman…
there are plenty of times where a big hammer, an angle grinder and a welder make the tool required for the job… and if the “new” tool survived the operation it will be proudly put in the toolbox… that’s what the main reason is for cheap tools for me… and yes, I do harden the soft china “steel” 😜
Doing a job requiring more accuracy, the US or German tools get very handy..
My tools come from my grandfather who was a locksmith adjuster, my father who was a mechanic and everything I bought in almost 50 years.
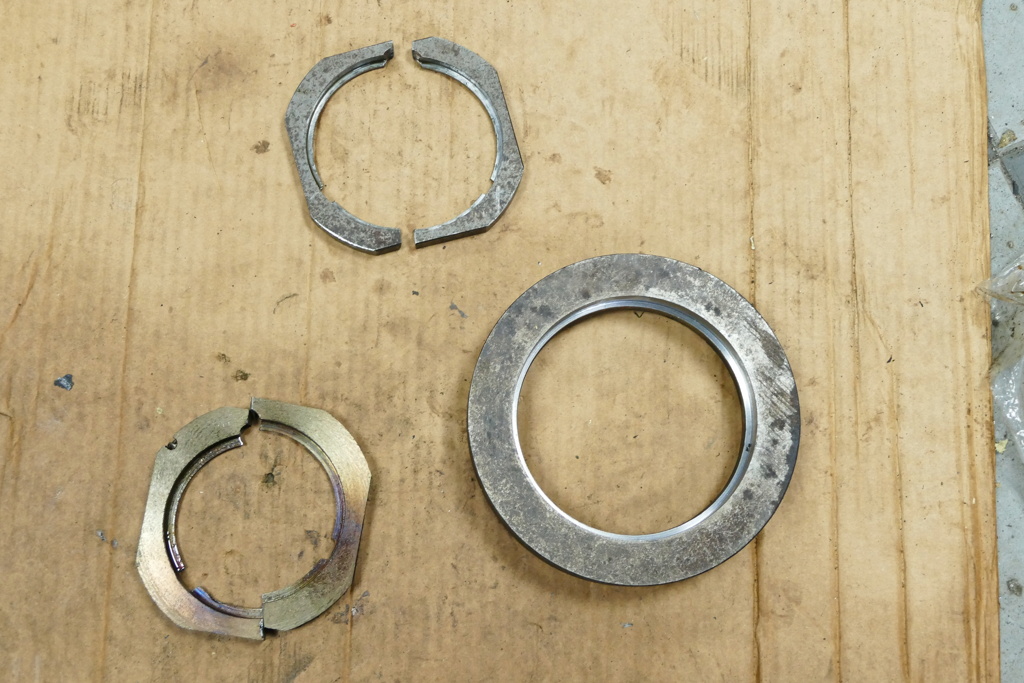
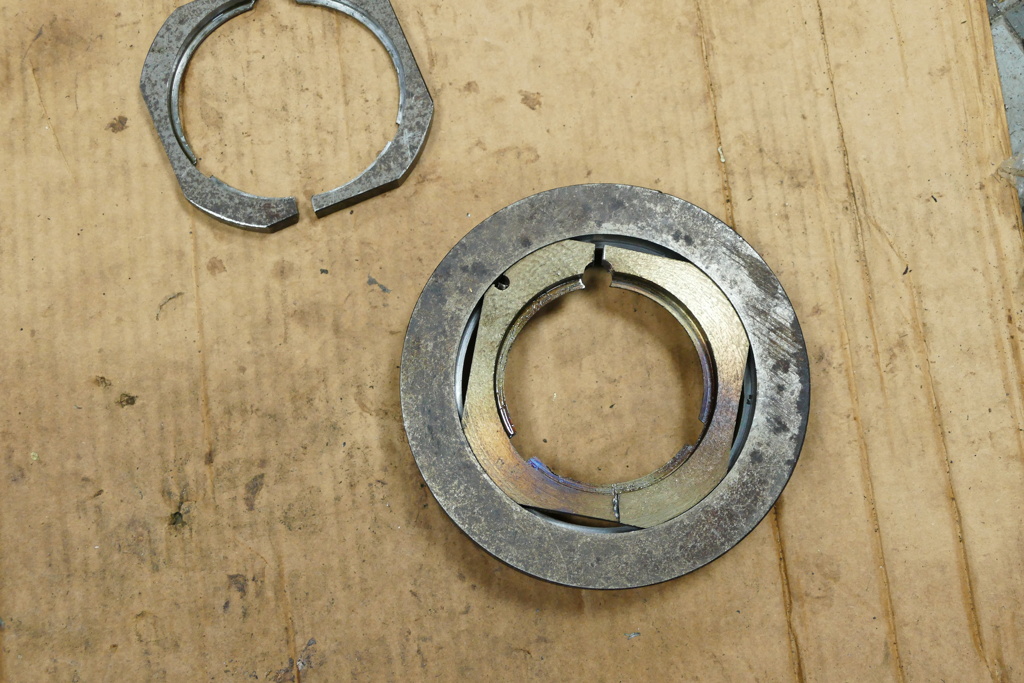
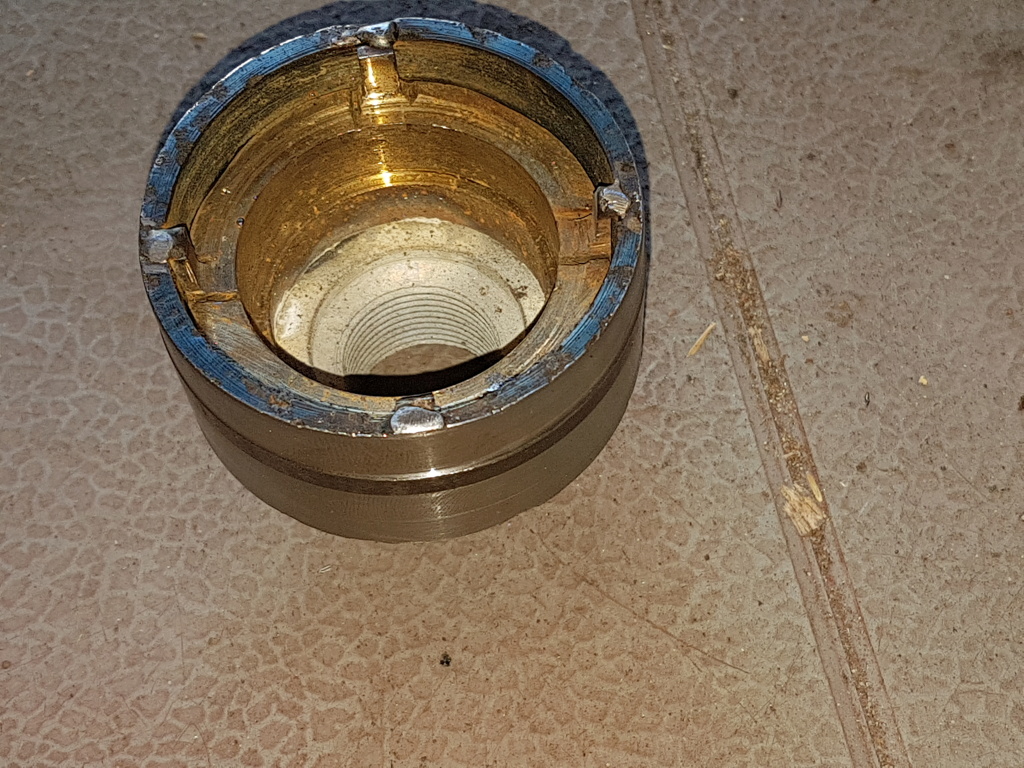
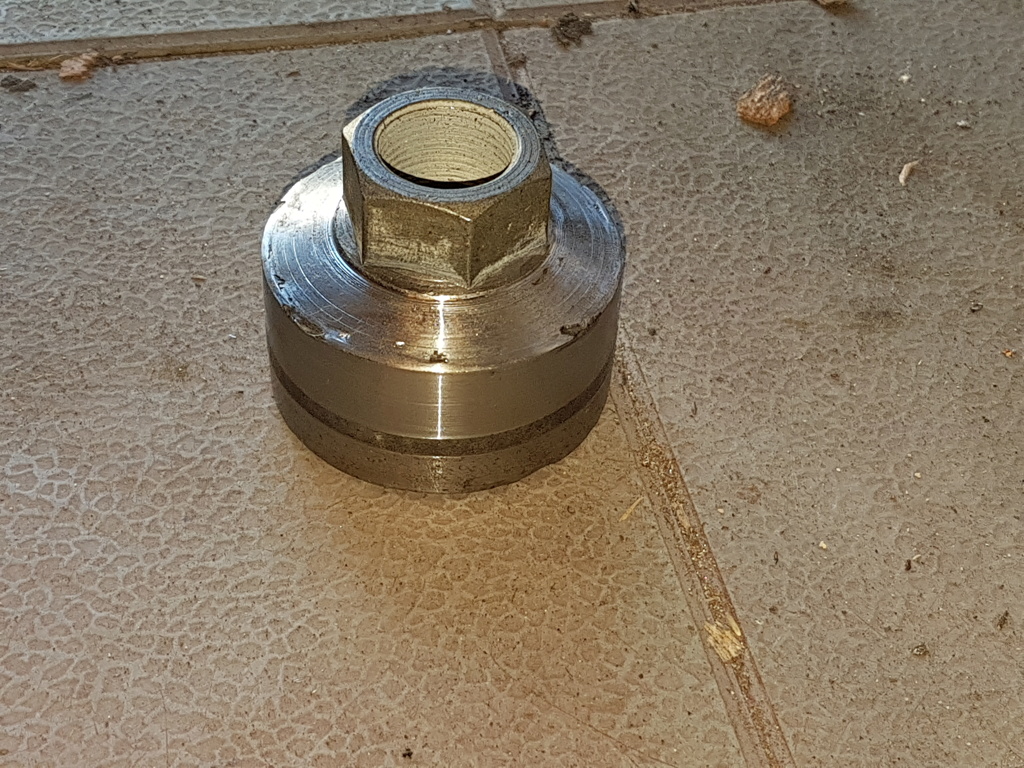
There are also those that I made, like LeMans850i with a big hammer an angle grinder and a welding machine, but also with my lathe and my milling machine which allows to make more complicated ones, like those to disassemble the ZF for example or the socket for the rear hub nuts
Update:
The engine is in the car. The load leveler readily clears everything. The boom on this lift is barely long enough. This was an uneventful engine installation and those are the best kind. Also, I will probably. be changing that engine color.
Attachments
Nice work Steve - need you down at my place when I do mine :-)
Looks Good Steve. What color would you paint the engine?
Ford Blue, of course!
(I hope!)