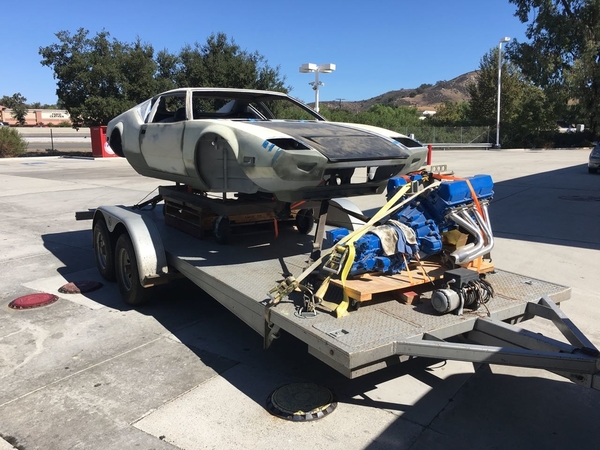
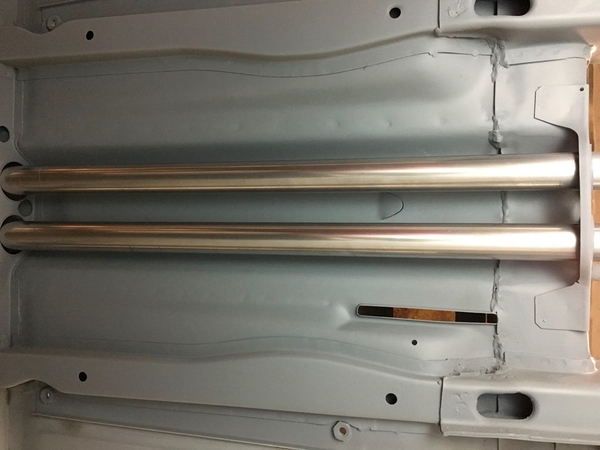
 This is a photo album for the restoration of Pantera #2695. I started this project in October 2016 when I came across a car whose owners started its restoration about 20 years ago. They disassembled it, had it media blasted, and had lots of metal work done on the chassis including new wheel house metal, new rocker panels, new front valence, and anything else that had corrosion. They also built (but never fired) the original 351C engine into a solid lifter 377 cubic inch motor with high compression domed pistons, closed chamber D0AE heads, and heavy duty valve train. I substantially lowered the compression on the motor as you will see later in this photo album. They also accumulated many new parts including new glass, new suspension components, and other items that will be detailed later. When I bought this project I sold my 1971 Pantera that I owned and restored for about 10 years. The picture of its engine bay is my Avatar picture on this forum. The Pantera International forum and its amazing members have been instrumental and indispensable to my Pantera restoration successes.
Pictured is the chassis in its current form, getting ready for paint.
Replies sorted oldest to newest
Attachments
Attachments
Attachments
 Here are some of the bondo tools utilized including a pneumatic gun and cartridges by 3M. The body shop up in Seattle completed about half the bondo and it was up to me to do the remainder. And the engine bay used a lot of bondo. The 3M gun became my new best friend for this effort. The electric sander pictured in the bottom left is used to flatten the bondo during its green state, intentionally clogging the sand paper. The air file (belt sander) gets into tight places.
Attachments
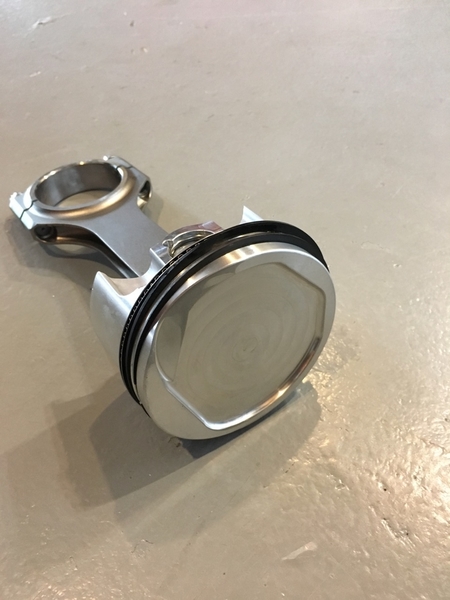
The stock 351C crankshaft was offset ground resulting in 377 cubic inches. Domed pistons were used and the result was very high compression that is not compatible with today's ordinary pump gas. Clay Smith Engineering (Mr. Horsepower) ordered new dished piston to reduce the compression. The dome of pistons that came with the car were the inverse of the dish that you see here.
Attachments
Attachments
Attachments
Attachments
9 quart oil pan for Pantera by Kevco. Clay Smith Engineering blue printed the high volume oil pump for the engine to this pan.
Attachments
Engine on a test stand in the garage. It survived the initial startup and cam break in. What a relief. I changed the oil and filter after about 30 minutes. It was run for a total of about 4 hours during which ignition timing and manifold vacuum at idle were fine tuned.
Attachments
Attachments
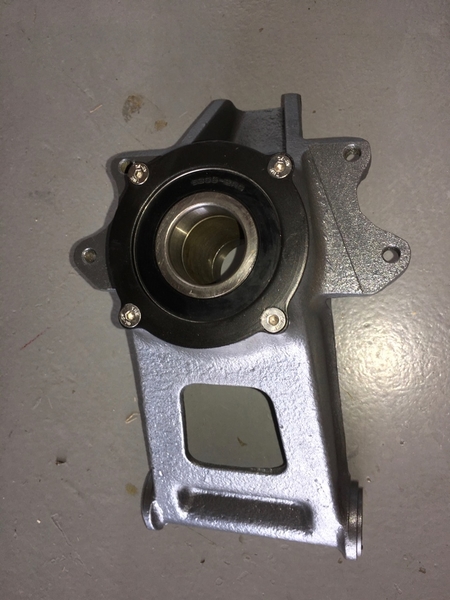
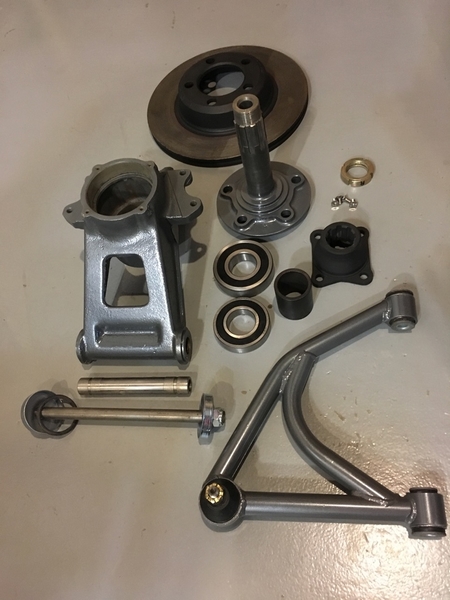
Rear carrier. It was powder coated blue when I got it, along with all of the control arms and hub component. I had it all stripped to bare metal and then powder coated all pieces gun metal grey using the setup in my garage. The powder coating was relatively easy because once the parts where stripped they were back to a sand blasted finish.
Attachments
Attachments
Attachments
Are you not going to fit the "Double" bearing mod in the rear hubs though, It would be a good time to do so.
Its also nice to hear that bondo was needed on your car too, When I bare metalled my car body for paint I was amazed at the bondo used by what must have been the factory!
keep the pics coming (wish I could do that) they are an inspiration to other DTPantera owners
 Hi All,
Thanks for the encouragement.
Peter, regarding dual bearings in the rear, I will be continuing with the stock configuration based on feedback from one of our vendors.
Jan, the car will probably be painted in Rosso Corsa. The body will be stock with chrome bumpers and shiny stainless trim. Wheels will be Campy clones painted to look stock. The interior will also be stock. The engine bay will depart from stock and be finished in car color with a polished ZF, polished intake manifold, and some other polished components, similar to the engine bay on my 1971 Pantera.
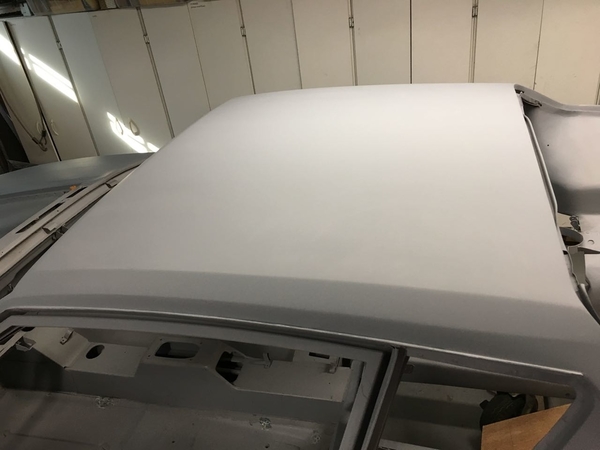
The picture below shows the roof finished and ready for paint.
Attachments
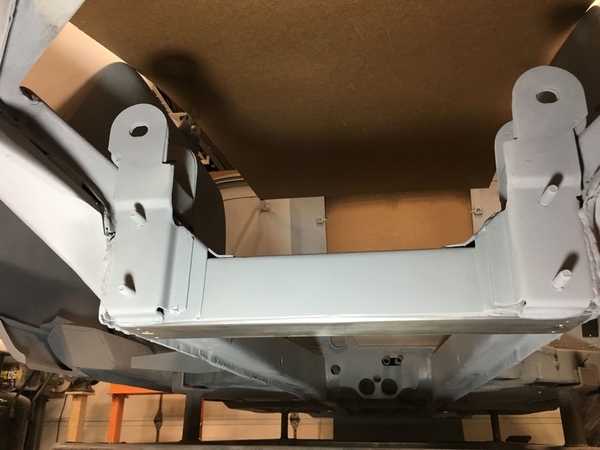 The metal near the bottom of the rear crossmember was bent in several places from jacking up the car. The metal was straightened and the crossmember was smoothed. Also added a jack plate to prevent bending the metal again. The jack plate is 1/2" x 2/12" billet aluminum and fits well under the cross member, and is slightly thicker than the lip on the crossmember that is prone to damage.
Attachments
Attachments
quote:Originally posted by JTpantera:
Steve
Your lower roof line seems a bit skewed to the north on the decklid end starting in the middle of the rear side glass. Not to late to perfect. The line should fade away about flush with the end of the trim. Here is a pic
Good eye John!
Ron
Anyway, you probably want them to be consistent with the crispness of other lines on the car.
I had no idea that these lines were so easy to shift. I thought it necessary to work the metal underneath. Not so at all, the primer has enough thickness to shift them.
Make sure to put your decklid in place. Same technique will marry the line from the roof to the decklid perfectly.
Excellent suggestions. When finishing a Pantera body there are many lines to trace and some are easier than others. I have already gravitated to some of your suggestions and have produced sharp edges that will be rounded later. I will study your recommendations and try to follow along. I am about half way through my second gallon of primer and it looks like there is a third on the horizon.
Thanks, Steve
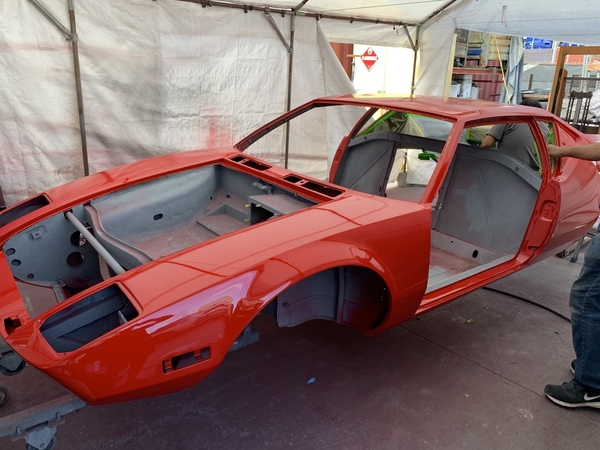
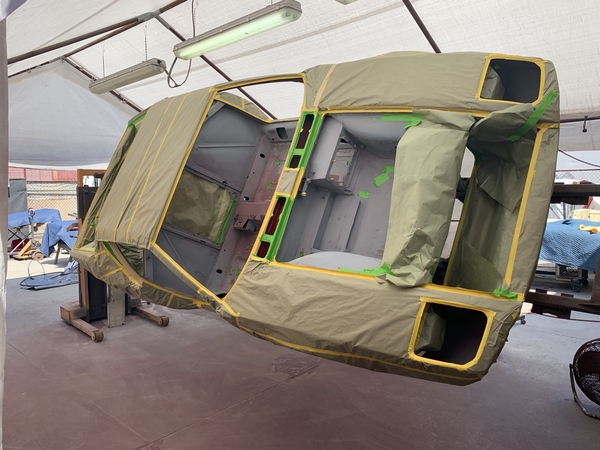
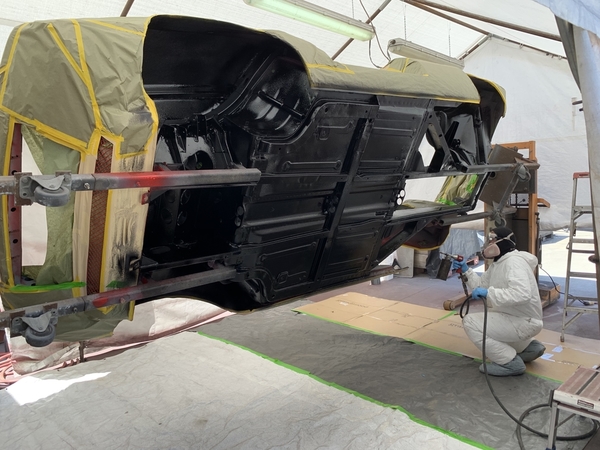
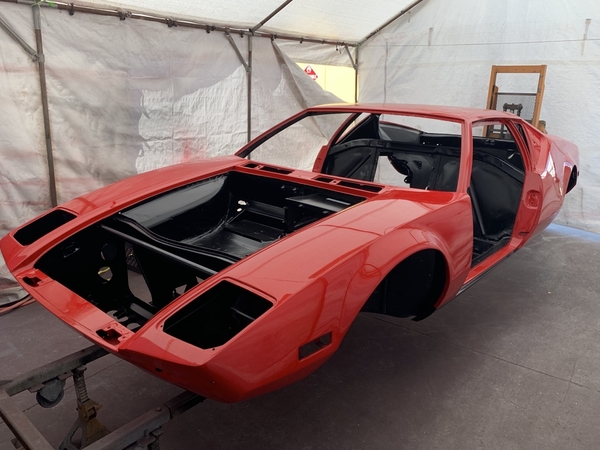
This effort was interrupted by two other Pantera projects. It has regained momentum and the car is now on a rotisserie at Panteras By Wilkinson. The color is Guards Red.
Attachments
good to see progressing. please continue the Post
Beautiful! ![]()
As a Porsche guy as well, I give the Guards Red two thumbs up!
Thats a fantastic choice for the pantera.
I really like the grey suspension components as well.
Please keep us posted
Looks great!
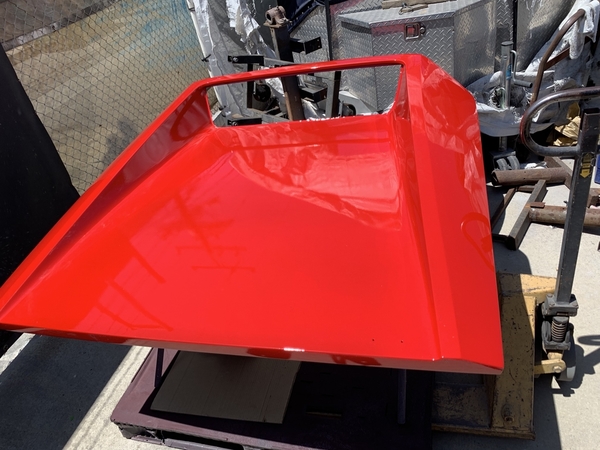
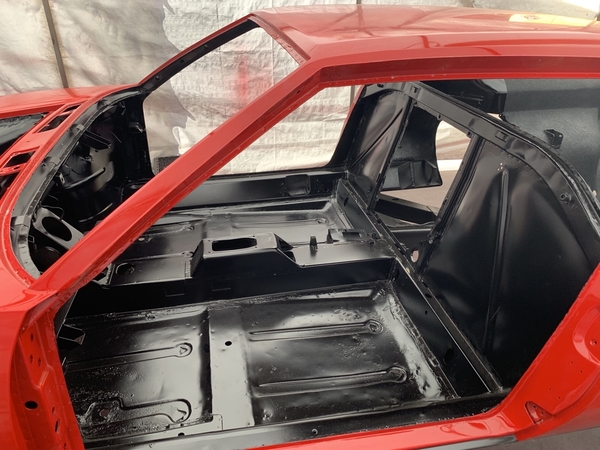
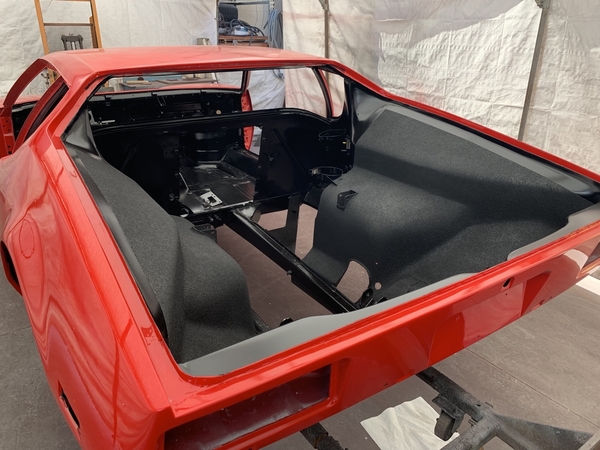
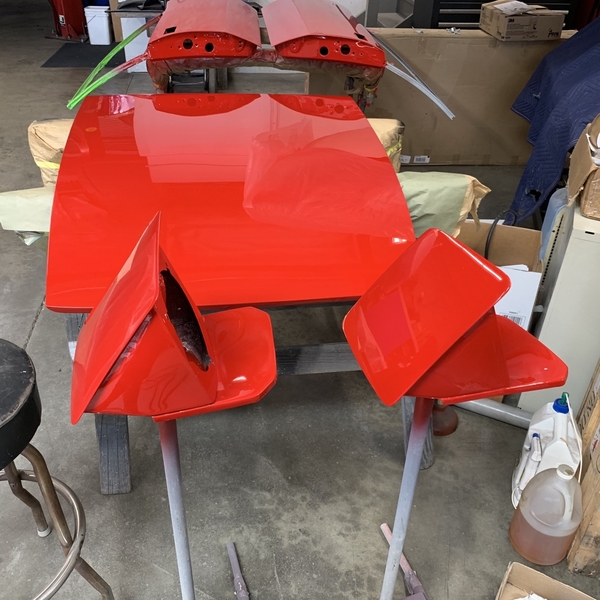
Thank you for your responses. The car is moving forward and here are some pictures from today. They have to wait for the paint to cure before sanding and buffing. It may be hard to see in the pictures but orange peel is forming as the clear coat cures. When the time has come the orange peel will be sanded flat and then polished.


